3D printing of yourself
FAQ | Shapify
General
1. Why Artec Shapify Booth?
Artec Shapify Booth features a fully automated process for creating 3D files. Use it to set up an innovative, lucrative and scalable business.
2. What is special about your software?
It’s the only software on the market that can process full body 3D scans automatically and quickly. Just compare the Shapify’s 15 minutes of automated cloud computing to create a 3D printable file with at least 2 hours of highly skilled work spent by a 3D modeller on every file made using photogrammetry or any other scanning solution.
3. I’ve heard of photogrammetry scanning solutions, but how does Shapify Booth work?
Unlike photogrammetry the Shapify Booth uses real 3D scanners. This is what has allowed us to create software which automatically creates printable 3D files.
4. What do I need to do to operate the Booth?
I. Front office
1. Meet the customer, check he or she is wearing appropriate clothes for scanning, recommend removing shiny clothes, jewelry, black shoes and glasses. Explain the process and ask the customer to hold still for 12 seconds while being scanned. Type the customer's name (or e-mail) into the system.
2. The customer stands in the booth. You click on the "Start" button and make sure the customer doesn't move during scanning.
3. After scanning, wait with the customer until the preview picture is ready. (About 5 minutes). Meanwhile discuss delivery options with the customer.
4. Make sure the preview is good and that the customer likes it.
5. Store the customer's name (e-mail), chosen delivery address, size of figurine and number. (This can also be done during step 3)
6. Charge the customer.
7. The printable 3D file will be available to order or download on your Shapify.me online account within 15 minutes.
II. Back office, via the booth operator’s online account at www.shapify.me
1. Log in to your personal account at Shapify.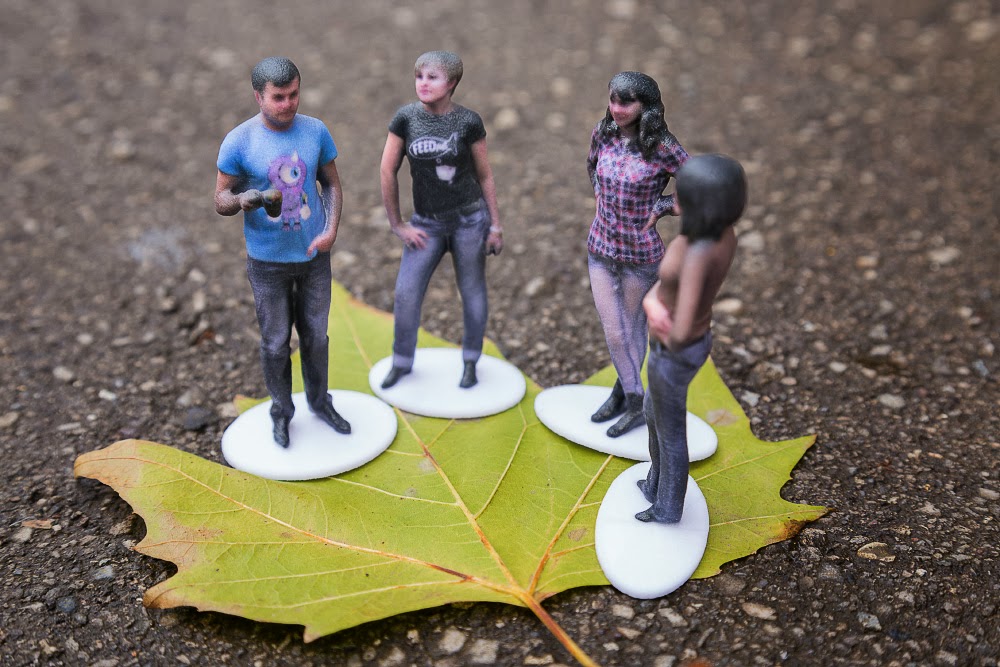 me. If you want to print the figurine yourself, just select the model and press the “download” button.
2. If you want to order printing with Artec, please make sure your printing account has enough credit.
2. Go to Gallery, select the required model(s), enter the delivery address, number and size of figurine(s).
3. Click on the "order" button.
Please see the video for a visual explanation
5. If I install a Shapify Booth, will it carry your brand or mine?
The branding on the booth itself cannot be modified apart from in exceptional circumstances. However, if you decide to use an exterior pod or structure for the booth, you can create your own design or use the Shapify design. In both cases, the design should be harmonized with us for technical and marketing purposes.
6. Is the Shapify Booth portable?
Yes. Shapify Booth it is the most portable and easy to deploy automated 3D scanning solution on the market.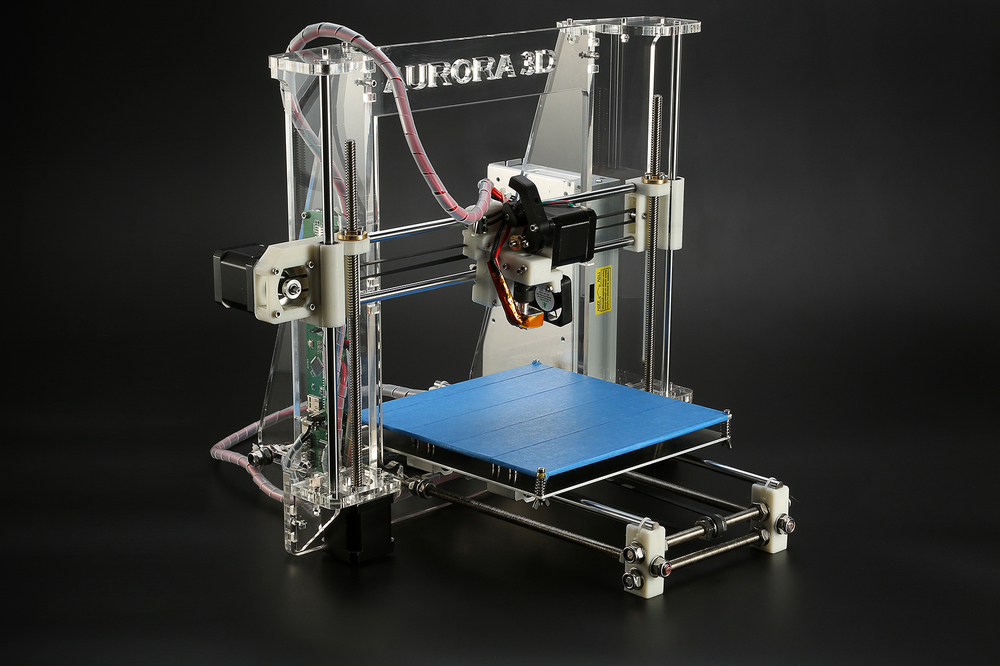 However, the booth should be assembled and calibrated by an authorized maintenance partner; this is about 4-5 hours’ work for a two man job.
7. So there are 3000 3D model files included in the Optimal business model. But what if I just need to re-scan a customer?
We don’t count scans, we count the processed 3D files you choose to print or download. You can scan your customer as many times as necessary, this will be free of charge.
8. What’s in the box? What is included in the price of the booth?
– Hardware, delivered to your address
The whole scanning system - the scanning with 4 hi-res rotating scanners, lighting, and the computer to manage the process.
The first installation by our certified Maintenance Partner
- Software
There are 3 levels of software:
1. The software installed on the Booth PC for managing scanning and modelling a quick (1 min) preview so your customer can decide whether to accept the quality of the scan
2. Cloud software to process your hi-res model (3-5 min) and upload it to your personal account on the Shapify.Me web site.
3. The Shapify website software and interface to help you to store and manage your scans, download your files, order prints, check your scanning and printing accounts and schedules (within certain business-models)
- Warranty
1 year full warranty
With the “Optimal” business model you will also get 3000 automatically processed 3D files.
9. If I use the “optimal” model, how will I know how many files I have “spent” and what will happen afterwards?
You will have a special counter on your personal account at Shapify.me. You will always know how many files you still have left. When you have used them all, you will be able to top up your account on the website by paying $20 per extra scan.
10. Does the booth have to be connected to the internet? Can’t the file be created locally, on the booth computer?
Yes, the booth has to be connected to the internet since all the calculations are done in the cloud.
11. My client’s data will be transferred to the cloud. Is that safe?
A lot of information, from the photos on your iphone to your credit card details, is sent to and processed in the cloud. All data on the Shapify website and in the Shapify cloud is encrypted and safe.
12. Can Shapify Booth scan a couple or 3 persons together?
Yes, it can. Just remember that the more people are scanned together, the more difficult a job it is for the software, since everyone makes some slight movements even if they trying to keep totally still, and if there are several people in the booth, the volume of movements will be higher. So achieving a perfect scan of multiple people will be a little more difficult - although we have plenty of success stories!
13. What is the approximate processing time for one full body scan?
You (and your customer) will see the finished preview in about 5 minutes. Based on that, the customer can decide whether they like the scan and wish to purchase the printed 3D shapie. The hi-res fully processed file should be available in about 15 minutes on your personal account on the Shapify.me website
14. What scanners are used inside the booth?
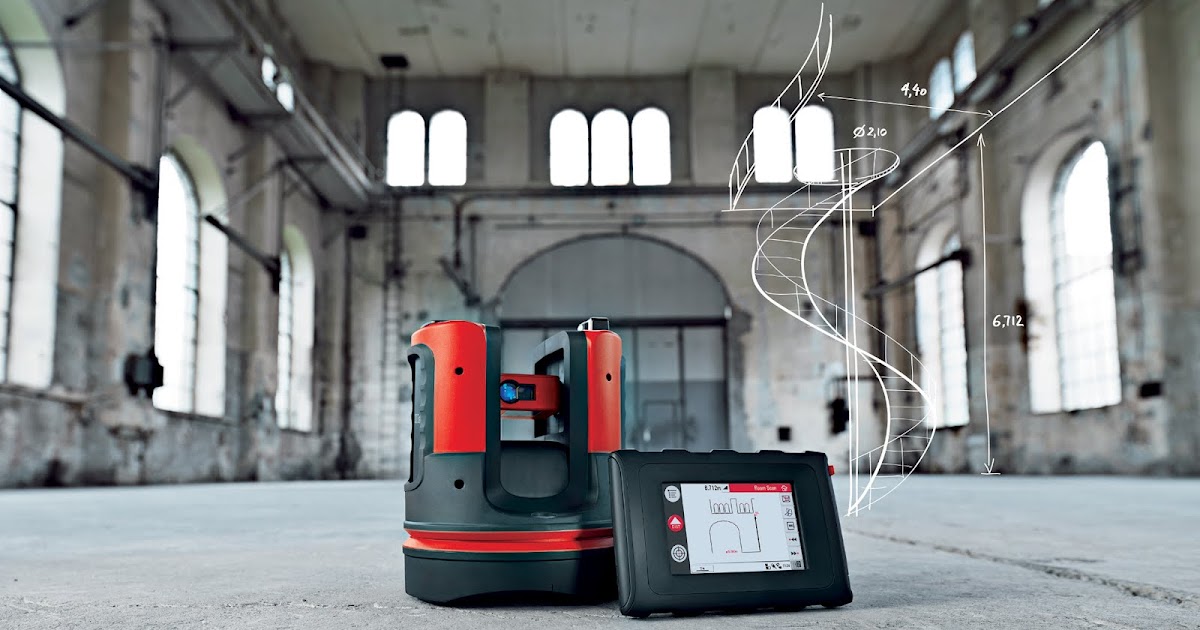
This is the Artec L2, an enhanced version of Artec Eva, but with a wider view field and longer working distance.
15. Will we get trained to use the software and the hardware
Of course!
16. What are the installation requirements?
You’ll need a space of at least 3.3m x 3.3m, ceiling height at least 2.8 m. For electricity you should have 220V and 2500W. We recommend a fast Internet connection of 8-10M. Don’t forget you should also have a Windows laptop or a desktop to run the Shapify software. It doesn’t need to be powerful, though, all the heavy work is done in the cloud and on the Booth PC.
17. Where I can see the Booth in action?
Take a look at our map here and also keep an eye on our news.
18. Are the prices on your website in USD?
Printing
1. The Shapify Booth creates a ready-to-print 3D file. How do I turn it into a 3D printed figurine?
There are 2 options:
1. You can find your own local printing partner.
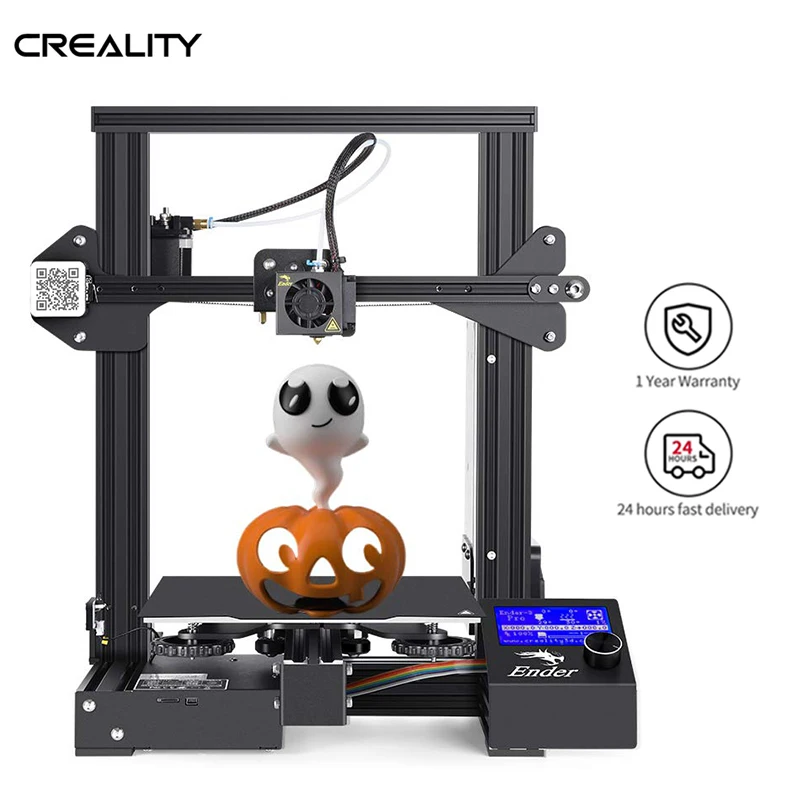
2. You own a 3D printer yourself and print the figurines on your own premises.
2. Can I order 3D prints directly from Artec 3D?
Artec 3D doesn’t offer 3D printing services.
3. What 3D file format do you support?
Our files are in .obj format (plus texture in .png) which can be easily transformed into any 3D format you need (like .ply or .stl) with free software (e.g. Meshlab).
4. What material can the figurines be printed in?
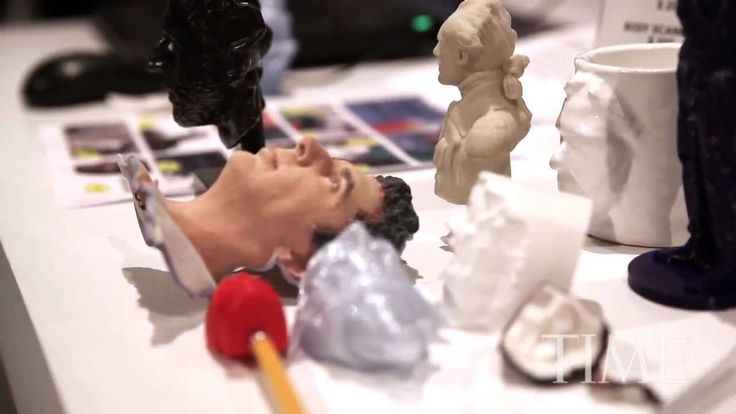
Once you have downloaded the file, you can print it out using any material you like – gypsum-based polymer, metal, plastic or even chocolate.
How to 3D Scan & 3D Print Yourself Accurately (Head & Body) – 3D Printerly
3D printing is great in itself, but what if we could 3D scan ourselves and then 3D print ourselves. This is definitely possible when you know the right techniques. In this article, I will detail and guide you through how to 3D scan yourself the right way.
To 3D scan yourself, you should use a process called photogrammetry which is taking several pictures from a phone or normal camera, then uploading it to 3D reconstruction software, a great one being Meshroom. You can then clean imperfections of the model using the Blender app and 3D print it.
There are some real details and steps to perfect this process, so definitely keep reading to get a clear tutorial on how to 3D scan yourself.
What Do You Need to 3D Scan Yourself Properly?
People that have experience 3D scanning themselves tend to use either a phone or a professional 3D scanner.
You don’t need a bunch of complicated equipment or some specialized scanning apparatus, just a decent quality phone will suffice, as well as the correct software such as Blender and Meshroom.
Some 3D scanners are more suitable for small, detailed objects while others are great for 3D scanning your head and body so keep this in mind.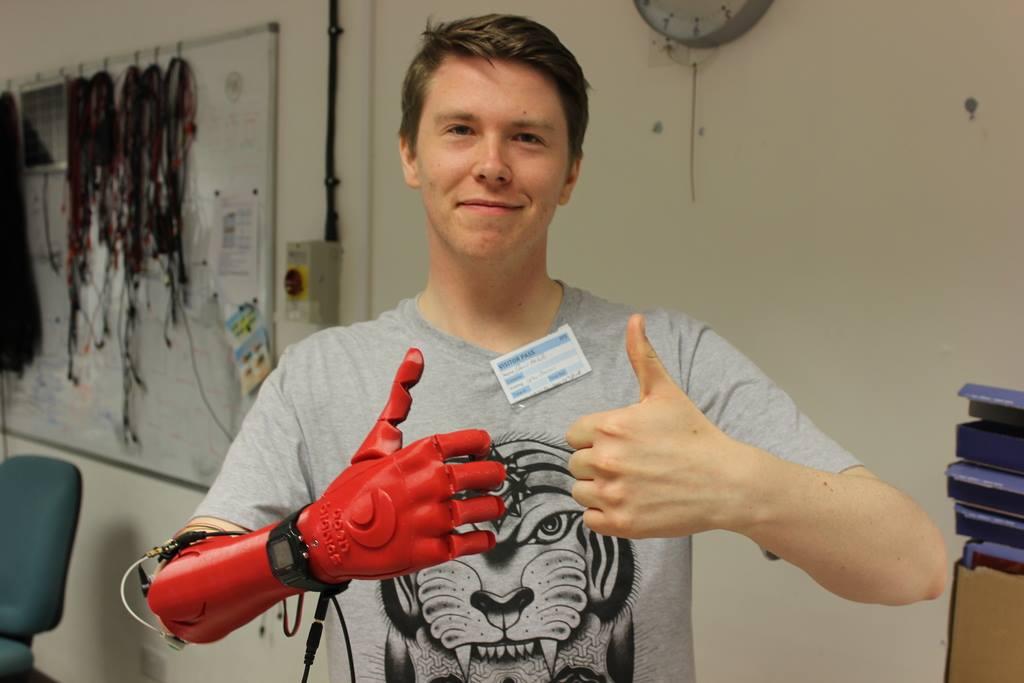
The 3D scanners capture the shape of your body through a series of data points. These data points are then combined to get a 3D model. 3D scanners use photo technology, such as:
- Structured-light Scanners
- Depth Sensors
- Stereoscopic Vision
This shows us that it uses various measurements to encompass different shapes and minute details of an object, or in this case, yourself.
All these data points are combined into a single data map, and a full 3D scan is fleshed out.
Basic Process of 3D Scanning
3D scanning may seem complex, which it is technologically speaking, but let me give you a simple explanation of the process of 3D scanning:
- You can either use a 3D scanner through your phone or can get a 3D scanner machine.
- The structured light lasers hover over an object to create data points.
- The software then combines these thousands of data points.
- All these data points help in getting a detailed, accurate, and realistic model within a specialized program
However, before moving towards 3D scanning yourself or others, you should know a few important points about it.
Type and Size of Objects
Some 3D scanners are more suitable for scanning smaller objects while there are also those scanners available, which you can use for scanning the whole body from head to toe.
You should be aware of the size of objects or yourself to select the right scanner for such purpose.
Accuracy
It would be best for you if you consider the extent of accuracy that you need for 3D scanning.
The maximum precision and accuracy which a group of 3D scanners can give lies between 30-100 microns (0.03-0.1mm).
Resolution
Focus on the resolution and get your values aligned before starting it.
Resolution is directly related to the accuracy; the better the resolution of your 3D scanner will be, the higher the accuracy.
Speed of the Scanner
Static objects do not cause a problem with speed; it is the moving objects which require an adjusted level of speed. You can select and adjust the speed from the software settings and get things done with ease.
How to 3D Scan Yourself
There are different ways of 3D scanning yourself, and I will be listing them one by one. So keep on reading.
Photogrammetry with Camera
Josef Prusa goes into great detail on how to 3D scan with just a phone using photogrammetry. He has sweet, real-life examples and extra tips to help you get some good quality results.
Rather than needing a high-end camera, you can actually choose to use your phone to 3D scan yourself.
There are open-source softwares you can make use of for your photogrammetry needs. Meshroom/AliceVision is great for photogrammetry, Blender is great for editing, then Cura is a good choice for your slicing.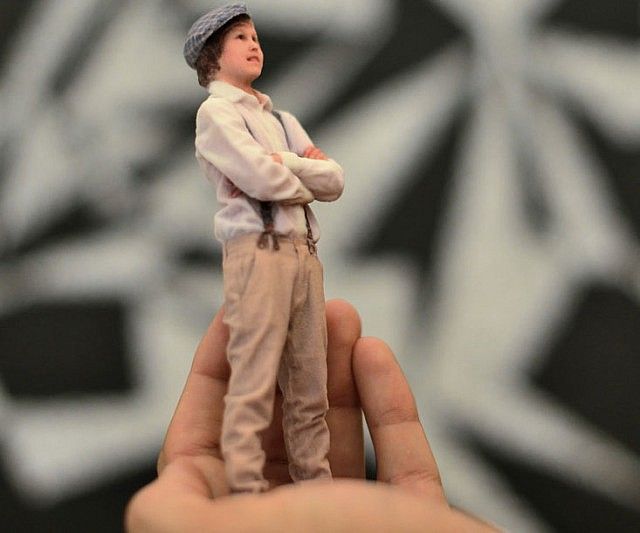
So the first step is using Meshroom, which is a free, open-source software that specializes in 3D reconstruction, photo and camera tracking to produce 3D models by using several photos as the source.
It has some amazing features that make it a lot easier to create some high quality meshes that can be used easily.
What you do is:
- Get your desired object and make sure the lighting is fairly even all-round
- Take several pictures (50-200) of your desired object, making sure it stays in one place
- Export those pictures to Meshroom to put them together and recreate the object as a 3D model
- Clean up the model in the Blender app to make 3D printing easier and more accurate, then export to slicer
- Slice & print the model as usual
The better your camera, the better your 3D models will be but you can still get excellent quality models with a decent quality phone camera. Josef Prusa uses a DSLR camera which is great for those extra details.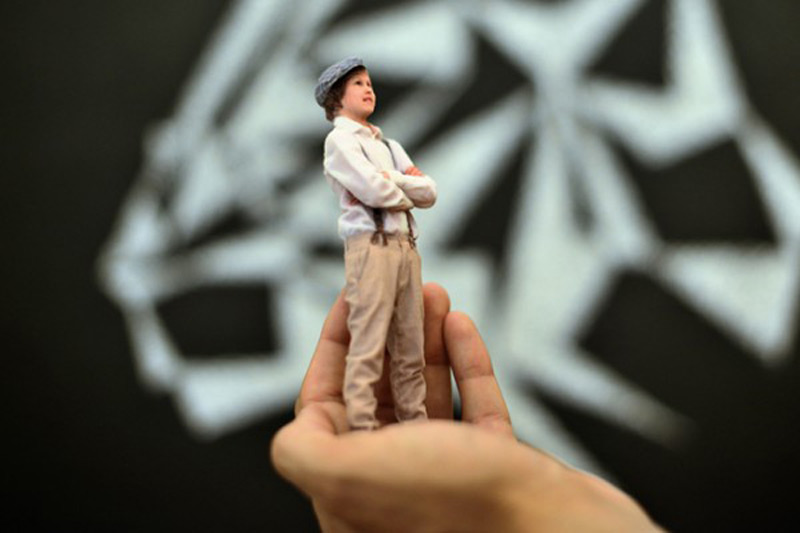
2. Mobile 3D Scanning App
This method requires no extra hardware and no extra hand to help in the scanning process. The process is simple and given below:
- Install the app which you want to for scanning.
- Take a picture of your face.
- Move your face to both sides to let the scanner capture the sides.
- Email the result to your desktop or laptop.
- Build your model easily from there.
Depending on the functionality of your phone’s scanning capabilities, you may have to export the file and change the file extension to .png, then open the .gltf file if it can’t be opened.
You can then open it in Blender and export it as an .obj file.
2. Handheld 3D Scanners
Handheld 3D scanners tend to be pretty expensive, especially if you want one with respectable quality. If you can access a 3D scanner locally for quick-use, then that would be perfect.
I did write an article about the Best 3D Scanners Under $1,000 which details some of the better cheap scanners out there.
If you want to scan yourself using a handheld 3D scanner, you’re going to need a second person to help out. The process is simpler than using the photogrammetry, but they are essentially doing the same concept.
They will require a second person to help you with scanning yourself. What is required to be done is as follows:
- Stand in a well-lit room that ideally has multiple light sources to reduce shadows
- Get the second person to move the 3D scanner slowly over the whole body or parts that you want to capture
- Similarly to the camera scanning, you’ll export these pictures to software to make a model out of it.

3. 3D Scanning Booths
iMakr are a great example of a 3D scanning booth that creates a ‘Mini-You’ using the latest technology to recreate your looks in a 3D-color infused sandstone composite.
The whole process doesn’t take too long, and can be done in around two weeks.
Here’s how the process works:
- You come in to iMakr, dressed to impress.
- We scan your full body image in our scanning booth.
- Your scans are processed on site into an initial print file.
- This file is transmitted to our design team for final preparation.
- We print a full color Mini-You in sandstone.
- We deliver your Mini-You or you can come into the shop to pick it up.
Doob is another 3D scanning service which makes replicas of you.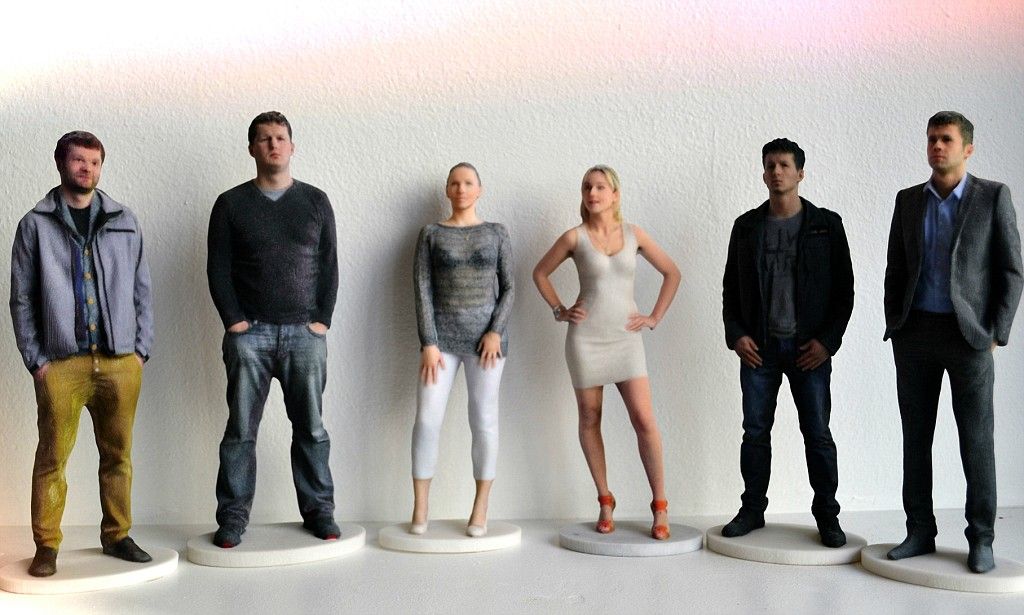 Check out the cool video below for more details behind the process.
4. Xbox Kinect Scanner
Many people get excited when they figure out the capabilities of their Xbox Kinect to actually 3D scan themselves. The Kinect is quite outdated, but its still an option for some.
There isn’t too much stock of them around, although its possible to purchase one from Amazon, Ebay, or other e-commerce websites.
You can download the latest version KScan from a mirror, since it is no longer actively available.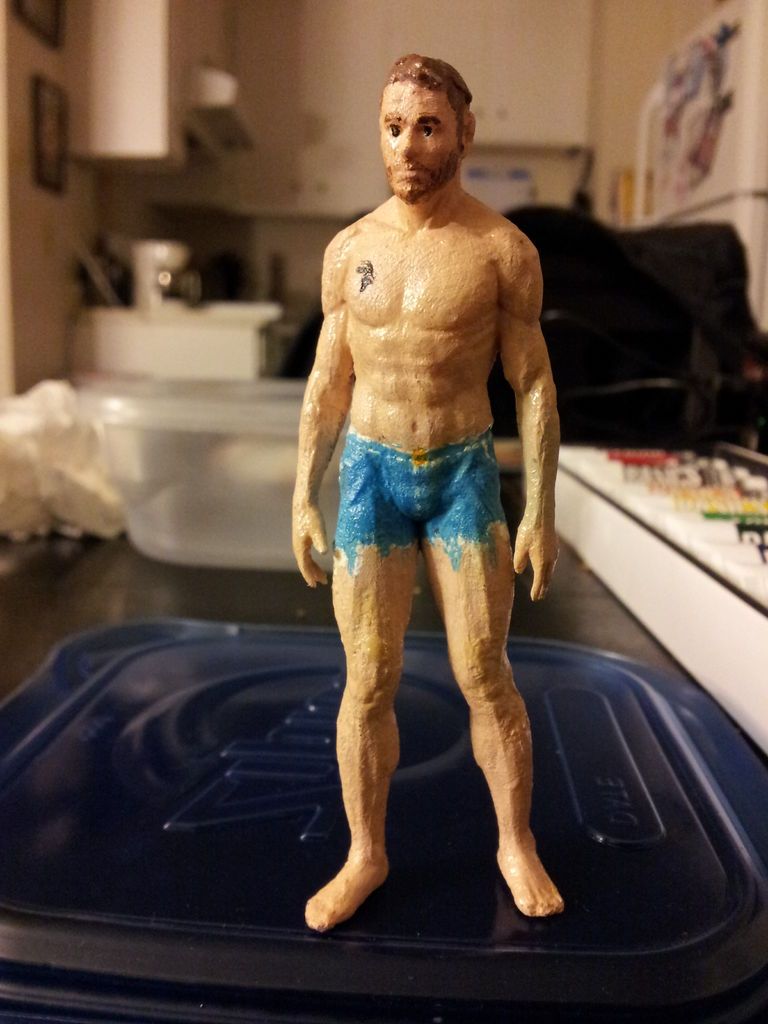
How to Make a 3D Model Print of Yourself
Depending on the technique you used to get the 3D model ready, you should have been able to create a file which can be processed and sliced to finally print.
At first it can seem pretty complex, but with the right directions, it can be quite simple.
After you have taken all the photos which are required for generating a 3D model, the rest of the work is done in a system. The steps are listed below for your understanding.
As previously mentioned, you’re going to want to use the open-source Meshroom/AliceVision software to create the model for you to print.
Meshroom can be downloaded from their official website.
The video below is a great tutorial to make a 3D print model of objects and yourself if you have the images!
Best 3D Scanner Apps for 3D Printing
The application stores for both Android and iPhone are filled with 3D scanner apps.
You do not require any extra hardware in addition to your smartphone while installing these apps. The list of the apps is as follows:
- Qlone: It is a free application and works on both IOS and Android devices. You will require a special black and white paper mat, which can look like a QR code to scan something.
- Scandy Pro: This app is only for iPhone users, and it can turn the iPhone into a full-color 3D scanner. You can edit the scans within the app in real-time with various tools.
- Scann3D: Android users can use this app to scan photos of the object which they wish to 3D scan.
To get the scanning right, you should take photos in a continuous circle around the object.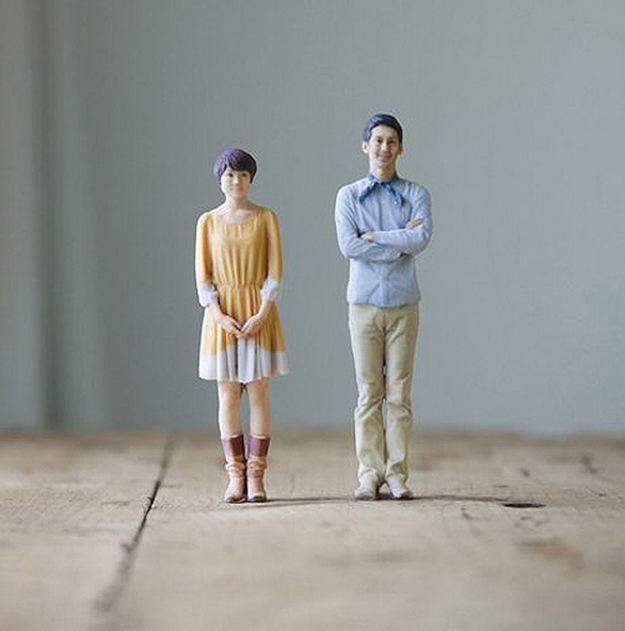
- Sony 3D Creator: 3D Creator is Sony’s entry to smartphone scanning, and it is compatible with all Android devices. Through its selfie mode, you can even scan yourself.
How I printed a model of myself on a 3D printer...
3D modeling
After reading this article, you will learn how I printed a model of my face and body on a 3D printer!
It all started with the purchase of a Kingroon KP3S 3D printer, with a table size of 180 x 180 x 180 mm.
I already had a model of a woman ready, and immediately after assembling the printer, and I assembled it for 15 minutes in total, I sent this model for printing.
For a printer out of the box, and even not fully configured, the quality is normal.
After some manipulations with the printer, I managed to get a completely smooth surface of the figure after printing.
While watching videos on setting up a printer for printing, I came across a video showing a face modeling program.
This program is called DAZ3D. (perhaps there was already an article on this topic, do not throw slippers)
And the idea came to my mind to make a model of my own face and body. Maybe in the future and earn extra money on this, making 3D models of people and printing them to order. (but hardly anyone needs it)
You can download this program on the official website for free.
After installation, we see the initial page of the program.
And to create yourself you need to go to the tab Windows - Panes - Face Transfer.
After opening this plugin, you will only have to insert your photo.
Insert a photo, click male - a man (female - a woman) and click - Generate (generation).
A body appears with our face and you see what a resemblance!!!
It seems to be similar, but I hasten to upset you. This model is not suitable for printing.
The point is that our photograph is stretched onto a blank, onto a blank. And it seems to be plausible, but if we print this model, we will get a figure, well, not at all like us. The program tried to automatically repeat our facial features, but she did not do it very well.
What to do?
To create a 3D model of your face, you will have to work hard.
For this we buy an extension for DAZ 3D - MetaMixer Toolkit.
Quickly install and first create a blank. Genesis 8 Basic Male
may not be installed, you will have to buy ;-)
We are looking for and launching Meta Mixer.
Next, select the Shaping tab and select the faces that are most similar to you, in your opinion.
After all, Ok Google MetaMixer is: "MetaMixer is a Daz Studio tool that allows users to create unique faces from a set of previously released characters using add-ons for Metamixer."
This tool will allow us to change the facial features of our disc, and not just overlay a photo (texture) on it.
After selecting the desired faces, we need to start Power Pose. Look at the picture below and start.
In Power Pose, select Sculpting or any other parameters that will help "blind" the face of your dreams. After many hours of work in das 3d, I managed to create my face and adjust the body.
Printing the model. File - Export - I save in .obj format and transfer it to the slicer. (I use Cura).
Printed with PLA.
And if you want to know what I got in the end, then Welcome to my YouTube channel =)
Link to the video:
How I printed a model of myself on a 3D printer ...
Do not swear in the comments, everyone of good. Thank you for reading)
Discover 3D printing - Omni3D
Discover 3D printing - Omni3D Are you new to 3D printing?
We have prepared a mini-guide for you,
, which will introduce you to the world of 3D printing.
3D printing is an extremely broad definition of a range of technologies that differ from each other both in manufacturing processes and in the materials used in them.
Omni3D is the first Polish manufacturer of industrial 3D printers with FFF technology - currently this technology is the most widely used among all incremental methods in the world.
ABS
jedno z najbardziej popularnych tworzyw sztucznych stosowanych do druku 3D w technologii FFF ABS nie jest odporny na działanie promieni UV.