3D printing cookie cutters
Guides Make your own 3D Printed Cookie Cutters – with or without a printer
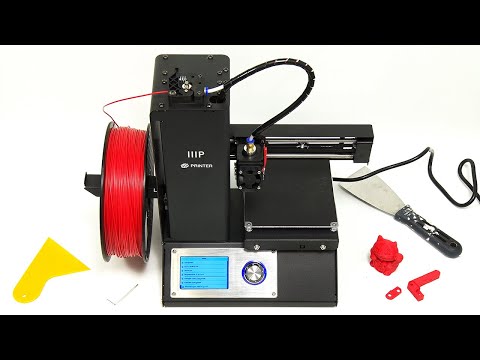
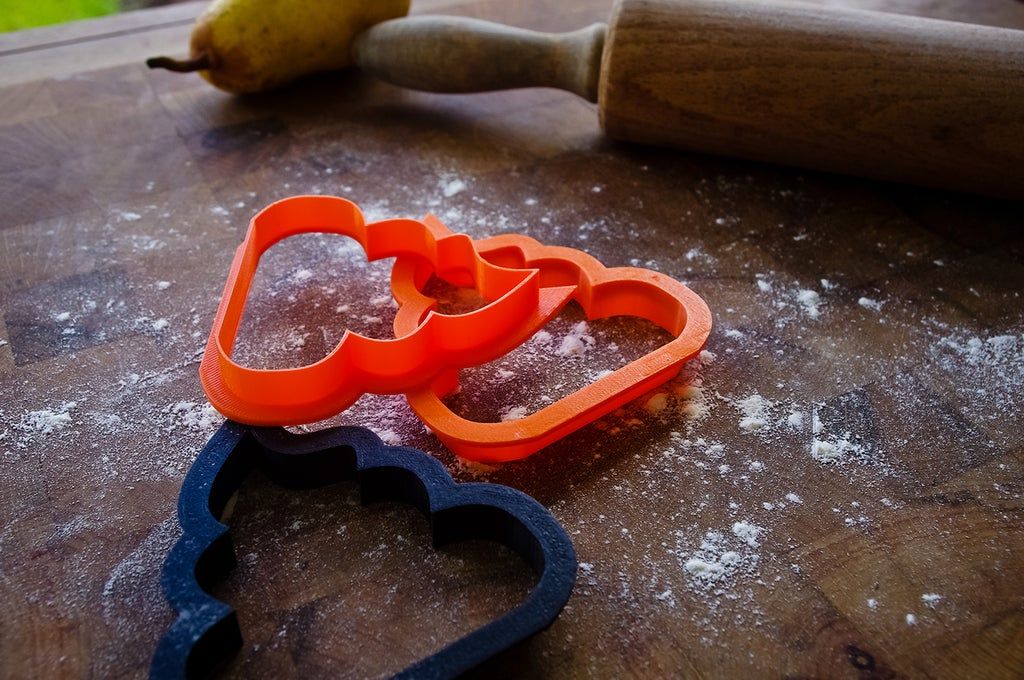
We hear a lot about 3D printing being used in industrial applications and prototyping, however, many hobbyists, DIY lovers and tinkerers use desktop FDM printers for their diverse needs. One of the popular 3D printed objects is cookie cutters. They are relatively simple to design and print in plastic even on a regular FDM 3D printer, resulting in ready-to-use cutters within hours.
- Is it safe to use 3D printed Cookie Cutters?
- How to design a custom Cookie Cutter?
- Libraries with ready to use cutter designs
- Tips for 3D printing
- Get custom cookie cutters without a 3D printer
Products that are printed on regular FDM machines used for versatile parts, can’t be called 100% food-safe. That is purely due to the machine’s printing head and extruder being exposed to particles from various filaments and not cleaned after each run. However, finished plastic parts are rigid and stable, they don’t emit anything until exposed to high temperatures or excess moisture.
For PLA (more commonly used) parts the transition temperature is around 122-176°F (50-80°C). Thus, for cookie cutters, 3D printing is a suitable way of getting safe custom parts.
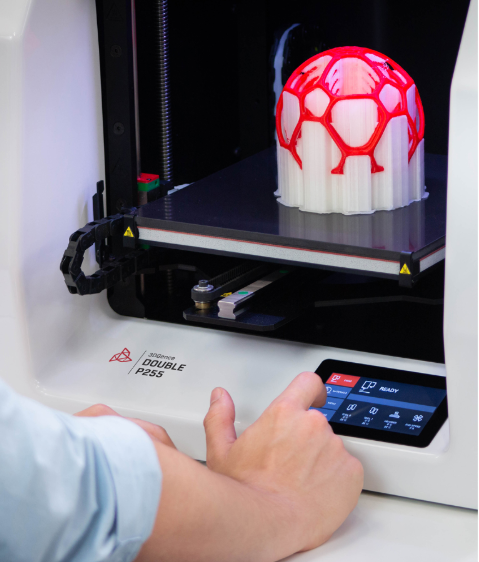
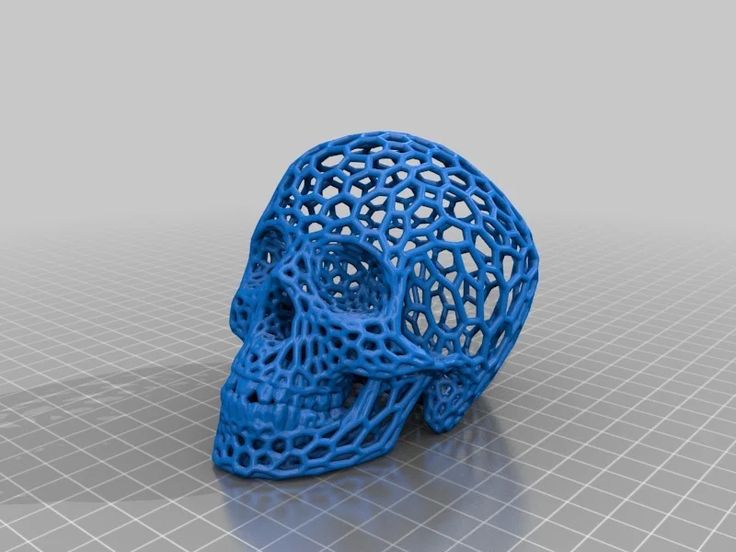
3D Prints by Randolf Leipnitz, Holger Kuznik GbR
3D printing starts with a 3D design file of the part you need. There are several ways of making your own 3D model for cutters for different skill levels.
Experienced: Fusion 360
If you are familiar with 3D modeling or feel brave enough to try 3D design software, there are many open-source and free step-by-step tutorials for creating cookie cutters. One of the most common programs for handling such modeling tasks – Fusion 360. It is relatively simple to import an image into the software and then trace it with a Spline tool. After that, you’ll need to make an outline of the created contour and extend the wall created.
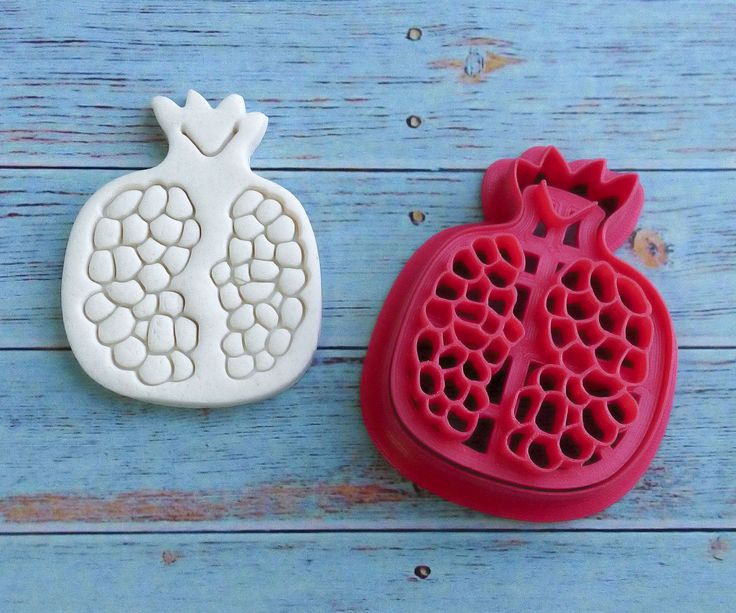
For cutters that also have some details inside (not just the outer shape) you will also need to extrude those ones as well, keeping them at a lower height, so they don’t cut the details out but rather just emboss them onto the dough.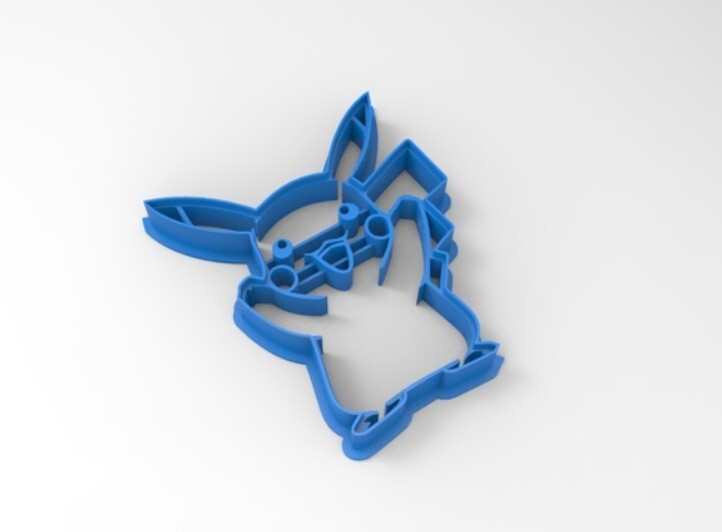 They also require being connected to the outline and combine and that, pretty much, all. Check out more detailed instructions for working with Fusion 360 in this guide by Nikus.
If you are planning to try modeling your cutter yourself manually, we also recommend you have a quick look at FDM 3D printing tolerances and numbers for minimal details to make sure your cutter will be printable.
Medium: TinkerCAD + SVG file
For first-time designers, a simpler way of getting a DIY cookie cutter is to use .svg files or design software like Adobe Illustrator to create ones. Then, it is down to simply importing the cutter shapes, re-sizing and combining the parts in free-to-use and beginner-friendly TinkerCAD. We highly recommend a tutorial below for more details.
Newbie: customizing apps
If you aren’t friendly with design software or don’t want to invest a lot of time into this, no worries! There are apps that can generate a cutter model from your picture or customize preset shapes.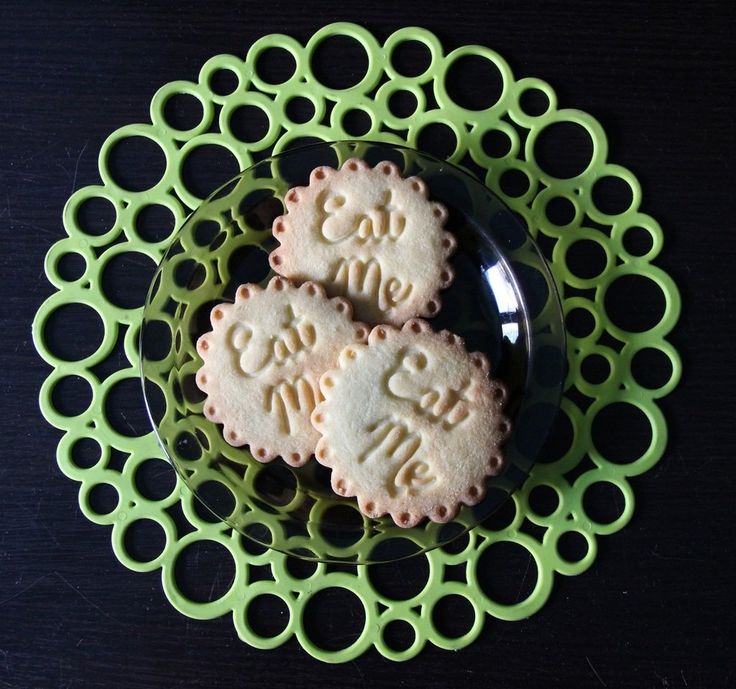 Currently, the most popular one is CookieCAD.
3D printed cookie cutters are a popular item to experiment with. Thus, there are many diverse 3D models both free and purchasable, which are ready to use and tested by others. Check out the popular STL files libraries, and the chance is high that you’ll find something close to what you need.
- Cults3D
- Thingiverse
- Treatstock
- Turbosquid
Browse Cookie Cutters
With a suitable model 3D printing a cookie cutter should be relatively simple. Among all filament types available, we recommend sticking to basic PLA filament as it is pain-free to use and has great detail transition. For the design itself general rules for FDM printing are:
- Model design details to be larger than 1.15 mm or at least 0.5 mm;
- Ensure a model's wall thickness of 1.2 mm at least;
- For text, prefer thicker fonts and opt for 1 mm depth/height for it;
- Remember to have the text mirrored, so it comes out correctly on the cookie;
- Place the model in the file with the “cutting” side up, so it’ll be printed from the flat and wide base.
Don’t own a 3D printer? It’s not a problem. You can use a 3D printing service to order your custom cookie cutters made and delivered. Simply drop your file into the widget, choose a quantity, select material and color for your cutter to instantly see the price.
Cover image by Marco Verch under Creative Commons 2.0 License
Guides Make your own 3D Printed Cookie Cutters – with or without a printer
We hear a lot about 3D printing being used in industrial applications and prototyping, however, many hobbyists, DIY lovers and tinkerers use desktop FDM printers for their diverse needs. One of the popular 3D printed objects is cookie cutters. They are relatively simple to design and print in plastic even on a regular FDM 3D printer, resulting in ready-to-use cutters within hours.
- Is it safe to use 3D printed Cookie Cutters?
- How to design a custom Cookie Cutter?
- Libraries with ready to use cutter designs
- Tips for 3D printing
- Get custom cookie cutters without a 3D printer
Products that are printed on regular FDM machines used for versatile parts, can’t be called 100% food-safe. That is purely due to the machine’s printing head and extruder being exposed to particles from various filaments and not cleaned after each run. However, finished plastic parts are rigid and stable, they don’t emit anything until exposed to high temperatures or excess moisture.
For PLA (more commonly used) parts the transition temperature is around 122-176°F (50-80°C). Thus, for cookie cutters, 3D printing is a suitable way of getting safe custom parts.
3D Prints by Randolf Leipnitz, Holger Kuznik GbR
3D printing starts with a 3D design file of the part you need. There are several ways of making your own 3D model for cutters for different skill levels.
Experienced: Fusion 360
If you are familiar with 3D modeling or feel brave enough to try 3D design software, there are many open-source and free step-by-step tutorials for creating cookie cutters. One of the most common programs for handling such modeling tasks – Fusion 360.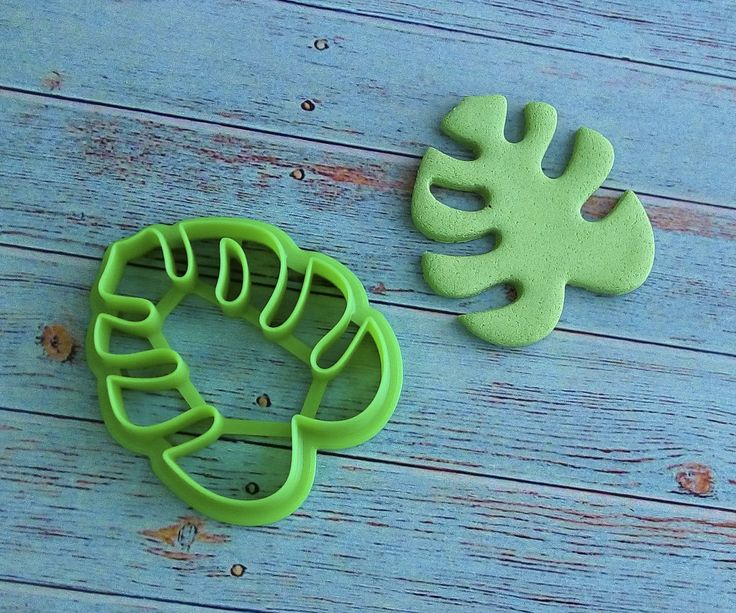 It is relatively simple to import an image into the software and then trace it with a Spline tool. After that, you’ll need to make an outline of the created contour and extend the wall created.
For cutters that also have some details inside (not just the outer shape) you will also need to extrude those ones as well, keeping them at a lower height, so they don’t cut the details out but rather just emboss them onto the dough. They also require being connected to the outline and combine and that, pretty much, all. Check out more detailed instructions for working with Fusion 360 in this guide by Nikus.
If you are planning to try modeling your cutter yourself manually, we also recommend you have a quick look at FDM 3D printing tolerances and numbers for minimal details to make sure your cutter will be printable.
Medium: TinkerCAD + SVG file
For first-time designers, a simpler way of getting a DIY cookie cutter is to use .svg files or design software like Adobe Illustrator to create ones.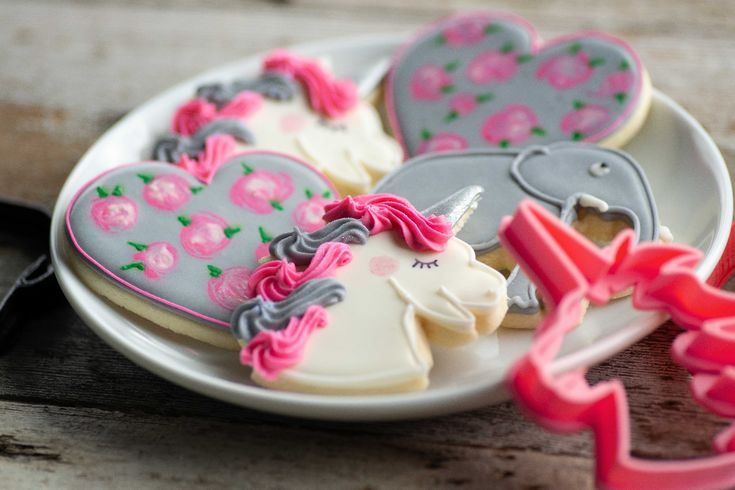 Then, it is down to simply importing the cutter shapes, re-sizing and combining the parts in free-to-use and beginner-friendly TinkerCAD. We highly recommend a tutorial below for more details.
Newbie: customizing apps
If you aren’t friendly with design software or don’t want to invest a lot of time into this, no worries! There are apps that can generate a cutter model from your picture or customize preset shapes. Currently, the most popular one is CookieCAD.
3D printed cookie cutters are a popular item to experiment with. Thus, there are many diverse 3D models both free and purchasable, which are ready to use and tested by others. Check out the popular STL files libraries, and the chance is high that you’ll find something close to what you need.
- Cults3D
- Thingiverse
- Treatstock
- Turbosquid
Browse Cookie Cutters
With a suitable model 3D printing a cookie cutter should be relatively simple.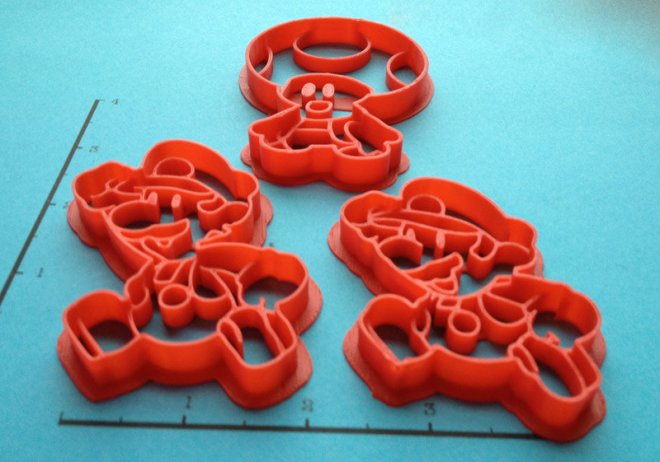 Among all filament types available, we recommend sticking to basic PLA filament as it is pain-free to use and has great detail transition. For the design itself general rules for FDM printing are:
- Model design details to be larger than 1.15 mm or at least 0.5 mm;
- Ensure a model's wall thickness of 1.2 mm at least;
- For text, prefer thicker fonts and opt for 1 mm depth/height for it;
- Remember to have the text mirrored, so it comes out correctly on the cookie;
- Place the model in the file with the “cutting” side up, so it’ll be printed from the flat and wide base.
Don’t own a 3D printer? It’s not a problem. You can use a 3D printing service to order your custom cookie cutters made and delivered. Simply drop your file into the widget, choose a quantity, select material and color for your cutter to instantly see the price.
Cover image by Marco Verch under Creative Commons 2.0 License
We print cookie cutters
AKDZG
Loading
29. 12.2014
23944
Technician
Once again, looking through 3D models on the site thingiverse.com, my eyes caught on cookie cutters.
Go to thingiverse.com and type cookie cutter into the search bar and press Enter:
Click on the picture you like and go to the description. Select Thing Files and click on the name of the 3D model file to download to your computer.
Loading the model into Cura. We change the dimensions of the part by moving the colored cubes.
The Shell thickness (mm) parameter is set equal to the diameter of the nozzle so that there is no gap in the wall:
The color was not important to me and I chose the most unclaimed plastic in the collection, which has not ended for more than a year
Printing!
Dough recipe:
150 g butter
200 g cottage cheese
250 g wheat flour
100 g sugar
Grind butter with sugar and cottage cheese. Add flour and knead the dough. Put the dough in the refrigerator for two hours.
Grease the mold with oil.
Spread on a baking sheet and into the oven.
Bon appetit!
Good luck! And Happy New Year!
Subscribe to the author
Subscribe
Don't want
7
Article comments
More interesting articles
19
Subscribe to the author
Subscribe
Don't want
Hi all!
Continuation of the previous article. With photos and measurements. Spoiler. From wed...
Read more
Tiger
Loading
14. 02.2023
1081
17
Follow the author
Subscribe
Don't want
Although we manufacture and repair printers of our own production (UlTi...
Read more
AKDZG
Loading
14.02.2015
857636
369
Subscribe author
Subscribe
Don't want
Many 3D printers run the popular Marlin firmware. Firmware initially config...
Read more
Read blogs
3D printing for the holidays: Halloween 2015
Traditionally, preparation for Halloween is accompanied by the preparation of festive treats: pumpkin pies and desserts, caramelized apples and many others. To prevent this process from turning into a hard and joyless routine, we have an excellent offer - 3D printing of cookie cutters. Spiders, witches, bats, monsters, ghosts and any "frightening" templates on your order will help you spend an incredibly warm and sincere time with original holiday cooking with family and friends.
3D printing of cookie cutters involves the use of special PLA plastic, which is completely environmentally friendly and safe, and therefore is widely used in the production of children's products, dishes and food packaging. The main difference between PLA plastic is that it is made from vegetable raw materials: sugar beet, sugar cane, corn and wheat.
You can order 3D printing for Halloween using ready-made models or offer us your ideas for printing on a 3D printer, which we will be happy to implement. The Halloween party is a great way to diversify the dark and cold everyday life and finally get out of the autumn depression.
Sending initial data
To place an order, fill out an application on our website or leave your contact details in the pop-up form.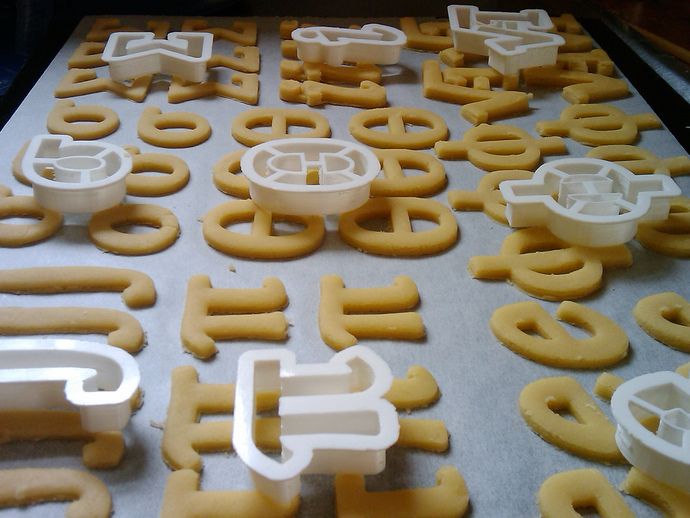 You can always call us at +7(812)425-38-74
If you have sketches, drawings or just an idea, send us an email to [email protected] and we will help bring it to life!
3d2def
Waiting for a response from the operator
In the near future, your personal manager will contact you to clarify the details of the order and discuss the approximate cost. When all the preparatory work is completed, the designer starts modeling your order.
3d2def
Approval of the finished model and its cost
You approve the layout of the product (which we can always finalize together as needed), as well as the printing method, the method of payment and delivery of the finished model.
3d2def
3D printing of the layout
We print the product on a 3D printer, after which we perform additional processing if necessary.
3d2def
Order delivery/pickup
And here is your idea in the real dimension. You can pick up your order on your own during business hours at our office, at the points of issue of the CDEK company, or arrange courier delivery to your address.