Cloud based 3d printing
Cloud-based and AI-powered SaaS 3D printing workspace
Cloud 3D Print allows you to access, manage and monitor your 3D printing projects from anywhere with advanced AI failure detection capability
Get started for free Try for free Watch the Video
- Your browser does not support the video tag.
- Your browser does not support the video tag.
- Your browser does not support the video tag.
- Your browser does not support the video tag.
Workspace Slicing Streaming AI Detection
Trusted by accredited insitutions and innovative 3D printing companies worldwide
Beyond 3D Printing
Designed by those who know the struggles
Real-time monitor
AI-powered Print Failure Detection
The AEye is the answer – the best-of-breed AI print failure detection system aims to free you from babysitting your print jobs from time to time.
- Our patent-pending and award-wining Deep Learning algorithm. Continuously being trained for 2 years, the accuracy has been improved more than ever.
- Get started for free. Push notifications keep you informed about any print defects. Auto-stopping of the print failure gives you a peace of mind.
Project management
Cloud-based Project Management
Keep your 3D printing project organized on the Cloud. We ensure the data security and responsiveness with our powerful and scalable cloud computing engine.
- Intuitive interface to manage your projects, 3D models, G-code models and your print jobs.
- One is enough. Have fun doing 3D printing from cloud-slicing your G-code, sending to your printer to getting print job report for analysis.
Remote control and monitor
Real-time Control and Monitor your Print Job
3D printing has never been this easier with our all-in-one platform that can smoothly automate your workflow with the rich features provided. On top of that, the control and monitor of your print job lets you remotely manage your print job.
- Never miss the real-time updates of your print job including temperature and print progress. Low-latency live streaming is also provided.
- The printer is at your command whenever you go. Sit back and remote control your print job on your fingertips.
Target
Cloud 3D Print is for everyone
-
We developed a great partnership with Cloud 3D Print and their dedication to our team is evident and very professional. We appreciate their attention to detail and innovative solutions to make our product line more profitable.
Anabelle, Voxellab
-
Our productivity for managing students' 3d printing requests are increasing dramatically. We have hired a 3D printing operator before that now only works on the software. That was never the case before running and using the service with Cloud 3D Print.
Selkirk College
-
It really streamlines our process with Cloud 3D Print. We do not hire more persons but we got more 3D printing job request and their orders have been larger.
Dave, Owner @ DCP FX
-
Cloud 3D Print offers a powerful suite of tools that simplify our 3D printing process. And if you get struck, their support teams will help out. I am using Cloud 3D Print to manage the entire 3D printing now.
ItsKEVO, Join his channel
-
I am an owner of Eryone. We have a 3D printer farm to manufacture customized 3D printed insole tailored to individual’s feet. Cloud 3D Print system can help us manage orders, filaments, and 3D printers in one system and make it possible to let one person to manage hundreds of 3D printers for our factory.
- Charlie Pan, Cofounder of Eryone
Supported by
Academic research collaborations, grants, low/no interest loans
Get started for free
Welcome for Beta Testing
Join our beta testing program, and get coupons and more promotions for your feedback. Get started today with a Beta Testing Trial Account— no credit card required, everything is free.
Download our Cloud3D Print app from anywhere, anytime
Available on the
App Store
Get it on
Google Play
Slicing 3D Models with state-of-the-art Online Slicer Engine in Cloud 3D Print
Watch the video
An integrated user experience
When you operate 3D printing job, you will get a set of simple yet powerful tools to explore, analyze and slice 3D model, and send to 3D printers – all without jumping from one environment to another.
That’s what Cloud 3D Print provides: an integrated user experience for handlings 3D models and 3D printers on the cloud.
Interactive online 3D viewer
- Compatible with all contemporary browsers.
- Supports common 3D files types: STL, OBJ, G-code, with high-quality staging.
- Use simple move, zoom, rotate controls with your mouse.
- Inspect and change the 3D model’s mesh, colour, texture, material, and animation data.
- View 3D models in different shading modes such as meshes, wireframe, x-ray and many more.
- Analyze 3D model geometry and layers.
Powerful slicing engine
- Support contemporary Cura & Superslicer engine for user's preference.
- Provide majority of slicing parameters.
- Includes a parallel and containerized calculating architecture to reduce the waiting time for the end users.
- Support multiple models and offers versatile methods for automatic and manual nesting to achieve the best possible nesting solutions.
- Efficient nesting solutions with considering of combinations of rotated and mirrored parts.
Compatibility
Cloud 3D Print is compatible with over 100 commercial FDM 3D printers, and we keep on updating our database regularly.
Check if yours is in our list!
The values we bring
Customization
Customize your slicing profile using adjustable slicing parameters.
Integration
Cloud 3D print’s recommended slicing profiles have been fine-tuned for the best printing experience.
Visualization
Visualize and interact with sliced 3D model at your finger tip.
What is Raise3D Cloud and why do I need a remote 3D printing service?
Hello friends, 3DTool is with you!
One of the key advantages of the Raise3D Pro2 line of devices is the ability to remotely work with a 3D printer via remote control via the Idea maker interface - " native " Raise3D slicer, or using the web interface - Raise3D Cloud. And it’s worth dwelling on this tool in more detail, because with it you can organize the work of entire 3D printing farms completely remotely, which becomes extremely relevant in the current situation with the pandemic, which, alas, is only increasing momentum in some regions of our vast world .
So what is the Raise3D Cloud , what is the use of it for owners of Raise3D Pro2 and Raise3D Pro2 Plus printers, and what can be done with it?
What is Raise3D Cloud?
With the presentation of a new line of Raise3D Pro 2 devices, the company announced the possibility of remote work with them using various interfaces, for example, already familiar to the owners of the previous line - the N 9 series0012 "remote mode built into the proprietary slicer program Idea Maker . Using the Wi-Fi connection, if the printer and the computer from which the slicer is being worked on were in the same local network, the program made it possible to display an interactive control window with the ability to fully control the process, the only thing missing in the basic version was the Web camera , however, this nuance has been corrected in the Pro2 series.
A logical continuation of the development of the idea of remote control was to offer users a cloud service, moreover, many of them connected Raise 's to third-party systems such as the OctoPrint and even faster spurred 's Raise3D into in-house development of a turnkey solution.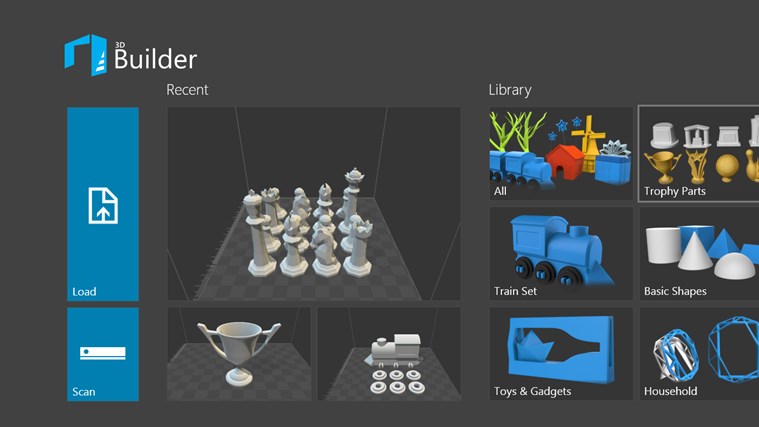
Which, as it turned out, was not so long to wait. Already in September 2018, the company announced a set of beta testers to work on a new cloud system. The obligatory conditions for obtaining beta access were that a potential tester had at least 3 3D printers Raise3D . Which well illustrates the seriousness of the developer's intentions and approach to testing. And in the summer of 2019th year, Raise Cloud has already appeared in the firmware of the on-board PC. new line of printers. However, the refinement of its functionality continues to this day, one of the latest versions was released just the other day.
So, the story is sorted out. What is Raise3D Cloud in essence?
Raise 3D Cloud is a cloud-based system for remote control of one or more clustered (farm) Raise3D 3D printers, allowing full control over devices and all parameters, starting and stopping print tasks, real-time monitoring of the process itself with help Web cameras and statistics of operations via the Internet without direct access to the device.
And now we will analyze in detail how to work with it?
How to connect Raise Cloud to Raise3D 3D printer?
2.1 Service registration
To use Raise Cloud on your equipment, you first need to go through a simple registration on the manufacturer's website at: https://cloud.raise3D.com/
After you have gone to the site, you must click " sign in " in the upper right corner of the screen and select " create an account "
Here you will be asked to indicate the mail you want to register to, it will receive device operation notifications, alerts, portal news and other information.
Choose a password and enter your personal details. Name, desired display nickname and country of residence.
Next, you will need to verify your email address.
After that you will have access to the main interface and Raise3D Cloud will ask you to add some more personal information.
The next step is to create a printer group if you manage multiple remote farms, or for some reason don't want to mix different devices. At the initial stage, it is enough to simply create a group " default " and go to the next step. Here you will also need to verify the printer connected to the system, but we will talk about this a little later. For now, let's take a look at the interface.
2.2 Available interface functions
So, finally, the control interface itself opens up to us. Let's take a closer look at what's here and why.
The first window shows the total number of printers available for connection and their status.
This is convenient, first of all, because you can monitor the process of the device without direct control. Even errors related to the lack of filament in the traction mechanism, for example, are displayed in menu Error , and printers ready to print in menu Standby .
However, to set the printer to this status, you must manually press the ready button on the device's tablet or through the printer's interface if it is connected to the Internet.
The next section is a section of information about your "team" of printers. Here you can see its name, the type of team, such as individual or part of the farm, the date of creation and other information.
Next is the material usage statistics section, the calculation is made from running jobs. As you can see, we printed on this printer with materials PLA and Filamentarno Ceramo . Interestingly, even if the printer in the current session is not connected to Cloud , after it returns online, information about the prints made and, accordingly, the material used will be updated.
The last section displays the number and status of currently running jobs.
Let's digress a little from the cloud interface and return to the device's tablet, having figured out how to properly connect the printer to Raise3D Cloud from there.
2.3 Connecting Printer to Raise3D Cloud via Tablet
First, let's open the settings menu. Here we need to make sure that the printer is connected to the Internet using Ethernet cable, or Wi-Fi .
In our case, it will be Wi-Fi connection. Set the slider WLAN to the ON position and select the appropriate network by configuring it. For the sake of experiment, we use the function " access points " on the phone, sharing 4G signal, instead of connecting to a fixed Wi-Fi . This is a fairly relevant technique if there are interruptions in network access in the room where the printers are installed. At any time, you can raise the access point from your mobile device and connect the printer to complete the print remotely, or make quick edits.
Now, you need to log in with your own account Raise3D Cloud which we created earlier in the advanced printer settings menu.
After that, the printer will be issued a binding key, and you can activate it in the interface Cloud .
Next, turn on the Webcam in the corresponding section and check if everything is in order. We will need it in the future to manage the printer remotely and control the printing process. Yes, of course, it will not be possible to discern the slightest flaws on the surface, but it is quite possible to assess the overall progress of the task, possible bends in the material and critical situations.
If all the steps are done correctly, the Cloud connected icon will appear in the upper left corner, and the printer will enter the status of Standby in the “ cloud ” interface.
Raise3D Cloud printer menu interface
After we have performed all the necessary actions, the tab of the printer itself becomes available to us in the interface of Raise3D Cloud . You can access it through the printers menu at the top middle point of the screen, after which a plate will open with a brief description of the printer status, current print settings, and other information.
If you click on the red icon of an open door in the upper right corner, a full control console for a specific printer will unfold in front of us. Here we can perform many different operations, monitor the progress of the 3D printing process, set and change print settings, track service information and view the broadcast from the Web -Camera installed in the bowels of the device.
The first section contains an icon for notifications of ongoing events (bell), there are 9 of them0007 Cloud can send to the mail specified during registration, like industrial solutions from Stratasys and 3D Systems .
Print process control keys - Play, Pause, Stop . As well as the ability to share the readings of the section and the status of the printer.
The next subsection is the camera. When you click on the refresh icon, it is activated, after which it shows the image frame by frame. If the printer is connected to the same local network as the computer running Cloud, the video is streamed in the best quality.
The next frame is the frame of the current process status, with the ability to change the temperature " on the fly " and control the process in detail.
To begin with, in order for the printer to work remotely and receive a print job from the “ cloud ”, you need to move the Receive Job slider to the “ On ” position, after which you can influence the desired device.
As you can see, we have access to the temperatures of both nozzles, the table, the ability to turn on preheating and change the settings for the feed rate, and others.
The media profile currently loaded on the printer is shown below. The list of profiles is created on the device itself when selecting the menu " load material ". The weight of the coil is also indicated there, which is calculated automatically when the task is completed.
At the very bottom is the service information - the service number of the device, the version of the hardware firmware and firmware of the tablet, as well as the amount of free memory on board the device. Which, by the way, we can also access remotely.
The next tab contains a graph showing temperature fluctuations across all 3 heating elements. This is useful for monitoring the progress of a process, to prevent or prevent unwanted temperature drops, and generally to monitor the development of a temperature gradient during printing.
By the way, the bell icon in the upper right corner contains all messages received from the service about the progress and completion of printing processes.
The next tab is Local Files , it allows you to view the printer's memory and open a particular job from the remote interface, either modify it if STL is available, or restart printing.
Tab Record contains timelapses of processes recorded during printing, in our case they are absent, so let's move on to the next item that is similar in meaning - Photo . Raise 3D Cloud The can be set up so that the printer saves photos of the work area at regular intervals and stores them in the device's memory in order to later review and compare the results. As you can see, most of the time our device was in idle mode, but the camera recorded the process of one of the prints, the removed table and the final of one of the last tasks. It is convenient if the execution of tasks is put on stream.
The last tab in this window is logging of all processes. Here we can track what happened with a particular printer, what operations were performed in this Cloud group and other information.
Working with 3D model and .gcode files via Raise3D Cloud
Cloud system Raise3D allows you not only and not so much to manage the printing process, but also to set up files, send print jobs and view existing ones via the Internet. At the same time, miscalculation (slicing ) of the model takes place either on your local computer using the Idea Maker , or through the servers Raise3D . Let's take a closer look at the functionality.
You can find it in the menu Files of the main list of functions on the main page.
By clicking on the file gcode in the list of files on the printer itself, or in the memory Cloud , we can look at the task by layers and evaluate some of its moments. The only inconvenient nuance is that it is impossible to change the display colors and add shadows so that the layers can be seen more clearly. Graphics settings are set by default and cannot be changed.
In addition to the files themselves, there are so-called " Jobs " ( Jobs ). The task contains not only the file gcode but also the original stl model, if the slicing took place in the program. Thus, you can create entire cascades of tasks and repeat them with one click.
We can add a file or task by pressing the key New+ .
While uploading a file, we see its name, weight and can change the displayed size parameters in mm or cm.
After uploading the stl model to the interface, we can open the built-in slicer and prepare the part for printing, or calculate it with idea maker . The choice of basic tools is similar both there and there, although the PC version is, of course, more flexible.
After rendering, we can save the model here, and it will be available from the printer's internal memory, from the cloud, or from a flash drive.
Raise3D Cloud Mobile
By the way, there is also a mobile version, which is slightly cut down compared to its browser counterpart, but still has the basic, most necessary functions.
Basically, it copies the original, being, in fact, its abbreviated version, so we will not dwell on it in detail. Let's just say that the application is available for both IOS and Android and requires an active internet connection.
Output
As you can see, Raise3D Cloud is a powerful tool for remote control of one or more 3D printers united in a cluster.
Those who plan to remotely use a group of these devices can safely consider the Raise3D Pro2 series printers for purchase. The fact that with the help of Cloud it is possible to slice the model even on weak computers, due to the fact that it is performed on the company's server, makes it an indispensable tool for use in schools, as a rule, computer classes are not equipped with sufficiently powerful computers , and in case Raise Cloud will fit even a low-powered netbook.
Also Raise3D Cloud will be an excellent core of your 3D printer farm, or will connect the design department and the production shop of your research institute or manufacturing enterprise.
To buy Raise3D 3D printers, ask a question, or make an offer, you can contact us:
● Email: [email protected]
● Phone: 8(800)775-86-69
● Or on our website: https://3Dtool.ru
Don't forget to subscribe to our YouTube channel:
And to our groups in social networks:
VKontakte
REC Wiki , and only then does the 3D printer come into play. In this article, we will share examples of programs that can help at every stage of preparatory work and directly during 3D printing.
Contents:
2. Editing and repairing STL files:
- Meshmixer
- MeshLab
3. Slicers:
- Cura
- PrusaSlicer
- ideaMaker
- ChiTuBox Basic
- Lychee Slicer
- Kiri:Moto
- IceSL
4. Control programs:
- OctoPrint
- MatterControl 2.0
- AstroPrint
5. Programs for visualizing G-code
- UVTools
- WebPrinter
- Gcode Analyzer
- Design Software
1. 3D modeling software
If you are ready to create from scratch, you will have to learn special 3D modeling software. Many of them, especially professional computer-aided design systems, can be expensive investments, but on the other hand, there are plenty of quite capable and at the same time free offers on the market.
Tinkercad
Tinkercad is a browser-based application from Autodesk that is great for no-experience users, even kids, because of its simplicity. In this program, 3D models are built on the basis of basic blocks - simple geometric shapes that are joined together and then "filed" to the finished look. You can also convert 2D vector images into 3D models. Of course, you have to pay for simplicity - in the case of Tinkercad, rather primitive functionality that makes it difficult to create truly complex models. But such a task is not worth it: having gained basic skills on Tinkercad, you can always move on to more complex and more capable programs on our list.
Official website
ZBrushCoreMini
ZBrushCoreMini is primarily a 3D sculpting tool, especially popular among those who create human and animal figures, computer game characters and comics, and the like. This software is mainly aimed at beginners and users with moderate experience, but at the same time, it is full of impressive features that make the work easier. For example, dynamic tessellation algorithms constantly analyze the surface of the working model and automatically add polygons so that detail is not violated.
ZbrushCoreMini is offered free of charge and is positioned as an entry-level program for learning and gradually moving to more capable and complex options - ZBrush and ZbrushCore.
Official website
3D Builder
This program was developed by Microsoft and was included with Windows 10 for some time, although now it must be downloaded and installed separately. 3D Builder allows you to edit models in STL, OBJ, and 3MF formats, as well as create models from scratch. In this regard, the program is quite primitive, but it is simple and understandable even for novice modelers.
One of the interesting features of 3D Builder is the ability to simplify meshes by reducing the number of polygons, file weight and processing time in the slicer - useful in cases where the original designer obviously went too far with polygons. Additionally, you can import models from the library and even use Kinect sensors to 3D scan and import models of physical objects.
Official website
SketchUp
SketchUp is a web application with a great combination of simplicity and functionality. The user-friendly interface is intuitive and greatly facilitates learning, and the set of tools is quite diverse even for advanced users - hence the wide popularity of this program.
The free version was formerly called SketchUp Make, but is now simply called SketchUp Free. It includes everything you need for 3D modeling for 3D printing, just don't forget to download the module for exporting STL files - it's also free. The kit comes with 10 GB of storage for projects in the cloud and access to the 3D Warehouse, a repository with open source user-generated content.
Official website
Fusion 360
Professional CAD developed by Autodesk and renowned for its ease of use and advanced functionality. This includes parametric modeling and mesh analysis and load distribution tools, including through generative design with topological optimization. The program is great for those who are engaged in 3D printing of functional products, for example, for industrial applications.
Some versions of Fusion 360, such as hobby and student versions, are even available free of charge. FreeCAD FreeCAD The program relies on a parametric approach: at any point in history, you can scroll back and make changes to the parameters. The program even includes finite element analysis and a robotic system simulator.
Official site
Blender
One of the most popular 3D modeling programs, but rather difficult to master. Not the best choice for a novice designer, but a great tool for those who have already gotten their hands on simpler editors. Fortunately, the popularity of Blender has led to a huge number of guides, tutorials, and visual examples published by experienced users for beginner colleagues.
Developers are trying to make the program more convenient without sacrificing functionality: the interface has recently been updated, rendering has been improved, and 3D design and animation capabilities have been expanded. And yes, it's open source and freeware, so you don't risk anything.
Official site
2. Editing and repairing STL files
If you find an interesting 3D model on the Internet, this does not mean that it can be immediately sent to a 3D printer.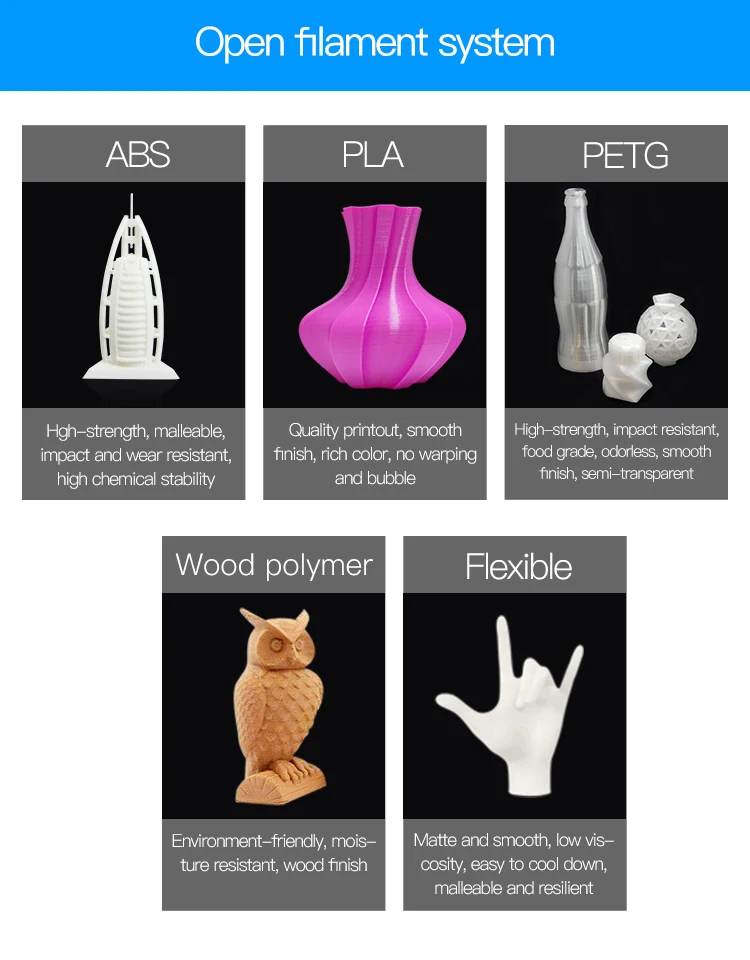 Many models are created for completely different needs, such as animations or video games, and in principle are not intended for 3D printing. But there is a solution: before processing such models into G-code, they must first be repaired so that the slicer can do its job well. The following programs on our list will help you cope with the repair.
Meshmixer
Meshmixer is an advanced and free program from Autodesk that allows you to view and check 3D models for errors in polygonal meshes that can ruin 3D printing. If such problems are detected, the program can automatically repair meshes. One example of an application is finishing 3D scans to a state suitable for 3D printing.
Additional functionality includes mesh blending, 3D sculpting, surface writing, cavity creation, support branching, mesh smoothing, and more.
Official website
MeshLab
MeshLab is another open source program for editing polygonal meshes. MeshLab has the necessary tools for editing, checking, cleaning and converting meshes with the ability to combine meshes into one model and patch holes that can lead to incorrect processing of models into G-code.
Official website
3. Slicers
Having received a 3D model, it must be converted into machine code - a series of commands understandable to CNC machines, including 3D printers. Slicers are responsible for this task - programs that accept digital models (usually in the form of files with STL, OBJ or 3MF extensions), analyze their structure, and then compile lists of actions for 3D printers, called G-code (Gcode). Such lists contain all the information necessary for the equipment: to what temperature to warm up the extruders and tables, whether to use airflow, along what trajectory and at what pace to lay the plastic.
Cura
Cura is a Dutch company Ultimaker's slicer, designed primarily for branded 3D printers, but open source and compatible with most other FDM/FFF systems.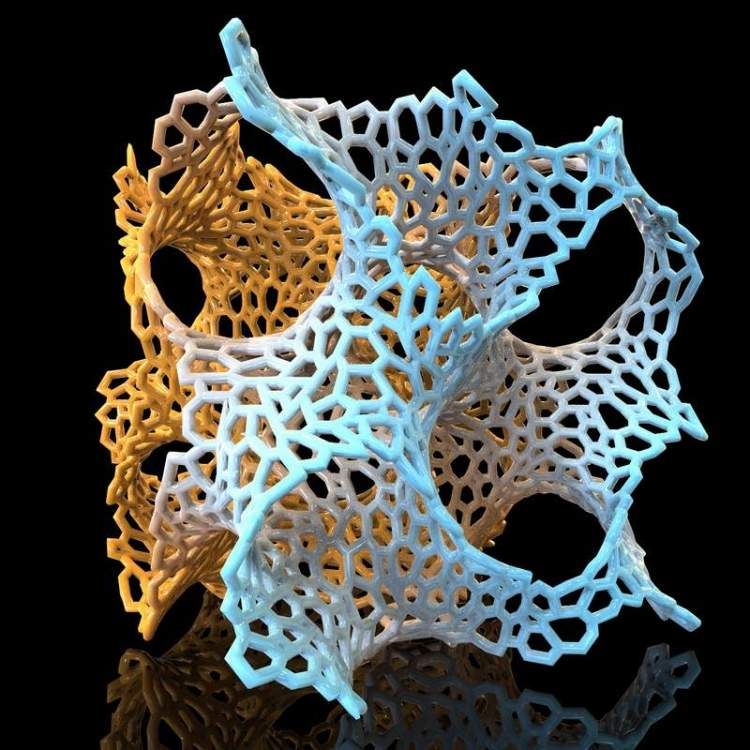 The program is easily customizable with various plugins. Since this is a very popular program, the chances are that it already has a profile with optimal settings for your 3D printer. If not, then nothing prevents you from creating a profile manually or using profiles prepared by other users.
The program has several levels of difficulty depending on the level of training - basic, advanced, expert and complete. The higher the level, the more access to customizable options. At a basic level, the program takes the bulk of the work on itself, helping inexperienced users.
Cura is constantly being developed and improved through regular updates and is also offered free of charge, although a paid version of Cura Enterprise is available to professional users with licensed plug-ins from the Ultimaker Marketplace, technical support and additional security measures.
In addition to converting 3D models to G-code, Cura can also take on the role of a control program, but this will require a constant connection between the 3D printer and the computer throughout the 3D printing. Professionals appreciate another feature of Cura - seamless integration with professional computer-aided design systems such as SolidWorks and Siemens NX.
In general, Сura is suitable even for novice users, especially since a huge number of training videos and step-by-step guides are available for this program, both from developers and enthusiasts.
Official website
PrusaSlicer
3D printer manufacturer Prusa Research, under the leadership of the legendary Czech engineer Josef Prusa, whose designs are copied and refined around the world, has developed its own open source software based on the Slic3r slicer. PrusaSlicer quickly gained popularity as it not only retains the original program's extensive customizations, but also adds a number of useful features not found in Slic3r.
A redesigned interface, support for Original Prusa branded 3D printers, and profiles with settings to work with many common polymers are just some of the improvements.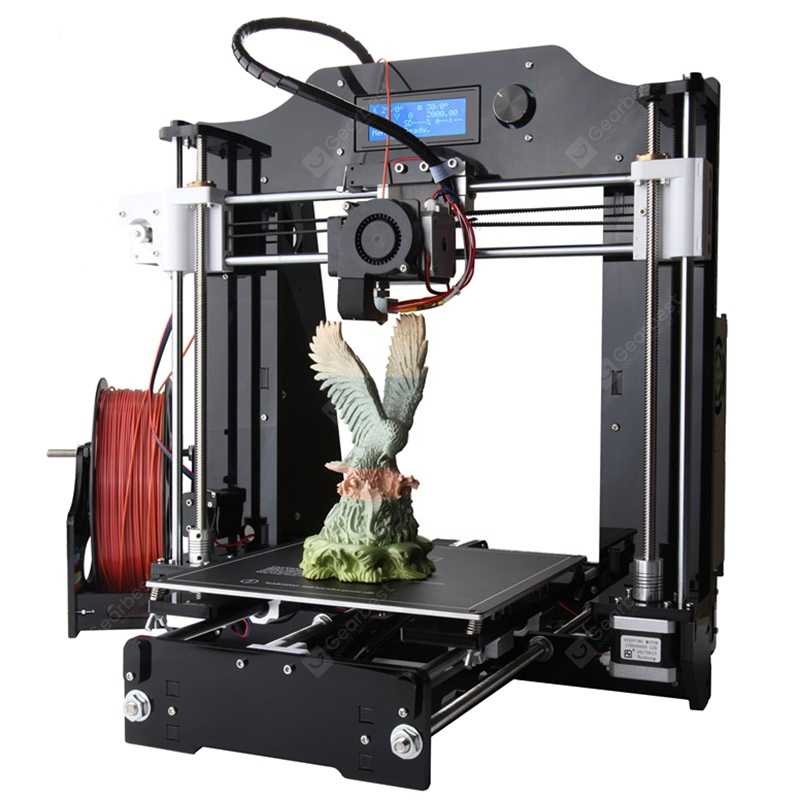 Additionally, algorithms for generating support structures have been improved, support for multimaterial 3D printing and the ability to dynamically adjust the layer thickness have been added.
PrusaSlicer can process models not only for FDM 3D printers, but also for stereolithographic systems printing with photopolymers. As with Cura, the user can select a difficulty level with appropriate access to fine-tuning.
Official website
ideaMaker
The Raise3D slicer is optimized for proprietary additive hardware in the same way that PrusaSlicer is optimized for Original Prusa 3D printers, and Cura is optimized for Ultimaker 3D printers, but this does not mean that it cannot be use with third party systems. The organization of workflows and the interface is somewhat more complicated than in Cura and PrusaSlicer, but on the other hand, ideaMaker allows you to set up individual layers and apply textures for product customization.
ideaMaker users can connect to the cloud platform and access hundreds of 3D printer profiles and materials created by other operators, or create their own library of settings.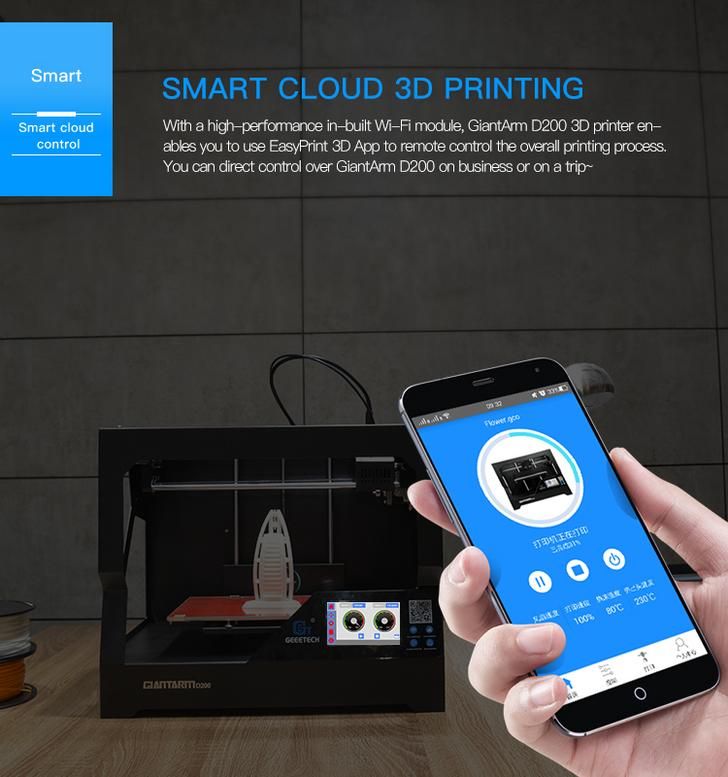
Add the ability to customize support structures, split models for more efficient 3D printing of large parts, integrated mesh repair tools, and OctoPrint compatibility, and you have a flexible, versatile program to suit the needs of most 3D printers.
Official website
ChiTuBox Basic
This is a specialized slicer for those who use stereolithographic 3D printers that print with photopolymer resins. Most budget LCD masked stereolithography (MSLA) 3D printers rely on motherboards and firmware from ChiTu Systems, which also developed this software.
Users gain control over technology-specific parameters such as layer exposure time, as well as access to predefined profiles with settings for many popular 3D printers. The slicer takes into account such moments as the orientation of the model and the automatic construction of support structures with the possibility of manual optimization.
Official website
Lychee Slicer
A program from the independent Franco-Belgian team Mango 3D, not associated with 3D printer manufacturers, but with support for many popular stereolithographic 3D printers, including from Elegoo, Anycubic, Phrozen and Creality.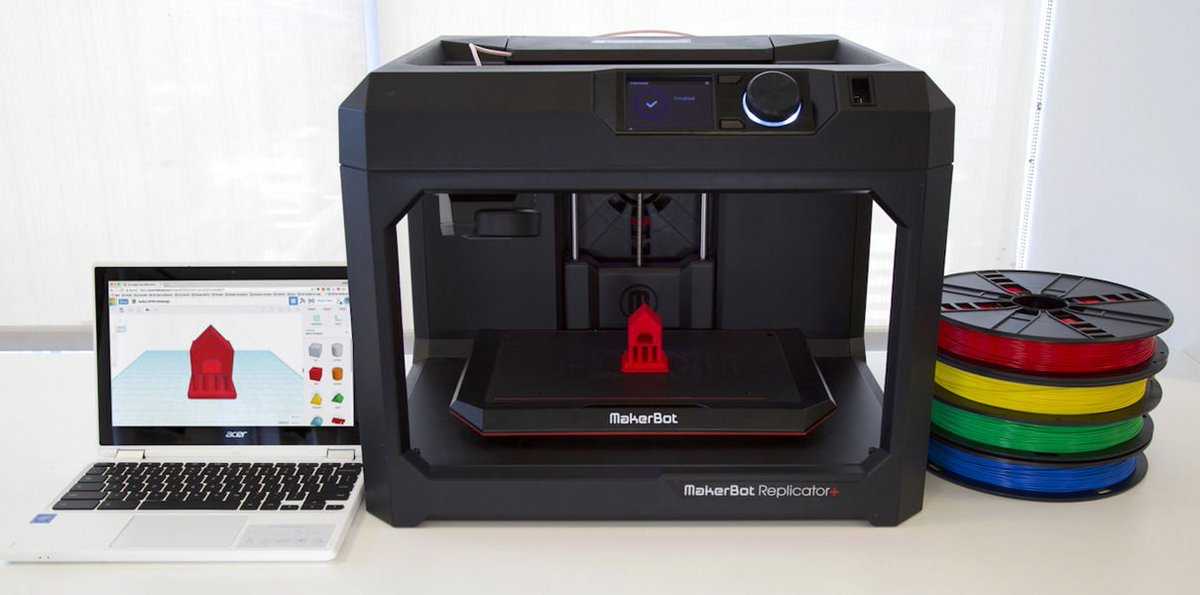
One of the features of this program is the high level of automation. If you wish, you can simply click on the "magic" button (it's called Magic), and the slicer will do everything by itself: it will orient the model on the platform, generate supports, and so on. Although, here you are lucky: the results are not always optimal, but usually adequate for relatively simple models. Otherwise, everything can be configured manually.
The program is offered in free and paid versions. The functionality of the free version is slightly reduced, but it has everything you need.
Official site
Kiri:Moto
Browser solution for those who lack computing power. Kiri:Moto can prepare 3D models for both 3D printing and laser engraving or milling. The settings are somewhat more primitive than in locally installed slicers, but are sufficient for most users.
Official website
IceSL
IceSL is a combination software that combines slicing with 3D modeling. In the left window, you can edit 3D models using scripts in the Lua language, which makes it possible to perform parametric modeling. On the right side, the 3D printing settings are displayed. For beginners, pre-configured settings are available, while experienced users can take advantage of features such as specific adjustment of parameters for individual layers with automatic gradation of intermediate areas. For example, this allows you to gradually reduce or, conversely, increase the filling density of the product as it is built, or gradually change the thickness of the layers.
Official website
4. Control programs
Control programs are designed for exactly this - managing workflows during 3D printing. Although you can insert a G-code drive into almost any 3D printer and press the start button, this is not always convenient, especially when you have to work with several 3D printers at the same time, and even more so when you do it remotely. This is where control programs come to the rescue. In addition, some of them offer additional functionality, including slicing and even editing 3D models.
OctoPrint
A web-based appliance that requires connection to a 3D printer via a microcomputer such as a Raspberry Pi equipped with a Wi-Fi module. This system allows you to control 3D printers remotely. OctoPrint accepts G-code from almost any slicer and provides the ability to visualize - view files before and during 3D printing. Alternatively, STL files can be loaded and processed directly in OctoPrint.
OctoPrint not only provides all the necessary tools for remote management, but also allows you to track the work in progress using notifications via various instant messengers.
This is a completely free, open source program with many plug-ins created by enthusiasts and available on the official website.
Official website
MatterControl
MatterHackers offers its own control program, slicer and 3D editor in one package.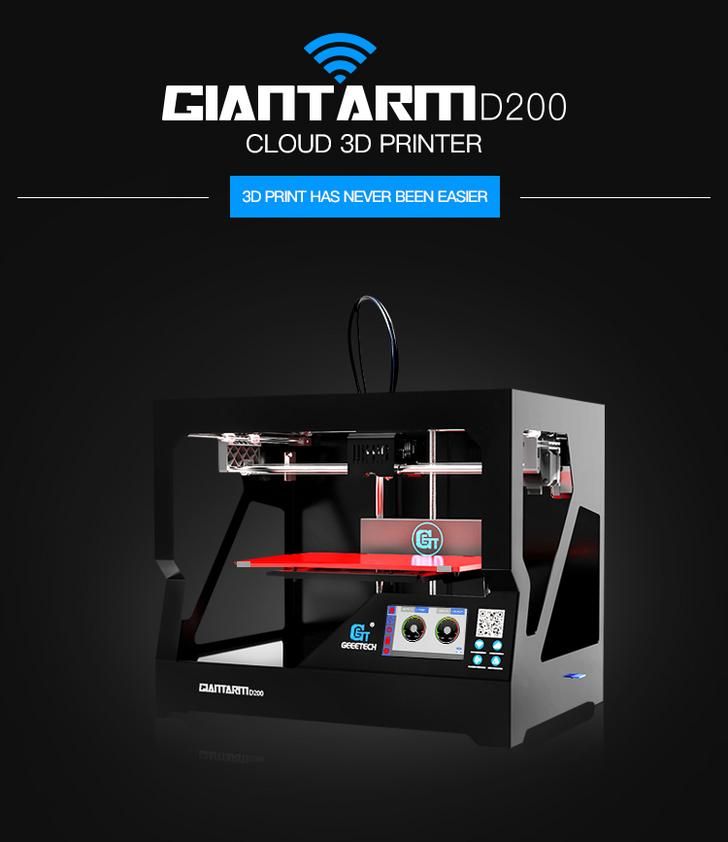 MatterControl allows you to directly control and observe 3D printing, slice, export G-code to SD cards for offline printing, and even create 3D models from scratch. The 3D printer will need a Wi-Fi or USB connection to run MatterControl.
The interface is well structured: on the left side there is a file browser and a library of simple geometric shapes. Interestingly, these shapes can be dragged into the 3D model and used as support structures.
Basic functionality is available in the free basic version, advanced users can pay to upgrade to MatterControl Pro.
Official website
AstroPrint
AstroPrint is a cloud-based management platform that allows you to remotely monitor and control multiple 3D printers simultaneously, store files, convert 3D models to G-code, and track workflow statistics. The functionality ranges from basic in the free version to advanced with different levels of paid subscriptions.
The 3D printer will require a Wi-Fi module to fully work with AstroPrint. In conjunction with the Raspberry Pi, the system is similar in functionality to OctoPrint: you can process models and send the finished code to a 3D printer via a web interface without the need for additional software. Another plus is integration with popular repositories of 3D models Thingiverse and MyMiniFactory, as well as 3D editors 3D Slash and Leopoly.
Official site
5. Programs for visualizing G-code
What if you find an old file with a G-code, but you have no idea what it is and why - maybe garbage, or maybe an excellent, but long-forgotten model without a clear marking in the file name? The programs in this section will help you visualize the contents of such files.
UVTools
This program combines file browsing with layer editing and even model repair for stereolithographic 3D printing. The program can also be used as a plug-in for PrusaSlicer, adding support for third-party photopolymer 3D printers - although PrusaSlicer is open source, support for stereolithographic systems is still limited to branded equipment. At the same time, UVTools allows you to print calibration samples to check the exposure time and other parameters, which can be useful, for example, when working with new photopolymers that have not yet been tested.
Official website
WebPrinter
A simple browser tool for quick G-code preview, developed by the same team that created the IceSL slicer and 3D editor. The application works very simply: follow the link, upload the file with the G-code and see how the 3D printer will grow the model according to the commands provided. Unfortunately, the functionality is limited: for example, the application does not provide information about temperature settings. On the other hand, you can quickly figure out what kind of model is hidden in a file with an incomprehensible name.
Official website
Gcode Analyzer
An old but still very capable and popular G-code analysis web application. The 3D simulation doesn't work very well, but the 2D and G-code previews work great.