3D printer springs
Ender 3 Spring Upgrade: Choose and Install New Bed Springs
Zach(
249
)
10 minutes
This guide will teach you how to choose and install upgraded bed springs on the Ender 3 or Ender 3 Pro. (If you have an Ender 3 V2, then use our spring upgrade guide for the V2.) The stock bed springs that come with the Ender 3 are terrible; they can lead to print issues and require more frequent bed leveling.
If you're tired of leveling your bed constantly, better springs are a very inexpensive upgrade to your Ender 3! When you're done, you won't need to level your bed between prints nearly as often.
| Creality Ender 3 3D printer | × | 1 | ||
| Upgraded Ender 3 bed springs | × | 1 |
Howchoo is reader-supported. As an Amazon Associate, we may earn a small affiliate commission at no cost to you when you buy through our links.
h/ender3 • 23 guides
h/3dprinting • 90 guides
The new springs (yellow) are the same length as the old springs (silver).
Of course, you'll need 4 springs. Here are a few considerations when choosing upgraded 3D printer bedsprings:
Rigidity
The replacement springs are more rigid than the stock springs, increasing consistency between prints and reducing vibration.
Length
The replacement springs are the same length as the original springs, meaning you shouldn't need to adjust your Z-axis endstop like you would with longer springs.
Shape
The replacement springs feature a flat top and bottom (vs. the stock springs' rounded top and bottom), resulting in less spring movement or shifting during and between prints.
tl;dr;
After much research, I found these to be the best Ender 3 bed springs available on Amazon.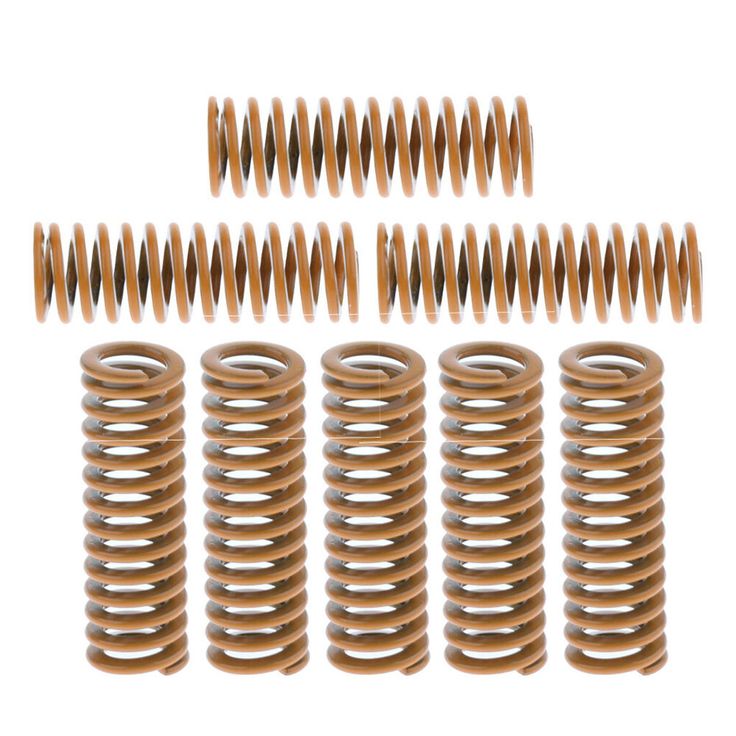 They're under $10 with free shipping.
Used here
See all
Check Price on Amazon
To remove the old springs, turn each bed adjustment wheel counter-clockwise until it can be fully removed. Set each wheel aside.
I recommend not removing the build plate completely since the back-right corner contains the heating element wiring. Instead, carefully lift each corner and replace each spring individually.
If you need to, you can flip the bed upside-down and install the back-right corner first. The wire-retaining clip will keep the spring from falling out.After all 4 springs have been replaced, reattach each adjustment knob. If you reattach any adjustment knob before all 4 springs are replaced, it will make it more difficult to replace each spring.
The new springs are a bit stiffer and feature a flat top and bottom, a definite improvement over the old springs.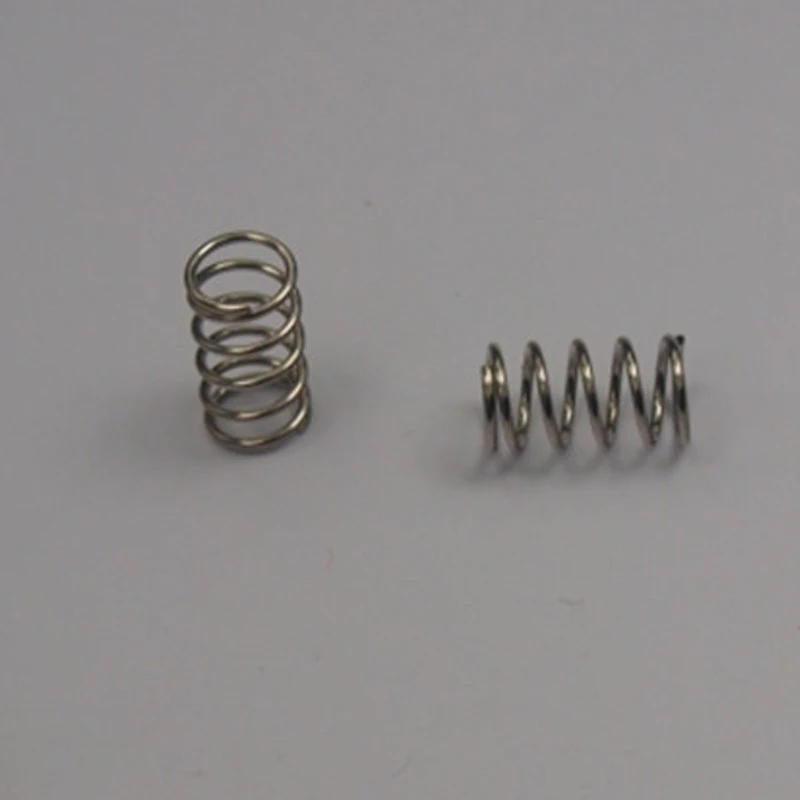
Finally, you'll need to level your bed—just as you have a thousand times before. Thankfully, you shouldn't need to level your bed between prints nearly as much from now on!
Ender 3 PSU UpgradeEnder 3 FAQ
Show all in the Ender 3 series
NEXT UP
Michael(
175
)
5 minutes
Ah...bed leveling. It's the first thing you absolutely need to learn how to do with your Ender 3 V2. And don't feel bad if you get this wrong at first. I did. ...
Continue reading
Ender 3 Spring Upgrade: Choose and Install New Bed Springs
Zach(
249
)
10 minutes
This guide will teach you how to choose and install upgraded bed springs on the Ender 3 or Ender 3 Pro.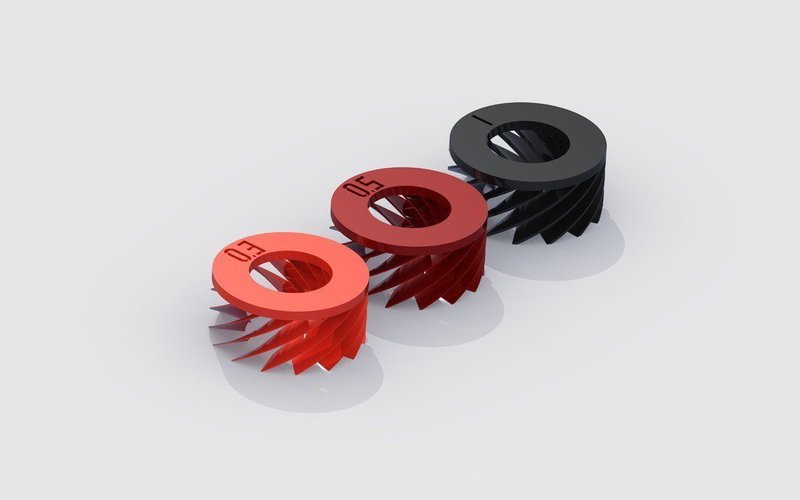 (If you have an Ender 3 V2, then use our spring upgrade guide for the V2.) The stock bed springs that come with the Ender 3 are terrible; they can lead to print issues and require more frequent bed leveling.
If you're tired of leveling your bed constantly, better springs are a very inexpensive upgrade to your Ender 3! When you're done, you won't need to level your bed between prints nearly as often.
| Creality Ender 3 3D printer | × | 1 | ||
| Upgraded Ender 3 bed springs | × | 1 |
Howchoo is reader-supported. As an Amazon Associate, we may earn a small affiliate commission at no cost to you when you buy through our links.
h/ender3 • 23 guides
h/3dprinting • 90 guides
The new springs (yellow) are the same length as the old springs (silver).
Of course, you'll need 4 springs. Here are a few considerations when choosing upgraded 3D printer bedsprings:
Rigidity
The replacement springs are more rigid than the stock springs, increasing consistency between prints and reducing vibration.
Length
The replacement springs are the same length as the original springs, meaning you shouldn't need to adjust your Z-axis endstop like you would with longer springs.
Shape
The replacement springs feature a flat top and bottom (vs. the stock springs' rounded top and bottom), resulting in less spring movement or shifting during and between prints.
tl;dr;
After much research, I found these to be the best Ender 3 bed springs available on Amazon. They're under $10 with free shipping.
Used here
See all
Check Price on Amazon
To remove the old springs, turn each bed adjustment wheel counter-clockwise until it can be fully removed.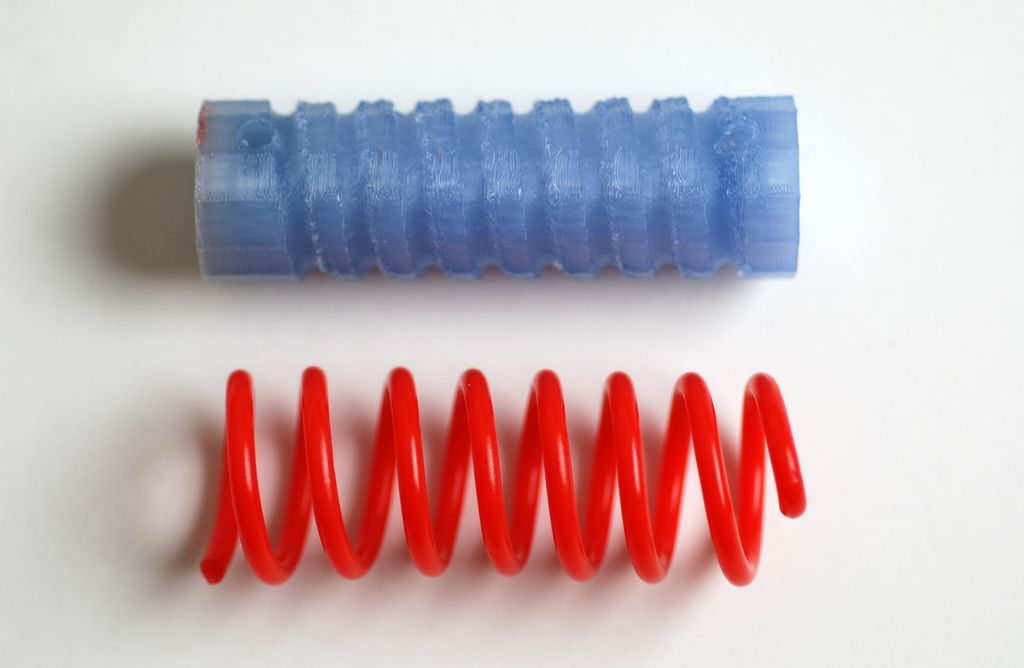 Set each wheel aside.
I recommend not removing the build plate completely since the back-right corner contains the heating element wiring. Instead, carefully lift each corner and replace each spring individually.
If you need to, you can flip the bed upside-down and install the back-right corner first. The wire-retaining clip will keep the spring from falling out.After all 4 springs have been replaced, reattach each adjustment knob. If you reattach any adjustment knob before all 4 springs are replaced, it will make it more difficult to replace each spring.
The new springs are a bit stiffer and feature a flat top and bottom, a definite improvement over the old springs.
Remember the "down up" text on each knob should be oriented upwards.Finally, you'll need to level your bed—just as you have a thousand times before. Thankfully, you shouldn't need to level your bed between prints nearly as much from now on!
Ender 3 PSU UpgradeEnder 3 FAQ
Show all in the Ender 3 series
NEXT UP
Michael(
175
)
5 minutes
Ah. ..bed leveling. It's the first thing you absolutely need to learn how to do with your Ender 3 V2. And don't feel bad if you get this wrong at first. I did. ...
Continue reading
How I cast bushings in 3D printed form to replace Anycubic I3 Mega S table springs
Technician
With you ERMAK and... pouring silicone into a 3D printed mold.
As usual, for those who like to watch more than read, I leave a link to the video.
I recently had a desire to reinstall my printer table from springs to silicone bushings.
Climbed on AliExpress. Looked at these. It seems that the price is not high, around one dollar, with delivery there will be two. But the current delivery time with this coronavirus is just killing. Waiting 2-3 months to get nothing later is too much.
I decided to start by trying to cast the bushings myself. Why, in half an hour with two tea parties, I modeled such a simple form. Holes for the washer and nut will immediately spill into the sleeve.
After printing, we have such a set of parts. Two mold halves, a cover, two sets of M3 screws with washers and nuts, and a polished rod with a diameter of 3 mm.
In order for the silicone to not firmly stick to the mold, it must be processed. The simplest thing is to prepare an ordinary soap solution. For what I plan and fill in with water the usual laundry soap. I stir it well. And I bathe all the details in this solution. Then, without wiping, I let them dry.
Assembling the two halves of the mold with screws and nuts. I install the polished rod into the hole from below, but do not push it all the way.
I fill the mold with red high-temperature silicone. After that, I close it with a lid and push the bar through until it comes out from the side of the lid. Thus, a hole is formed for the future fixing screw of the table and at the same time the silicone is compacted in the mold.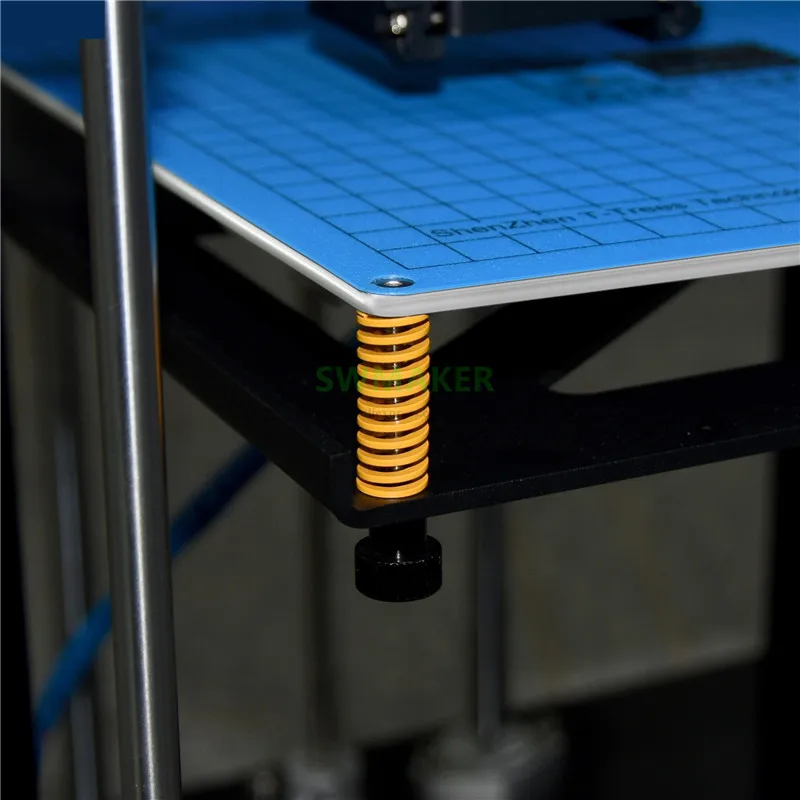 I just squeeze the top cover with clothespins.
After a day, I remove the clothespins, and remove the rod from the mold. This gives air access to the silicone, otherwise it will take too long to dry in an airtight form.
After another day, I finally remove the resulting sleeve from the mold.
In total, it took me 8 days to make four bushings, taking into account the presence of only one mold. As for the costs, I don't even know how to calculate them.
A couple of tens of grams of plastic, an hour of printing and a tube of silicone for $ 2 of which a maximum fiftieth was used.
And now the moment of truth, I install bushings instead of springs.
Personally, I was satisfied with both the result and the experience gained, and you write in the comments whether it is worth it and what other application you see for this method of silicone molding.
Thank you all for watching, bye everyone!!!
casting silicone sleeve the form matrix ERmak
Follow author
Follow
Don't want
29
More interesting articles
levscha
Loading
11/22/2022
1764
fifteen
Subscribe to the author
Subscribe
Don't want
In the previous publication (link), the collective design of the experimental board is described.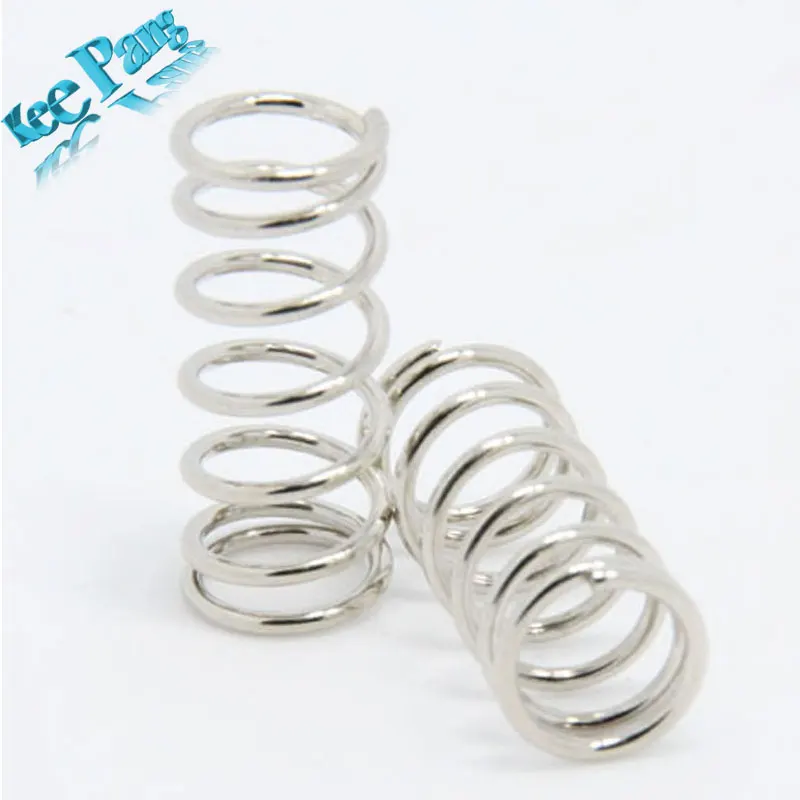 This project is about...
Read more
nik_vr
Loading
11/18/2022
631
3
Subscribe to the author
Subscribe
Don't want
Someone probably remembers the story of how 42 schools in the Kirov region were brought...
Read more
245
Follow author
Follow
Don't want
Good afternoon.
I decided here to try to switch from 8 bits to 32.
Ready...
Read more
Origami inspires new solutions in 3D printing
3DPrintStory News Origami inspires new 3D printing solutions
Researchers in China were inspired by the structures and shapes from the art of origami and decided to use these traditions in the world of 3D printing. The results of their interesting work are presented in the recently published article "Origami spring–inspired metamaterials and robots: An attempt at fully programmable robotics".
This isn't the first time we've seen origami-inspired work. Think of innovative surgical instruments, antennas, and even foldable robots. Going far beyond the art of thin paper folding, in this study, the scientists sought to test not only the capabilities of 3D printing, but also the folding capabilities of finished products and the required mechanical properties.
"In addition to interesting mechanical properties, the art of origami provides inspiration for new designs that enable folding, deployment, flexibility, scale-free geometry, and programmable reconfiguration," the researchers explained, noting that this and previous research has led to miniature robots, soft robots, edible medical robots, compatible modules, medical devices, grippers, and more.
The team started with the origami folding spring and then moved on to metamaterial characters, an exploration of properties derived from folding geometry.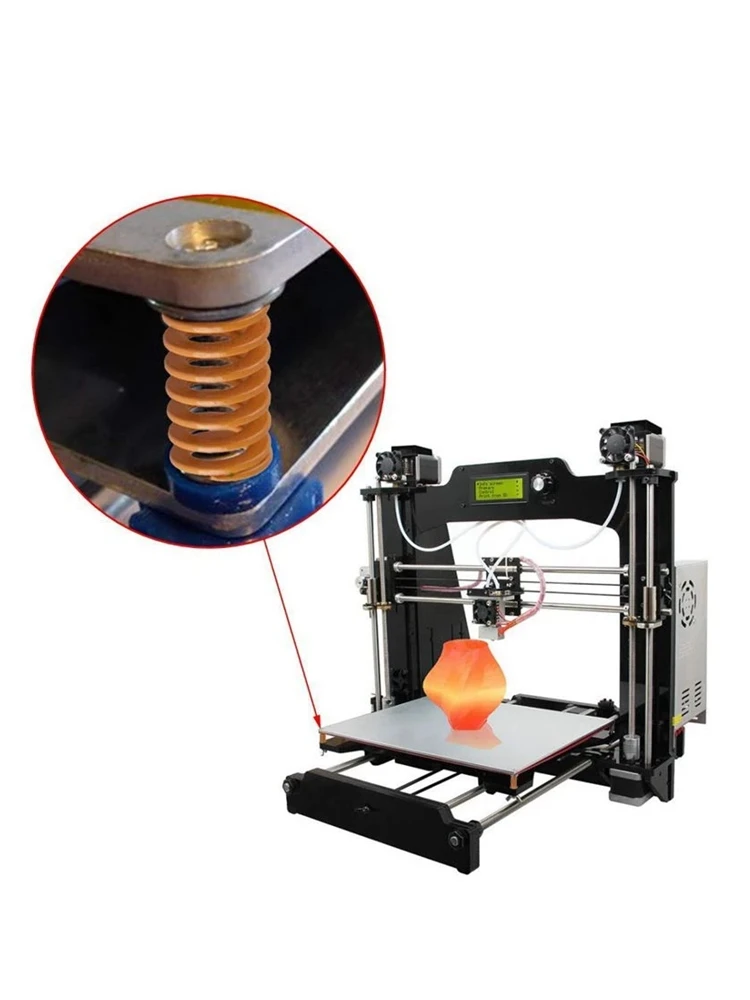 Ultimately, their prototype is able to crawl thanks to 3D printed nodes that break down as needed.
The inspiration for the collapsible spring came from a paper rectangle folded and twisted into uniform right triangles.
"Viewed from above, as the paper spring expands, the width of the spring decreases in a spiral fashion, and the areas of overlap between the petals increase to full overlap in the state of maximum expansion."
Using their own 3D printer, PLA, and a 0.3 mm FDM nozzle, they were able to "digitally develop origami-inspired spring metamaterials." They were able to create a soft grip that proved to be "fully 3D printable" and can be used to grip complex shapes.
Overall, the team was able to use 3D printing to create assemblies with the required mechanical properties, overcoming the challenges of foldability and the need to increase damage resistance. Two types of soft robots have been successfully manufactured, including the "crawling robot".


