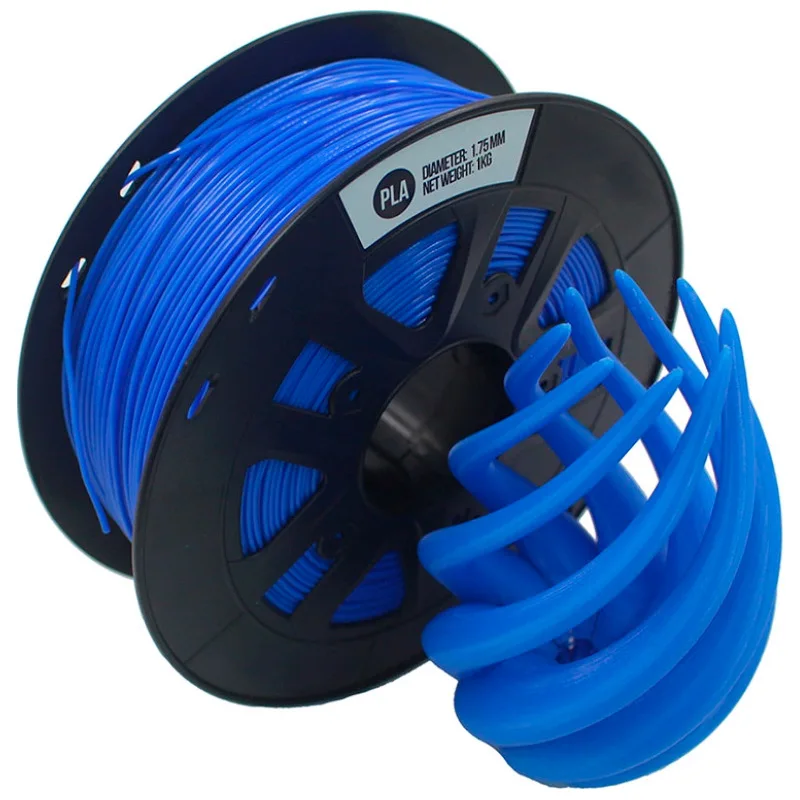
3D printer pla plastic
All you need to know about PLA for 3D printing
Published on August 19, 2019 by Carlota V.
PLA, also known as polylactic acid or polylactide, is a thermoplastic made from renewable resources such as corn starch, tapioca roots or sugar cane, unlike other industrial materials made primarily from petroleum. Due to its more ecological origins this material has become popular within the 3D printing industry, we have begun to see it in medical applications and in food products.
To get to know more about this material, we have prepared a complete guide about PLA filament for 3D printing. What are the best printing parameters? How does PLA filament differ from the ABS filament? Who are the manufacturers? When is it best to use it and for what type of applications?
The production of PLA plastic
PLA was created in the 1930s by the American chemist Wallace Carothers, most recognised for the development of nylon and neoprene in the chemical company DuPont. But it wasn’t until the 1980s that PLA was finally produced for use by the American company Cargill.
This thermoplastic polymer is produced by fermenting a carbohydrate source such as corn starch. In this case, the natural product is ground to separate the starch from the corn, mixing it with acid or lactic monomers. With this mixture the starch is broken into dextrose (D-glucose) or corn sugar. Finally, glucose fermentation produces L-lactic acid, the basic component of PLA. This material is considered a non-Newtonian pseudoplastic fluid. This means that its viscosity (flow resistance) will change depending on the stress to which it is subjected. Specifically, PLA is a fine cut material, which means that the viscosity decreases as you apply stress.
PLA filament in 3D printing
PLA filament has gained wide acceptance within additive manufacturing partly because it is made from renewable products and also because of its mechanical properties. It is often the preferred choice for beginners in 3D printing as it is a very easy material to work with.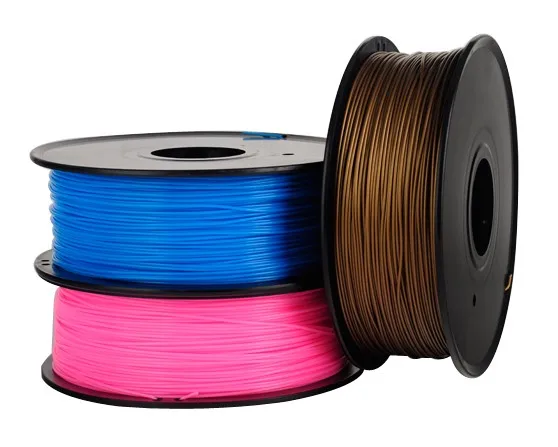 This material, considered a semi-crystalline polymer, has a melting temperature of 180ºC, lower than ABS filament, which starts melting between 200ºC and 260ºC. This means that when printing with PLA, the use of a heated printing bed is not necessary, and the closed chamber is not a necessity either. The only drawback is that the PLA filament has a higher viscosity which can clog the print head if you are not careful.
This filament does not have the same mechanical properties as the ABS filament; the second is much more resistant and flexible. However, PLA has greater resistance to heat, so it is often used in the food industry. Even so, its is often recommended to work with it if the project does not have major mechanical complexities, as it is much simpler. For example, PLA does not require complex post-processing. It can be sanded or treated with acetone if required and the supports are usually very easily to remove. There may be some problems with the first layer of this material, therefore it is recommended to add adhesive tape onto the printing tray to facilitate its detachment once the piece is finished.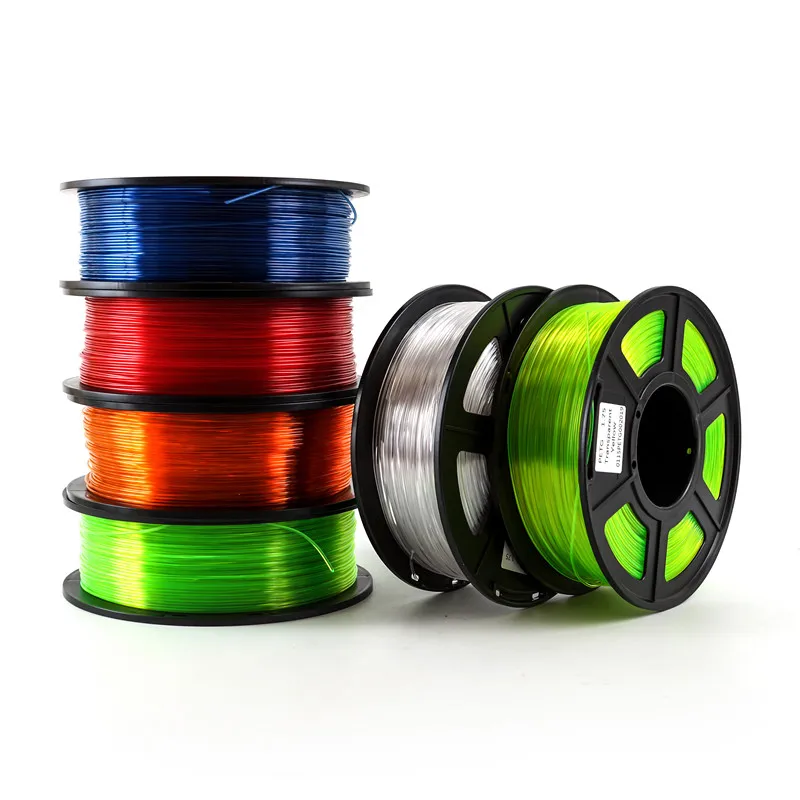
Is it truly sustainable?
In recent year, the sustainability of PLA filament has been questioned. Possibly because the term biodegradable, which is often used to refer to this filament, has been leading to confusion. Indeed, the material is created from renewable materials that you find in nature, however it does not make this material necessarily biodegradable. This material can decompose, but only under certain aerobic conditions. For example, PLA can degrade rapidly when subjected to industrial composting, otherwise it can take up to 80 years to decompose in the open, becoming like other plastics, a plastic pollutant. If you are interested in finding out more about the environmental impact of PLA filament, we interviewed three experts who gave us their exclusive insights on this subject.
PLA is made from renewable materials such as corn starch
The main manufacturers of PLA filament
Being one of the most popular materials within 3D printing there are many manufacturers today.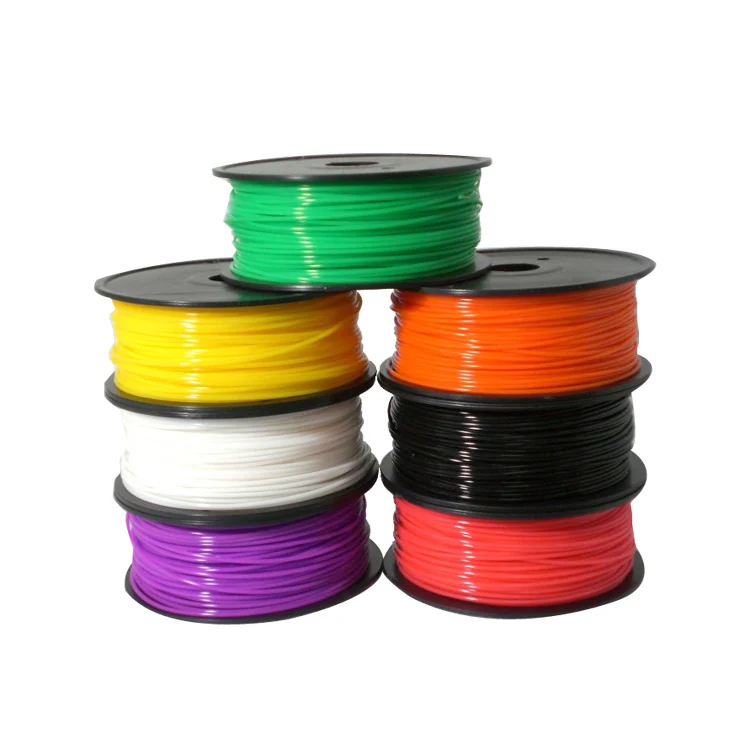 The Austrian company WeforYou, a developer of polymers and sustainable solutions, is among the most prominent. The German company Evonik focused on the development of PLA for the medical sector, the American company NaturaWorks large producer of biopolymers, and the company Corbion, based in the Netherlands, focused on the development of high-performance resins with PLA.
The price of the PLA filament may currently vary depending on the colours and characteristics you are looking for. Hybrid filaments such as wood, conductors, etc. can cause the price to go up. In general, the price of a desktop filament is between 20€ – 70€ per kilogram. There are also 3D printers capable of producing pellets, which could drastically reduce the price of the material.
PLA is one of the most popular materials in the 3D printing industry, especially for extrusion technologies
Did you learn something about PLA for 3D printing? Let us know in a comment below or on our Facebook and Twitter pages! And remember to sign up for our free weekly Newsletter, to get all the latest news in 3D printing send straight to your inbox!
Ultimate Materials Guide - Tips for 3D Printing with PLA
Overview
Polylactic Acid, commonly known as PLA, is one of the most popular materials used in desktop 3D printing.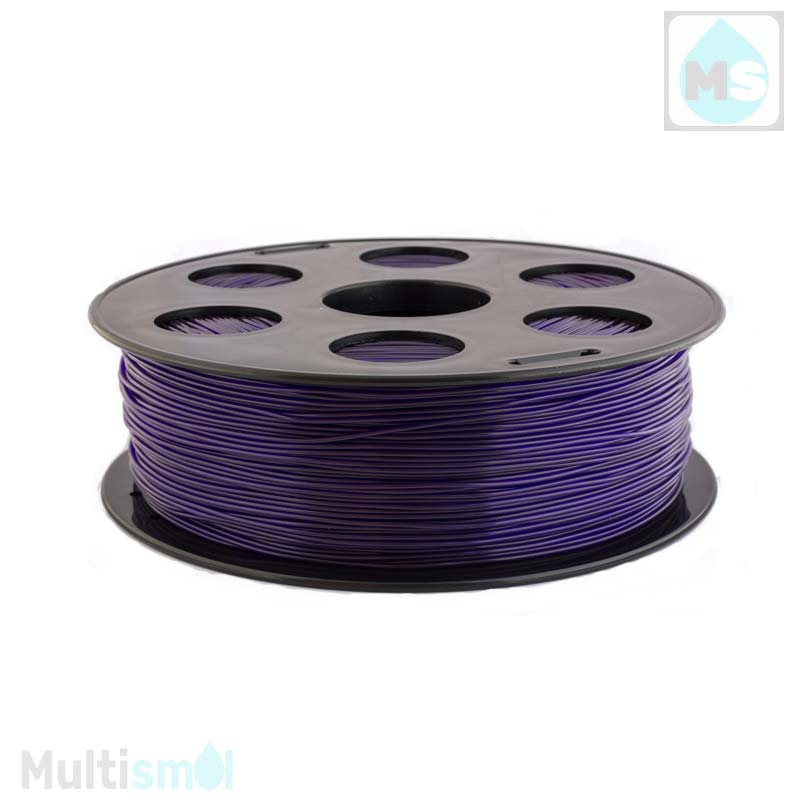 It is the default filament of choice for most extrusion-based 3D printers because it can be printed at a low temperature and does not require a heated bed. PLA is a great first material to use as you are learning about 3D printing because it is easy to print, very inexpensive, and creates parts that can be used for a wide variety of applications. It is also one of the most environmentally friendly filaments on the market today. Derived from crops such as corn and sugarcane, PLA is renewable and most importantly biodegradable. As a bonus, this also allows the plastic to give off a sweet aroma during printing.
- Low Cost
- Stiff and good strength
- Good dimensional accuracy
- Good shelf life
- Low heat resistance
- Can ooze and may need cooling fans
- Filament can get brittle and break
- Not suitable for outdoors (sunlight exposure)
Hardware Requirements
Before 3D printing with PLA make sure your 3D Printer meets the hardware requirements listed below to ensure the best print quality.
Bed
Temperature: 45-60 °C
Heated Bed Optional
Enclosure not required
Build Surface
Painter’s tape
PEI
Glass plate
Glue stick
Extruder
Temperature: 190-220 °C
No special hot-end required
Cooling
Part Cooling Fan Required
Fan Speed: 100%
Best Practices
These tips will help you reduce the chances of common 3D printing issues associated with PLA such as stringing, oozing, or under-extrusion.
Fine Tune the Retractions to Prevent Oozing
One of the most common problems with PLA is oozing. Since the filament flows relatively easily when compared to the other materials, it has a tendency to continue flowing during travel movements at the end of a segment. This creates strings or hairs on your part, and dialing in your retraction settings is the best way to combat this behavior! Different brands of PLA and different printers may need slightly different retraction settings, so you may need to experiment to find the best value for your printer. Simplify3D added a very useful feature in Version 4.0 that can help with this, by allowing you to quickly try dozens of different settings, and then look at the final part to determine which one worked the best on your specific setup. For example, you could setup two vertical pillars which are printed side-by-side to evaluate stringing when moving back-and-forth between each pillar. Then go to Tools > Variable Settings Wizard and choose how you want to adjust your settings during the print. For example, you could try a different retraction distance for each 20mm section of the print and then pick the value that works best in the end. For more tips on how to reduce stringing and oozing, be sure to check out our Print Quality Guide which contains an entire section dedicated to this issue: How to Reduce Stringing and Oozing.
Optimize Your Cooling Settings
Cooling is one of the most important aspects of printing with PLA. Having a dedicated part cooling fan makes a huge difference in the quality of the printed parts.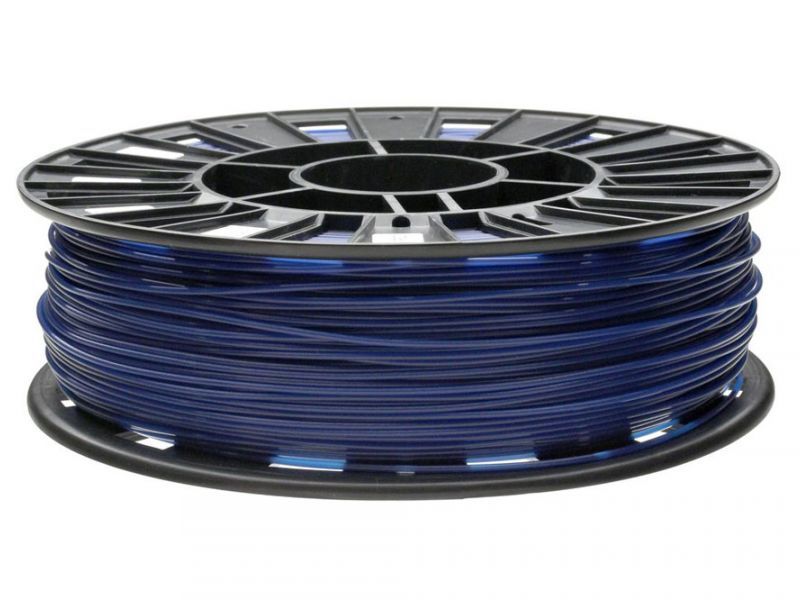 The freshly extruded plastic needs to cool down below the glass transition temperature as quickly as possible. This will prevent the plastic from stringing and producing other artifacts. We recommend setting the fan to 100% throughout the print, except for the first 1-2 layers where you want to form a strong bond with the print bed. Simplify3D also includes a useful option on the Cooling tab of your process settings that can automatically reduce the print speed for small parts, ensuring that the layers have sufficient time to cool. This can greatly improve the print quality by allowing the layer to solidify before printing the next layer on top of it. This setting can be found on the Speeds tab of your process settings.
Choose the Correct Extruder Temperature
This is a great tip for any filament, but is especially useful for PLA which often contains different combinations of additives depending on the manufacturer. These different additives can lead to variations in printing temperature between 190-230 degrees Celsius. If you are not printing at the right temperature this can lead to several print quality issues including oozing, stringing, and under-extrusion. PLA can also be combined with different fills like metal, wood, and fiber that give it different characteristics than a standard homogeneous PLA. These may require different settings or even different hardware. Be sure to check with the manufacturer of your filament to verify the optimal temperature to use for your specific filament. If you have trouble with stringing, try reducing this temperature by 5-10 degrees, which will help prevent the excess oozing. If you’re struggling with under-extrusion, try increasing the temperature by 10 degrees so that the material flows more easily through the nozzle.
Pro-Tips
- Using a fan that cools the 3D printed part from all directions is highly recommended. Many popular 3D printers have community-designed attachments that can be printed and retrofitted onto your machine to improve the cooling airflow.
- Increasing the number of perimeter outlines for your PLA prints will create a strong bond between each layer, creating stronger parts that are less prone to breaking.
Get Started with PLA
Now that you are ready to start printing with PLA, here’s a bit more information to help you get started. Start thinking of project ideas by reviewing our common applications, try out one of the provided sample projects, or find a new filament to try from our list of popular material brands.
Common Applications
- Test and calibration items
- Dimensionally accurate assemblies
- Decorative Parts
- Cosplay Props
Sample Projects
- LA Spring Motor, Rolling Chassis
- G – Clamp
- Storm Trooper Helmet
Popular Brands
- Polymaker PLA, PolyMax, PolyPlus
- ColorFabb PLA/PHA
- Hatchbox PLA
- eSun PLA
- Filamentum PLA
PLA plastic for 3D printing
- 1 Plastic composition
- 2 PLA safety
- 3 PLA Specifications
- 4 Advantages of PLA in 3D printing
- 5 Navigation
PLA-plastic (polylactide, PLA) - is a biodegradable, biocompatible, thermoplastic aliphatic polyester, the structural unit of which is lactic acid.
PLA is made from corn or sugar cane.
Potato and corn starch, soy protein, cassava tubers, cellulose are also used as raw materials.
Today, polylactide is actively used as a consumable for printing on 3D printers.
Natural raw materials in the composition of PLA-plastic allows using it for various purposes without a threat to human health.
The production of PLA plastic significantly reduces carbon dioxide emissions into the atmosphere compared to the production of "petroleum" polymers. The use of fossil resources is reduced by a third, the use of solvents is not required at all.
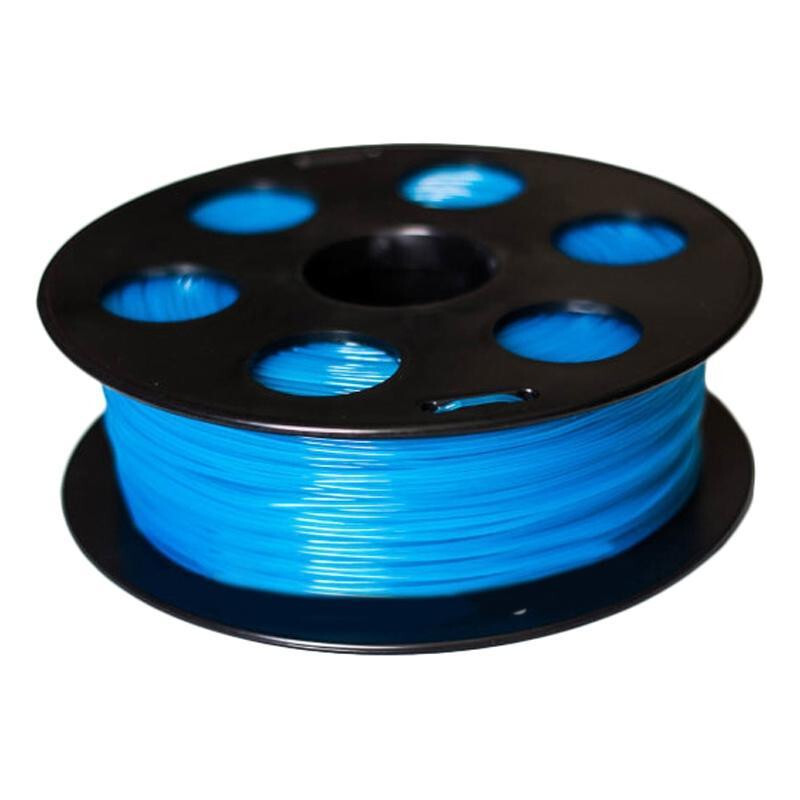
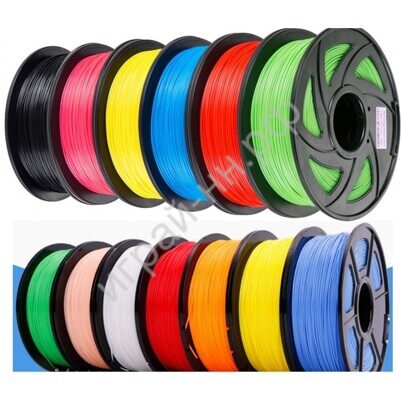
PLA is usually supplied as a thin filament that is wound on a spool.
| Melting point | 173-178°C |
| Softening point | 50°C |
| Hardness (Rockwell) | R70-R90 |
| Elongation at break | 3. 8% 8% |
| Flexural strength | 55.3 MPa |
| Tensile strength | 57.8 MPa |
| Tensile modulus | 3.3 GPa |
| Flexural modulus | 2.3 GPa |
| Glass transition temperature | 60-65°C |
| Density | 1.23-1.25 g/cm³ |
| Minimum wall thickness | 1 mm |
| Print Precision | ± 0.1% |
| Micron size | 0.3 mm |
| Manufacturing shrinkage | no |
| Moisture absorption | 0.5-50% |
- non-toxic;
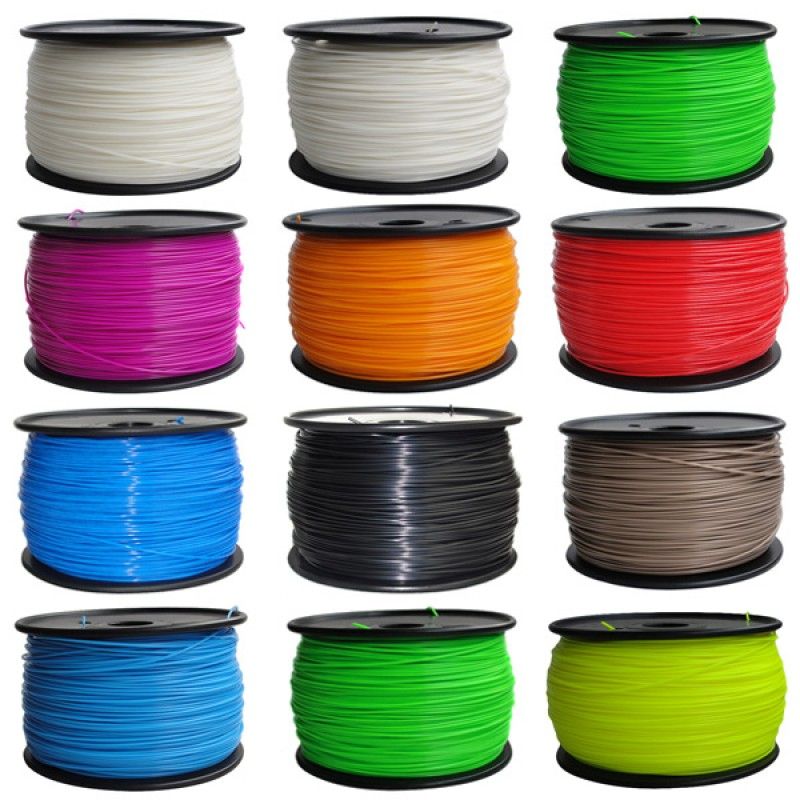
- wide color palette;
- when printing, no need for a heated platform;
- dimensions are stable;
- is ideal for moving parts and mechanical models;
- excellent sliding of details;
- savings in energy costs due to the low softening temperature of the yarn;
- no need to use Kapton to lubricate the surface for building up the prototype;
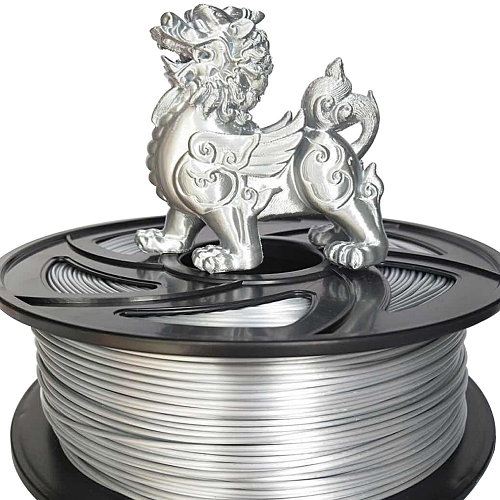
- smoothness of the surface of the printed product;
- obtaining more detailed and completely ready-to-use objects.
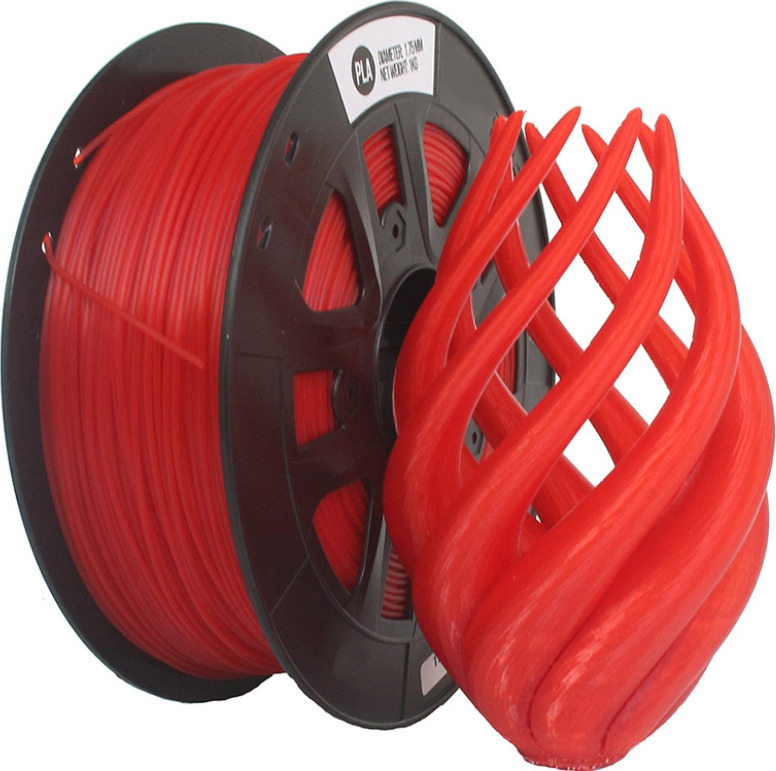
PLA plastic is ideal for 3D printing objects with great detail
Work with PLA plastic on a 3D printer is carried out using FDM-Fused Deposition Modeling technology. The thread is melted, after which it is delivered through a special nozzle to the surface for work and is deposited. As a result of building a model with molten plastic, an object completely ready for use is created. Products made of PLA plastic are subjected to grinding and drilling, painted with acrylic. However, it is worth remembering that the item made of PLA must be handled with care due to its fragility. Another disadvantage of PLA plastic is its fragility: the material lasts from several months to several years.
PLA is an ideal material for 3D printing prototypes and products that are not expected to be used for a long time. These can be decorative objects, presentation items, and items that require meticulous detailing.
Go to the main page of Encyclopedia of 3D printing
How to properly print with PLA filament
Let's take a closer look at the process of 3D printing with PLA filament. We will discuss what PLA is and how to make friends with your printer, how to choose the right temperature and what surfaces to print on.
PLA is an amazing material for 3D modeling. But it is non-toxic and smells pleasant during operation. PLA comes in a wide variety of colors, and because of its temperature characteristics, it's exceptionally easy to make great objects.
If you've worked with ABS, you'll find that PLA is harder, applies more slowly, and produces remarkably smooth details more easily. PLA is less distorted by temperature, and it is easier for them to print large objects. It should be taken into account that since this material is more rigid, it is therefore more brittle. If you are going to use your printed object in an environment where it will experience a lot of impact and violent collisions, PLA may not be the best choice.
Another important consideration when printing PLA is the temperatures that the print will be exposed to. PLA becomes soft at 70-80°C, and objects made from this plastic will deform if exposed to temperatures above these for extended periods of time.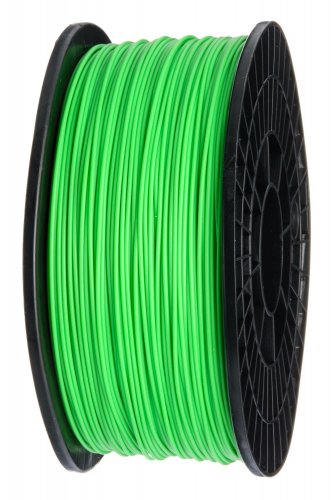 That's why ABS or some other material should be used near the extruder. We usually print all other parts of the printer from PLA - except for those next to the extruder, they are from ABS.
Check the quality of the filament
Problem The plastic filament is brittle and breaks in your hands. When printing, the layers lay unevenly, rough, frequent gaps and smudges, clicks and pops are heard. (Happens with ABS and PLA)
PLA and ABS are hygroscopic, meaning they absorb moisture from the environment. Wet rod becomes more brittle and brittle. Can break by hand when bent. Such a filament, if not broken in the extruder feed mechanism, entering the hot end in a split second is heated to the boiling point of water, as a result of which even a small moisture content instantly boils and breaks out, creating a characteristic explosion. Outwardly, such plastic will not differ from healthy one, but it will be more fragile and brittle. Quality PLA and ABS should not break by hand without effort.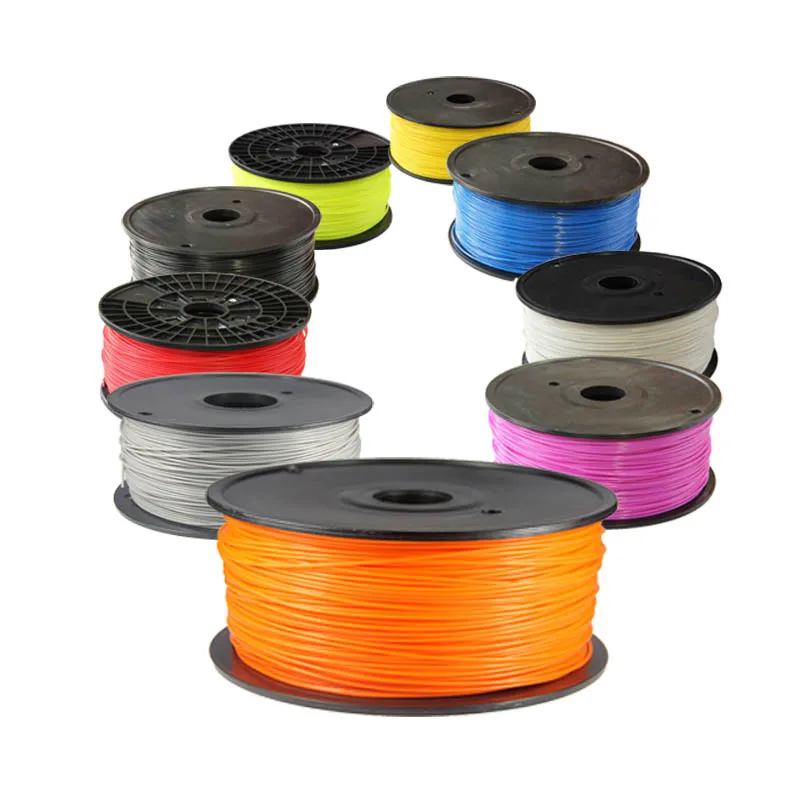
Solution dry the plastic spool
- Place the filament in an electric oven for 2-3 hours at 70°C. You can use the closed chamber of the printer with a heated table for these purposes.
- Store unused plastic in sealed box or desiccant bags. The correct factory packaging for PLA and ABS is a sealed vacuum bag with a silica gel bag.
- The desiccant will not dry out the plastic, but will provide excellent protection against excess moisture.
- Use non-hygroscopic grades of SBS and HIPS plastic - they do not absorb moisture, can be stored indefinitely without risk of deterioration
Problem Plastic leaks from extruder nozzle.
It is very difficult to find the right extruder temperature for some brands. Capricious printing, the layers do not lie evenly, the print quality leaves much to be desired. This is not an ideal plastic, all that remains to be done is to select the temperature of the extruder with each loading of plastic.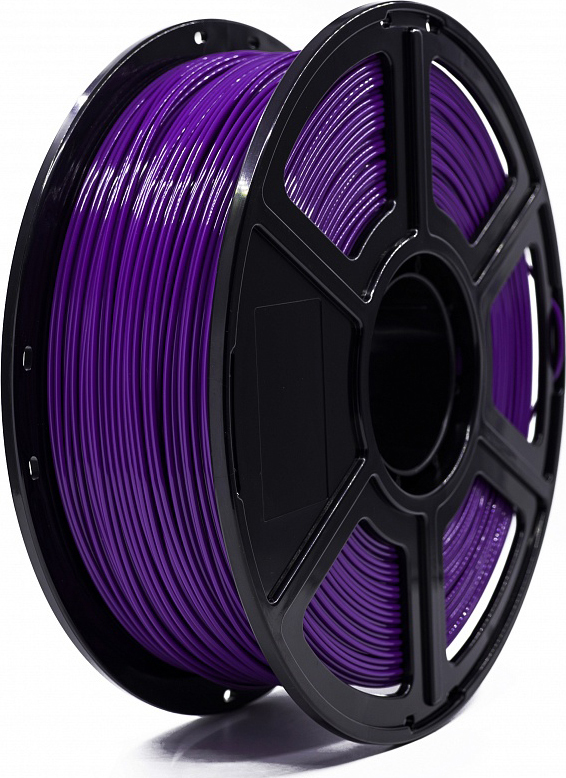
Solution Purchase quality materials from trusted manufacturers.
How to print the first layer correctly
The first layer is the most important part of any printout. There are a few things that need to be done to get the first coat to stick well.
- The mounting plate (or print substrate) must be installed at the correct level.
- The extruder must be at the correct height above it.
- The base material must be good enough for the PLA to stick to.
Printing on a backing
Use adhesive materials: Backings are one of the easiest and fastest ways to get great prints from PLA, just like ABS, SBS or HIPS.
Used to be 3M Blue Tape all over the place - not perfect, but very easy to use until it was discontinued. But sometimes during printing, your part could tear off the tape from the table, and in such cases the object will have distortions.
Heated bed printing
If you have a temperature controlled table, you can print directly on the glass quite successfully.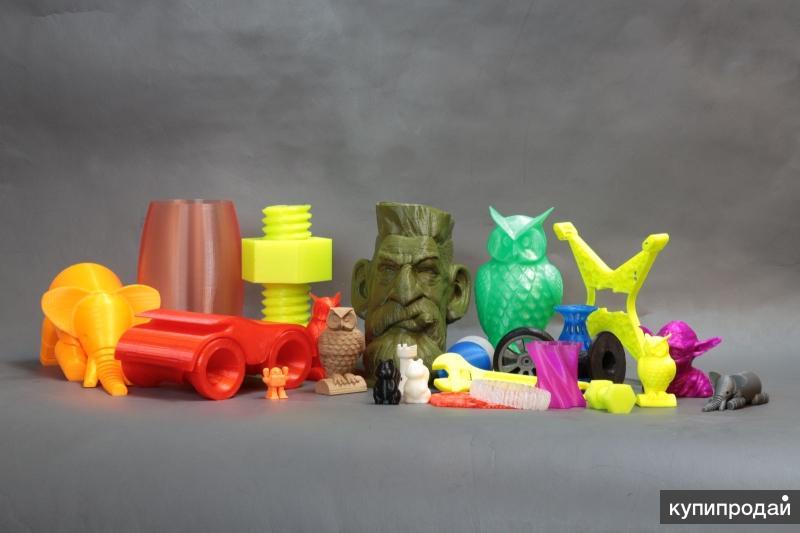 The recommended table temperature for PLA printing is 70°C.
When printing on glass, it is essential to set the table and extruder to the correct height. If the extruder is too far away from the table, the PLA won't stick AT ALL; if too close, the glass will completely block the extrusion of the material, and again it will not stick AT ALL.
If your first coat doesn't stick
- Check table level.
- Make sure the printhead is close enough to properly extrude the first layer. The gap between the nozzle and the table surface is checked with a plain sheet of paper. The leaf should be able to fit through this distance, but not get stuck.
- Make sure you run the extruder enough before you start printing so that the filament is on the table during the entire printing process of the first layer. In slic3r you can set the number of passes up to 4 or 5 depending on the part.
- Wipe glass with denatured alcohol.
When everything is set up correctly, glass is the best option for working with PLA.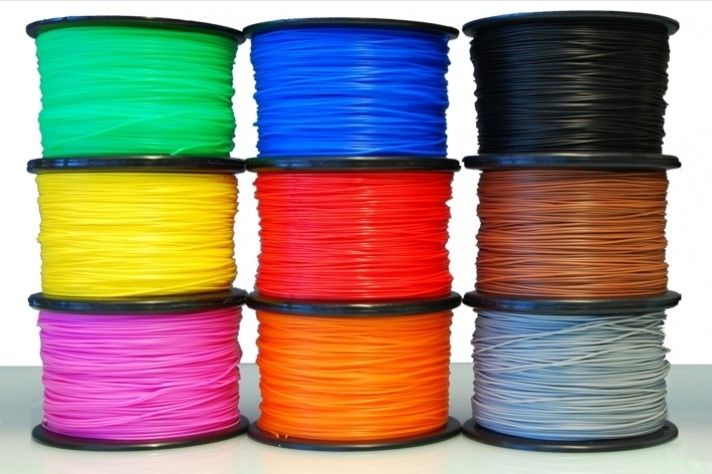 It produces a wonderful shiny bottom layer, and the table heating ensures that everything comes out smoothly and evenly.
Other printable surfaces
Printing on a transparent self-adhesive film for a 3D printer table
Transparent self-adhesive polyester film with a permanent heat-resistant adhesive layer. Stick the film on the printtable. This film is much denser and stronger than Kapton tape, so you can print much longer, withstand high temperatures. Brim (Brim) is not needed - gears without Brim are great. Lasts longer than Kapton.
Printing on kapton ribbon
Many people have had good results printing on kapton ribbon. To print on it with PLA, a heated pasteboard is required. We used to print exactly like this, but when we learned how to do everything right on glass, we stopped considering this option the best. The process of printing on kapton tape is almost identical to printing on glass, but requires more preparatory work and cleaning.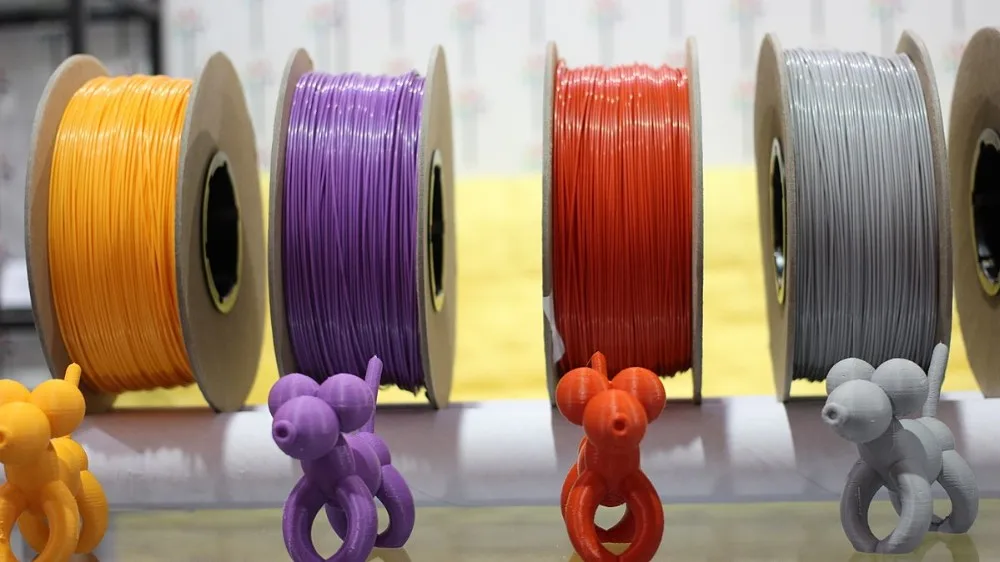 If you know of any other benefits of kapton tape, please share. We are constantly working to improve the process.
Printing on polycarbonate
We experimented a bit with polycarbonate, lightly oiling it with vegetable oil. Polycarbonate works, everything prints well. That's just the part is difficult to remove, so the benefits are somehow not obvious. It seems to us that this method deserves a deeper study, and we will report our research as soon as they are carried out. In the meantime, we recommend working with blue tape.
What to watch out for
If the temperature is too high
Between different parts of the print you will notice a lot of a kind of string (snot) and the extruder will "leak", releasing a lot of plastic when moving between different printable areas. If this happens, you should try to lower the temperature in 5 degree increments until there is no more material coming out of the extruder.
Sometimes you have to work with a material that is simply less viscous than PLA usually is and therefore flows more easily even at lower temperatures. We recommend increasing the return feed by a few millimeters (retract)
If the temperature is too low
You will notice that the filament either does not adhere to the previous layer and you get an uneven surface, or the part is not strong enough and is easy to separate. One way or another, you should increase the temperature by 5 degrees and continue to increase it until you get good cuts on each layer, and after printing the part is strong enough.
Filament change
PLA color change:
- Set the cold extruder to 80 °C and wait for it to heat up.
- When the temperature reaches 80 °C, remove the filament from the extruder. You can pull it out by hand, or reverse feed may be required.
- If you have trouble removing the filament, increase the temperature to 100°C and try again.
- Increase the temperature further and insert new filament in the usual way.
- Run it through the extruder until it comes out clean, i.
 e. just a new color. If you are changing from a darker color (such as black) to a lighter color (such as white or natural), run longer to ensure there are no dark stains:
- Clean the extruder gear and blow out any particles from the extruder inlet.
- Print something you don't mind if it has some previous color, or run the extruder for a few minutes. This process can take 10 to 15 minutes before you can confidently note that the dark material is no longer mixed with the light material.
We recommend removing the filament when it is in a soft, rather than fully melted state - then there is less chance of melted material depositing on the inside of the extruder or even before the melt chamber. In both cases, this kind of residue can lead to hard-to-remove clogging of the printing mechanism. You can also shove a flexible piece of filament through to make sure all contaminants are removed from the end of the extruder.
What to do if something is wrong
There are a few key things to check if printouts are not coming through.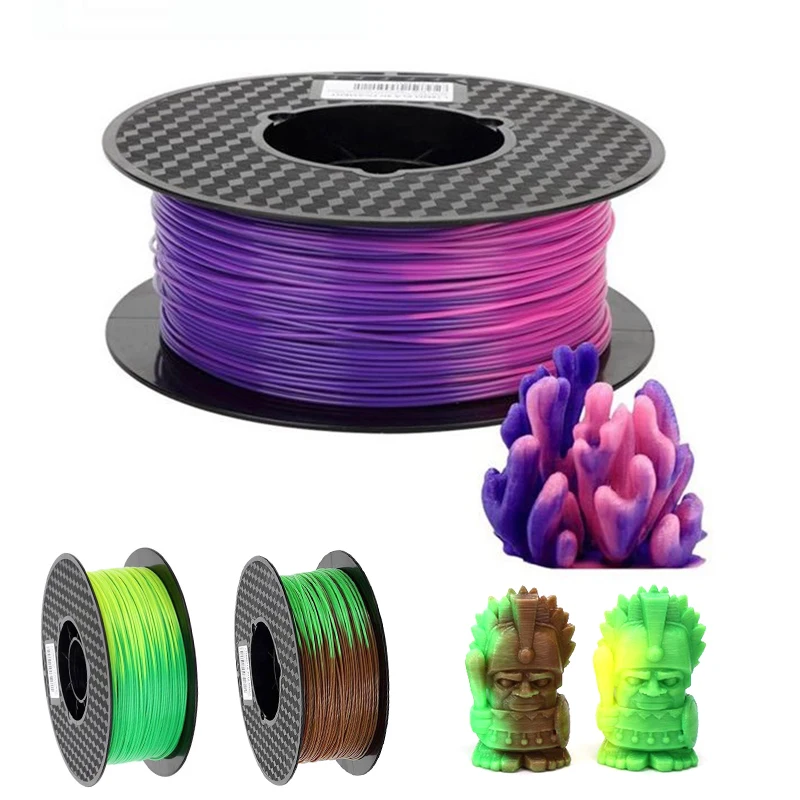 But before we consider the solutions, we must briefly characterize the symptoms.
"First layer does not stick at all."
- Make sure the extruder is at the correct height. Set the limiter or the extruder itself to a height of 0.
- Make sure the table is level. The gaps at all calibration points between the nozzle and the table should be approximately the thickness of a sheet of paper.
"Part has poor inner layers and top surface."
- Check extrusion temperature (you may need to increase it in 5 degree increments)
- Check filament tension.
- Clean the filament feed gear
“There are a lot of small bumps on the edges of my part.”
- Make sure the printer is getting enough data. When printing from a computer, make sure that it is not overloaded and sends commands to the printer normally. If the printer slows down, it usually means that it is overloaded.
- Print from an SD card. On some printers, you can try printing from an SD card. This often helps the printer get enough data and run more smoothly.
- Buy better quality PLA. We have found that the quality of the source material can have a significant impact on print quality. Buying higher quality PLA can help you achieve better results. However, do not rush to blame everything on PLA. With the right settings and a lot of patience, 3D printers have been able to successfully print a wide variety of materials, many of which have very low viscosities and very large inhomogeneities. You have to be able to get at least functionality out of a part - even if with slightly lower quality filament.
"The vertical elements of my print look melted or stuck together."
- Turn on "cooling". If your printer has a cooler, you must enable "cooling" in the print settings.
- Purchase a small fan. If your printer does not have a built-in cooler, you should consider looking for a small desktop fan.
 This will greatly improve the situation with the vertical elements of your printouts and will help with "bridging" (where the top layer bridges the gaps on the bottom).
"My printer is not producing any media."
- Make sure the hotend heats up at all. If not, the printer needs to be serviced. Most likely, your connection is broken or the electronics are “fried” (this is if the printer is connected at all and responds to program commands :)
- Clean feed gear and adjust tension. The very first thing to do is to clean the feed gear that touches the filament and make sure the thread tension is correct. Incorrect tension or a clogged feed gear usually results in much the same pattern as a low filament temperature, but sometimes it will block extrusion altogether. Clean the pinch roller with a wire brush and make sure the filament tension is good and tight (too much can also interfere with extrusion, usually with direct feed printers - when the motor directly turns the feed gear; this happens less often with intermediate gears).
- Remove the loaded filament. Perhaps small particles of plastic are stuck in the very tip of the extruder and clog it. Use the filament change technique described above to remove all particles from the end of the extruder.
- Check for blockage between the extruder and hot end and correct the problem. This problem is the most extreme because it can only be fixed by disassembling the extruder. Sometimes the filament from the hot end can flow back into the extruder, resulting in bubbles that then freeze and block further work. This usually happens at the junction of the extruder and the hot end. Remove the extruder and remove all the PLA you can (you may need to preheat the hot end to 80-100°C for this). If you can't remove all of the filament by pulling it out, you can try pushing it through the hotend. To do this, we usually use a small hex (inbus) key. If it still doesn't work, you can try drilling out the extruder or hot end, but then they may need to be replaced.
Learn more