3D printer heat bed insulation
3D Printer Heatbed Insulation: Is It Worth It?
I am constantly talking about heatbed insulation in my reviews, and how a simple and cheap piece of insulating material can have a big impact on power consumption and bed temperature uniformity. I am also posting power draw measurements for the exact same reason.
In this article, I will do a practical test where I test the differences between the heated bed from the Voron Trident 350 with and without insulation. This should give you a better understanding of how this insulation material impacts the way your printer works.
Test Printer and Testing Methodology
For this test, I used the FYSETC Voron Trident 350 printer I recently reviewed. I think this is a good candidate for the test because it has a large print surface, it also has a thick magnetic sticker applied with a PEI flex plate and the thick aluminum bed has some thermal mass.
The thermal measurements were made with the FLIR Camera installed on the CAT S62 Pro and for measuring the temperature inside the chamber, I used a simple thermal probe that came with my multimeter.
The probe was located just over the top of the Afterburner extruder with direct visibility to the bed. Also note that my Voron Trident 350 is not completely enclosed. I didn’t print the air filter duct which sits at the top of the machine.
To measure the power consumption, I used a Blitzwolf smart power socket which indicates the power draw in real-time and also measures the power draw for a single day.
All the measurements were done at a 22C environment temperature.
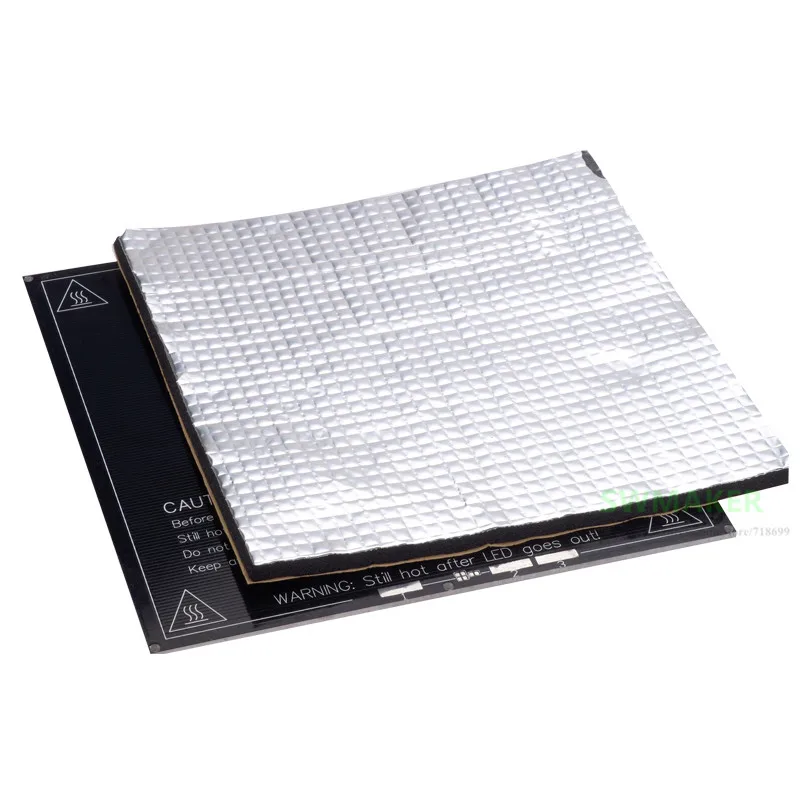
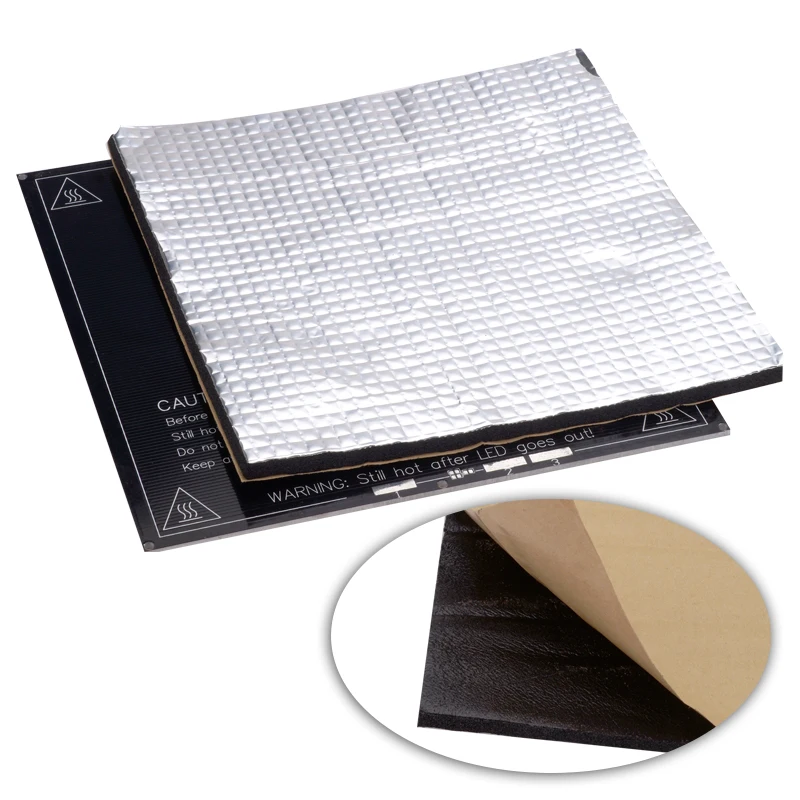
I used this 400x400mm heatbed insulation material which I cut to size, and partially sculpted so it fits around the aluminum extrusions for the bed. Not my best work, but it’s good enough.
Print Surface Temperature without insulation
60% power
Heating the bed to 100C takes 12 minutes with 414W of power drawn from the wall. The surface of the bed only reaches 84C at the highest point even though the thermistor reports 100C and the heat distribution is not good with temperature differences up to 12C.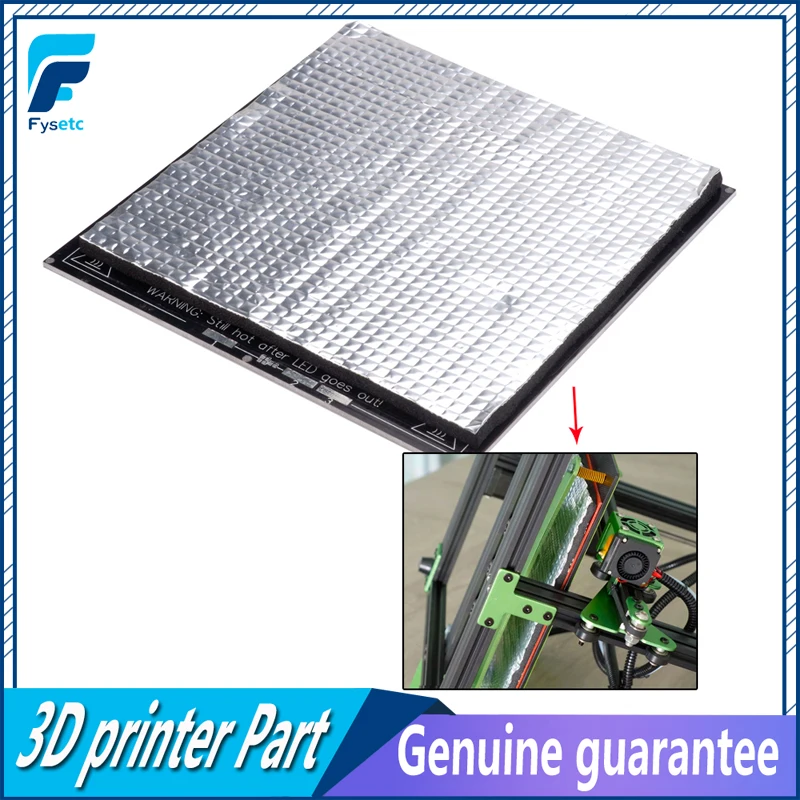
After 30 minutes, the print surface reaches 91C which is still 9 degrees lower compared to the set temperature. You can also see that the temperature distribution across the print bed is not as expected, even after waiting for 30 minutes.
100% power
Heating the bed to 100C takes 3 minutes and 15 seconds while drawing 630W of power from the wall. The surface of the bed only reaches 71C at the highest point even though the thermistor reports 100C and the heat distribution is not good with temperature differences of about 16C.
After 30 minutes, the print surface reaches 93C which is 7 degrees lower compared to the set temperature. You can also see that the temperature distribution across the print bed is not as expected, even after waiting for 30 minutes, but pretty close to ideal.
Print Surface Temperature with insulation
60% power
After insulating the bed, I set the power to 60% and started the heating test again.
Heating the bed to 100C takes 9 minutes and 20 seconds with 435W of power drawn from the wall. The surface of the bed only reaches 82C at the highest point even though the thermistor reports 100C and the heat distribution is not good with temperature differences up to 12C.
After 30 minutes, the print surface reaches 91C which is 9 degrees lower compared to the set temperature. You can also see that the temperature distribution across the print bed is not as expected, even after waiting for 30 minutes.
100% power
Heating the bed to 100C takes 4 minutes and 45 seconds with 630W of power drawn from the wall. The surface of the bed only reaches 73C at the highest point even though the thermistor reports 100C and the heat distribution is not good with temperature differences up to 17C.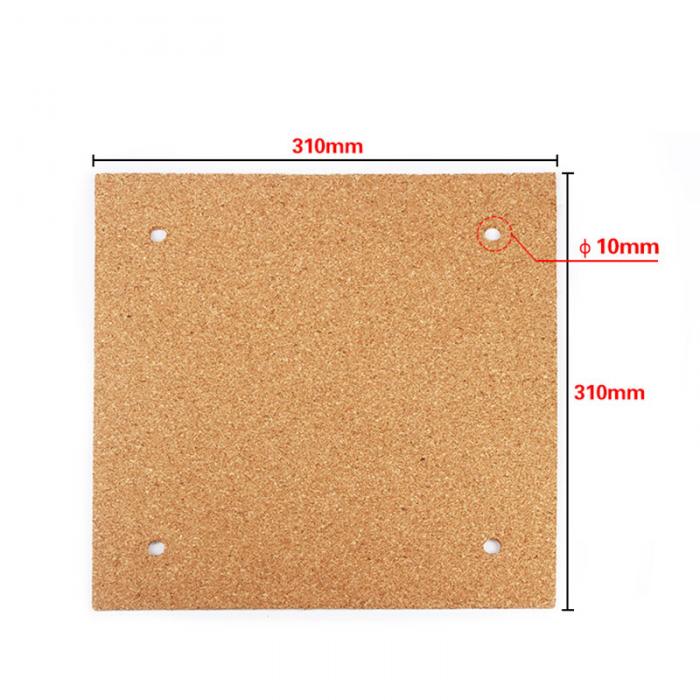
After 30 minutes, the print surface reaches 91C which is 9 degrees lower compared to the set temperature. You can also see that the temperature distribution across the print bed is not as expected, even after waiting for 30 minutes.
Power Consumption after 1 hour ABS print
To get an accurate reading of the power draw during operation, I sliced a 200% calibration cube with settings that take 1 hour, which was printed in ABS with 250C for the hotend and 100C for the heatbed. The same G-Code was used for both tests.
Without insulation
Before the bed was insulated, the power draw ranges from 210W to 275W. After a 1 hour print, the printer used 0.24 KWh. This means that a 24-hour print will use about 5.76 KWh.
With insulation
After the bed has been insulated, the power draw during printing ranges from 161W to 280W. After 1 hour of printing, the printer used 0.15 KWh. This means that a 24-hour print will use about 3.6 KWh.
Changes in the Bed Mesh Variance
Without insulation
Before installing the bed insulation material, the Bed Mesh Variance was at 0.288mm.
With insulation
After installing the bed insulation material, the Bed Mesh Variance was at 0.330mm.
As you can see, there is a change in the bed mesh, but for me it is insignificant and it’s easy to compensate for that during printing. We also need to remember that we are dealing with a 3D printer, not with a super high-precision machine.
Enclosure temperature
Without insulation
The enclosure temperature after the 30 minutes heating time reached 45C.
With insulation
The enclosure temperature after the 30 minutes heating time reached 48C.
As a bonus shot, I also took a picture during the 1 hour ABS print to showcase how the hot air rises and is trapped in the printing area.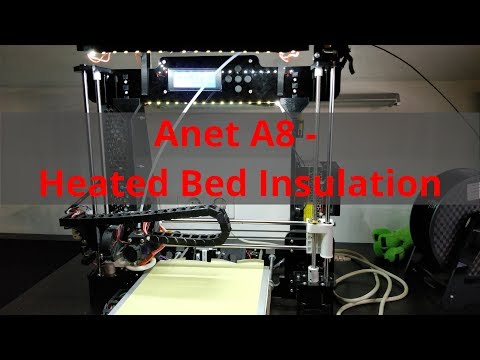 So there is no reason to be concerned about the temperature inside the printer, for the Voron Trident.
This might be an issue for a Voron 2.4 which has the bed fixed on the bottom of the enclosure where the air will be cooler. The enclosure temperature will also be different according to the fan speed set on the exhaust.
Conclusions
After doing these tests, I’ve reached the following conclusions:
- For this specific case, the Voron Trident 350 only benefits from having a bed insulation material installed when it comes to power efficiency. Other printers with thinner heated beds benefit more from this.
- The temperature on the print surface is mostly the same, with or without the bed insulation material, and should be compensated by adjusting the slicer settings. Of course, this applies if you have a magnetic sticker applied to the aluminum bed. If you have magnets embedded, then this is probably not needed.
- Enclosure temperature does not change significantly and you can get 45-50C when printing ABS without any issues.
 Higher temperatures could be reached if more insulation is applied for the sides of the printer, but I don’t think that’s needed, especially for ABS.
 - Bed Mesh Variance changes a bit after installing the bed insulation material, but the change is not significant in my opinion and the printer can compensate for that. This might be different for other people depending on the quality of their aluminum bed.
- Using 100% power doesn’t actually help because the aluminum bed cannot absorb the heat efficiently. The heater will reach the set temperature and will stop heating even though the aluminum bed didn’t reach it, making the heating process take longer. It usually takes about 10 minutes for the aluminum bed to reach a temperature close to the one set in the printer settings.
In my opinion, installing a bed insulation material is well worth the effort for any kind of printer. The power draw will be lower saving you money over time which would be otherwise spent on paying for electricity.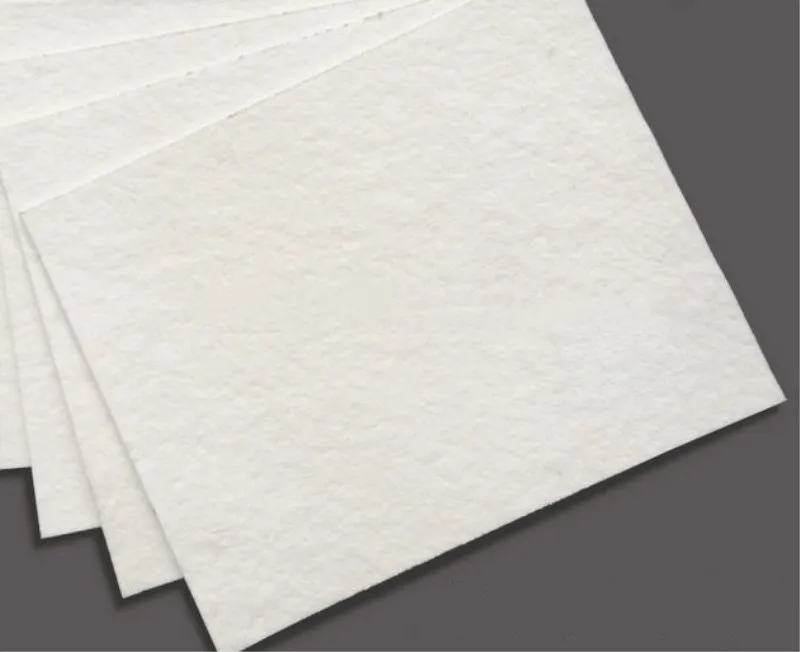
But what do you think? Feel free to join the discussion about this topic on the 3DPrintBeginner Forum.
Liked it?Consider supporting 3DPrintBeginner if this content helped. You can also join Patreon for exclusive perks! |
5 Best Ways How to Insulate a 3D Printer Heated Bed – A Guide – 3D Printerly
I was sitting here beside my Ender 3, wondering what the best way to insulate a 3D printer would be. This is especially desired if your 3D prints are taking way too long to heat up, mainly with ABS prints.
Having an insulated bed on your 3D printer is a neat upgrade that has helped out several 3D printer users over the years. Temperature and heating is used all the time with these machines, so this article will look at heated bed insulation and how to install it.
Aluminum insulation mats with foam are a great method to insulate a 3D printer hotbed. They significantly cut heating times, distribute heat more evenly, and keep temperatures more stable which can even reduce warping.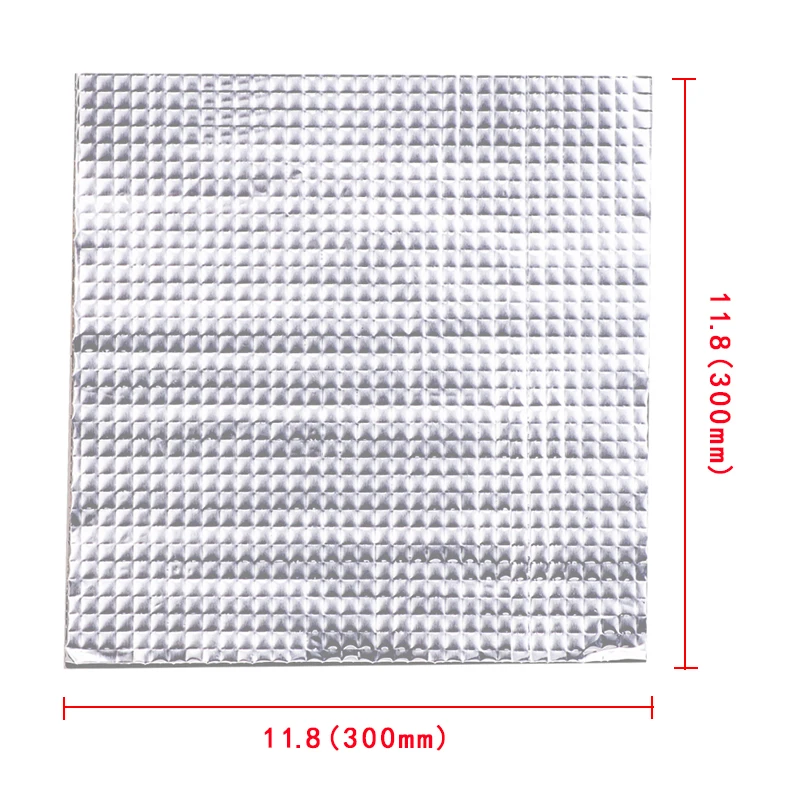 Some use cardboard, cork sheets or a basic enclosure to improve insulation.
To install a hotbed insulation square you simple need to attach it to the bottom of your hotbed, making sure it is the correct size for your 3D printer’s bed.
The benefits of having a heated bed are:
- Saves time on heating up your print bed
- More even heat distribution around the bed
- Saves money on having to use more power to heat the bed and keep it hot
- Helps to keep temperatures more stable
- Can reduce warping
Firstly, you need to check how much space you actually have underneath your print bed. Some machines are going to have large gaps which mean you can choose from many options, while others have very little space, so options are limited.
You also don’t want the added insulation to be getting in the way of any parts of your 3D printer, like wires or bearings. Also, since the material will be working with quite high heats, they should have a good amount of heat-resistance to withstand long-term use.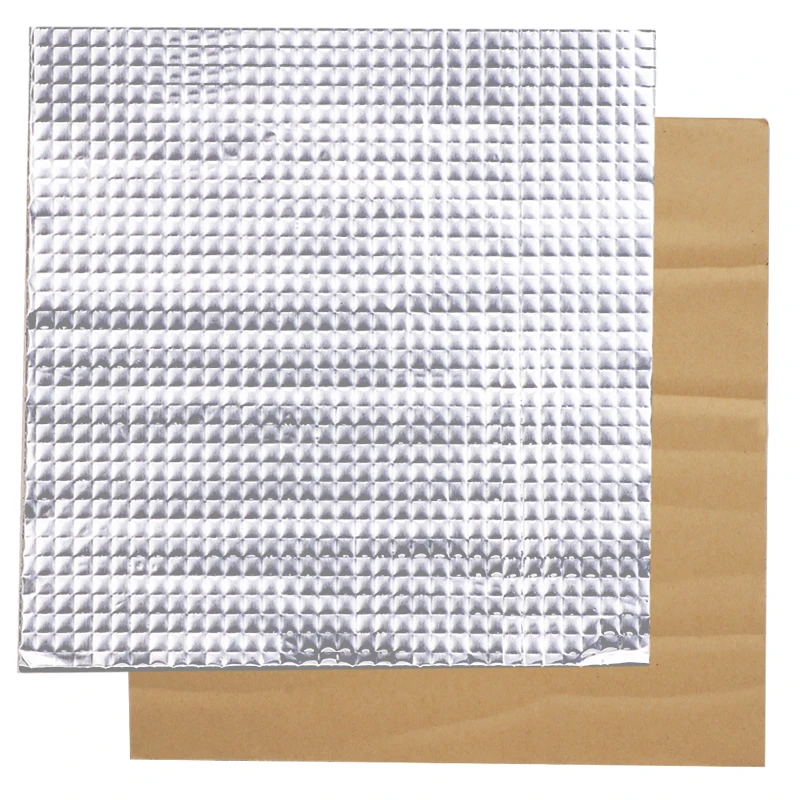
Sticking the insulation material to the bed works in different ways. Some materials have self-adhesives to help stick it down, while others will require a separate adhesive. Good choices in this case are an adhesive spray, or heat-resistance tape.
Materials that 3D printer hobbyists use are:
- FYSETC Self-Adhesive Aluminum Insulation Mat
- Cork Sheets
- Plumber’s Felt
- Cardboard
- Use an Enclosure
Those closed-cell types of foam seem to work really well for most people since they can keep a lot more heat in as compared to something like single-walled cardboard.
1. Self-Adhesive Aluminum Insulation Mat
These lightweight insulation mats work really well to keep your 3D printer beds warm throughout the printing process. Rather than have your print bed overcompensate for a cool room, and require extra heating, we can keep that heat in better.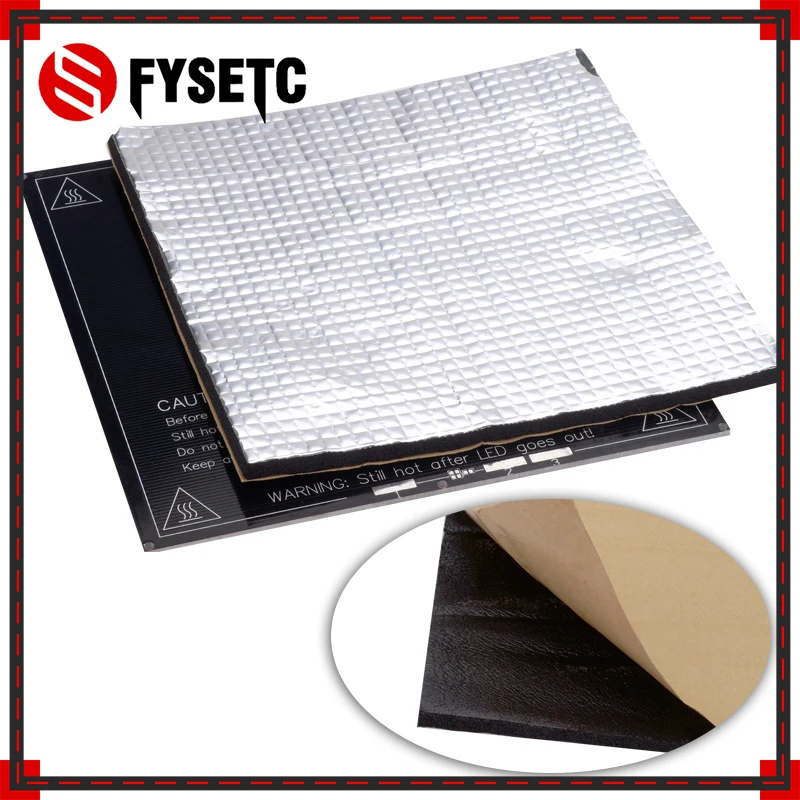
The Befenybay Self-Adhesive Insulation Mat is a great choice on Amazon, with amazing ratings and it even comes with 2 pieces. They measure up at 220 x 220 x 5mm, or you can get the bigger 300 x 300 x 5mm version if required.
This lightweight foam with aluminum substrate is heat-resistance, durable and has fire prevention properties, allowing it to operate with temperatures from 50-150°C (122-302°F). It’s also waterproof and cold-resistant.
The instructions for this are simple:
- Clean the bottom of your hotbed
- Tear the adhesive backing from the bottom
- Stick onto the bottom of your hotbed
The benefits are also simple:
- Faster warm up
- Keeps temperature stable
- Better prints
- Durable and should remain firmly adhered to your bed
One 3D printer user who had a very slow heating bed of 10-15 minutes for 60°C, used this insulation and managed to cut the timing down to 7-10 minutes. The time saving won’t always be this dramatic, but it should cut down times.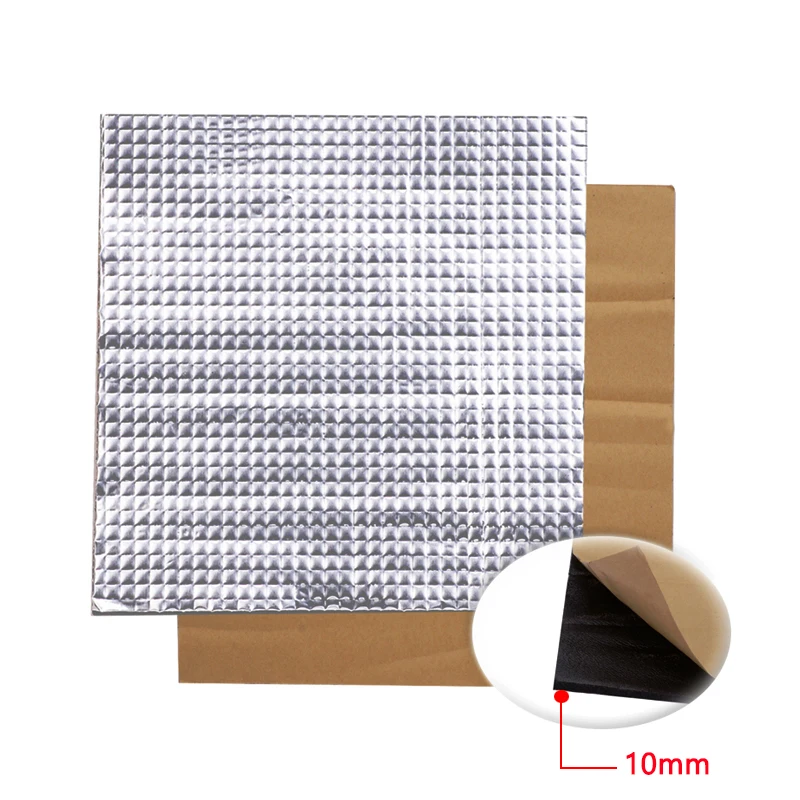
2. Cork Sheets
The good thing about using cork sheets to insulate your 3D printer bed is how dense the internal structure is, being closed-cell as you can tell by the normal make-up of cork.
This is a great material to use for insulating your 3D printer bed, especially if you lack a large amount of space to use for insulation under your bed.
You can find some specially-made Cork Sheets for 3D printers on Amazon with the holes cut out, or you can get a fresh sheet and cut the whole yourself.
Cork is formed with several microscopic bubbles, which works really great as a form of insulation, even used under flooring in many cases.
Some people get cork on a roll after some type of flooring project, you can cut a piece off soak it in hot water, iron it flat, then fit it under your bed.
The better method though, is getting the cork sheets with strong adhesive on one side. One user even added to this by taping aluminum foil to the bottom of the bed with Kaptop tape, then covering the foil with cork.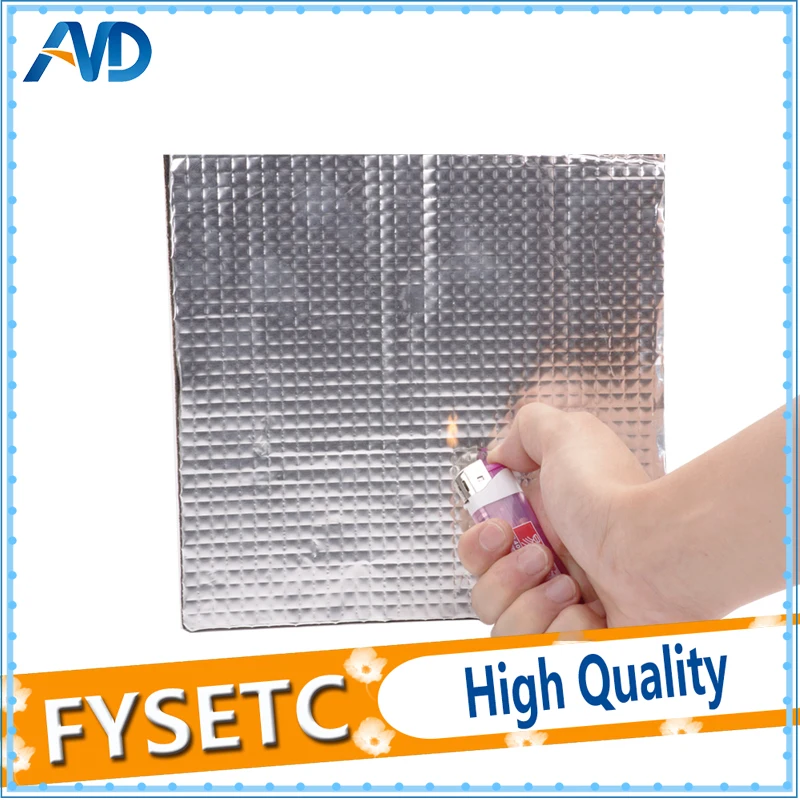
If you want your bed to heat up faster while pre-heating, you can actually add a sheet of cork or even a cloth to the top of your bed to keep the heat in.
The video below shows the difference in timing to heat a bed up to 120°C before and after insulation with a cork sheet. It took the non-insulated 3D printer bed 18 minutes to heat up, while the insulated bed took just 14 minutes, a difference of 22%.
3. Plumber’s Felt Insulation
This material works really well seeing that it’s used for welding, soldering with an open flame and even brazing. It’s a very high temperature material that you can use to your benefit for 3D printing.
You can get this High-Temp Felt Plumbers Pad from Amazon for a reasonable price.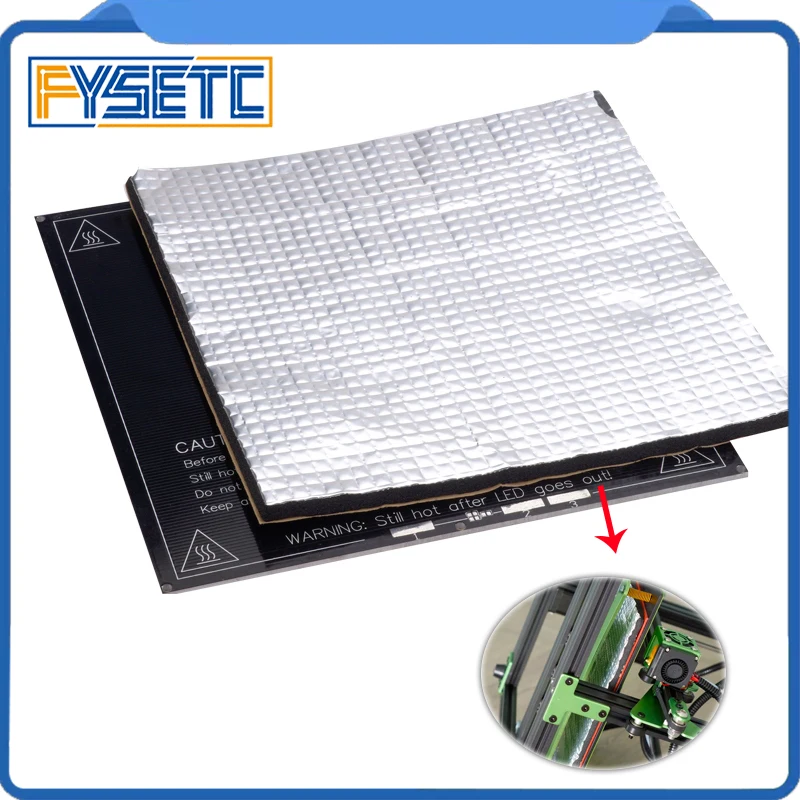 It’s temperature-resistant to a whopping 1800°F (982°C), tear-resistant, while still being a soft, pliable materials.
4. Cardboard
Simple cardboard works surprisingly well for insulating your 3D printer hot bed, specifically double-walled corrugated cardboard wrapped with heat or foil tape. The trapped air bubbles within the cardboard does a good job at retaining heat.
It’s a lot easier to cut to size than other foam and insulation solutions, and the minimum smoke point for cardboard runs at around 392°F+ (200°C+) so the heat from the bed shouldn’t be a bother at all.
You don’t even really have to tape the cardboard down, you can fit a few pieces of cardboard from a box and fit it to the underside of your bed.
Some good heat tape from Amazon is the Equty Baymers Heat-Resistant Tape. It is an easy-peel solution and has a maximum heat-resistance of 482°F (250°C).
5. Use an Enclosure to Keep in the Heat
A solution that not many people actually use on their open-style 3D printers is using a good, airtight enclosure. You don’t realize how much enclosure help to keep in heat until you really start to implement one yourself.
When you use one of the above insulation solutions, along with a good quality enclosure, you can really retain plenty of heat within your 3D printer, saving you time on heating and using less power overall.
The Creality Fireproof & Dustproof Enclosure from Amazon is a great choice to insulate your 3D printer. It’s very highly-rated, with a rating of 4.6/5.0 at time of writing, and does a great job keeping a stable temperature.
The installation is quick and easy, with the ability to fold it for simple storage. You can easily reduce dust build-ups and reduce the overall noise of your 3D printer with this enclosure.
Diary of a 3D printer. We insulate the ultrabase and Hotend.
Hello everyone! The other day I received one of the parcels from Aliexpress. Which had some goodies for a little thermal tuning on my Anycubic 4Max and Anycubic i3 Mega 3D printers.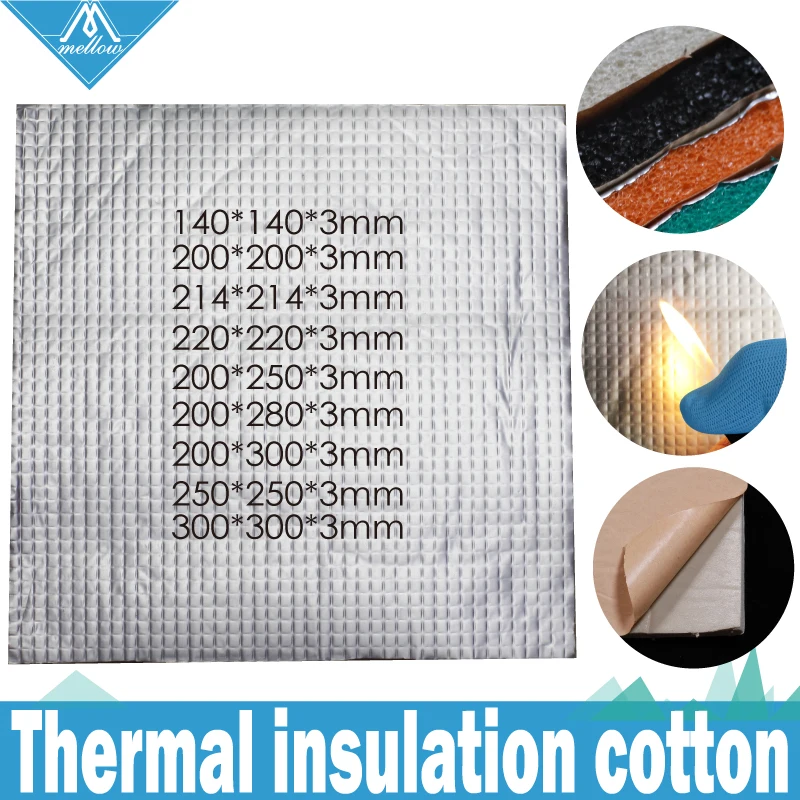 The parcel contained the following items:
- Kapton tape
- Table warming
- Silicone socks for warming the heating block
So in this article we are talking about warmth. I will consider the process using the example of the Anycubic 4Max 3D printer. This approach will work fine on other models of 3D printers, so the article promises to be interesting for all owners. Go.
All products in this post have already been listed in the following articles:
- What to buy for Anycubic i3 Mega and Anycubic Mega-S 3D printer
- What to buy for Anycubic 4Max 3D printer or MK8 extruder
I will add to the indicated articles Photo for clarity, but here for your convenience I will duplicate the links. So. The package contained an order from an ali express store: Mellow Store
From myself I will say that this is a good and sociable seller. Always ready to advise. Orders are shipped quickly. Orders are coming at an average speed.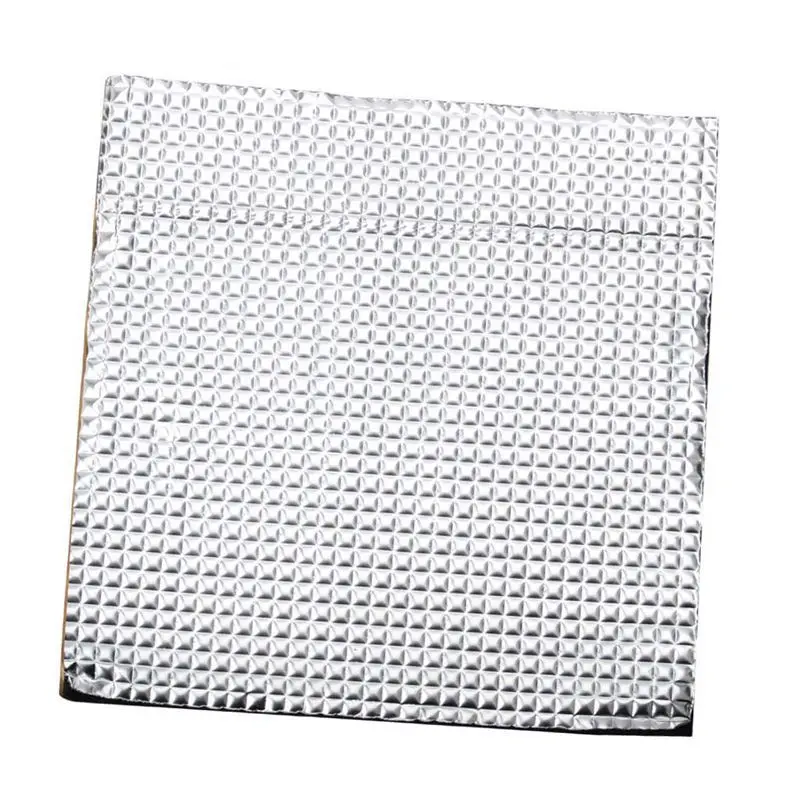 Now about the contents of the package:
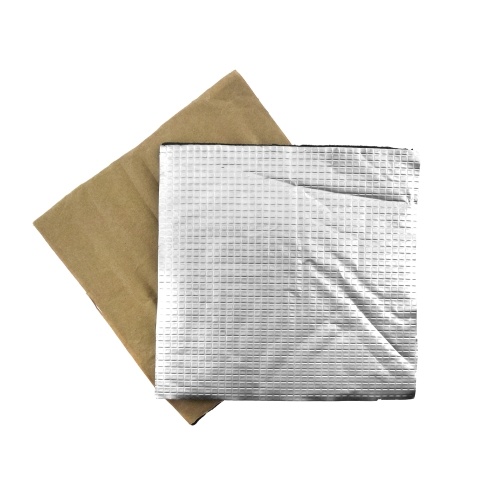
- Insulation for the 3D printer table. Order link: http://ali.pub/3880fn
Insulation for hot table 3D printer
Good material. It is a polymeric foam material of orange color (there is also white, green, black). On the one hand, foil is applied to the material, on the other hand, an adhesive layer. Looking ahead, I will say that it is holding up well.
- Heat resistant Kapton tape. Order link: http://ali.pub/388111
Heat Resistant Kapton Tape
Excellent for insulating various elements on heated surfaces. It is often used to fix heated elements, as well as to protect parts during non-contact soldering. The seller has coils of different widths: 5mm, 10mm, 20mm and 50mm. I used 20mm tape. We need it today.
- Silicone socks for heating block of extruder MK8. Order link: http://ali.pub/3881sg
Silicone socks
I ordered for my extruder MK8. Great stuff.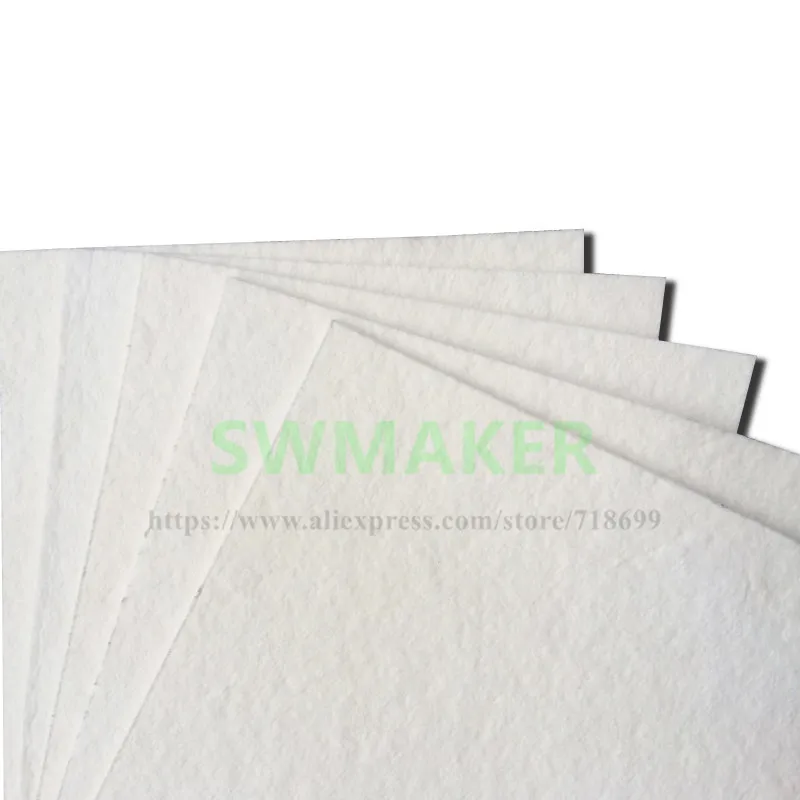 Allows you to reduce heat loss of the heating block, as well as protect it from plastic residues that stick to it. But there is one small drawback. If you are typing with frequent temperature changes, the sock makes the cooling process slower. Consider this. The sock fits well on the heating block. It doesn't sit tight, but it doesn't fall off either. Among other things, it gives an aesthetic appearance. Installation is insanely simple. Just put the silicone nozzle on the heating block and that's it. For those who are afraid that the sock will fall off, you can additionally grab it with Kapton tape :)
Silicone sock on heating block
Silicone sock on heating block
Now let's move on to the process of finalizing the printer.
First we need to remove the hot table. Attention! All work is carried out only on a cold table! With a cold printer. Unplug the printer before starting work. Observe safety precautions. To do this, simply unscrew the 4 screws with which we adjust the level of the table. For drygosts, I recommend pushing the table towards you as much as possible. For those models where the table moves up and down, move the table to the middle of the height. After the screws are unscrewed and the table power is disconnected, carefully remove the table from the mounts and try not to lose the springs. Remove the springs and set them aside.
Hot table. Anycubic Ultrabase
Yes, I used my ultrabase. That is OK. She still works well.
Now turn the ultrabase upside down. More precisely up bolts, so to speak glass down.
Ultrabase, bottom view
Now we estimate the dimensions, at what distance from the edge we have fasteners
We take a degreasing liquid (isopropanol, acetone, or a degreaser) and a rag or napkin, but always clean. Diligently. but carefully degrease the entire ultra base from the bottom side.
Degrease the ultrabase
Set the table aside. And we are marking up the material.
Doing this is not very convenient.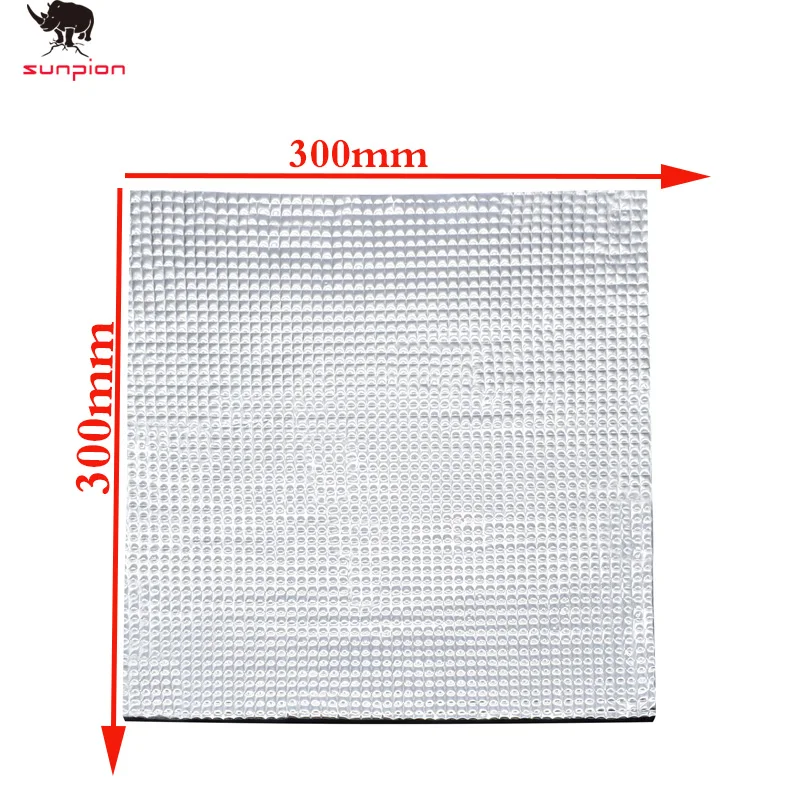 Well, or my hands are crooked. In the corners, we need to cut out squares for the mounting screws. So that neither the screws nor the springs touch the thermal insulation. Otherwise, it may then adversely affect the calibration of the table. We cut off the excess.
Now we put the insulation aside and take up the table again. We take Kapton tape and seal all the elements and solder points.
Additional electrical insulation Anycubic Ultrabase
Additional insulation for the temperature sensor
Additional insulation
wiring points
By the way, a pleasant discovery was that anycubic Ultrabase tables run on 24 volts. This allows you to use tables on different printers, or, if you wish, remake the table for power from a separate, more powerful power supply. But that's a completely different story.
It's time to glue the thermal insulation. To do this, you need to remove the protective craft paper (such as brown), in no case try to remove the foil.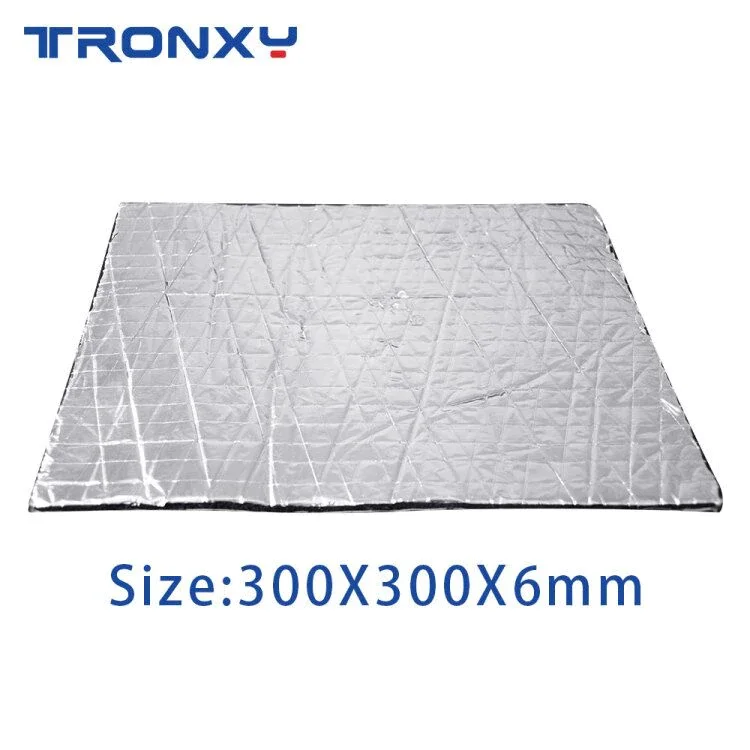 As a result, without protective paper, the insulation looks like this:
Well, now we take a good aim and glue the insulation on the bottom of the ultrabase
Anycubic Ultrabase with insulation
Let's carefully stroke the insulation so that it sticks properly. If parts of the insulation have crawled out of the table, it's time to carefully cut them off and proceed to install the table in its rightful place.
Well, everything is simple. Install the springs back on the bolts. We put the table so that the bolts fall into their mounting holes. Well, now we take the adjusting nuts and alternately pressing the corners of the table we fix it with the adjusting nuts.
Little life hack. the matter is that the wire at Anycubic 4max is not fixed by anything. So that it does not dangle during operation, does not break and does not tear off the thermal insulation, I recommend grabbing it with a coupler to the linear bearing. How I did it at home, look at the photo:
All.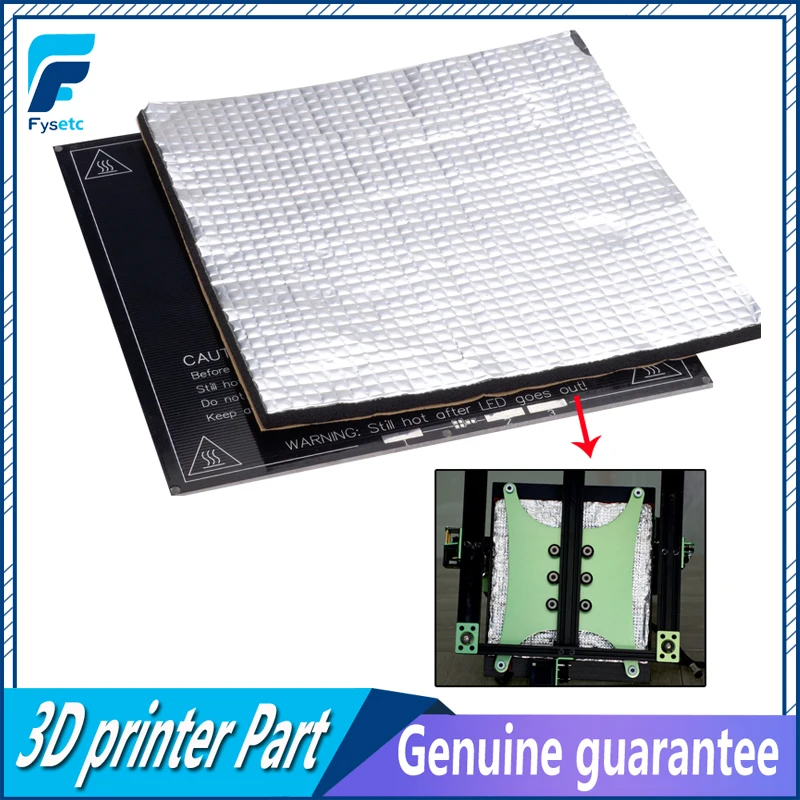 The printer is assembled, the table is screwed. Well, now the prose begins. Since we removed the table, its calibration has gone astray. And if so, it's time to calibrate it. here you know what to do :)
Anycubic Ultrabase hot table complete.
Well, now a completely legitimate question. And what gives such an improvement? And it allows you to accelerate the warm-up of the printer to the operating temperature and maintain the stability of this very temperature by reducing its fluctuations, as well as save some electricity. According to my purely subjective tests in a hurry, on Anycubic 4Max, warming up the printer table to 100 degrees without insulation was 10 minutes. After carrying out the insulation, the warm-up time began to be 5-7 minutes. Which reduces printer startup time by 30%. So it's up to you. Is it worth it or not.
If you have not got a 3D printer yet and are thinking about which model to choose, I can recommend the following models:
Anycubic i3 Mega 3D printer
Anycubic Mega-S (Anycubic S) 3D printer
Anycubic 4MAX Pro 3D printer
These links to trusted sellers who sell original printers.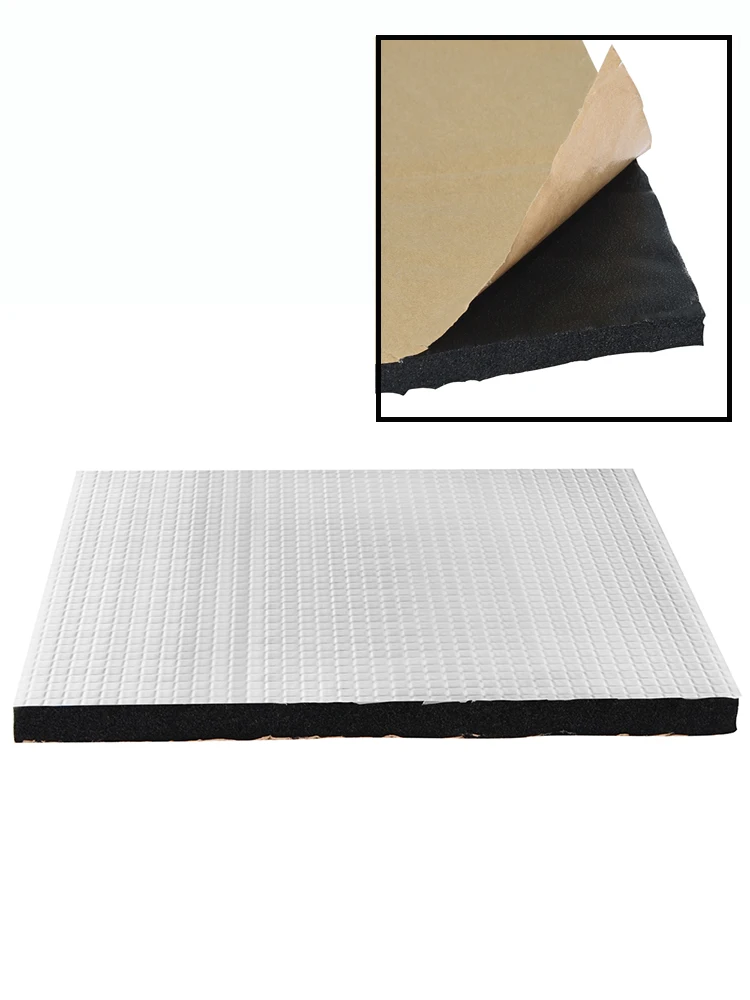 They provide technical support and give a one-year warranty.
And for those who do not have an ultrabase, but really want to, here is a link to purchase the original Ultrabase from Anycubic
If you liked the article, add me to my VKontakte group and get notifications about new articles super quickly.
Welcome to NIOZ.RU
Sort by
Product Name +/-
Product Price
Featured Products
Product Availability
Displaying 1 - 60 of 659
153060150
Products
3D Scanner Ciclop
RUB 8500.00
Notify when available
Product description
400 ml
RUB 1940.00
Product description
RUB 390.00
Product description
350 ml
RUB 850.00
Product description
Ready to print
RUB 23700.00
Item description
Ready to print out of the box
RUB 14500.00
Notify me when available
Product description
Ready to print
RUB 19900.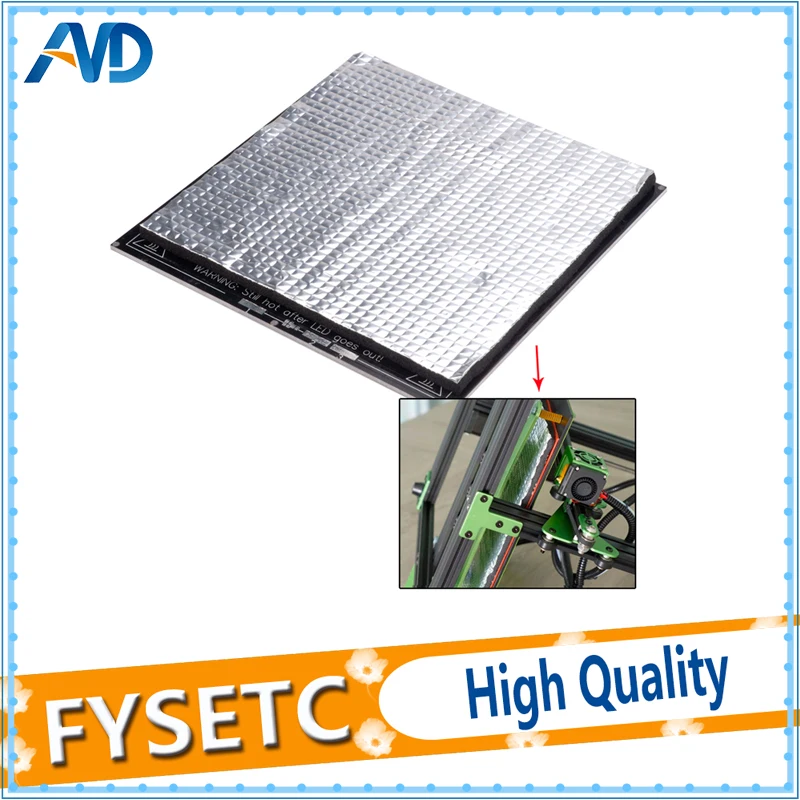 00
00
Item description
Print ready
RUB 20900.00
Notify me when available
Product description
Ready to print
RUB 23900.00
Item description
Ready to print out of the box
RUB 43500.00
Product description
Ready to print
RUB 39000.00
Item description
LCD 0.7/1.75 mm
RUB 1550.00
Notify me when available
Product description
OLED, 0.6/1.75mm, USB
RUB 2150.00
Notify me when available
Product description
RUB 650.00
Product description
Wiznet W5100 Arduino Shield
RUB 650.00
Notify me when available
Product description
RUB 550.00
Product description
Assembly kit
RUB 2500.00
Notify me when available
Product description
Volume: 1 l.
RUB 3100.00
Product description
Boscam 200mW, 5. 8GHz
8GHz
Chimera, e3d
RUB 1700.00
Product description
Print head 1.75mm 0.4mm
RUB 1100.00
Product description
Double printhead 1.75mm 0.4mm
2500.00 RUB
Report Admission
Product description
Long
RUB 750.00
Item description
Short
RUB 700.00
Item description
RUB 100.00
Notify me when available
Product description
LERDGE 2IN1
Call for Quote
Notify me when available
Product description
Call for a quote
Notify me when available
Product description
Quantity: 1 set Weight: 10 g
RUB 100.00
RUB 1900.00
Notify me when available
Product description
APM2.6 mavlink
RUB 1350.00
Product description
ESP8266 is a highly integrated chip
RUB 250.00
Product description
Call for a quote
Notify me when available
Product description
11. 1V, 20C
RUB 1900.00
Item description
11.1V, 25C
RUB 1250.00
Notify when available
Product description
11.1V, 25C
RUB 2100.00
Product description
Heat block v6
RUB 150.00
Item description
cartridge type thermistor
Heat block Volcano
Output parameters: 24 V, 600 W.
RUB 3300.00
Product description
12V 20A
RUB 1550.00
Product description
12V 30A
RUB 1950.00
Notify me when available
Product description
12V 5A
RUB 450.00
Notify me when available
Product description
24V 15A
RUB 2100.00
Notify me when available
Product description
RUB 250.00
Product description
Hobbed bolt
RUB 150.00
Item description
Price per 10mm (free cutting)
RUB 13.00
Product Description
Price per 10mm (free cutting)
RUB 17.