3D printer dremel software
Dremel DigiLab 3D Slicer | 3PI Tech Solutions
Based on Cura's open-source slicing software, Dremel DigiLab 3D Slicer will allow you to securely slice your CAD files without the need for internet connection. Since it's based on Cura, you can use the Dremel DigiLab 3D Slicer to slice files for not only your Dremel 3D printers, but also for your other Cura-integrated 3D printers.
For optimal performance of the Dremel DigiLab 3D Slicer, please ensure that your operating system is regularly updated to the most current version. Prior versions will not be optimized for compatibility; however, all new versions will be supported.
Note: 3D20 users must have firmware version v1.5-2018611 or later.
Download for Windows
Download for Mac
This video will show you all of the basic steps involved in slicing an STL or OBJ 3D file into a printable file format.
The figure above shows the interface of the Digilab Slicer with all features labeled. The features are described below:
- Open File: Import the file to be printed.
- Build Volume: The thin blue line represents the edge of the build volume, which is 10" x 6" x 6.7" (255 mm x 155 mm x 170 mm).
- File Preparation: Move, scale, rotate, and mirror the file in the file preparation tab.
- View Mode: Visualize the file as a solid, x-ray, or by layers based on the setup being used.
- Build Platform: Represents the location to where the models adhere when printing.
- Printer Selection: The software is compatible with the Dremel 3D45, 3D40, and 3D20. Ensure the correct printer is selected.
- Material and Quality: Select the material supported by your printer and the profile (quality) of the print.
- Print Setup: Adjust infill, support, and build plate adhesion settings.
- Print Estimates: Estimate print time. material required and cost after preparing the file.
- Prepare: Prepare the file to be printed based on the print setup being used.
Upon printer selection, standard settings will automatically load for that printer.
Step 3: Select the Material and the Profile
Select the material supported by your printer. Dremel 3D45 supports PLA, ECO-ABS, Nylon, and PETG. Dremel 3D40, 3D40-Flex, and 3D20 supports PLA only.
Select the print profile (quality) for your print. The quality is determined by the layer height of the print. A smaller layer height will create a more detailed part, with a longer print time. A taller layer height will print faster, but with less details depending on the part being printed. As shown in the pictures below, as you go towards a lower quality, the print layers are more visible and details may go missing. Compare the details in each quality by looking at the details of the print in a common location across the different quality levels
Note: If your file is not visible after importing, zoom in to the center of the build platform and check if the file is there. It may occur that the part has been imported in different units (millimeters instead of inches), therefore importing a very small file with the wrong dimensions. In this case, hold Control + A to select all the files on the build platform, and scale the part up by 2540% to convert the dimensions from millimeters to inches. Ensure the dimensions are correct after scaling the part up.
The following basic transformations can be performed to prepare the file:
Move: Move the part along the build volume by clicking the arrows on the part (shown in the left figure below) and dragging it or inputting the distance of the translation (shown in the right figure). Ensure the part is inside the build volume and in contact with build platform.
Rotate: Rotate the file by holding and dragging on the colored lines around the file (See figure below). The angle will be changed by 15 degrees increment. Ensure that the part is in contact with the build surface.
Scale: Scale the part by clicking on the file and dragging the scaling arrows (shown in the left figure), or by inputting the desired dimensions or scaling percentage (shown in the right figure). Check the uniform scaling option in order to make the scaling consistent in X, Y, and Z axes. Ensure the part is inside the build volume.
Mirror: Mirror the part across a certain plane by clicking on the arrows around the file.
Infill, support, and build plate adhesion settings can be adjusted under Print Setup.
Infill: The infill is the internal support material in the part. The infill percentage can be adjusted from 0% (empty) to 100% (solid). Higher infill results in a stronger and heavier part, with a longer print time. Smaller infill results in a lighter part with a faster print time. Gradual infill will gradually increase the amount of infill towards the top of the model.
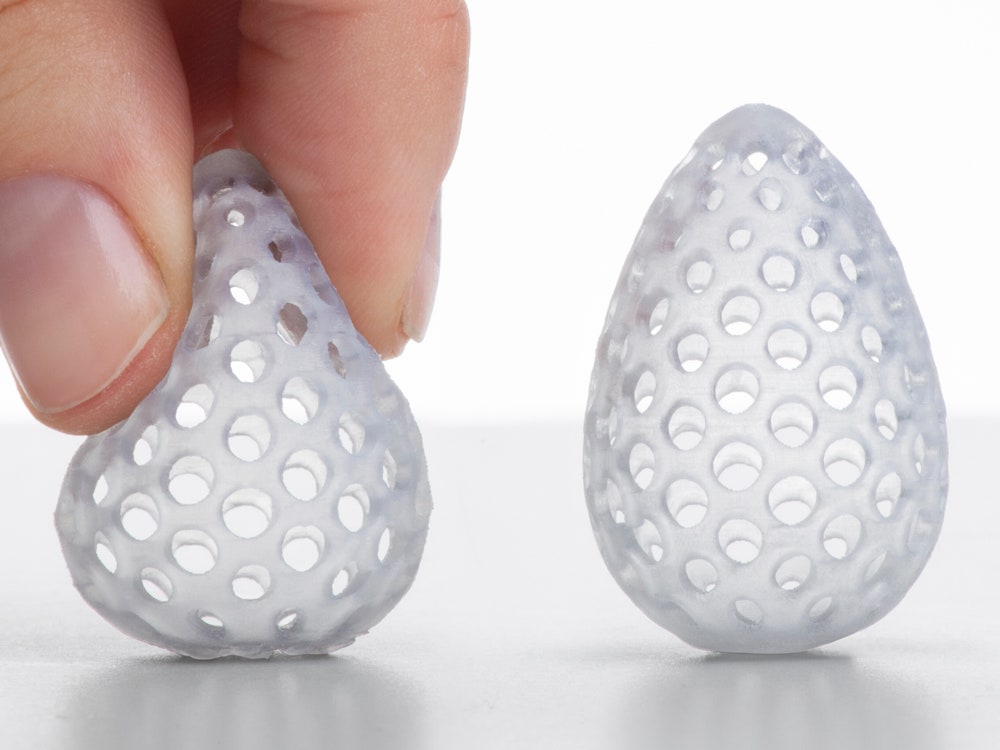
Support: Support structures (encircle in yellow below) will be printed where there are overhangs on the part. Without these structures, the model would not be able to be printed. Those supports can be removed after the part has been printed (see picture on the right).
Build Plate Adhesion: This setting enables printing a skirt under recommended settings (see picture below), which will add a flat area around or under the object that can be easily removed after printing.
For advanced users, select Custom under print setup. That enables a wider range of print settings to be adjusted, creating the optimal print setup for your print.
- Connect your 3D printer to print over LAN
- Activate all custom settings
- Create & save a custom printing profile
- Create a custom material profile
- Fine tune your supports for the best outcome
- Enable Dark Mode
- Explore some of the 300+ Special & Experimental Modes
Improve your print quality with the most powerful 3D printing software available. Simplify3D® provides complete control over your print settings, making it easier than ever to create high-quality 3D prints. Start up quickly with pre-configured settings optimized for Dremel's 3D Printers, review a simulation of your build sequence in the Preview Mode, and begin your 3D print with confidence. Total control means amazing 3D prints!
Simplify3D is not included with your Dremel 3D Printer and must be purchased separately.
Learn More
Dremel | Simplify3D Software
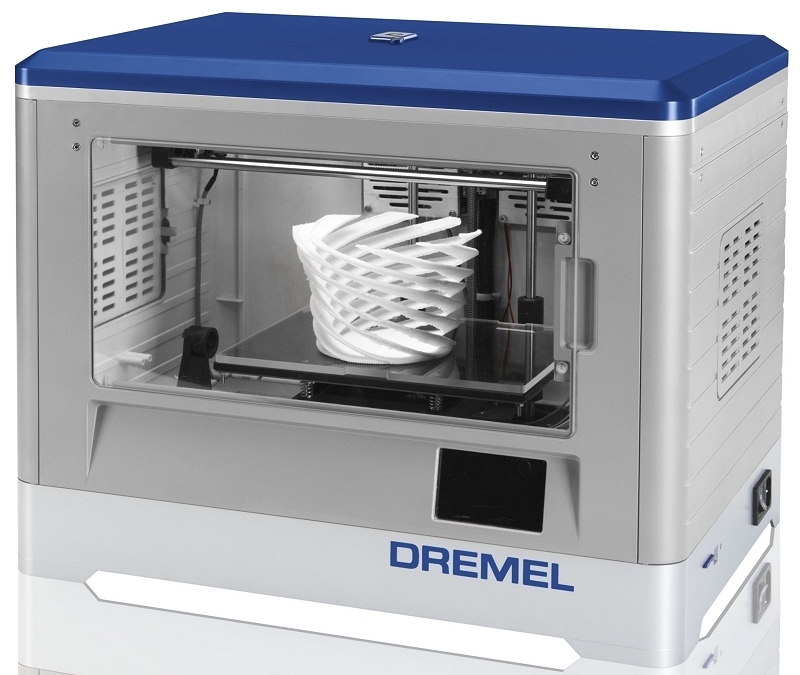
This page is designed to help you set up your Dremel® 3D Idea Builder for use with the Simplify3D® All-in-One software*. The Idea Builder is an extremely well-built printer that was designed for PLA extrusion. The large build volume, easy-to-remove build surface, and the quality enclosure make this an enticing 3D printer at an MSRP of $999.
*Note: Simplify3D is not affiliated with Dremel or Bosch Tools in any way
Final Hardware Checks
Prior to using the 3D Idea Builder with Simplify3D Software, it’s very important to ensure that your machine is ready for printing. Please make sure that any cardboard, packaging materials, and zip ties are removed from the inside of the printer. Verify that the roll of filament is properly mounted on the spool and is being routed through the plastic guide tube.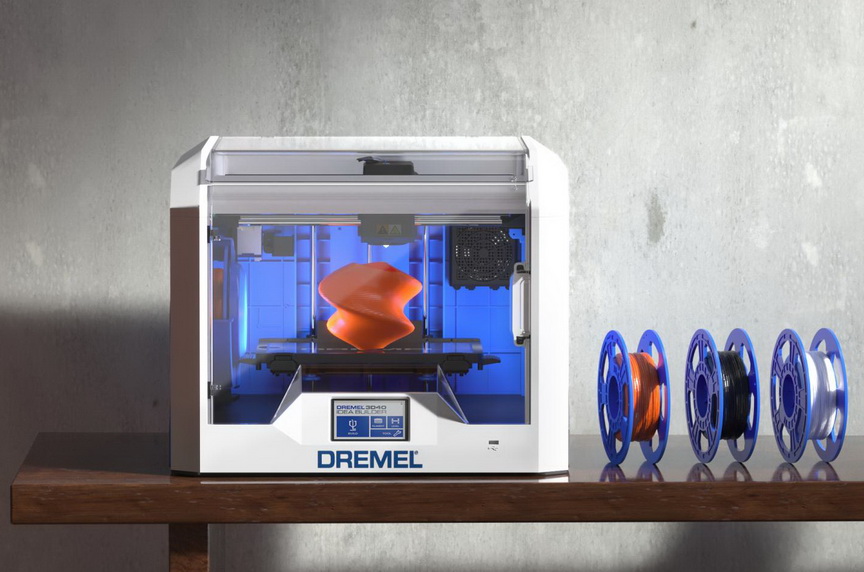 Using the touch-screen on the printer, you can select the Load Filament option which will heat the extruder and push the filament into the nozzle.
The Bed Leveling option on the touch-screen is also extremely helpful in setting up the printer. Use the three knobs on the bottom of the printer and adjust the height at each position in the bed leveling process to ensure your build platform is ready for printing.
The Dremel 3D printer has 4GB of internal storage via a micro SD card connected to the electronics control board, as well as an externally removable SD card accessible from the right side of the machine. When printing over USB, the files will be transferred onto the internal storage. You also have the option of copying files onto the external SD card if you wish to print using the LCD screen. This guide will explain how to print using both of these methods.
Printing with Simplify3D
The first time a user starts Simplify3D they are greeted with a Configuration Assistant that includes a list of supported printers.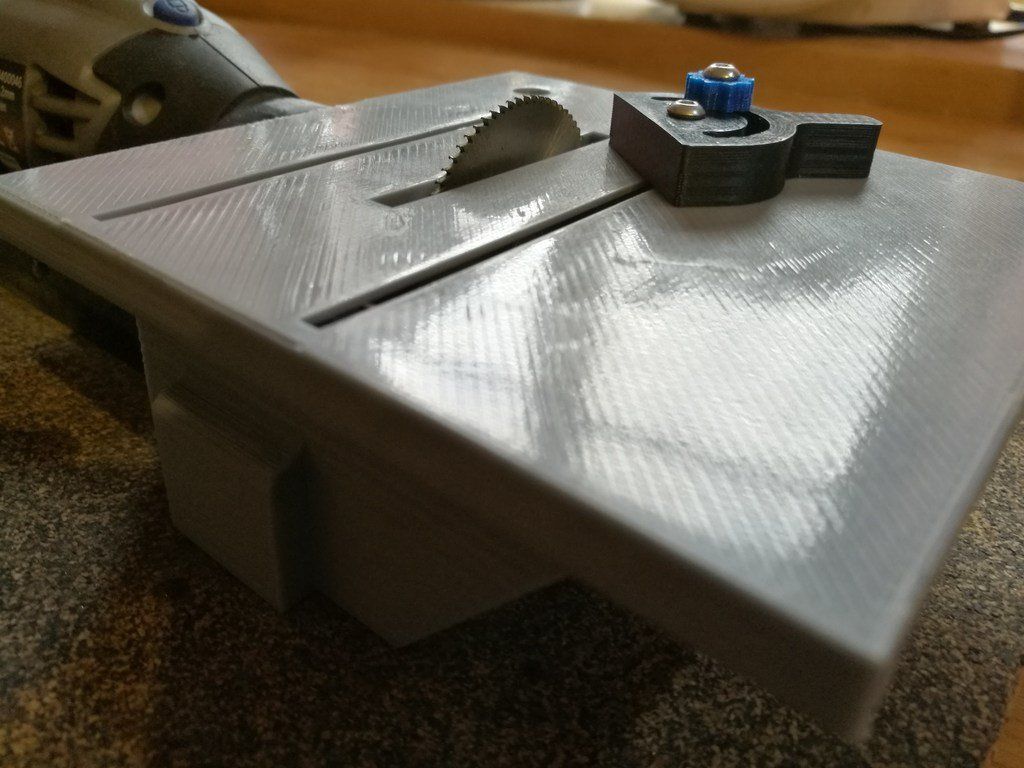 Select the “Dremel Idea Builder” from this list to automatically configure the software for your machine. If this is not your first time opening the software, but you’d like to open the Configuration Assistant, please select Help > Configuration Assistant to bring up this window.
After completing the Configuration Assistant, import the 3D model you’d like to print. To Import a model, you can either select the Import button or drag-and-drop the file into the graphics window. After importing the model, please click “Edit Process Settings”. This will open the FFF Settings window where you can configure a wide variety of slicing options.
In the process settings, you will also find options to select the material for the print, the preferred quality, infill percentage, and whether to use a raft or generate support material. If you’d like to customize your prints further, please click the “Show Advanced” button. For more information on the settings available in the Advanced Settings view, please view our other tutorials, which are available in the Tutorial Library.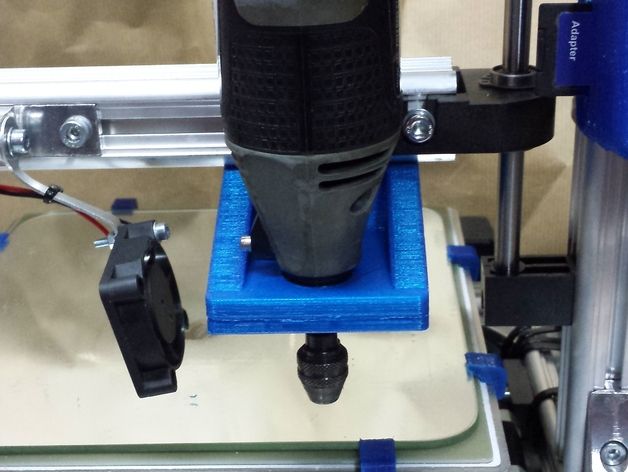
After the Process Settings are configured, please click “Prepare to Print!”. This will convert the 3D models on your build plate into the necessary toolpaths for the Dremel printer. Once this process is complete, you will then have the option to “Begin Printing over USB” or to “Save Toolpaths to Disk”. If printing to USB, please turn on the printer and connect the printer’s USB cable to your computer. If the USB connection does not automatically occur, please open the Machine Control Panel by going to Tools > Machine Control Panel to verify your connection settings. If printing from an SD card, you can simply click “Save Toolpaths to Disk” to export the toolpaths as .g3drem file. The Dremel printer uses this unique .g3drem file format so you can then copy this file onto the Dremel’s external SD card and begin printing using the built-in LCD screen.
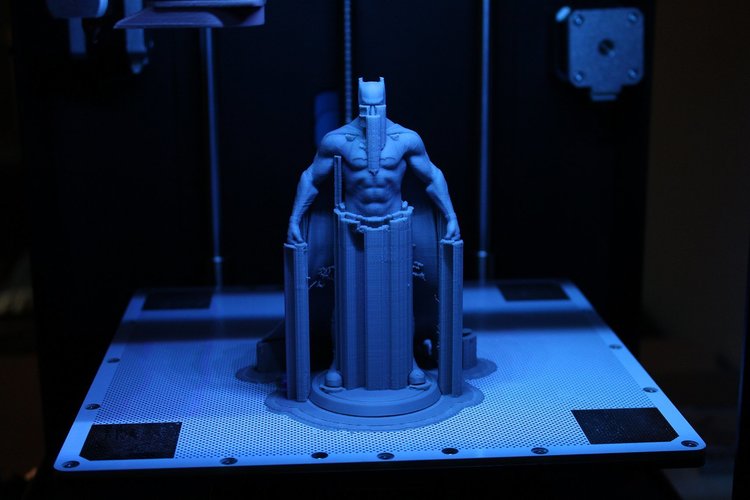
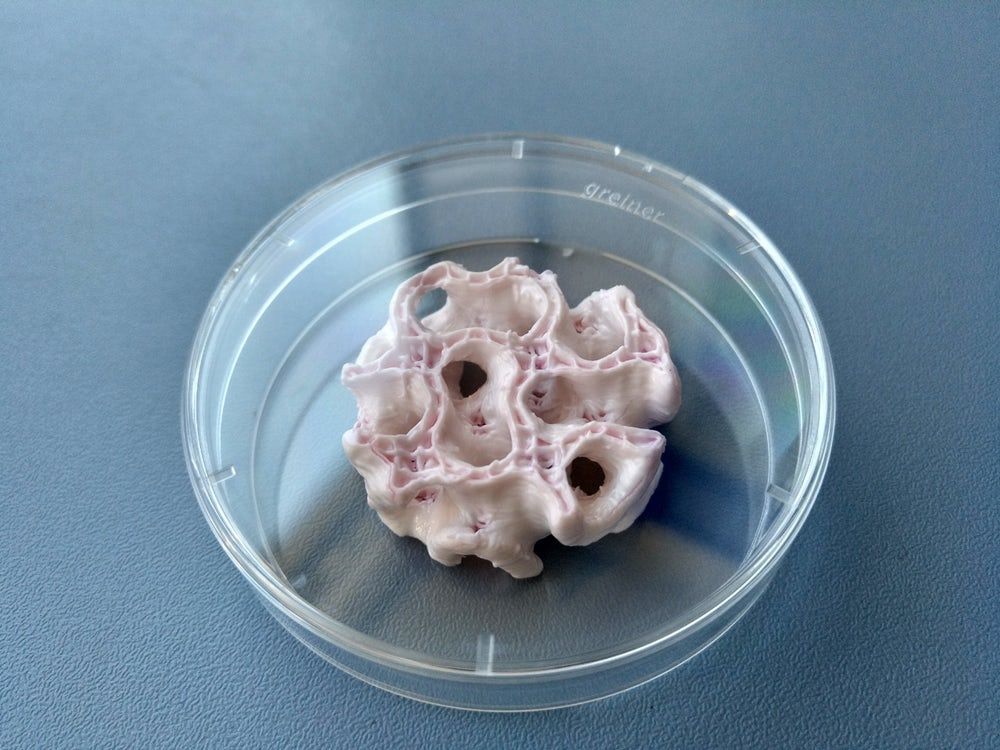
At this point, you are free to use all of Simplify3D’s advanced features with the Dremel Idea Builder 3D printer. This allows Dremel users to unlock many new capabilities on their machines such as printing parts with support material or using the advanced slicing and previewing engines embedded in the Simplify3D Software.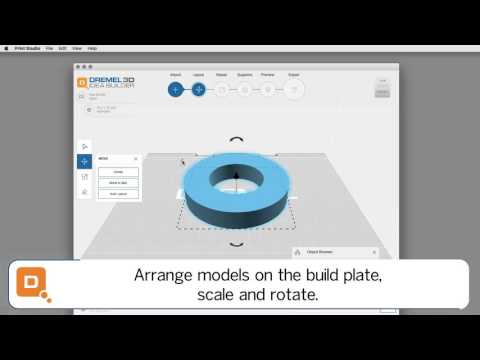 The model to the left would not have been printable without support material. The software will automatically place support where you need it and it breaks away extremely easily after the print is complete. In fact, many times the entire web of support material separates in a single piece, as was the case with this print. The Dremel Idea Builder is a high-quality machine, and now the software gives you the ability to use this machine to its full potential.
Troubleshooting
Simplify3D won’t connect to my printer
It’s very important that the Dremel Idea Builder drivers are installed on your computer. The easiest way to install these drivers is by installing the Dremel 3D Idea Builder software from Dremel. If you are unable to connect with Simplify3D, please install the Dremel software, and then attempt to connect to the printer using that software. If this is successful, it ensures your drivers are properly installed. You can then close Dremel software and attempt the connection a second time using Simplify3D. Note that you may need to power cycle the Dremel between connection attempts.
I recently upgraded my software and I do not see the profiles for the Dremel Idea Builder
Please go to Help > Reset All Settings, then reopen the software. This will restore all of the stock profiles, including those for the Dremel 3D Idea Builder.
Top 20 Free 3D Printing and 3D Printing Software
Looking for 3D printing software? We've rounded up the top 20 software tools for beginners and professionals alike. Most slicers are free.
What is a slicer? This is a program for preparing a digital model for printing. Models for 3D printing are usually distributed in STL files. To turn an STL file into G-code (a language that a 3D printer understands), a slicer program is required. It is called a slicer because it cuts (to slice - English) a 3D model into many flat two-dimensional layers, from which a 3D printer will add a physical object. nine0005
Which slicer should I choose? In this article, we will tell you which slicer is best for 3D printing for each stage of your work. Which one is better for preparing a 3D model for printing? But what if you need to create a 3D model from scratch? And if you are only taking the first steps in 3D?
Don't be afraid: we've answered all of these questions, including the required skill level for each program and where you can download it. The great thing is that most of these programs are completely free and open source. nine0005
- Cura
- CraftWare
- 123D Catch
- 3D Slash
- TinkerCAD
- 3DTin
- Sculptris
- ViewSTL
- Netfabb Basic
- Repetier
- FreeCAD
- SketchUp
- 3D Tool
- Meshfix
- Simplify3D
- Slic3r
- Blender
- MeshLab
- Meshmixer
- OctoPrint
#1: Cura
For beginners who need a slicer to prepare STL files for 3D printing
Cura is the default slicer software for all Ultimaker 3D printers, but can be used with most others , including RepRap, Makerbot, Printrbot, Lulzbot and Witbox.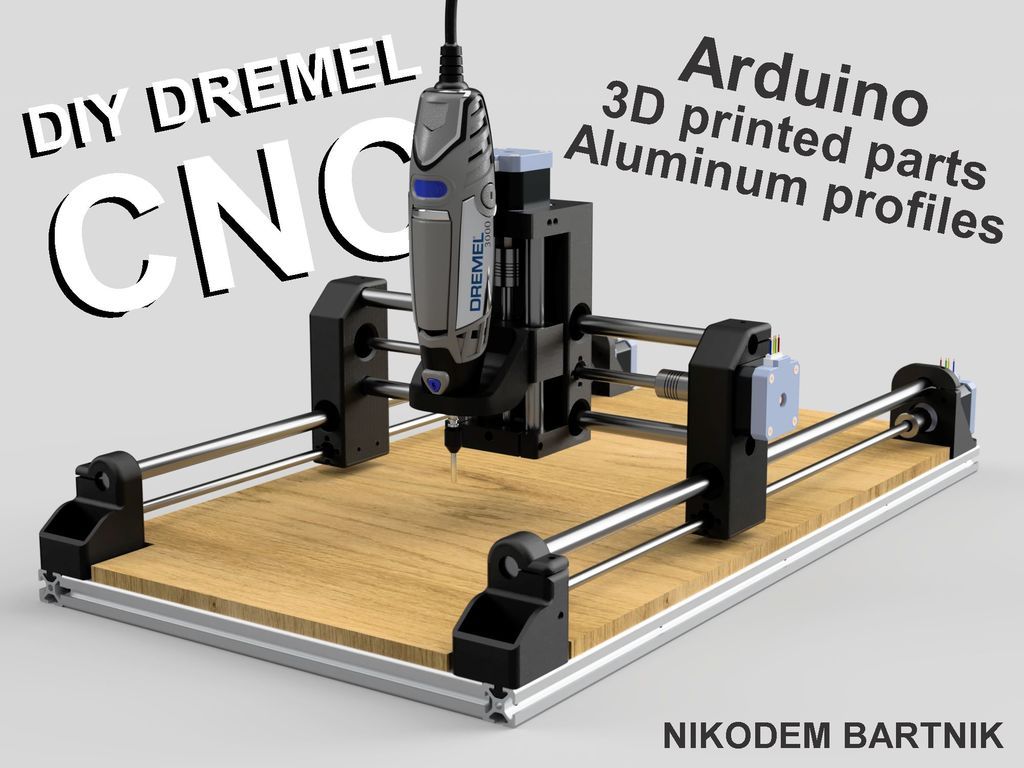 The program is completely open source, its capabilities can be extended using plugins.
This program is very easy to use and allows you to manage the most important 3D printing settings through a clear interface. Start in Basic mode to quickly get up to speed and change print quality settings. If finer control is required, switch to Expert mode. nine0005
Cura can also be used to directly control the printer, but then the printer and computer must be connected to each other.
Download: Cura
Price: Free
Systems: PC, Mac, Linux
#2: CraftWare
3D printers by the Hungarian startup CraftUnique to support their CraftBot crowdfunding machine. However, the program works with other printers. nine0005
Like Cura, CraftWare allows you to switch from "Easy" to "Expert" mode, depending on how confident you feel. It's a colorful app that features a visual G-code visualization with each function represented by a different color. But the most outstanding feature is the individual support service. As far as we know, only the paid program Simplify3D has this.
Please note, however, that this program is still in beta, so bugs may occur. nine0005
Download: CraftWare
Price: Free
Systems: PC, Mac
#3: 123D Catch
-systems, smartphones and tablets, which allows you to convert images of objects into a 3D model. Pictures can be taken with a smartphone/tablet or digital camera.
You need many photos of the object from different angles - the more the better - after which they will be compiled into a 3D model. nine0005
123D Catch is more of a fun app than a professional 3D printing tool, but after some tambourine dancing, you can get good results, especially when paired with an STL editor like MeshLab or Meshmixer.
Price: Free
Systems: PC, Android, iOS, Windows Phone
#4: 3D Slash
and surprisingly simple, and refreshingly new. With 3D Slash, you can design 3D models using your dice skills. nine0005
You can start with a large block and, like a virtual sculptor, remove small cups from it with tools such as a hammer or drill, or start from empty space and build a model from cubes and other shapes. You can paint with flowers or use template pictures.
Other features worth mentioning are tools for creating logos and 3D text. The Logo Wizard imports an image and creates a 3D model, while the Text Wizard allows you to enter and format text, and then turn it into 3D. nine0005
Recommended!
Download: 3dslash.net
Price: Free
Systems: PC, Mac, Linux, browser
#5: TinkerCAD
- A computer-aided design (CAD) system for 3D printing, which is a good starting point for beginners. Since its capabilities are limited compared to Blender, FreeCAD and SketchUp, many users switch to more powerful tools after some time. nine0005
As in 3D Slash, here you can build models from basic shapes. At the same time, unlike 3D Slash, TinkerCAD allows you to create vector shapes in 2D and convert them into three-dimensional models.
Come in: Autodesk TinkerCAD
Price: Free
Systems: Browser
#6: 3DTin
For beginners who want to create 3D printable models
another easy and intuitive online tool choice for beginners in 3D modeling. All you need is a Chrome or Firefox browser with WebGL enabled. nine0005
Choose from a huge library of 3D shapes and add them to your sketch. All sketches are stored in the cloud, access to them is free if you honor the Creative Commons license. Everything can be exported to STL or OBJ formats.
Enter: 3DTin
Price: Free
Systems: Browser
#7: Sculptris
For beginners who want to create 3D printable models
clay. This is a fantastic 3D modeling program if figurines are your main task. For example, you can make a bust of your favorite video game or comic book character. Sculptris is completely free and bills itself as a stepping stone to the more complex (and expensive) ZBrush tool.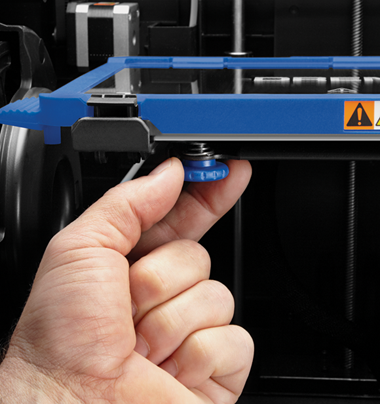 nine0005
Download: Pixologic Sculptris
Price: Free
Systems: PC, Mac
#8: ViewSTL
For beginners who want to view STL files
Using ViewSTL is the easiest way to view STL files . Simply open a web page and drag the STL onto the dotted box.
The STL online viewer allows you to display the model in one of three views: flat shading (for a quick view), smooth shading (for a high-quality image), and wireframe. nine0005
Enter: ViewSTL
Price: Free
Systems: Browser
#9: Netfabb Basic
some nice features that allow you to analyze, "repair" and edit STL files before moving on to the model cutting stage.
A good choice if you need more than just a slicer and want to be able to quickly fix STL files without having to learn programs like MeshLab or Meshmixer. nine0005
Don't let the 'Basic' in the title fool you, Netfabb Basic is actually a very powerful 3D printing tool. It's "basic" only in the sense that it doesn't cost €1,500 like Netfabb Professional!
Download: netfabb. de
de
Price: Free
Systems: PC, Mac, Linux
No. 10: Repetier
For advanced to prepare STL files for 3D printing
9002 the next level of 3D printer slicer software, but if you want to stay open source, you should look into Repetier. It is the great grandfather of 3D printing software and a favorite of the RepRap community. nine0005To date, the program is moving by leaps and bounds from the level for beginners to advanced users. Packaged in an all-in-one configuration, it supports up to 16 extruders, multi-slicing via plug-ins, and virtually every fusing 3D printer on the market. Get ready to tinker!
What's more, Repetier Host works remotely via Repetier Server, so that the 3D printer can be controlled via a browser, tablet or smartphone. nine0005
Download: Repetier
Price: Free
Systems: PC, Mac, Linux
#11: FreeCAD
The program is a great option for developing your design skills. More technically, this parametric 3D modeling program allows you to easily change the design by rolling back through the history of the model and editing the parameters. nine0005
Download: freecadweb.org
Price: Free
Systems: PC, Mac, Linux
#12: SketchUp
For beginners who want to create 3D printable models
SketchUp is the perfect combination of simplicity and the perfect combination functionality, with a user-friendly interface and a relatively flat learning curve (i.e., as experience grows with the time spent), the ideal program for developing three-dimensional models.
The Make SketchUp version is free and will include everything you need for 3D modeling if you also download and install the free STL exporter. There is also a professional edition for architects, interior designers and engineers. nine0005
Download: sketchup.com
Price: Free (SketchUp Make), $695 (SketchUp Pro)
Systems: PC, Mac, Linux
#13: 3D-Tool Free Viewer
view and check STL files
3D-Tool Free Viewer is a sophisticated tool that, among other things, allows you to check the structural integrity and printability of your file. With the Cross-Section function, for example, you can look at the model from the inside and check the wall thickness. Very useful if you want to check your STL file for killer errors before printing. nine0005
Download: 3D-Tool
Price: Free
Systems: PC
#14: Meshfix
your model for errors.
Price: Free
Systems: Browser
#15: Simplify3D
For professionals to prepare STL files for 3D printing print. A flexible algorithm checks the model for problems, fixes them, shows a preview of the printing process (ideal for identifying potential problems), and then slices it. nine0005
This slicer offers the best infill pattern options in the competition. For models that require supports, Simplify3D will create the appropriate structures on its own and give you full control over their placement. For printers with a dual extruder, when printing with different materials, the Dual Extrusion wizard will help, as a result of which, for example, it will be easier to remove the dissolving filament.
Simplify3D supports 90% of today's commercially available desktop 3D printers and is compatible with Marlin, Sprinter, Repetier, XYZprinting, FlashForge, Sailfish and MakerBot firmware. Simplify3D can also be used to directly control the printer, but then the printer and computer must be connected to each other. nine0005
Download: simplify3d.com
Price: $149
Systems: PC, Mac, Linux
#16: Slic3r
source code, which has a reputation as a carrier of super new functionality, which you will not find anywhere else. The current version of the program is able to show the model from multiple angles, so that the user gets a better preview experience.
There's also an incredible 3D honeycomb infill, the first of its kind that can extend over multiple layers rather than repeating itself like a stamp. This significantly increases the strength of the internal filling of the model and the final printout.
Another option is direct integration with Octoprint. Once the files on the user's desktop are sliced, they can be directly uploaded to Octoprint with one click.
Download: Slic3r
Price: Free
Systems: PC, Mac, Linux
#17: Blender
For professionals who want to create 3D printable models
Blender is a popular computer-aided design (CAD) system with a steep learning curve. Not at all the best choice for beginners, but what you need if you are quite experienced and need something more complex for modeling and printing.
In short, Blender is one of the most powerful tools out there. Its community is always ready to help, there are a lot of educational materials. It's also open source, so enthusiasts often write extensions to make it even better and more powerful. nine0005
Download: blender.org
Price: Free
Systems: PC, Mac, Linux
#18: MeshLab
For professionals to prepare STL files for 3D printing
MeshLab - advanced editor. It allows you to remove parts of a 3D model, merge two models into one, patch holes. If you need a program to modify models for 3D printing or some kind of "repair" work, MeshLab is the right choice.
Price: Free
Systems: PC, Mac, Linux
#19: Meshmixer
For professionals to prepare STL files for 3D printing files. It's especially good for identifying potential problems and fixing them automatically. For example, it will show paper-thin walls that can lead to problems with 3D printing. Meshmixer is part of the Autodesk family of 3D printer software, so it should work well with tools like TinkerCAD. nine0005
Price: Free
Systems: PC, Mac
#20: OctoPrint
start, pause or interrupt 3D print jobs. Combined with Wi-Fi capable devices, it makes for a great monitor for remotely monitoring the 3D printing process.
Octoprint understands the G-codes of almost all 3D printers and slicers and includes a gCodeVisualizer to visualize this code before or during printing. nine0005
If you want to work away from your 3D printer and control it remotely, Octoprint is the best you can find.
Download: octoprint.org
Price: Free
Systems: PC, Mac, Linux
Source
Best STL Files for 3D Printing Dremel・Cults
DREMEL LITE HOLDER
1.93 €
Adapter for Dremel 575 main thread
Free
tool holder for dremel
€12.39 -66% 4.21 €
Timbertech paint mixer
0.62 €
Versatip Stand Insert for Original Dremel Case
Free
Soporte CNC Mototool TITAN
Free
Base for dremel3000
0,95 €
Universal Filament Filter
Free
dremel bench
2. 71 €
71 €
Mini PCB Drill Press - Version with M8 Rod
Free
My Dremel Organizer
Free
Dremel 3000 CNC Mount
Free
dremel drywall nozzle
Free
Protector dremel 3000
0,50 €
Clip mount for cordless dremel
Free
Dremel Modular Tool Stand
Free
Small dremel tool holder
Free
Dremel Angle Adjustable Table Saw
Free
3D Printing CNC DIY - Dremel CNC Remix
Free
Dremel Mount for Bear Upgrade / Prusa MK3
Free
Dremel Small CNC PCB Mount
Free
Dremel Ball Sander
Free
Dremel depth gauge
2 €
nine0058 Dremel Chainsaw ManualFree
Dremel Holder
Free
Dust collector for CNC Dremel "CLIP ON
Free
Magnetic vice
1 €
PROXXON IBS/E Precision handle
Free
nine0058 Cutting discs with spark arresters Dremel4,99 €
Boquilla Dremel 2.
 35mm
35mm Free
Dremel Nail Board Mount
Free
Dremel Drill Press (Remix)
Free
Mini Lathe Stand - (Black And Decker, Dremel)
1.63 €
Vacuum sanding dust extractor
Free
Paint mixer attachment
Free
Dremel Flexible Shaft for Lathe
Free
Large and medium mills
0.95 €
nine0058 MaduixaCNC Dremel tool holderFree
dremel table
Free
Dremel Bit Holder - Holder
1 €
adapter dremel 3d20
0,55 €
Organizer for mini coffee grinder (coffee grinder)
Free
Dremel 8220 Screw adapter
Free
multi-functional blade, suitable mainly for dremel
Free
dremel_skadis_ikea_holder
Free
MINI DRILL
2.