3D printer build plate temperature
PLA bed temperature & print temperature settings
Polylactic acid (PLA) filament is the most popular material for consumer FDM 3D printing, and there are a few reasons why this is so. For one, PLA is highly affordable, meaning users can buy in bulk and iterate designs over and over without worrying about wasted material. Another reason for PLA’s popularity is its printability at low temperatures: with a glass transition temperature of around 60 °C, PLA can be printed using moderate heat settings without high-end, high-temperature equipment.
That being said, finding the ideal PLA bed temperature and print temperature isn’t always straightforward. Although the material generally requires low temperatures, the ideal range can vary depending on the brand of filament and the type of 3D printing hardware. And, as with other filaments, printing below or above the optimal temperature range can lead to issues like under-extrusion or stringing. Furthermore, the particularly low melting point of PLA makes it susceptible to a range of temperature-related 3D printing issues even after it has been printed.
This article serves as an introductory guide to PLA bed temperature and print temperature settings. It suggests suitable temperature ranges, identifies symptoms of printing at too high or too low a temperature, and offers tips on discovering the optimal temperature range for your specific 3D printing setup.
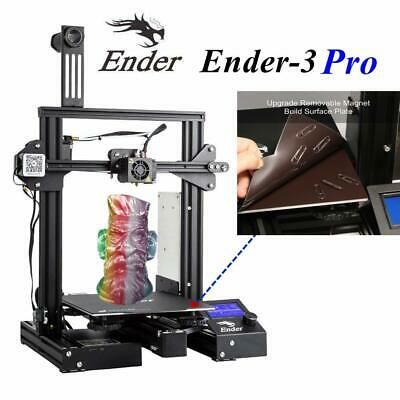
One of the key advantages of PLA — especially for beginners — is its ability to be printed without a heated print bed. This makes it suitable even for low-cost printers without heated bed capabilities.
For FDM 3D printing materials generally, a heated bed provides some important benefits. Firstly, it helps with bed adhesion. When the print bed is hotter than the ambient temperature, it allows the first layer of extruded filament to stay soft for longer, giving more time for first-layer adhesion to take place. Additionally, when the heated bed is eventually switched off, the rapid temperature reduction can help facilitate part removal; in some cases, the finished parts will simply “pop off” the build surface. A heated bed can also improve print quality by reducing warping. Parts cool down slower, reducing the severity of contraction and curling.
The PLA bed temperature should be around 50 °C or off altogether
Due to its low printing temperature, PLA is actually fairly resistant to first-layer adhesion issues and warping, especially compared to common alternatives like ABS. However, using the heated bed of a 3D printer can sometimes lead to better results when printing PLA, especially when the room temperature is on the cooler side or when printing a particularly large part.
If using a heated build plate when printing PLA, a temperature of around 50 °C works best. Cura, the popular slicer application, uses a value of 60 °C on its PLA print profile. Here are some recommended PLA print bed temperature settings from a selection of material manufacturers:
MatterHackers Build Series PLA: 40±15 °C
Fillamentum Extrafill PLA: 55 °C
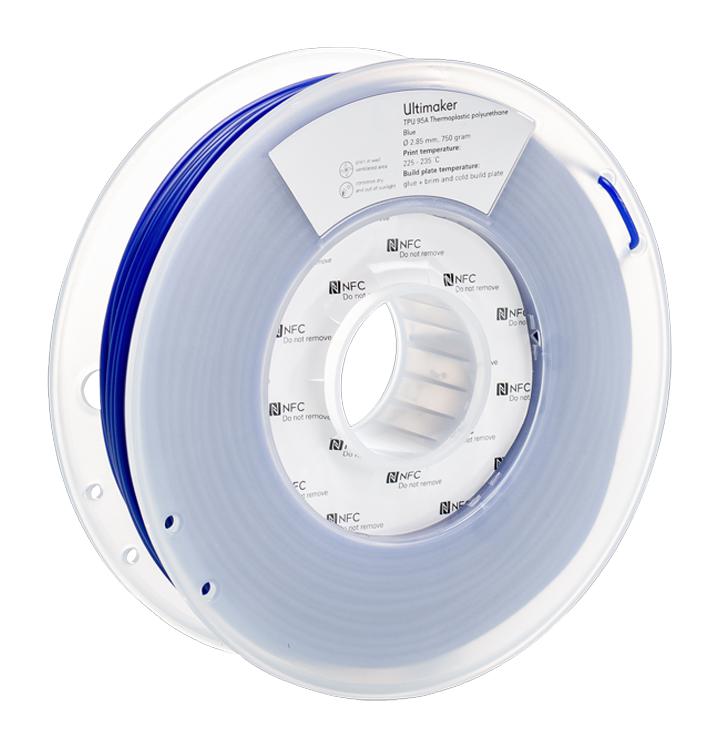
Ultimaker PLA: 60 °C
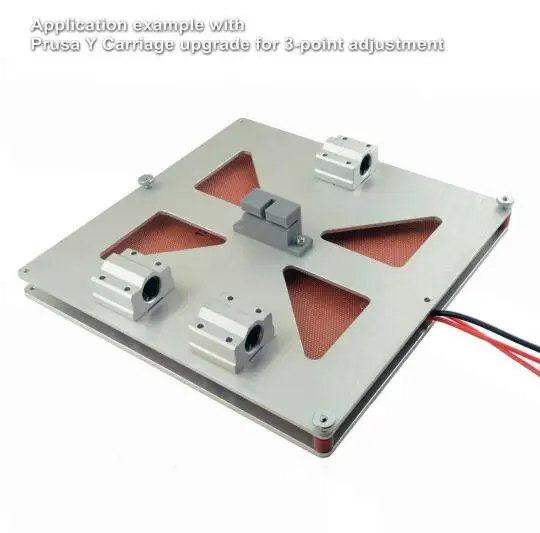
Note: the heated bed temperature is not the only factor that affects first-layer adhesion. The build surface is equally important: when printing PLA, glass coated with an adhesive like hairspray or glue stick provides good adhesion as well as good print surface quality on the bottom layer. Calibrating the bed level can also improve the adhesion of PLA printed parts on the printer bed.
When attempting to get the best results from PLA filament, the nozzle or hot end temperature is more important than the bed temp. The print temperature affects the print in several ways: higher temperatures improve material flow, enabling faster printing and good interlayer bonding.[1] However, too high a temperature can result in overly melted extruded layers which then sag and cause part deformation, in addition to other problems like material accidentally oozing from the nozzle. Using the lowest temperature you can get away with can therefore lead to the best visual results.
PLA requires a lower nozzle temperature than ABS or PETG
Compared to other thermoplastic printing filaments, PLA prints best at a moderate temperature, typically around 210 °C.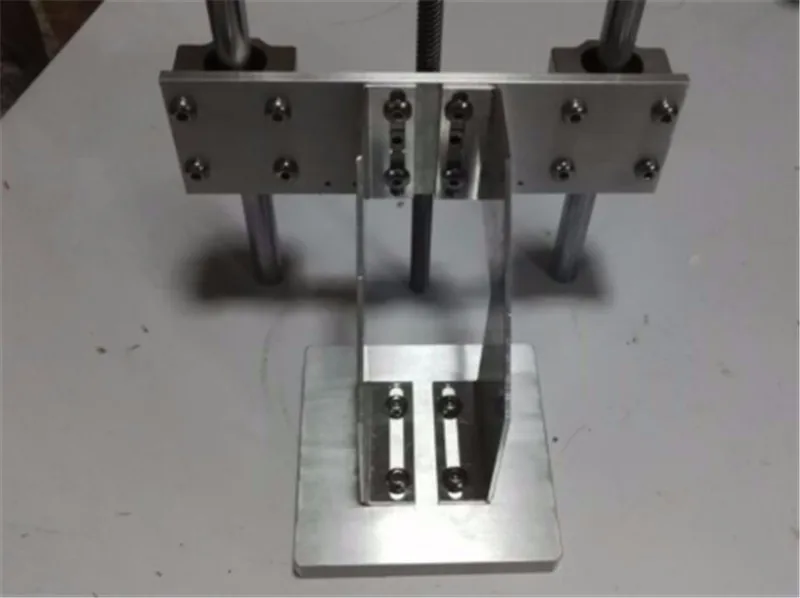 To put that into perspective, that’s around 50 °C cooler than you would use for ABS and 30 °C cooler than PETG. The reason for PLA’s low print temperature is the very low (around 60 °C) glass transition temperature of the material.[2] However, the optimal printing temperature depends on a few different variables. These include the specific filament variety, the printing speed (faster prints require a higher temp), and the nozzle size (larger diameters need a higher temp).
Rather than attempting to compute all these different variables at once, the best way to determine PLA print temperature is to run some test prints, as discussed in the final section of this article.
Most FDM printer users set their PLA print temperature to around 210 °C. Here are some recommended PLA print temperature settings from a selection of material manufacturers:
MatterHackers Build Series PLA: 205±15 °C
Fillamentum Extrafill PLA: 220±10 °C
Ultimaker PLA: 200–210 °C
Recommended reading: PLA vs ABS: Which filament should one use?
Failed or low-quality PLA prints are often the result of overly high bed or print temperatures. Setting these values too high can occur when using the wrong printing profile in your slicer, for instance, or when using a narrower nozzle diameter that requires a lower print temperature than the default settings.
Symptoms of excessive PLA bed temperature:
Elephant’s foot: A common PLA printing issue is when the first few layers of the print are splayed outwards due to being overly melted by the heated print bed then subjected to stress from subsequent layers. Elephant’s foot can be resolved by reducing the bed temperature or disabling the heating function altogether.
Over-adhesion: A heated bed can improve the first-layer adhesion of PLA parts. But setting the bed temperature too high can actually lead to the part sticking too well and requiring extensive scraping to remove it from the build surface. Slightly lower temperatures can maintain adhesion while reducing the need for scraping and prising.
Symptoms of excessive PLA print temperature:
Heat creep: If the nozzle temperature is too high, it can inadvertently melt the filament outside of the designated melt zone, especially when using an all-metal hotend.
 Heat creep often kicks in midway through a print, after the temperature has gradually risen up the hotend, and results in patchy or incomplete sections.
Sagging: When printed at too high a temperature, PLA parts can droop and sag, particularly during bridging (the printing of unsupported horizontal features). This can often be resolved by reducing the print temperature or by increasing the cooling fan power. Note, however, that excessive cooling can potentially lead to other issues like poor interlayer adhesion.
Oozing and stringing: High nozzle temperatures can lead to inadvertent leakage of the material from the nozzle during travel movements. This issue can be mitigated by reducing the print temperature or adjusting retraction settings.
Recommended reading: 3D printer stringing: How to fix it
The low temperature requirements of PLA mean that issues caused by too-low temp settings are less common. However, these issues can still arise in certain circumstances: when using nonstandard PLA filament, when the ambient temperature is especially cool, or when using a wide-diameter nozzle, for example.
Symptoms of insufficient PLA bed temperature:
Poor first-layer adhesion: In rare instances, PLA can fail to adhere to the print bed, leading to a dislodging of the part and ultimate print failure. This issue might be fixed by increasing the bed temp, but other solutions can include lowering the cooling fan power, cleaning the build surface (or introducing an adhesive coating), and bed leveling.
Symptoms of insufficient PLA print temperature:
Under-extrusion: When printing PLA, an insufficient nozzle temperature can lead to under-extrusion, which can manifest itself as holes in the print or a rough surface texture.
Clogs and jams: Insufficient temperatures can lead to insufficient melting of the PLA filament, potentially resulting in clogging of the nozzle and jamming that interrupts the print.
 These issues can be mitigated by increasing the print temperature or using a wider nozzle.
Recommended reading: How to fix under extrusion: Maintenance and print settings
Manufacturers of PLA filament typically provide recommended bed temperature and nozzle temperature settings that are optimized for their unique product. In some cases, however, these recommended settings do not lead to satisfactory results.
One way to find the best PLA printing temperature for your particular 3D printing setup — printer, nozzle, material, etc. — is to run some test prints and evaluate the results. But instead of printing a selection of ordinary parts, it can be helpful to print a particular 3D model known as a temperature tower.
Temperature tower exhibiting failure at lowest temperature
A temperature tower such as this one consists of several horizontal blocks, each of which is printed at an incrementally higher or lower temperature than the last..png) The numbers are printed onto the side of the tower (200, 205, 210, and so forth) so the user can quickly identify which block has been printed at which temperature. Each block of the temp tower typically contains features like gaps, overhangs, and fine features, providing a clear picture of the printer’s performance with each different temperature setting.
The numbers are printed onto the side of the tower (200, 205, 210, and so forth) so the user can quickly identify which block has been printed at which temperature. Each block of the temp tower typically contains features like gaps, overhangs, and fine features, providing a clear picture of the printer’s performance with each different temperature setting.
Of course, printing a temperature tower is a little trickier than an ordinary print, because the slicer must instruct the printer to adjust the temperature at each relevant increment. (Cura users can install and utilize the ChangeAtZ plugin to switch the nozzle temperature at the required intervals along the Z-axis.)
When the temperature tower has finished printing, users can simply visually inspect the print to see which blocks have printed well and which have not. The block with the least stringing or artifacts and the best quality on fine features indicates the optimal print temperature for the material on that specific printing setup.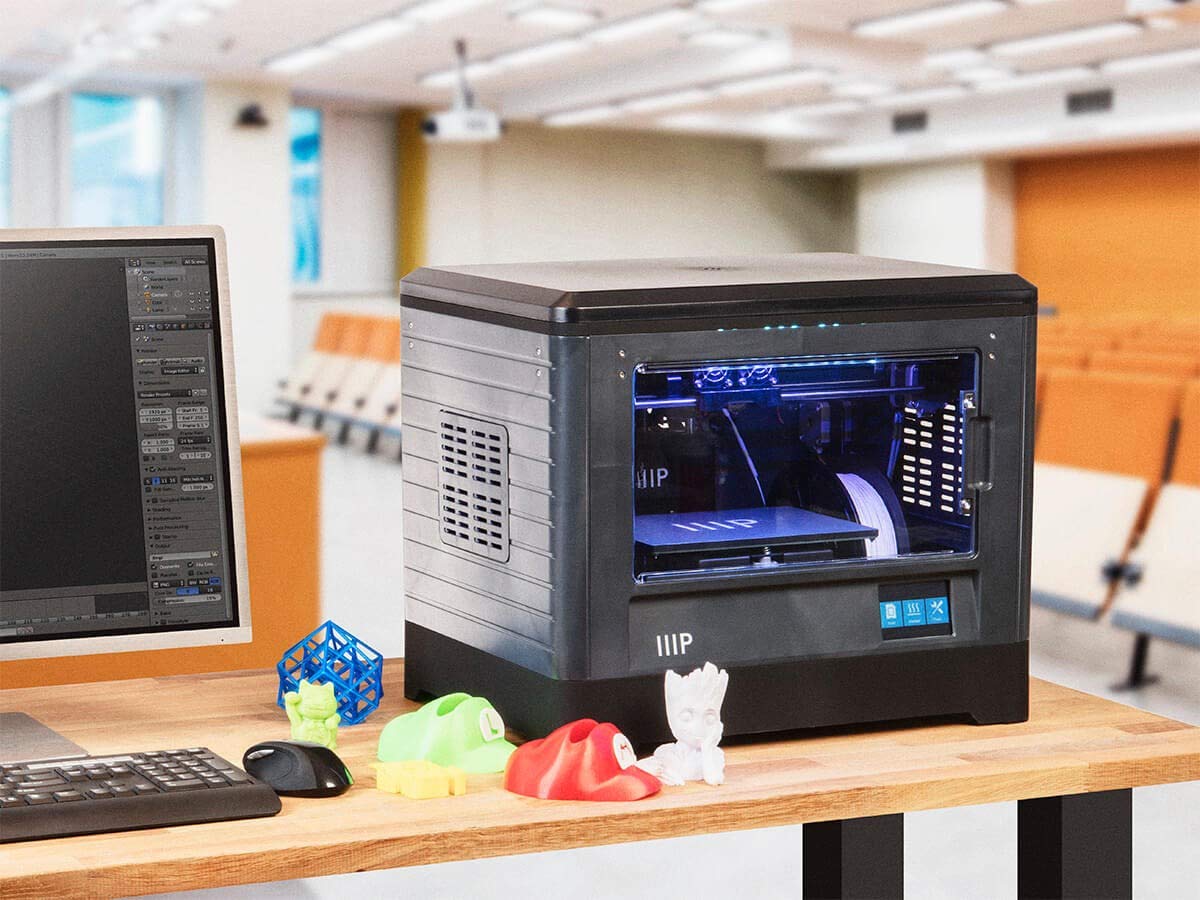
In general, the best PLA bed temperature is around 50 °C, while the best PLA print temperature is around 210 °C. As we have seen, however, different factors can affect the optimal temperature range, which makes testing imperative when printing PLA for the first time.
[1] Vanaei HR, Raissi K, Deligant M, Shirinbayan M, Fitoussi J, Khelladi S, Tcharkhtchi A. Toward the understanding of temperature effect on bonding strength, dimensions and geometry of 3D-printed parts. Journal of Materials Science. 2020 Oct;55(29):14677-89.
[2] Bergström JS, Hayman D. An overview of mechanical properties and material modeling of polylactide (PLA) for medical applications. Annals of biomedical engineering. 2016 Feb;44(2):330-40.
3D Printing Temperatures & Printing Guidelines
As each desktop 3D printer has its own unique characteristics, you might need to tweak around with your temperature settings a bit to get the best results. To obtain optimal results for your prints you need to take into account variables like your 3D printer’s nozzle diameter, your printing speed settings, and layer height.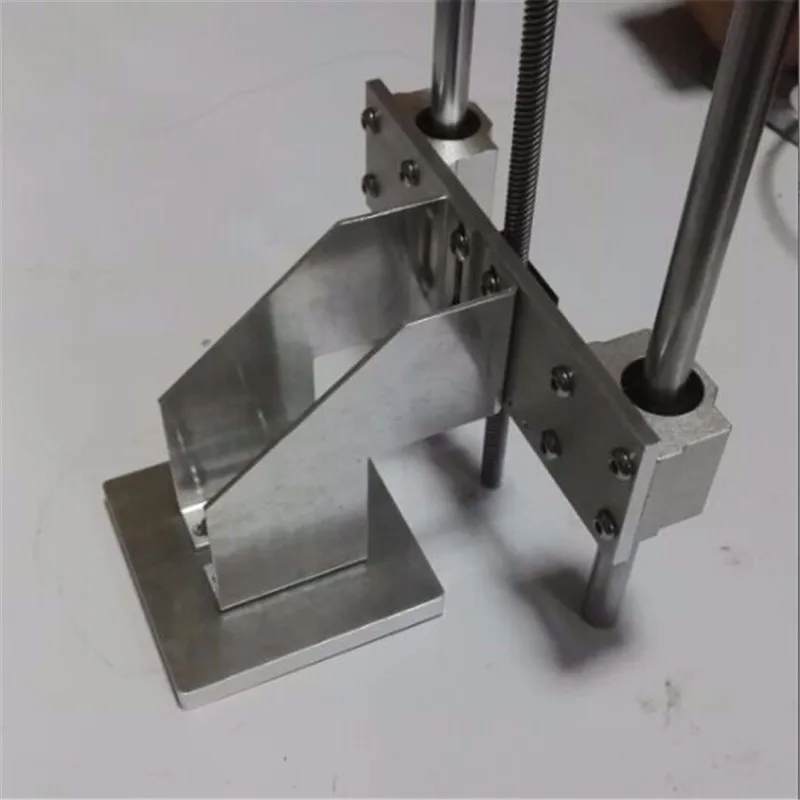 Every printer is different, for each material/printer, make sure to take notes of what works and what doesn't.
Your print bed MUST BE LEVEL & CLEAN. You can use acetone and a towel (lint free) to clean your surface and make sure it is free from oils and dirt before printing.
If your printer is equipped with a heated print bed, make sure you turn it on, especially for ABS.
| PLA (Original Series) | PLA (Creative Series) | smart ABS |
| ABS (Original Series) | ABS (Creative Series) | Soft PLA |
| HIPS | TPU (Flexible Polyurethane) | Bendlay |
| PVA | Flame Retardant ABS | Laywood |
| Nylon PA6 | Wood | Laybrick |
| PETG | Conductive / Anti-Static ABS | Thermochrome PLA |
| Polycarbonate (PC) | EasyFil PLA | |
| PolyMax PLA | EasyFil ABS | |
| Taulman3D T-Glase | PolyFlex | EasyWood Coconut |
| Taulman3D Nylon 618 | Porolay Porous Gel | |
| Taulman3D Nylon 645 | NinjaFlex | |
| Taulman3D Bridge | Carbon Fiber PLA | |
| Taulman3D PCTPE | Polycarbonate ABS (PC-ABS) | |
| High Temperature PLA |
Material |
Temperature |
Comments |
| PLA (Original & Creative Series) | 215°C - 235°C |
|
| ABS (Original & Creative Series) | 230°C - 240°C |
|
| smartABS | Aprox. 250°C |
|
| HIPS | 230°C - 250°C |
|
| PVA | 190°C - 220°C |
|
| Soft PLA | 210°C - 220°C |
|
| NinjaFlex | 210°C - 225°C |
|
| BendLay | 215°C - 240°C |
|
| Laywoo-D3 | 165°C - 250°C |
|
| Laybrick | 165°C - 210°C |
|
| Thermochrome PLA | Aprox. 210°C |
|
| Nylon PA 6 | 240°C - 280°C |
|
| PETG | 230°C - 250°C |
|
| Taulman T-Glase | 207°C - 238°C |
|
| Taulman Nylon 618 | Aprox. 245°C |
|
| Taulman Nylon 645 | Aprox. 245°C |
|
| Taulman "Bridge" Nylon | Aprox. 245°C |
|
| Polycarbonate (PC) | 250°C - 320°C |
|
| PolyMax PLA | 180°C - 240°C |
|
| PolyFlex | 210°C - 240°C |
|
| Carbon Fiber Reinforced PLA | 190°C - 230°C |
|
| Polycarbonate ABS (PC-ABS) | 260°C - 285°C |
|
| High Temperature PLA | 190°C - 230°C |
|
| EasyFil 2.85mm PLA | 210°C - 220°C |
|
| EasyFil 2.85mm ABS | 220°C - 260°C |
|
| TPU (Flexible Polyurethane) | 195°C - 230°C |
|
| Flame Retardant/Resistant ABS | 230°C - 250°C |
|
| Wood | 200°C - 260°C |
|
| Conductive / Anti-Static ABS | 230°C - 250°C |
|
| EasyWood Coconut | 210°C - 220°C |
|
| Porolay Porous Gel | 225°C - 235°C |
|
| Taulman3D Flexible PCTPE | 225°C - 230°C |
|
| Revised: January 23, 2015 |

 Also, the extruder must support the filament between the exit of the drive gear and the entrance to the melt chamber.
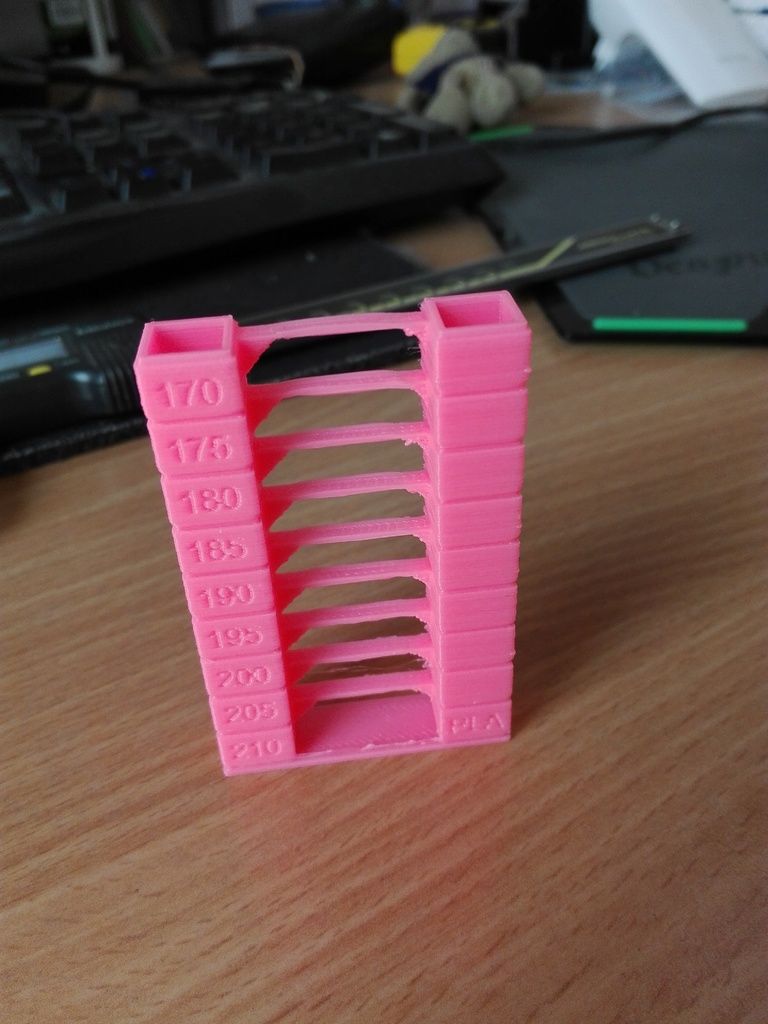
 Best results achieved on Garolite. Other/cheaper alternatives include poplar wood or PVA/UHU Glue.
 (if the print bed is not heated, consider using brim instead, 5 or more mm wide.)
 75mm, the recommended printing temperature is 185°C - 200°C with a heated print bed OR 200°C - 230°C without a heated print bed.


Beginner's Tips on Getting Started with a 3D Printer, Table Calibration and Slicer Setup
Despite the abundance of videos and articles, the information in them is scattered and it can be difficult for a novice 3D maker to understand such an abundance of facts. In fact, everything is not so difficult, at the first stages it is enough to deal with just a few important nuances.
First use
Before using the printer for the first time, it is best to read the instructions. Each printer may have its own usage and settings. Some 3D printers are able to calibrate automatically, without user intervention, and some need to be configured manually.
If there was no paper instruction in the box, you can download it from the manufacturer's website. Some manufacturers stick a sticker on the box with a link to the current version of the instructions.
Before the first run, make sure all shipping locks are removed from the 3D printer. You can gently try to move the extruder along the axes with your hands to make sure that nothing interferes with its free movement.
Table calibration
The result of the entire operation of the printer depends on the calibration of the table. It is very disappointing to see that the model, after many hours of printing, came off the surface of the table and deformed or “moved out”. In order to prevent this from happening, it is necessary to correctly set the working plane and the gap between the table and the nozzle.
In many printers, manufacturers began to add an automatic print surface calibration sensor. A special sensor measures the distance from the table to the nozzle and makes a “map” of irregularities that are taken into account when printing.
Table auto-calibration sensor
There is a semi-automatic calibration. In this case, the printer, using a sensor, determines the distance to the table and tells you in which direction to turn the adjusting screw.
Here we will look at the manual calibration of the working surface of the most popular mechanics of FDM printers - Prusa, H-BOT, CoreXY, etc.
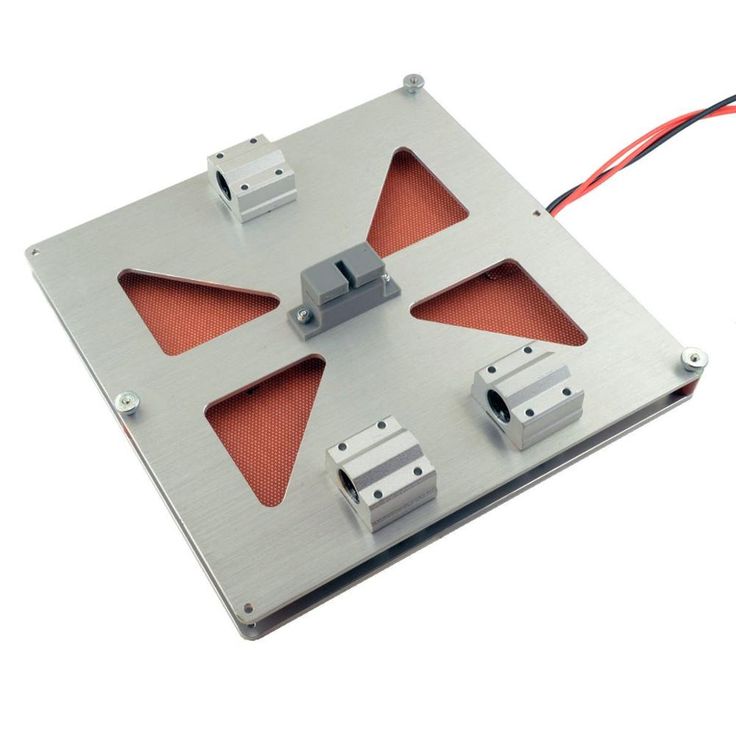
Table leveling
First you need to level the plane of the table. To do this, using the adjusting bolts, it is necessary to set the same distance between the table and the nozzle. Anything can be used as a probe, but it is better to take the probe recommended by the manufacturer (usually 0.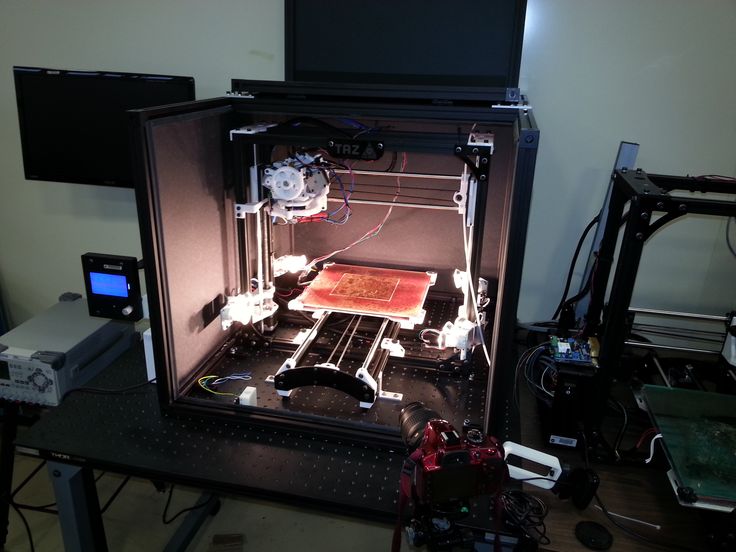 1mm).
1mm).
Table calibration
-
Heat up the table. The 3D printer table is made of a metal plate, when heated, the metal expands, so it is better to heat the table before calibrating.
-
Tighten the calibration screws as far as possible at the bottom of the print surface. This will help prevent the work surface from colliding with the nozzle in the next step.
-
Send table and extruder to zero position. Raise the table as high as possible or lower the extruder as far as possible with Prusa kinematics. This can be done from the menu with the HOME command. Make sure that the nozzle does not “crash” into the work surface.
-
Using the menu, move the nozzle so that it is above the calibration screw.
-
Place the probe between the work surface and the nozzle, use the screw to raise or lower the work surface so that the probe is firmly clamped.
 Repeat this for all table gauge bolts. There may be 3 or 4 of them.
 -
Move the extruder to the center of the table and use a feeler gauge to check the gap between the table and the nozzle. If the gap is the same as above the calibration bolts, then the plane is aligned correctly, if the gap is different, then it is worth repeating the calibration or checking the evenness of the printed surface.
The square test can be used to check the uniformity of the table plane calibration.
Work surface flatness test
Depending on the size of the work surface, you can place test squares in different places.
Test squares on the printed surface 30x30 cm
For this test, you need to print several thin squares (1 layer thick) on the printed surface. Depending on how they are printed, you can see if the table plane is evenly calibrated.
Table for determining the correct calibration of the table and nozzle.
Sometimes the printed surface is a bit uneven on its own and there are some small depressions or bumps in some places. If it is not possible to change the working surface or there is no time to re-calibrate, you can try to print the model on the “raft”.
The raft is a thick substrate that is printed under the model. A thicker layer of plastic adheres better to the printed surface and “smoothes out” its bumps.
3D model printed on raft
Table to nozzle gap calibration
If a feeler gauge was used to align the work plane, which matches the required gap between the table and the nozzle, then the extruder does not need to be calibrated separately. If the printer has 2 extruders, then only the second extruder needs to be calibrated.
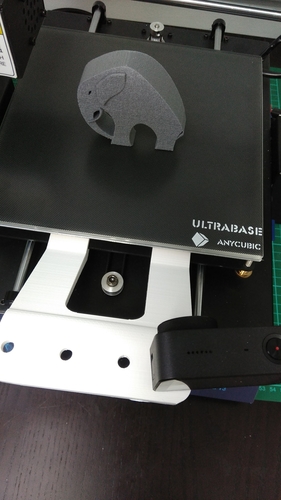
Some 3D printers, like the Raise 3D, come from the factory with a leveled bed, but it's a good idea to check the gap between the bed and the nozzle before printing.Settings may change during shipping.
-
Using the menu, you need to send the table and extruder to the zero position (HOME).
-
Using a feeler gauge, set the distance between the working surface and the nozzle recommended by the manufacturer (usually 0.1 mm). Some manufacturers recommend calibrating the nozzle “to the table” without clearance. The distance between the nozzle and the working surface can be adjusted by the calibration screw, which is located at the z-axis limit switch, programmatically or by the extruder.
-
If the printer has 2 extruders, then the calibration must be repeated with the second extruder.
-
It is necessary to heat the extruder to the melting temperature of the plastic filament. The temperature range is usually marked on the box or spool of plastic.
-
After heating the extruder to a predetermined temperature, depress the lever that presses the filament in the feeder and push the plastic into the extruder until it starts to flow from the nozzle.
-
If necessary, fix the pressure lever so that it firmly presses the filament against the feed gear. (If the lever is not spring-loaded and does not return to its original position).
After changing the nozzle, thermal barrier, table surface or moving the printer - it is necessary to check the gap calibration between the work surface and the nozzle, and sometimes the plane of the table.
Loading filament
After setting up the print platform, you can load the filament (plastic).
In some 3D printers, the plastic loading process is automated and starts from the menu.
After loading the filament, you need to push the plastic bar a little until the remnants of the old plastic come out of the nozzle.
Setting print options
In order to get a neat and accurate model of the insufficiently good mechanics of a 3D printer, it is important to properly prepare the model using a special slicer program.
Table and nozzle temperature
Perhaps the two most important parameters are the temperature of the nozzle and the working surface. These settings may affect other slicer settings.
Slicer CURA
Table temperature settings
A heated work surface is necessary for better adhesion of plastics with a high percentage of shrinkage, otherwise the part will simply come off the printed surface during printing. But due to too high a temperature, the lower layers can soften and deform under the weight of the growing model.
Depending on the surface of the table, the recommended temperature may vary. For example, if ABS is printed on a special substrate, the recommended table temperature is 100 degrees, and if glass with stationery glue is used as the work surface, the temperature should not be raised above 80 degrees.
Some manufacturers indicate the recommended table temperature on the box or on their website. But there are general temperature ranges that you can focus on.
-
PLA - 0 - 50 degrees. During printing, the plastic must be blown.
-
ABS - 80 - 90 degrees. Drafts should be avoided during printing.
-
Nylon - 80 - 90 degrees. Drafts should be avoided during printing.
-
Flex - 80 - 90 degrees. Drafts should be avoided during printing.
Nozzle temperature settings
The required temperature range is indicated by the manufacturer on the filament spool, but it is better to print a couple of small tests to determine the ideal temperature for a given filament.
After changing the nozzle to a nozzle with a different diameter or a significant increase in printing speed, it is necessary to slightly increase the temperature of the extruder. Due to the small “melt chamber”, the plastic may not have time to warm up to the desired temperature.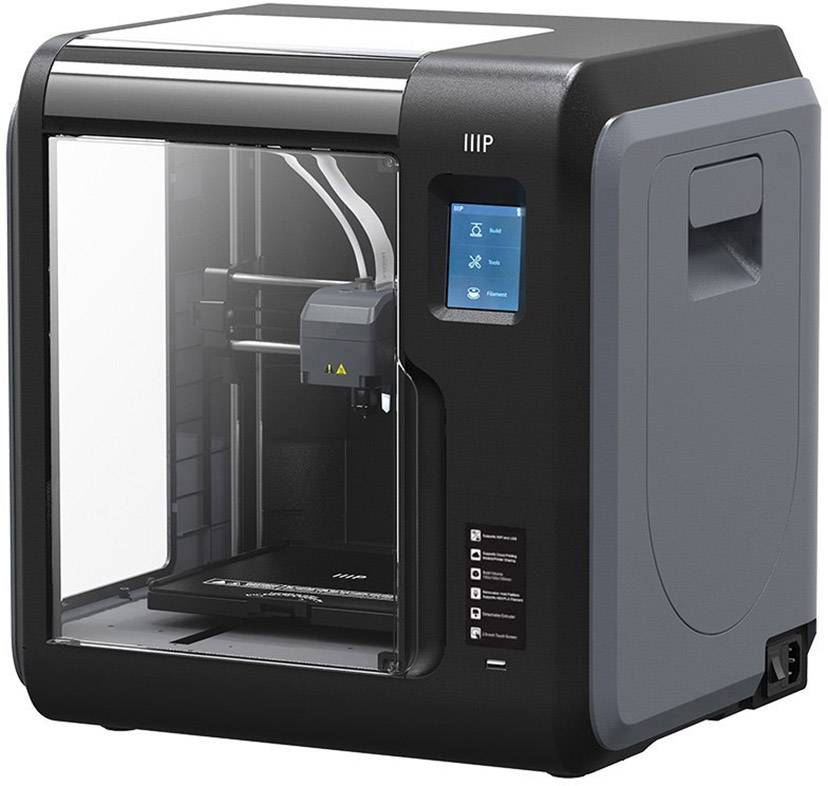
There are extruders with a large volume of "melting chamber" of plastic, but they are not suitable for every 3D printer and are designed to work with large diameter nozzles.
Conventional heating block and Vulcano block with enlarged “melting chamber”
Printed tests
To configure some slicer parameters, it is convenient to use special tests, rather than setting the settings at random. Some of the tests can be printed every time you change the spool of filament. For example, plastic from the same manufacturer, but with a different dye, may have slightly different temperature settings.
XYZ Cube
Printed cube
This is one of the most popular tests that can be used to evaluate the quality of the surface and the accuracy of the kinematics of a 3D printer (belt tension, number of steps per mm, etc.). You can download it here
Boat 3D Benchy
A small test boat that allows you to evaluate many 3D printer parameters and slicer settings.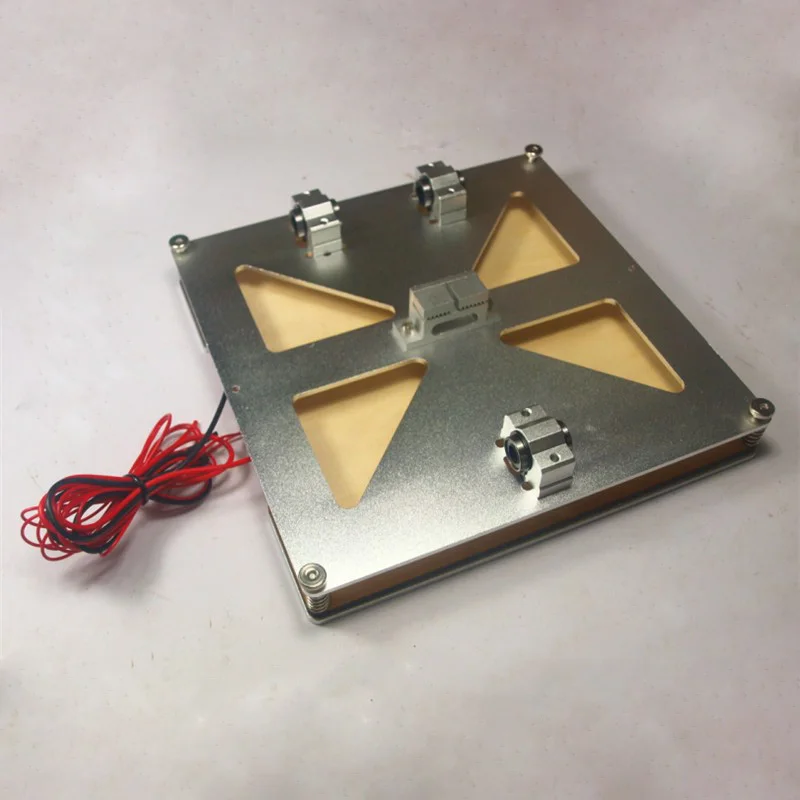 3DBenchy has become so popular that enthusiasts have come up with various fun and practical accessories for it.
Parameters to pay attention to in the finished model
For two extruder printers, there is a boat that needs to be printed in two colors. You can download the model or find models of accessories for the finished boat here.
Boat for two-color printing
Simple temperature tower
Setting the correct print temperature is one of the most important factors in obtaining a strong model with a quality surface. Many factors can affect the fusibility of a plastic - the quality of the raw material, the addition of dyes, the speed of printing, the thickness of the layer, etc.
In order to understand how plastic behaves at different temperatures, enthusiasts came up with a simple test turret that prints at different temperatures at different heights.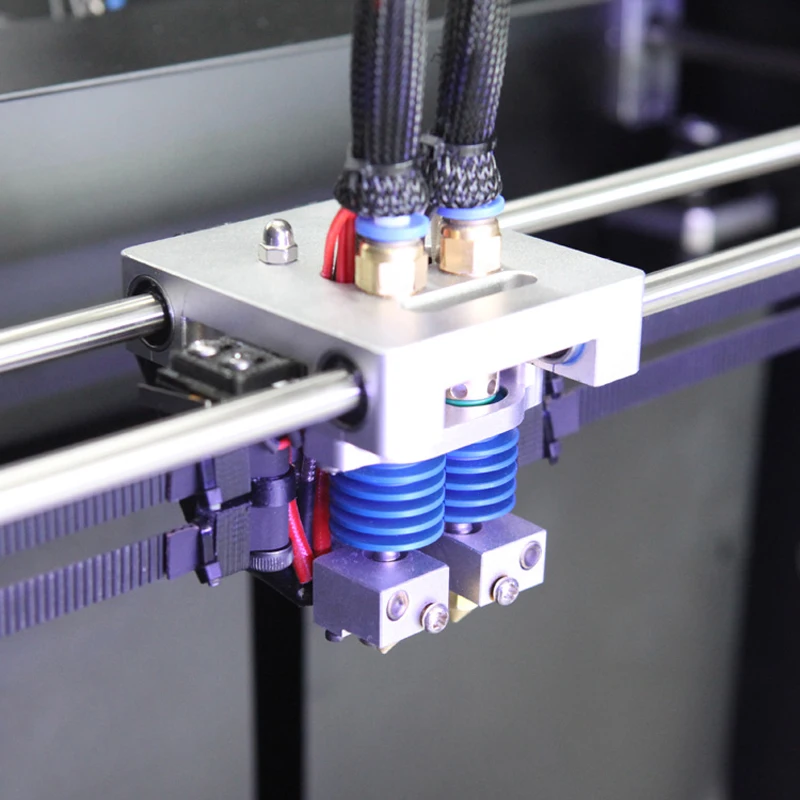 There are several types of these tests. Some have overhanging elements and “bridges”. You can download the test here.
Temperature tower with bridges and overhangs
Turrets
Retract Turrets
These small turrets allow you to fine-tune the retract in your slicer settings. Due to their small size, they print very quickly. You can download the model here.
Bridge printing test
Test Bridge
Some overhanging elements can be printed without supports, the slicer even has special settings for printing such “bridges”. To find the optimal parameters, you can use this small test model.
Surface overhang
Test model
A small test that allows you to understand how the plastic will behave when printing overhanging elements. With this test, you can configure support settings in the slicer.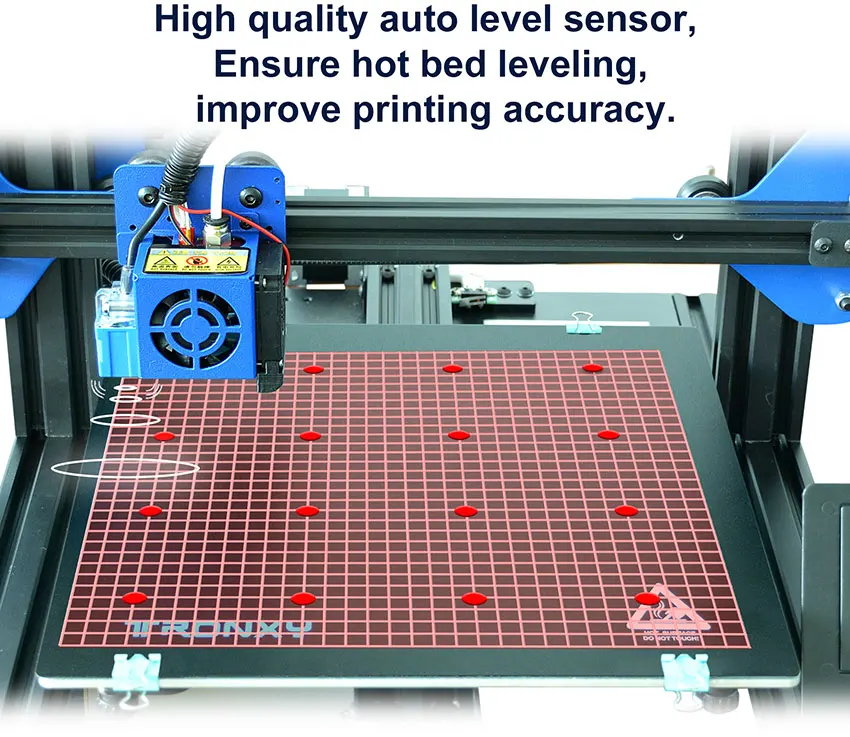 You can download the model here.
Test All-in-one
There are printed tests - all in one, but it can be difficult for a beginner to figure out which settings need to be adjusted. Therefore, to begin with, it is better to print simple tests, and with experience, you can use universal ones.
Printed test all in one
Model can be downloaded here
Common errors
Poor first coat adhesion
This is usually due to incorrect print surface calibration or poor adhesion of the first layer.
First you need to check the correct gap between the table and the nozzle. If necessary, calibrate the plane of the printed surface and the gap between the working surface and the nozzle.
To increase adhesion, you can use special adhesives that are applied to the printed surface. Check the correct temperature of the extruder, table and thickness of the first layer in the slicer settings.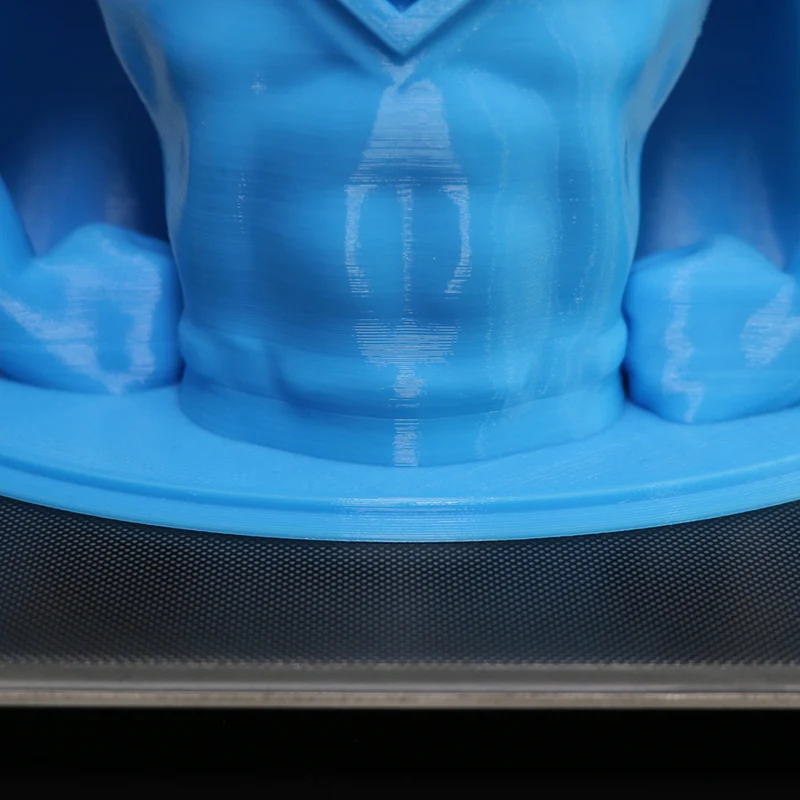 The higher the temperature of the extruder, the better the adhesion. The first layer is usually thicker than subsequent ones, because the thicker layer of plastic adheres better to the work surface.
Printer does not extrude plastic
If the printer stops extruding plastic and the feed mechanism starts to click, then most likely the problem is a clogged nozzle. The nozzle can be burned or cleaned, but in 3D printing nozzles are consumables and it is better to replace it immediately.
Plastic bubbles when printed
If the plastic bubbles when exiting the nozzle, then it must be dried. Some engineering plastics, such as nylon, need to be dried before each print.
Model is printed with errors
The slicer cannot always process the model correctly if it has errors. For example, inverted normals, internal walls, or the model is not closed. Such models need to be “cured” before printing.
Model printed with error
Some slicers are able to fix simple errors on their own, but if the slicer is powerless, you can use special programs designed to work with STL files. For example, Autodesk Netfabb allows you to fix model flaws with the click of a couple of buttons.
Repairing a Model with Autodesk Netfabb
Totals
Despite the fact that a 3D printer is essentially a CNC machine, manufacturers are trying to make it as easy as possible to work with it. There are many additional options that allow the novice user not to delve into the nuances of setting up and calibrating the printer, but to start printing right out of the box.
Most slicers are also simplified as much as possible for a more comfortable acquaintance with 3D printing. Universal profiles appear, in which the user only needs to specify the type of plastic and send the file for printing. And later, you can use the advanced settings menu for finer control of print settings.
Printer 3D MEM - X5 - Tiertime Corporation
Add to the Favorite folder
Add more detailed information on the TIIERTIME Corporation
180 mm (7 in)
Description
Continuous 3D printing A breakthrough in 3D printing, designed from the ground up for low volume production.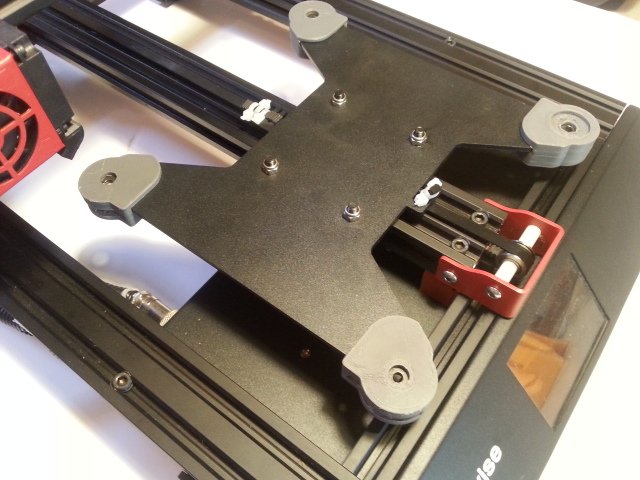 X5 is a breakthrough in 3D printing, designed from the ground up for low volume production. It is capable of automatically feeding up to 8 wafers per bed and reloading during printing, enabling continuous 3D printing. Auto-change build plate Loading fresh plates onto the platform after the previous print job is completed. Storage of printing forms Placement of twelve printing forms on one 3D printer Print Queue Tiertime Multiple users can queue print jobs, accessible from the printer's touch screen and software. Double filtration system HEPA filters and activated carbon drastically reduce emissions of toxic UFP and VOC. Auto-change assembly plate automatic loading of fresh forms for building after the previous print job is completed. Double filtration system HEPA filters and activated carbon Radical reduction of emissions of toxic UFP and VOC. Printer - Print Technology - MEM (Melt Extrusion Modeling) Extruder - Single PLA extruder 1 pc. included Nozzle diameter - 0.2mm, 0.4mm, 0.6mm and 0.