3D printed tavern
Tavern best STL files for 3D printer・Cults
8 Door pack (Single and double)
€1.50 -25% €1.12
20mm Square Wooden Plank Miniature Base
€3
25mm Round Wooden Plank Miniature Base
€3
Dining Extras
€6.99
Dining Set
€10.99
Tavern Stool
Free
Tavern Table
Free
Murakin Ogre Protector
€3.70
Stygn Shady Merchant
€3.50
Moe's Tabern Keyholder
€5. 39
Tavern Counter Set
€3.88
Tavern table
Free
Wall Hanger / Trophy Display - DnD Terrain prop
Free
D&D Tavern Pack
€1.47
Tavern Lantern
€0.64
Wooden Themed Scatter Terrain
€9.78
4x 120x92mm base with wooden planks (second version)
€0.97
Fantasy Hero: Bard
€5.78
Fantasy Tavern bartender and waitress
€3.92
Dark Realms - Barrenfall - Tavern Ruins
€12.50
House - Basic House
€3.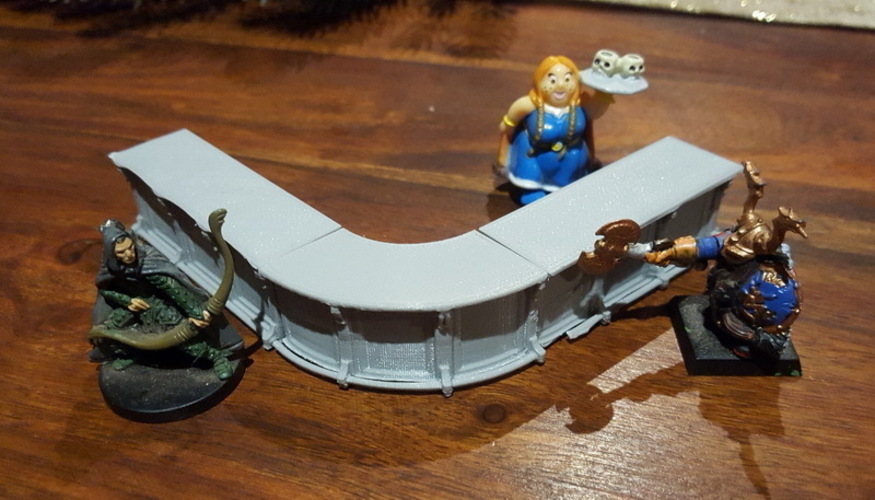 50
50
LegendGames Tavern Tables and Chair
€2.29
LegendGames Tavern - Stand Alone version
€6.88
LegendGames Tavern - OpenLOCK version
€11.47
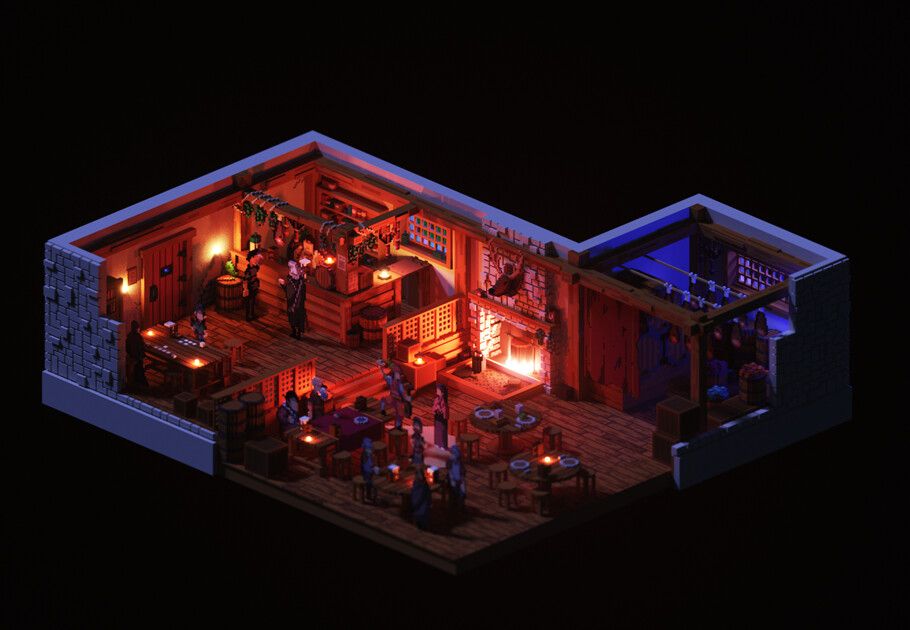
The Twin Stars Inn and Tavern with Playable Interior
€44.07
5x 50mm base with wooden planks (second version)
€0.97
5x 60mm base with wooden planks (second version)
€1
LegendGames 40mm round wooden plank floor feature bases
€1.15
Tavern / Secret Dice Tower
Free
5x 75x42 mm base with wooden planks (second version)
€1.57
5x 60x35mm base with wooden planks (second version)
€0.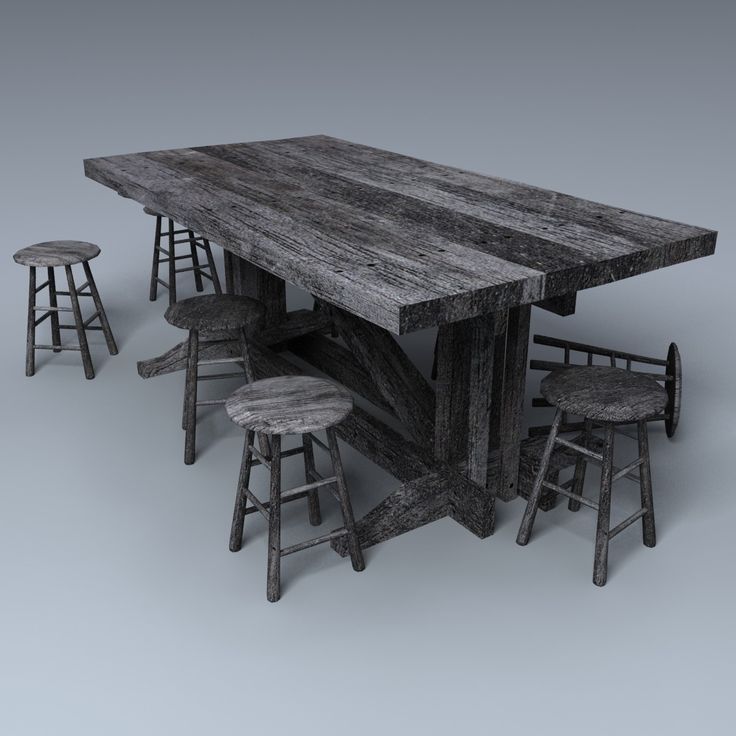 87
87
5x 40mm base with wooden planks (second version)
€1.57
10x 32mm base with wooden planks (second version)
€0.87
10x 25mm base with wooden planks (second version)
€0.87
Tavern Tables
€3.61
Fireplace Set
€6.74
Tavern Modular Bar Set
€5.51
Piano
€2.45
Wine Barrel - Beer Keg - Secret storage
€1.84
Tavern Host
€3.91
LegendGames Wizards Library Bookcase Set
€9.18
Old Bard in a Tavern Miniature (male Gnome)
Free
Beer Time! Free Mini!
Free
3 Floored Fantasy Building.
 28MM TABLETOP RPG/WARGAMING!!!
€2.28
RPG Dungeon Scenery Pack
€2.23
Halfling Herbalists, 2-Pack (Old 2020 & New 2021)
€2.56
Wood Plank Bases (New)
€9.78
Barrel for 3D printing
Free
3D Printable Winterdale Tavern
$14.95
The Winterdale Tavern is a large multi-part building compatible with the Winterdale series.
Includes full levels and parts for smaller printers.
Each section has top locking pins, so that it can be easily stacked and taken apart.
USA (Only) Dungeon Torch USA (Only) Vegabond3D USA (Only) The Broken Token UK (Only) Highlands 3D Prints Australia (International) OTP Terrain USA (International) Dungeon Artifacts USA (Only) Majestic Miniatures USA (International) 3degos USA (Only) AltRealityTerrain USA (Only) Tabletop Terrain South America (Only) Fragua 3D USA (Only) Simply 3d Hawaii UK (Only) The Artificers Forge USA (Only) Dented Helm Gaming Ltd USA (Only) Midwest Token 3d France (Only) 3dndprint Canada (Only) Level Up Games UK (Only) Forged Terrain Germany (Only) Fantasy Terrain UK (Only) Zeak France (Only) My Scenery USA (Only) EnderToys UK (Only) CNC Universe LTD USA (Only) Nexus Game Lounge
This product is delivered as a . ZIP file pack containing STL files for use on a home 3D Printer. The files are set to 28mm scale but can be rescaled before printing.
- Description
- Additional information
- Q & A (10)
Description
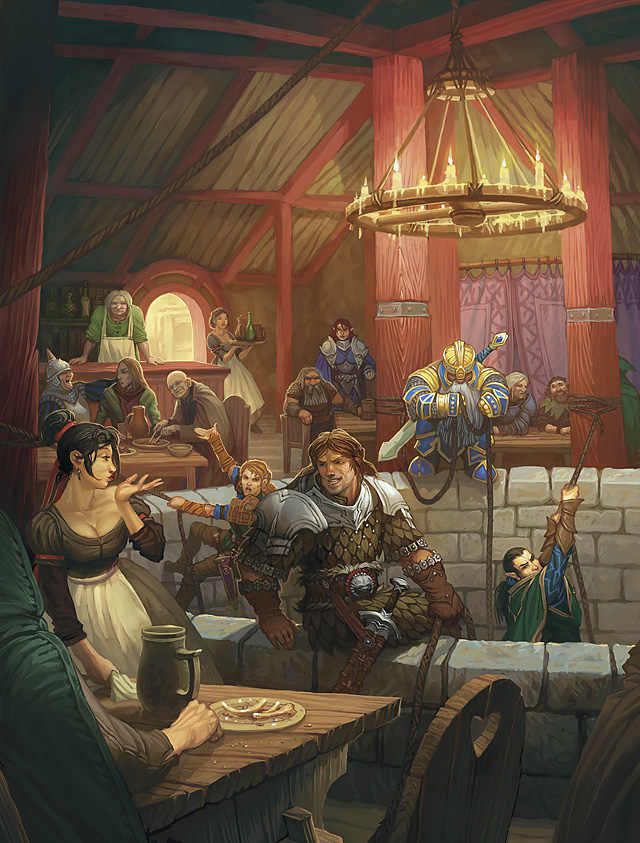
Taverns in Winterdale are warm and welcoming places full with adventures either just returned from the northern Tundra, or about to venture into it.
Updates:
- (version 5.2) Both sections of the ‘wall’ are now level.
- (version 5.4) WD Tavern parts has the ground floor with floor added.
- (version 5.5) New large floors included in WD Tavern Full Levels.
- 27 April 2017 (version 5.6) Includes solid tavern.
- 10 July 2017 (version 5.
 7) Complete levels included.
 - 27 July 2017 (version 5.8) small mesh repair to WDTavern5.3-B-roof.
- 07 August 2017 (version 5.9) The files have been reorganized into more logical folders.
- 24 October 2017 (version 6.0) Full Ground Level now has floor attached.
- 4 May 2020 (version 7.0) Model has had a complete update to increase the details.
Notes:
- The WD Tavern Full Levels and the WD Tavern Parts are set to the same scale.
- Right-click on the image below and “Save As” to download the reference sheet for this pack.
- Reference sheet for small printer option is included in the zip file.
- Product measurements can be found in the image gallery.
How Relativity Space prints rockets on a 3D printer
Relativity Space co-founder, CEO Tim Ellis / Relativity Space / AFP
Relativity Space is printing a metal space rocket on a 3D printer that it invented specifically for this purpose.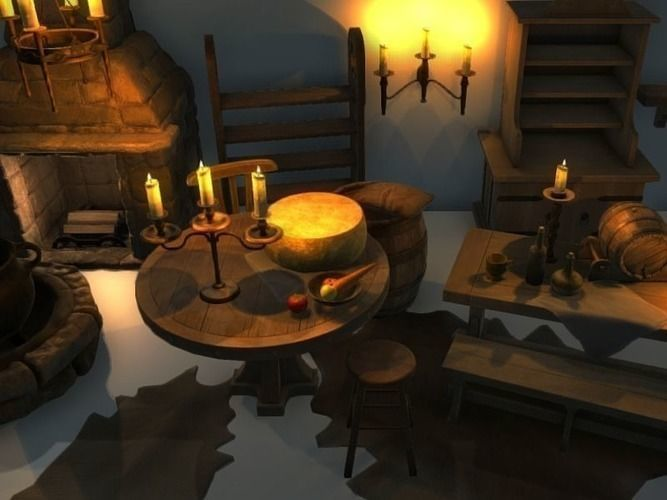 Almost all: 95% is printed, and the remaining 5% falls on electronics, seals and some other elements. 3D printing has many advantages. She's cheaper. She's faster. It is made on the spot, no need to wait until the parts are brought from another factory. It is stronger: fewer places for fastening parts. “The Shuttle had 2.5 million parts,” says Relativity Space co-founder Tim Ellis. “According to our estimates, SpaceX and Blue Origin have reduced this number to 100,000 per rocket. We have a thousand - less than in your car.
Many space companies use 3D printing, but only for individual components. Skeptics insist that no one knows how the printed rocket will behave during takeoff and in space. So far, the startup's first rocket, Terran 1, has successfully passed all ground tests. The first copy for a real flight is collected slowly and carefully checked. Now it is ready for 85%. A test flight is scheduled for the end of this year. But investors believe in the idea. Last November, Relativity Space completed a series funding round and raised $500 million.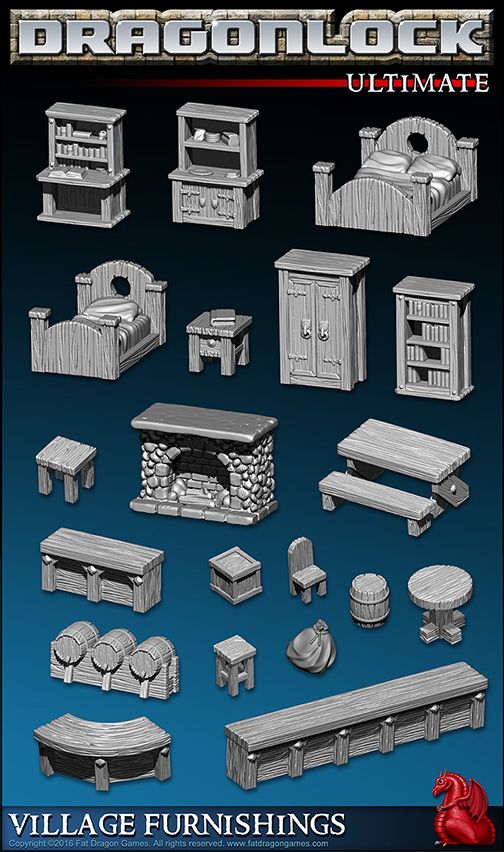 After that, according to research company Pitchbook, with a business valuation of $2.3 billion, Relativity Space became the second most valuable venture capital-funded space company in the world. In 1st place, of course, SpaceX (however, Pitchbook does not include Blue Origin in the rating, which is fully funded by Jeff Bezos).
Relativity Space has since raised another round, raising $650 million, based on a company-wide valuation of $4.2 billion. reusable. After all, competitors do not sleep. Relativity Space is just one of more than a dozen rocket companies created in the last 10 years.
Launch from Mojave
Ellis was born in 1990 in Texas. He is the eldest of three children of an architect father and a dentist mother. As a child, Ellis was fond of Lego and persuaded his parents to buy about 200 sets. He immediately threw away the instructions from them and collected the spaceships he invented himself. Until now, the thumb of his right hand, when at rest, arched back more than his left - Ellis assured the Los Angeles Times that this was the result of long hours when he assembled and disassembled the parts of the designer.
As Ellis got older, he began making amateur films with his friends, mostly action movies, where the characters were often confronted by zombies. He entered the University of Southern California to become a screenwriter. But already in his first year, he became interested in the profession of an aerospace engineer and joined the Rocket Propulsion Lab at the university, which was engaged in the development of rockets.
The University of Southern California is known for its space program. Its alumni include Apollo 11 commander Neil Armstrong, astronaut and former head of NASA Charles Bolden, and Dana Rohrabaker, chairman of the House Space and Aeronautics Subcommittee. There are several laboratories where students create real rockets and satellites. “I was amazed,” Ellis recalled in an interview with the university website about the first time he went to test the rocket engine he designed and built with his comrades in the Mojave Desert. – I always advise students: take part in practical classes. So you will understand why you need to study this or that differential equation, scheme or line of code.
They wanted to be the first student group to launch a rocket into space. But, having carried out dozens of successful launches, they did not even achieve a suborbital flight - this was done by their successors in 2019, having developed more powerful engines.
Why leave Bezos and Musk
At Rocket Propulsion Lab, Ellis met and became friends with classmate Jordan Noone. Then their paths diverged for a while. Noon went to SpaceX, where he worked, among other things, on the Dragon 2 spacecraft. His emergency rescue system uses a 3D printed SuperDraco engine.
Ellis interned for three summers at Bezos' Blue Origin, and after graduation he was accepted full-time. He convinced Bezos to create a metal 3D printing division (by then many competitors, including Boeing, were doing it). He also created it from scratch. The traditional way of producing parts is turning on a lathe, stamping or casting with a mold. In 3D printing, robotic arms deposit layer upon layer of molten metal. A printed rocket has fewer parts, and therefore, places to connect them using welding, rivets, etc., and therefore fewer vulnerabilities. Skeptics object that if defects are found, the entire part has to be discarded and its manufacture must be started anew. But Ellis says that Relativity Space has developed a way to restart the printing process from the right place. “3D printed rockets are the future of rocketry and space exploration,” he told Inc. magazine.
Ellis and Noon often called each other and talked about rockets, although they worked for different space companies. They put together a rough cost structure to understand why rockets are so expensive. “80 to 90% goes to wages,” Noon told Bloomberg. 3D printing can dramatically reduce these costs.
Ellis once mentioned that he was going to start a startup to 3D print entire rockets. He later admitted to Inc. that he tried to get Bezos to print more parts for the rocket, but his suggestions were never fully implemented. Then he decided to take up rocket science himself. Noon liked the idea. Both left in December 2015 to create startup Relativity Space.
“I never saw him give up, give up, or fail to solve a problem, even a really difficult one,” Ellis told the Los Angeles Times of Noon. “I knew our startup was going to have a lot of problems, and he was the right person to make it all work.” And Noon noted: “I am strong in technical and practical aspects, and Ellis is strong in creative thinking and non-standard solutions.”
For 1 kg of satellite
Relativity Space received its first money from venture investor Mark Cuban. Ellis and Noon made about 20 attempts to guess Cuban's email address, as Cuban preferred texting to other forms of communication. Some of the letters were returned with a note that such an address does not exist, some got to other people. But one of the addresses turned out to be correct, and Cuban read the letter with the headline "Space Is Sexy: 3D Printing of an Entire Rocket. " Ellis and Noon asked for $100,000. Cuban, after five minutes of texting them, agreed to invest $500,000 (although they had to wait two months to check if they were fraudsters). “They are smart, resourceful, driven and always learning,” Cuban wrote in an email to The Times. “These are exactly the traits I look for in innovators.”
First, the startup needed to create a huge 3D printer - there were no models on the market suitable for their purposes. A lot of effort was put into this. But now the latest generation printer is able to print a part up to 32 feet (almost 10 m) high, while the height of the Terran 1 rocket is 115 feet (35 m). Ellis and Noon say that even if the rocket venture fails, they can always cash in on the sale of industrial 3D printers.
Terran 1 /Relativity Space
Created with Cuban's money, the first printer could print parts half the size of the last generation. But the working rocket engine printed on it made an impression on investors. First, they invested almost $10 million in the startup, then another $35 million, and in October 2019d. - another $ 140 million. Ellis and Noon planned to stop there. They did not want to dilute their share, and the funds raised should have been enough for the time before the first commercial launch, if they worked without haste. But in November 2020, another $500 million round of funding was raised. As Ellis explained to CNBC, “the development and scaling of the project needs to be accelerated.” That summer, the startup moved to a new 11,000-square-meter headquarters in Long Beach, California. m, where there will be a site for the production of rockets (the most important thing is that their new printer climbed there in height). Over the past year and a half, the company has more than doubled the number of employees. She now has 400+ people and plans to hire 200 more this year.
Ellis told Inc. that they already have $1 billion in launch contracts from government and commercial entities. Terran 1 can carry up to 1250 kg of payload. This is smaller than SpaceX's Falcon 9, but larger than Rocket Lab's Electron. Relativity Space is targeting a mid-sized satellite niche, much like a car, Ellis said. Its competitors are the Russian Soyuz-2-1V and the European Vega. Or the same Electron, if Terran 1 displays several small satellites at once.
The launch cost of Terran 1 is $12 million, i.e. slightly less than $10,000 per 1 kg. Last year, Roscosmos CEO Dmitry Rogozin announced a more than 30% reduction in the price of launch services for a number of satellites to the level of SpaceX: to $15,000–17,000 per 1 kg instead of $20,000–30,000.
Target Mars
The competitive advantage of Relativity Space is not only in cost, but also in the fact that it can print a rocket to customer requirements, changing both the diameter of the rocket and the shape of the fairing for the satellite - of course, within the limits allowed by aerodynamics, Forbes explained. And she can do it quickly. Once the technology has been proven in practice, Relativity Space is going to print the rocket in 30 days and take another 30 days for pre-launch tests, Ellis told Scientific American.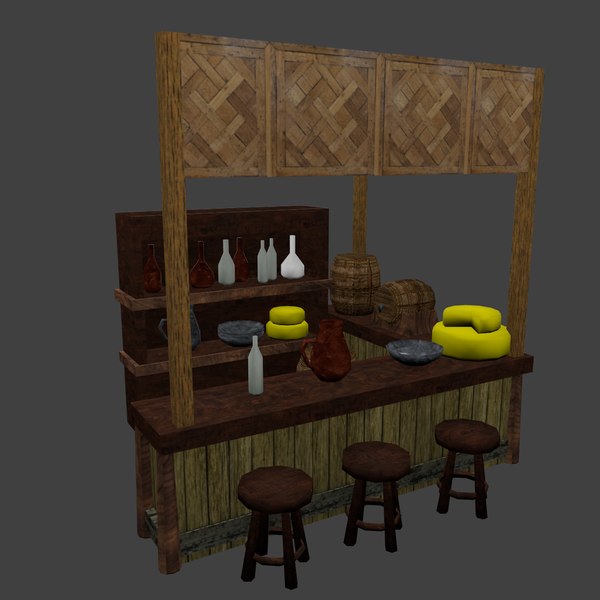 According to him, even SpaceX takes 12 to 18 months to build a conventional rocket. But Musk claims that his reusable rocket is ready for a new flight 51 days after the previous launch.
So in June, Relativity Space raised another $650 million from investors to accelerate the development of its own reusable Terran R rocket (of course, also almost completely printed on a printer). Its first launch is scheduled for 2024. It will be larger than the first one - 216 feet (66 m) high and designed for 20 tons of payload.
For Ellis and Noon, the main thing is that this project is another step towards interplanetary flights. Musk is looking for a way to get colonists to Mars, and Ellis and Noon are hoping to help them settle on the Red Planet. "If you believe - and I believe - that Elon [Musk] and NASA will send people to Mars, then <...> they will need a whole bunch of things," Ellis told CNBC. “Our printers are reducing the amount of infrastructure that would need to be transported from Earth to Mars in order to establish a colony there,” explained Noon Inc.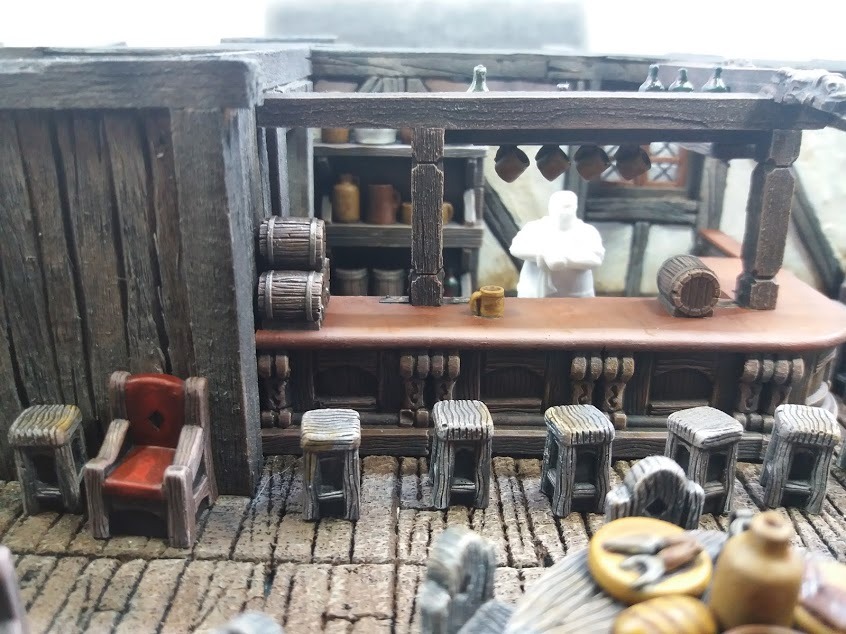 – Traditionally, you need to send tons of equipment for a factory that will be able to produce factories that, in turn, will produce cars, houses, warehouses ... In our vision of the future, you simply send a 3D printer to Mars that prints everything using Martian raw materials this is". In a speech to the students of his alma mater, Ellis added: “We are going to 3D print the first rocket made in Mars <...> I don’t see a future in 50 years in which rockets will not be 3D printed. It just doesn't make sense otherwise, because printing is much easier and cheaper."
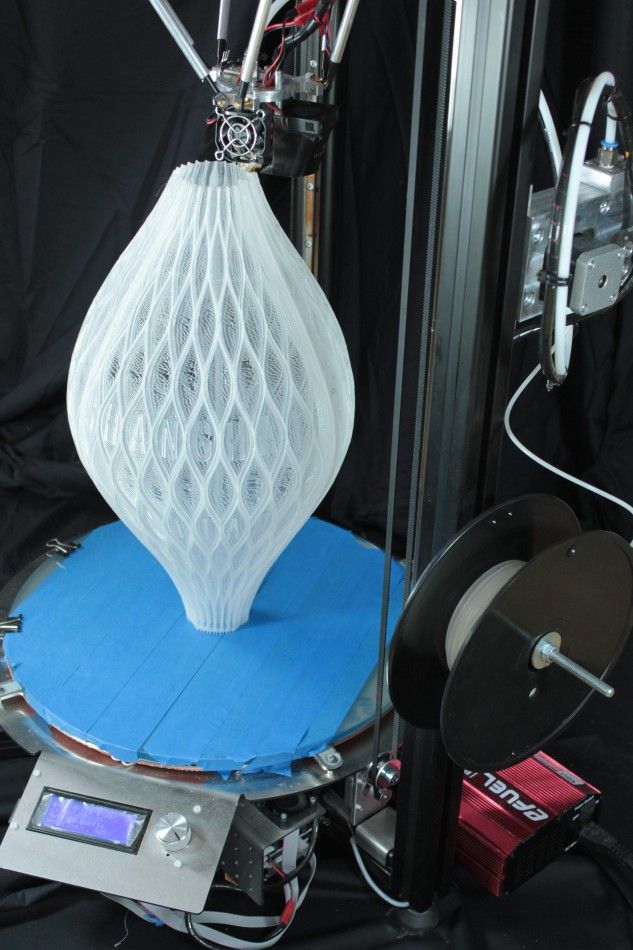
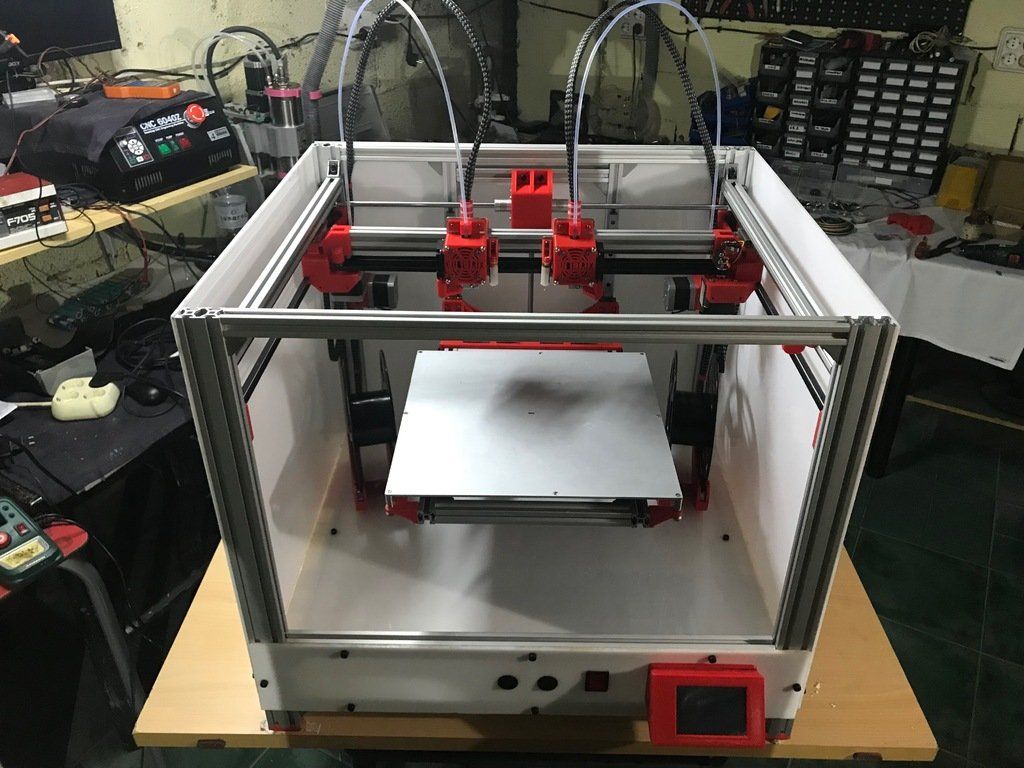
My 3D Printed Marble Machine / Sudo Null IT News
I'm trying to master 3D printing - I got a FLSUN-QQ printer, I installed 3D editors for myself: Fusion 360, Blender, I'm trying Compass 3D. Something works, something doesn't work. This Marble Machine on video is one of my first successful projects. The project, although visually not large, but its implementation required considerable effort from me.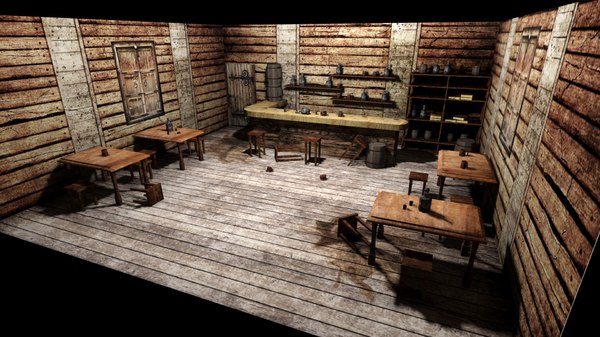 I also had to master 3D editors and invent mechanics and set up and debug this device.
Next, I will tell you what parts this machine consists of.
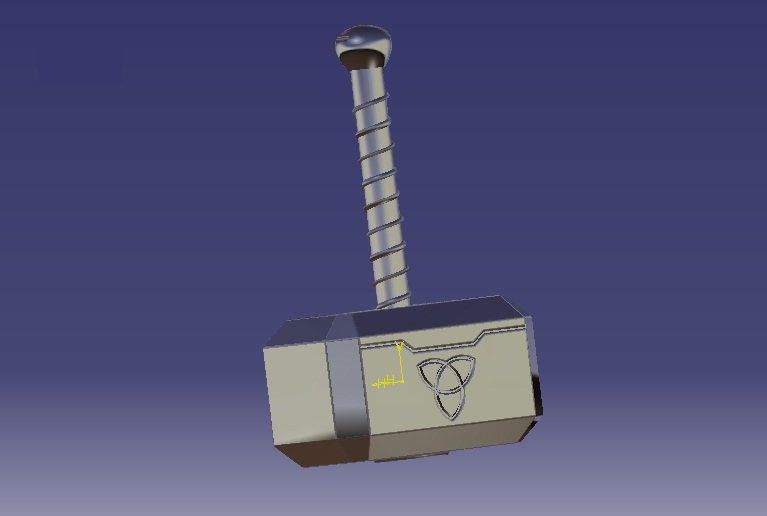
The most important part is, of course, the upward spiral. She had the most problems. I have designed many different types of coils and many versions have been rejected for either aesthetic or technical reasons. Yes, even due to the fact that the promised printing time was too long, I had to give up various ideas ... I wanted to get something airy, beautiful and so that I could print on my printer in a reasonable time.
The final model of the coil looks like this:
The coil installed on the machine:
There were several problems with the coil. First, it was necessary to decide what profile the spiral should have. Several options were considered. The simplest of them can be schematically presented in a section like this:
Here is the thing - in the first version, if the border near the shelf protrudes strongly, then the printer software, and I use Ultimaker Cura, will make me supports that will need to be removed manually, and then if it is poorly cleaned, then they will also prevent the ball from rolling.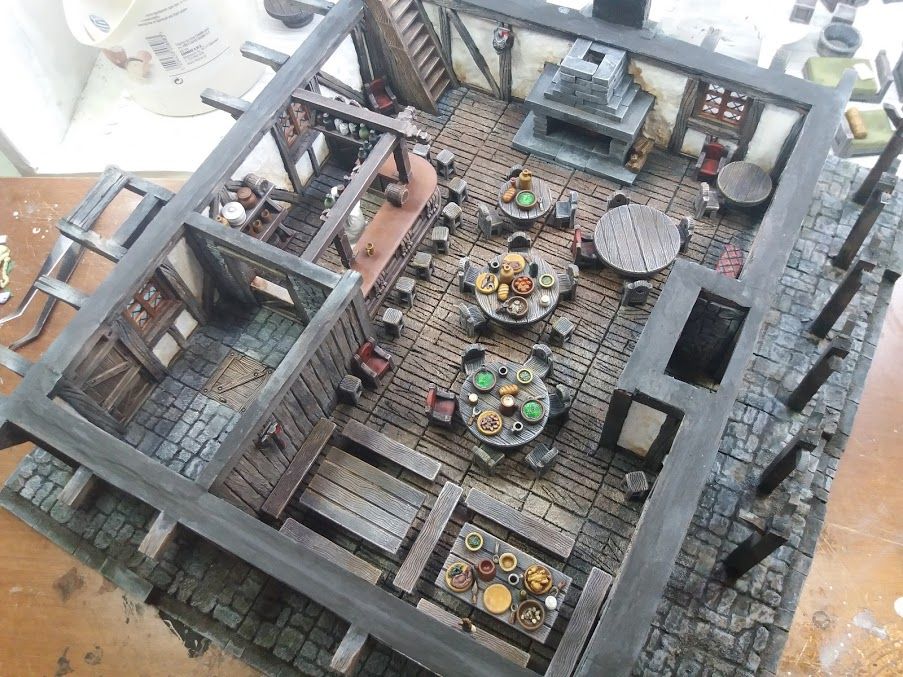 If we take the second option with a thickening shelf, so that the ball seems to roll down to the plane of the spiral, then there will definitely not be any supports, but it is not known how well the ball will be held. I even printed a fragment of such a spiral to see how it would be in real life. But all the same, the third option won, an intermediate one, with a border / curb in the form of a corner. If it is not made very large, then the printer manages to print this without support.
Another problem with the spiral printing was purely manufacturing. I have never been able to print it in its entirety. I'm not sure what the reason is - it is possible that such a figure has too much cooling surface. While the extruder will pass along the entire trajectory, part of the model has probably already cooled down significantly. But these are just my guesses. Moreover, which is strange, at the very table, which is heated, the printing is normal, but the printing rises higher and plastic delaminations appear. At the same time, the printing of small test models occurred without problems. It’s not very pleasant when I started typing and everything seems to be going well for an hour. You leave to print for the whole day (another 13 hours of printing) until you leave for work. You come home, the printing is finished, but it turned out to be a marriage - the model has stratified on the upper layers. I even thought about printing a spiral in sectors, and then gluing it together. However, later I managed to pick up the print modes, temperature and speed, when the print went completely from start to finish with an acceptable result. There were a few toffee hairs left, it would be necessary to clean them all, but then I was a little too lazy.
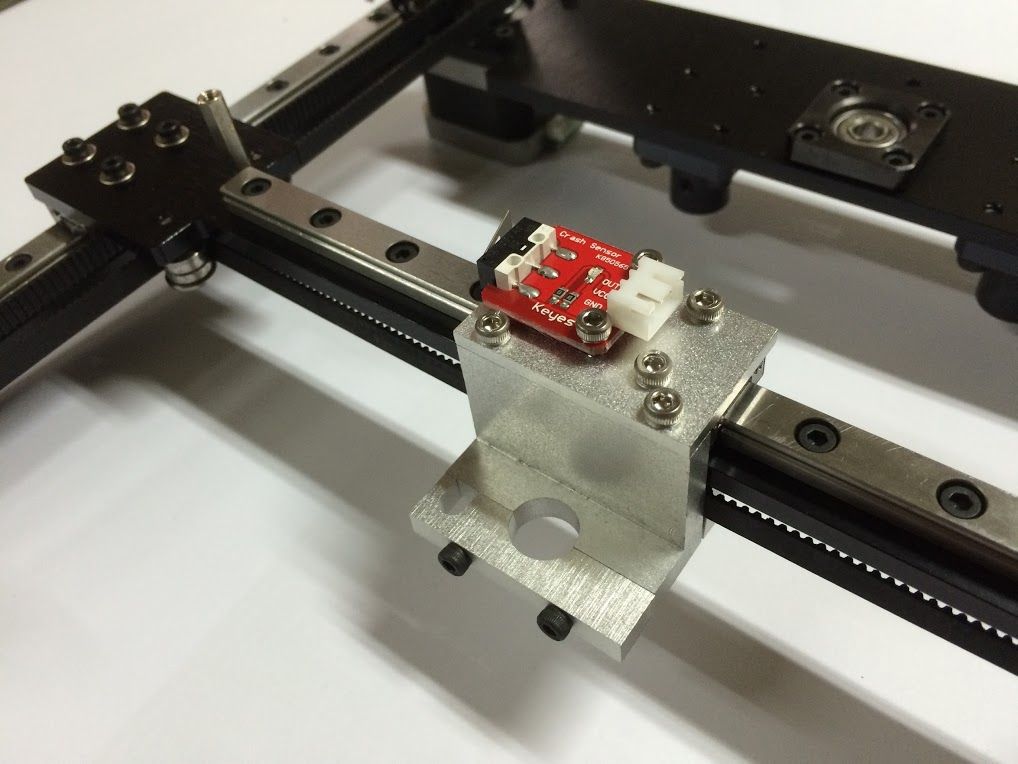
Another question was how to make the spiral spin. As you can see, a gear goes along the edge of the spiral. To be honest, I didn't really expect it. I thought the main thing was to make teeth on the edge of the spiral, and then somehow give rotation from a toy collector engine with another gear. This idea didn't work for me for several reasons. Firstly, the gears still need to be pre-calculated. Secondly, the idea was almost implemented like this:
But then it turned out that it was not easy to regulate the speed of the collector motor, then, the shaft of the toy motor backlashed quite a lot, and it made an unpleasant noise in operation. In general, this idea was abandoned. I took a 28BYj-48 stepper motor with a motor driver:
Step control made on Verilog in the FPGA board Mars rover:
If anyone is interested in how to program stepper motor control on Verilog, then this is the topic of a separate article. Now the speed can be easily programmed and runs almost silently. Only now it is a pity that when printing a spiral, a significant amount of printing time was spent on printing the gear. I think without it I would have saved 2 hours of printing.
So, the 28BYj-48 stepper motor is installed in a special rack. The rack model I designed looks like this:
In the car, the stand with the engine looks like this:
but at least save a little printing time. Although, what a time saving there is, if you remember that the first version of the rack, which was supposed to be used in the version with a collector motor, was like this:
The problem with this rack is a large play of the spiral shaft. Well, again, as I already wrote, the option with a commutator motor and a gear did not work, so I had to make a new rack for a stepper motor.
It just so happens that I printed almost every detail at least twice. The first option, even if almost a worker had to be rejected often. Here, for example, is the “snake” part:
It would seem that this might not be the case, but it turned out that when the ball descends in a straight line, it accelerates decently and flies out due to centrifugal force. I had the first turn to increase the height of the side. Well, at the same time, when re-printing, I reduced the height of the print layer. Let it print longer and better. Here is the "snake" installed in the car:
The project also required buns for attaching M4 studs:
These buns are attached to the board with double-sided tape - it turned out pretty strong. It's funny that I printed the quadruple buns twice. At first I printed it with black plastic and with a little infill. The model stuck so tightly to the 3D printer table that while tearing it off, it bent a little. And that's all - it does not stand exactly on the table. But it’s good that I reprinted it, it seems to me that combining white and black was a good idea.
Gutters:
Single turn:
Well, a number of minor details. In general, I had to print and reprint a lot. However, I'm glad I completed this project. Perhaps after some time I will be able to expand this Marble Machine, add new lifts and slopes, because there is still room on the board on the right for the next machine.
I was thinking of posting the sources of my models, but then I decided that there was no point in doing so, because each Marble Machine is, first of all, a fantasy of its creator. It is unlikely that anyone will want to repeat everything exactly as it is here.