3D printed bluetooth speaker
Homemade bluetooth portable DIY speaker 3d printed case
0.0 Basic intro
This is a very low budget fully DIY Bluetooth portable speaker. It has a 3D printed case, and all the components inside are low cost. In a past tutorial we have build another Bluetooth speaker using this board with the TDA7492 amplifier. Now, I want to build another Bluetooth speaker but build my own circuit and also reduce its price. The TDA amplifier board from the other video was around 8 dollars which is not much. But I would like to lower the price even more using recycled old laptop batteries, unexpensive 3D printed case, and build my own amplifier circuit. To receive music using Bluetooth connection I want to hack this small and very cheap module. In this way, my project will be fully homemade and also for a reasonable price. So, let’s get started.
1.0 What do we need?
I will talk a bit about all the components. You ahve a photo below with some of the components. For more details go to the page of the full part list. There you will find all the components, prices and different options.
See the full part list here:
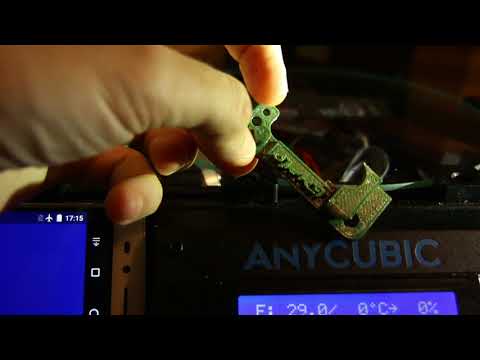
I can’t say that the receiver is the main part of a Bluetooth speaker. But we do need a Bluetooth connection and for that I’ve choose the small module below. This costs around one or two dollars. You could establish a Bluetooth connection between your smartphone and this device. Then play music and you will have the music signal on shown output. My idea is to connect wires for both right and left sound outputs and connect the signal to an amplifier.
Now we should talk about the amplifier. I want to use the TDA2030 sound amplifier because it is quite cheap. Before we go farther I want to say that this amplifier is not the best, you could always use another one if you want and keep the rest of the project the same. The TDA 2030 only amplifies one channel so I should use two of them, one for the right and another for the left audio channels.
This is a basic schematic that I’ve mounted for this amplifier. Here we have the potentiometer that increase or decrease the input amplitude and by that, lowering or increasing the volume. So, if we want a stereo output we should have two circuits like this one. But I don’t want to have separate potentiometers to control the volume separately for each channel. That would be very awkward.
So, for that I will use af dual potentiometer so I could change the amplitude of the signal of both amplifiers at the same time. The good thing about this potentiometer is that It also has a switch integrated that could turn on and off the speaker. So, we won’t need a separated switch. Finally, I will use some lithium ion batteries that I savaged from an old laptop battery that I don’t use any more. I will use a module to safely charge the batteries and a boost converter module to increase the voltage for our amplifier since the batteries only have 3.7 volts. I’ve designed my own case for this project and 3D printed using PLA material and my Anet E10 printer.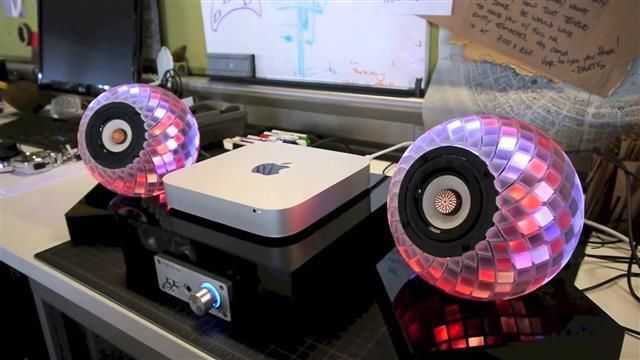 You can download the case STL files froma link below. I will use two 4 ohms speakers from an old audio platform that I don’t use anymore. The main idea of this kind of projects is to reuse any part that you can.
Downlad the STL files here:
3D Printed Bluetooth Speaker - DIYODE Magazine
Making your own audio gear is almost a right of passage. Sometimes it's just because you can!
Sure, there’s plenty of Bluetooth speakers on the market, but as the DIYODE community knows, there’s an unrivalled satisfaction in building things yourself! Taking on the challenge to build a great looking 3D-printed speaker, using cost-effective parts, Johann has come up with a pretty awesome design. And we’ve got all the details...
What made you start this project - were you after a low-cost Bluetooth speaker, or was it more about building something from scratch?
The inspiration actually came from my love of audiobooks.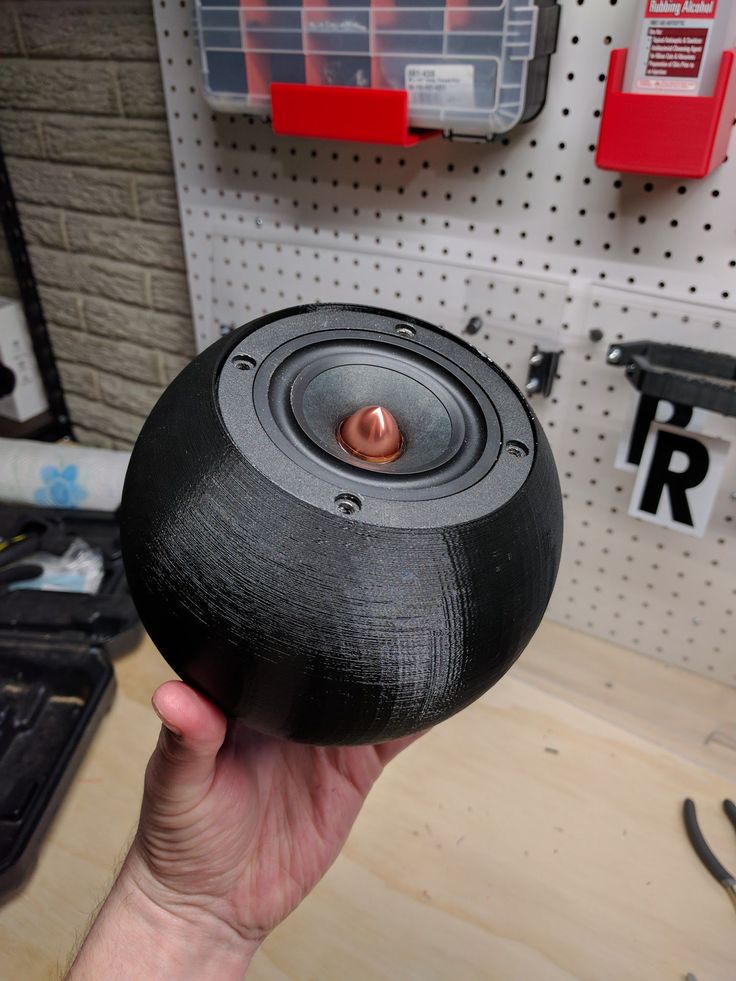 I listen to Audible while travelling to and from jobs in the car, and I’d often find myself sitting in the driveway, waiting for a particularly exciting chapter or series of events to unfold in the story. This prompted me to look into ways I could continue to hear the story outside of my car. Since the external speaker on my mobile phone was nothing special, I began to look at standalone external speakers. Whilst Bluetooth speakers are not expensive, I opted to build my own, just to get that personal touch and so I can prove all the money I spent on 3D printers wasn’t a waste!
After a visit to my local Jaycar store, I learned they didn’t sell any Bluetooth audio modules so the first iteration (electronics-wise) used the 2 x 2W class D amplifier module from Jaycar. This module uses the PAM8403 IC and due to no Bluetooth, the speaker required the phone to be directly connected. Whilst that worked fine, I decided I would prefer a wireless connection.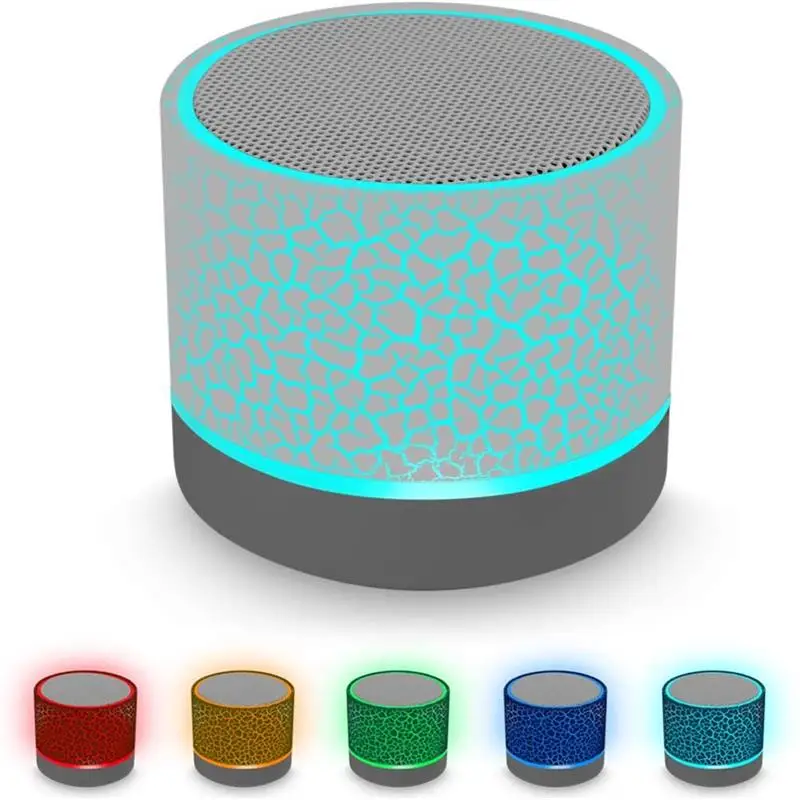
The final product came about as I searched for a Bluetooth audio receiver to use with the Jaycar amplifier module. I discovered on eBay an all-in-one solution, which contained a Bluetooth receiver as well as the PAM8403 amplifier.
Oh yes - we all need to justify our hardware! So this is actually V2.0. We agree Bluetooth makes connectivity better than a wired solution. Can you take us through each particular piece of hardware in this project, and why you selected them?
18650S: I choose to use the 18650 cells as they have, by far, the greatest energy capacity for their size; and because I have access to a vast number of recycled cells from faulty cordless power tools (thanking you very kindly, Joey)! The cells are generally 2.3A/h cells, which I have cycled several times recording the actual capacity. This ensures their suitability to be used together in parallel. Together they provide 3.2-4.2V potential and 4.6A/h or current.
BLUETOOTH AND AMPLIFIER BOARD: As stated earlier, this impressive board was found on eBay for only a few bucks including delivery! It contains a Bluetooth receiver as well as the same PAM8403 amplifier IC that was in the Jaycar amplifier, making it perfect for the project.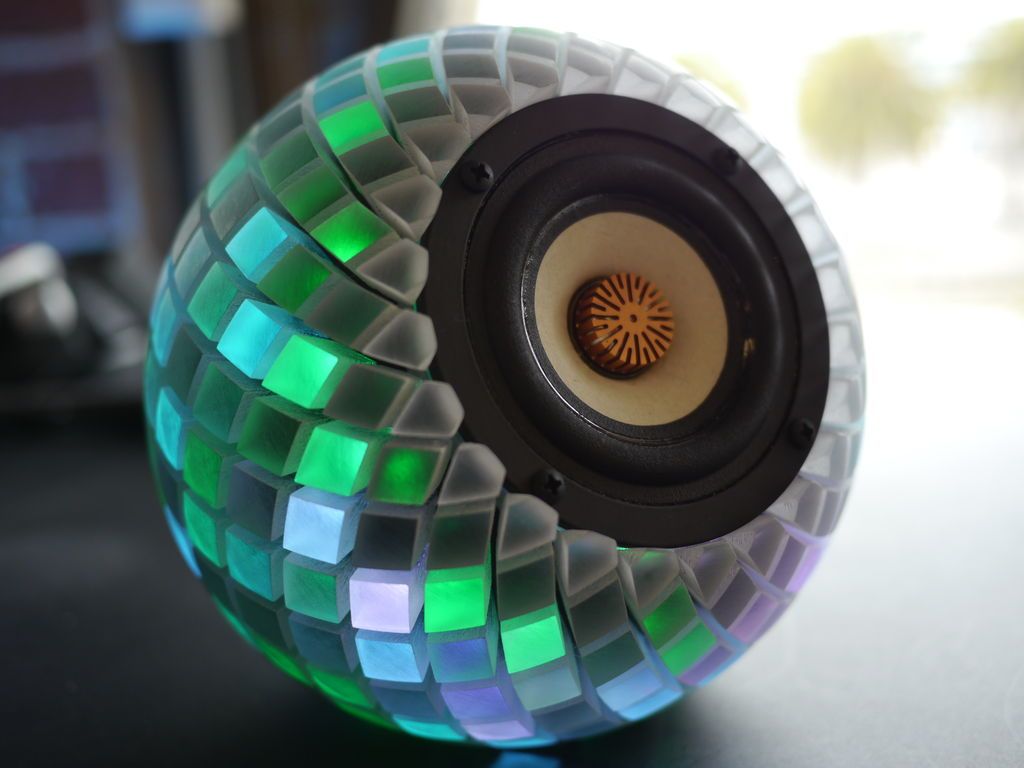 It requires a stable 5V input and so was unable to run directly from the 3.2-4.2V provided by the lithium cells; therefore, I needed to boost the potential to 5V/DC.
BOOST CONVERTER: The boost converter takes the fluctuating potential (3.2-4.2V) from the lithium cells and boosts it to the nominal and stable 5V required by the amplifier and Bluetooth receiver. The 3A output capability of the module far exceeds the requirements of the circuit, so my original plan was to build my own boost circuit; however, the price these modules go for makes it significantly cheaper to use the pre-built module over sourcing the components and building it yourself.
LITHIUM CHARGING: Lithium cells are not the easiest cells to work with, as they require a precise charging circuit to charge them via a constant current around 1A to 4.2V. Charging a lithium cell outside of this range has the undesired potential to severely damage the cell, reducing the capacity and in extreme cases causing the cell to expand and/or even spontaneously combust.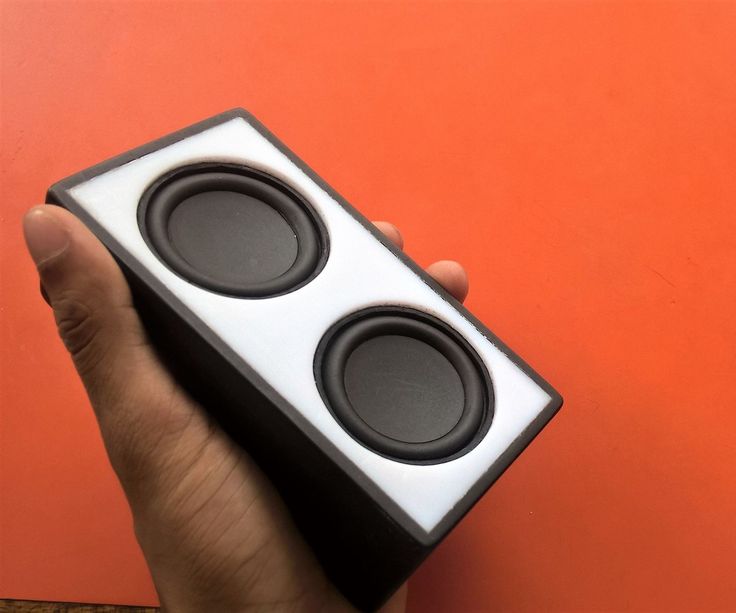 As this is something I intend to use inside my house, I decided to err on the side of caution and not risk the worst case scenario. At around 60c a piece on eBay it would be silly to attempt to build my own. Also the 5V micro USB input means you can easily use one of the countless unused old mobile phone chargers we all have lying around (c’mon, you know you do!).
SPEAKERS: Arguably the most important part of the design is also the simplest! I found a set of 3W 4Ω 52mm speakers on eBay, again for just a few bucks! Whilst they are not great and came very poorly packaged they are more than suitable for this task. I did however go through a bunch of different speakers trying to find a quality pair; interestingly, there does seem to be a lack of retail stores selling them.
A fairly sensible collection of hardware! Everything you need, nothing you don’t! The 3D-printed case looks great.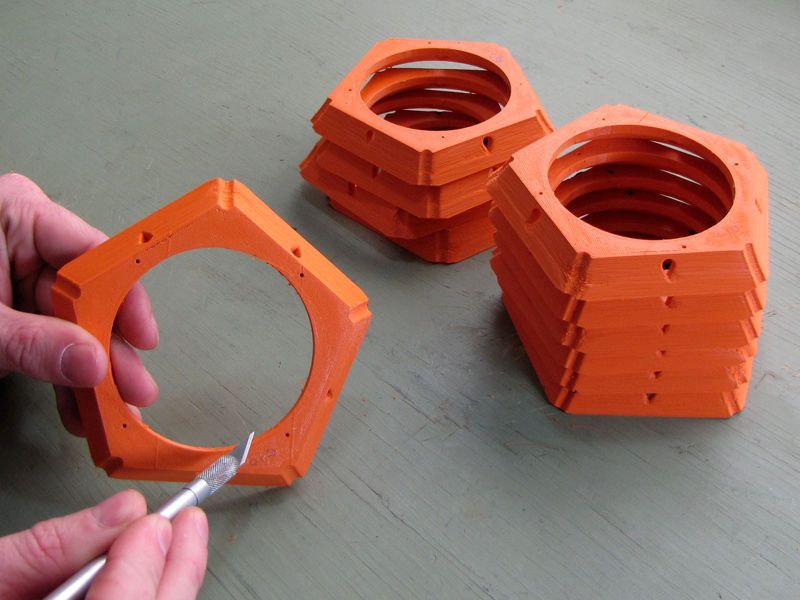 Was this the first design that stuck, or did you go through various iterations?
The oval design was largely inspired by my Logitech desktop speakers, and quite oddly (for me at least) the speaker enclosure didn’t change much through the design process. The front panel had a few significant changes with the original design having an LED and rotary switch, compared to the final version having a toggle switch and LED. Other than this, it has remained largely unchanged. With that said, a few changes are in the works; currently the enclosure is held together by hot glue (for sealing), so I intend to change that to become screwed together, and with a 3D-printed rubber gasket for sealing.
We did wonder about plastic rattling. In reality, hot glue is probably just as good as a rubber gasket unless you plan on taking it apart and putting it back together a lot. Twelve hours of playtime is impressive! You’re using a boost converter to step up voltage, so are you running your 18650 cells in parallel?
All components wired before mounting.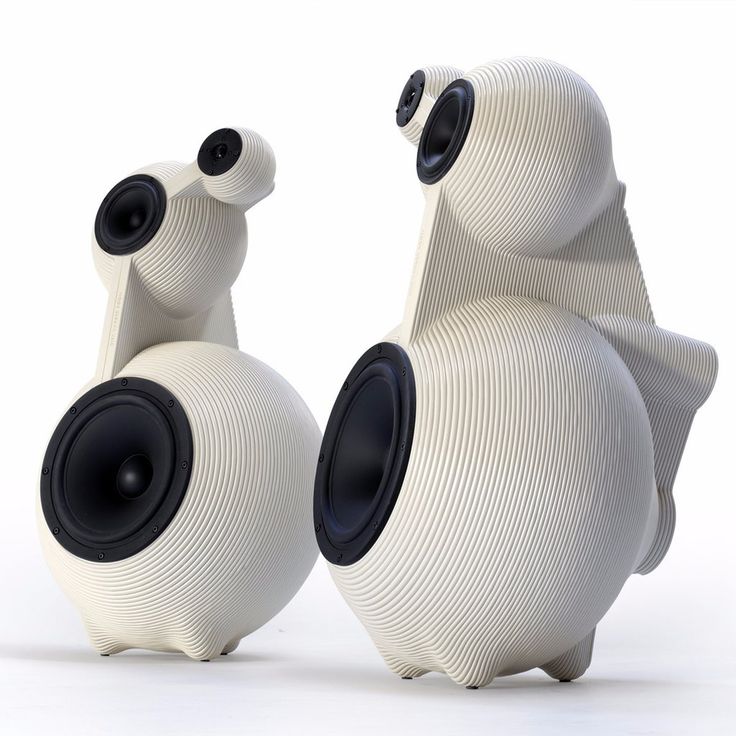
Yeah, the cells are in parallel now, but originally they were in series. Last year we had a group assignment which I built a power supply for. I used two 18650 cells in series, and stepped the voltage down to 5V using an LM2576 switch mode regulator. Intending to use the same circuit for this project, I compared the efficiency of this module stepping the potential down with the off-the-shelf boost converter and stepping the voltage up, and I discovered that having the cells in parallel and boosting the potential was moderately more efficient than bucking the potential with the cells in series. Given the device is battery operated, I opted to go the most efficient route, and so the cells were placed in parallel and a boost circuit was used.
Interesting result on the efficiency front. Parallel does make charging simpler too. If you add a high pass filter, you’ll reduce low-end distortion, but surely miss out on some amazing bass. Perhaps you could add a wireless subwoofer to the mix?
Given the device was, for the most part, intended to be used for audiobooks I’m not so sure bass is all that necessary.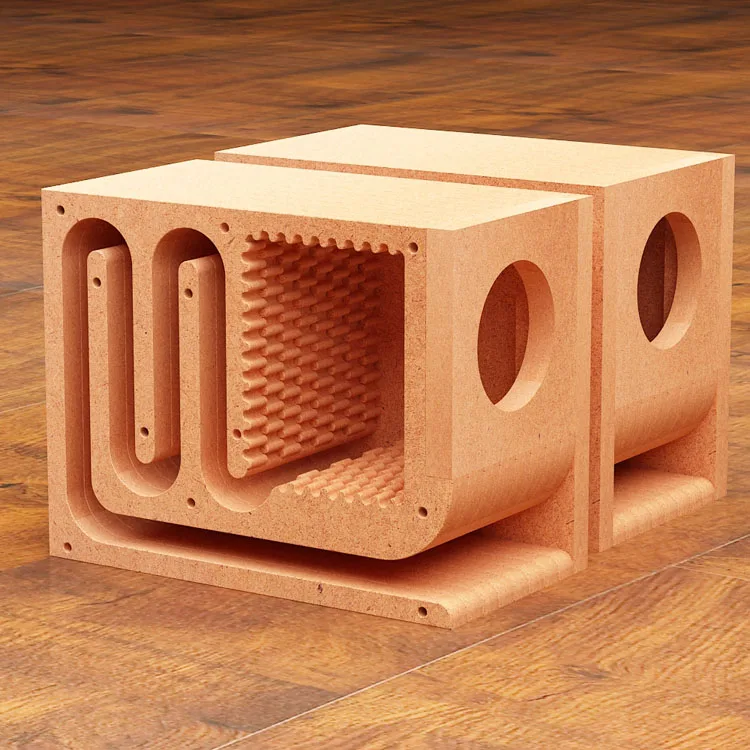 However it wouldn’t be at all difficult to have a switch for a bass boost mode or similar! As if I needed more motivation for feature creep! Although, now you mention it, a subwoofer attachment could be really fun to build.
Absolutely! What’s not fun about a subwoofer? With the knowledge gained during this build, what would you do differently, if you did it all over again?
I would create the entire circuit on one PCB, with mounting studs designed into the enclosure. This would make it significantly more rigid, easier to construct, and a significantly more professional item overall. However it would also make it significantly more expensive.
As it stands currently, the entire device costs less than around $25, with the online sourcing of components (including the lithium cells) being the most significant portion of the cost. Creating the PCB and sourcing components would triple that cost, making it fiscally non-viable, albeit still worthwhile as a learning (and fun) experience.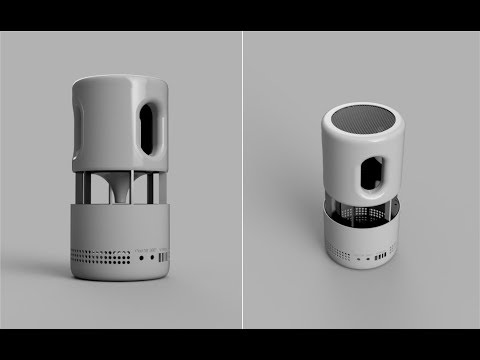
Other than that, I would like to have used the F-6188 Bluetooth audio receiver board. It can comfortably work with the voltages directly from the lithium cells, thus reducing the load on the boost circuit, and therefore increasing efficiency. It’s also lower in cost and seemingly sounds better when matched with the PAM8403 amplifier.
That makes for a rather cheap Bluetooth Speaker by anyone’s standards! What awesome project are you working on at the moment?
I have two projects in the works: the first is my 0-15V and 0-3A linear power supply, which I have been working on in my down time for nearly half a year, making it a somewhat slow process. Apparently getting a linear regulator to drop potential without getting hot enough to melt solder isn’t a trivial task!
The second is a project with my 12-year-old son. It’s an app-controlled RGB LED lamp, which will allow him to switch it on/off, and change the colour of the output using a mobile phone.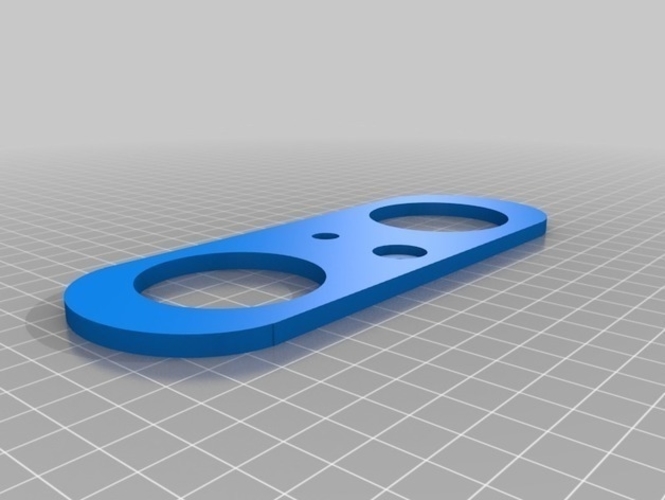 He is keen to build stuff and hopefully a simple project like this will get him even more interested in programming.
Those both sound like great projects! We look forward to seeing the results! Thanks for taking the time to share your Bluetooth speaker, and create a DIYODE branded 3D-printed shell - it looks fantastic!
Bluetooth speaker on 3D printer
Today we will make a real small bluetooth speaker - a boombox based on ready-made inexpensive Chinese modules bought on Aliexpress. I've watched a few YouTube videos of people making homemade boomboxes. Someone makes them from plastic water pipes, someone from plywood, even saw a column made from a cardboard box. Since I have a 3D printer on the farm, I decided to develop a column enclosure in SolidWorks and then print it on my Prusa I4 / i3 + 3D printer
VIDEO ABOUT THE CREATION OF THIS SPEAKER
The task was to make a small speaker that would be at least as good as cheap industrial counterparts that are sold in stores. My speaker needs to be small, light, have long battery life, and sound acceptable. So as not to be ashamed to take it with you on your upcoming trip.
Several prefabricated modules are required to make the column. First of all, of course, this is an MP3 player module with Bluetooth function. I once bought such a module on Aliexpress and for a long time, probably six months, I lay in my desk, waiting in the wings. The module is called ZTV-M019BT-V2.1
External devices such as smartphones, tablets and laptops identify it as a bluetooth earphone or headset with the name M019BT. The board can play MP3 and WMA files from flash drives and SD cards with a bit rate of 32 ~ 320 Kbps, has a built-in FM tuner (receiver), a switched line input, and supports the Bluetooth 3.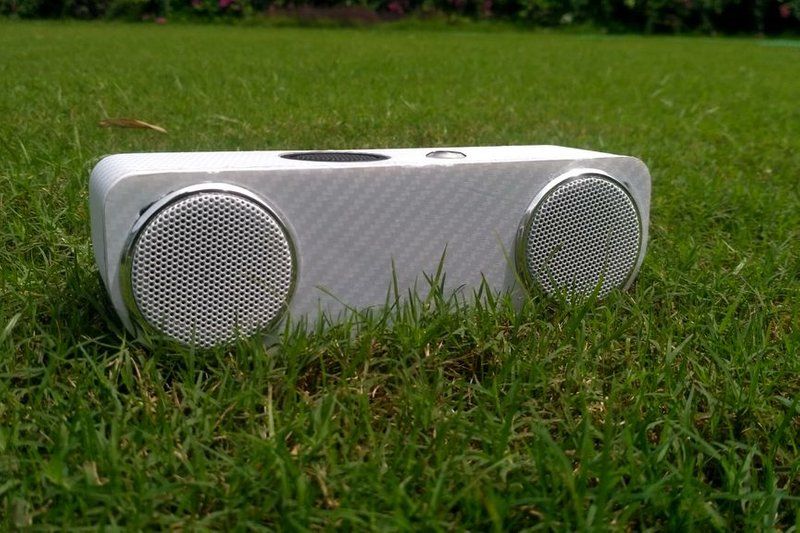 0 + EDR wireless data transmission standard. The module comes with a remote control (battery included). You can order the module by clicking on this link or on the photo below.
The next component we need is a miniature class D audio power amplifier board based on the PAM8610 chip:
Modern technologies have made it possible to create such a completely miniature stereo amplifier with a maximum output power of 2 X 15W that does not require cooling radiators. The amplifier module can be powered by a DC voltage source from 6 to 12 volts. At maximum power, the module consumes a current of about 2 amperes. The input impedance is about 15 K, the load loudspeaker coil resistance is 4-8 ohms. At an 8 ohm load, the maximum power will be about 10 watts, and at a 4 ohm load, about 15 watts. The PAM8610 chip has built-in protection against overloads and overheating. This module uses a standard typical circuit for switching on the PAM8610 chip, recommended by the manufacturer in the documentation for the microcircuit.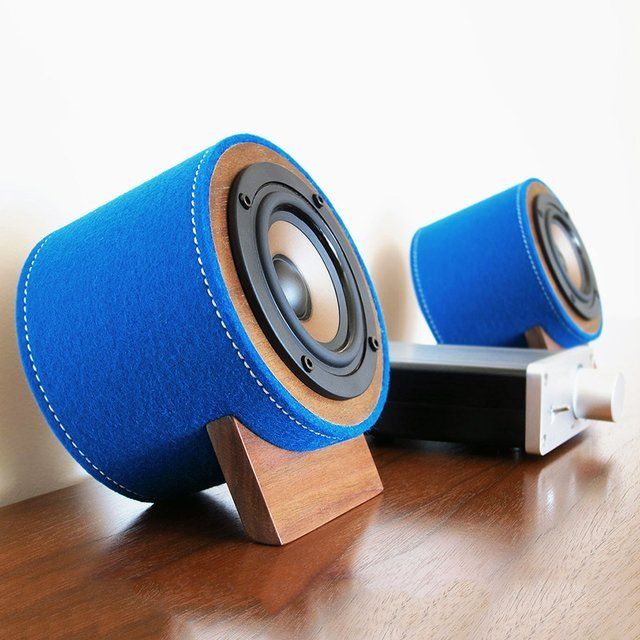
A set of high-quality speakers can be ordered at this link (price for 2 pieces)
Both modules, Bluetooth board and power amplifier, can be powered from a 6 - 12 volt source. Therefore, I decided to use two lithium-ion batteries of the common size 18650 with a capacity of 2600 mAh to power the column. Batteries of this type are very common and can be bought at a radio store or ordered from China on Aliexpress.
To install the batteries in the speaker cabinet, I used this cheap plastic container - battery holder
I made a charge controller for the battery. see the description of the controller in this article
I developed a 3D model for printing the case on a 3D printer in the SolidWorks program. The column body consists of two parts. the first biggest part is the box or the case itself. the detail is quite large and quite complex in terms of printing on a 3D printer with ABS plastic. High-walled boxes are generally difficult to print with this filament due to its relatively high coefficient of thermal expansion. It is better to print large boxes with PLA or some of the modern plastics with lower heat shrinkage. Then you will not encounter delamination problems. I decided to print the case with ABS plastic anyway, because I wanted the column to be orange, and orange was only ABS plastic. You can download all models and the SolidWorks project from the links at the end of article
Solidworks assembly. 3D cabinet model + auxiliary models of speakers and modules
Solidworks assembly. 3D model of the cabinet
3D model of the cabinet - box
3D model of the cabinet - front panel
Block diagram of the connections of Bluetooth speakers nodes:
Loudspeakers, a class D power amplifier circuit board and an MP3-Bluetooth module are installed on the front panel of the speaker . The Bluetooth module fits into a slot in the panel and is secured through the hole with four screws or rivets made from 3D printed ABS rod. I fixed the module with such plastic rivets and, in addition, glued it with superglue - cyanoacrylate.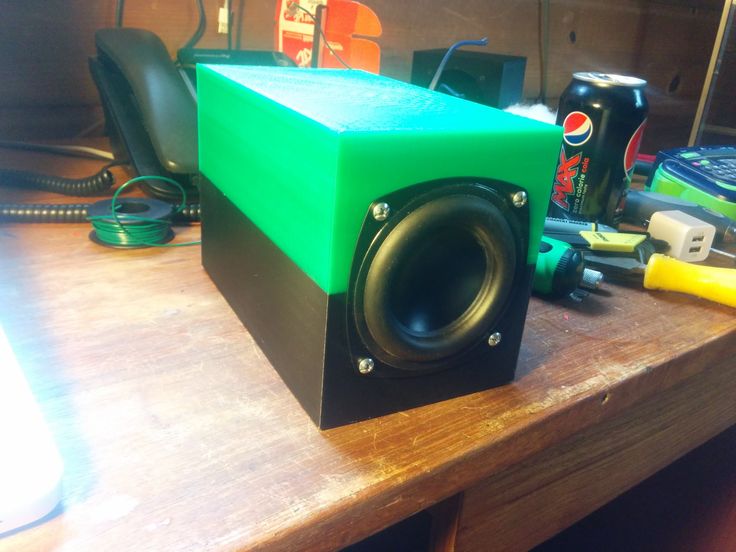
Installing the Bluetooth module on the front panel of the speaker
The container for two 18650 batteries is installed in the corner of the speaker drawer and secured with six of the same plastic rivets. Gluing this container with superglue will not work, since cyanoacrylate does not dissolve the plastic from which the battery container is made.
Dual 18650 Battery Case Installation
Speaker Power Supply. 2 18650 batteries and a charger (charge controller). An article about the charge controller can be read at the link ...
I installed an extra red LED in parallel with the 12V adapter socket. Connect a 1k resistor in series with the LED. The LED will glow when the 12V adapter is connected. and the battery is charging.
Li-Ion battery charge controller and speaker power switch. The LM317 controller chip is mounted on a small heatsink to cool it. a heatsink is needed, without it the chip will fail.
Installing components on the front of the speaker.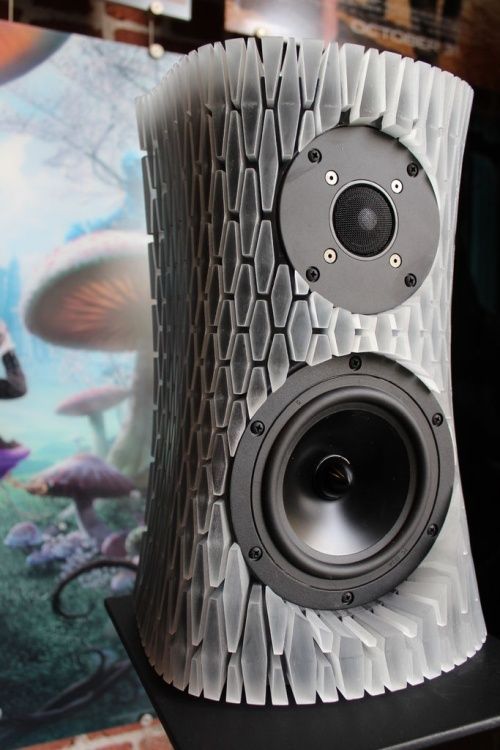 I glued the speakers in place with superglue 403 (cyanoacrylate). The class D power amplifier board is fixed with 4 M3 screws. Bluetooth MP3 module is fixed on the front panel with superglue and plastic rivets made of ABS thread for 3D printing.
Connecting power and audio output wires to the bluetooth player module
Part of the bluetooth module board. Here (circled in red) an SMD resistor with zero resistance (jumper) was installed. This jumper must be removed, otherwise you will hear very strong interference in the form of whistling and crunching in the loudspeaker. This jumper connected the analog and digital "grounds" of the module. After removing the jumper, the sound became clear and of high quality.
An external antenna is required for the FM tuner (receiver) to work. The antenna can be just a piece of wire about a meter long. The antenna connects to the Bluetooth module at point E2 (circled in red). This point is located next to the Bluetooth antenna in the form of a curly track on the printed circuit board.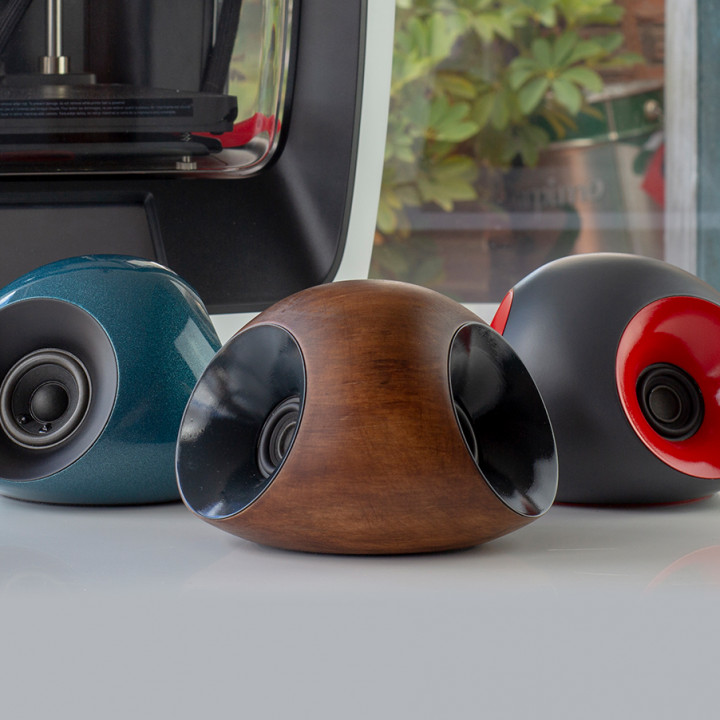
Download 3D models of the speaker body and the SolidWorks project
The best do-it-yourself bluetooth speaker - 5 success criteria / Sudo Null IT News
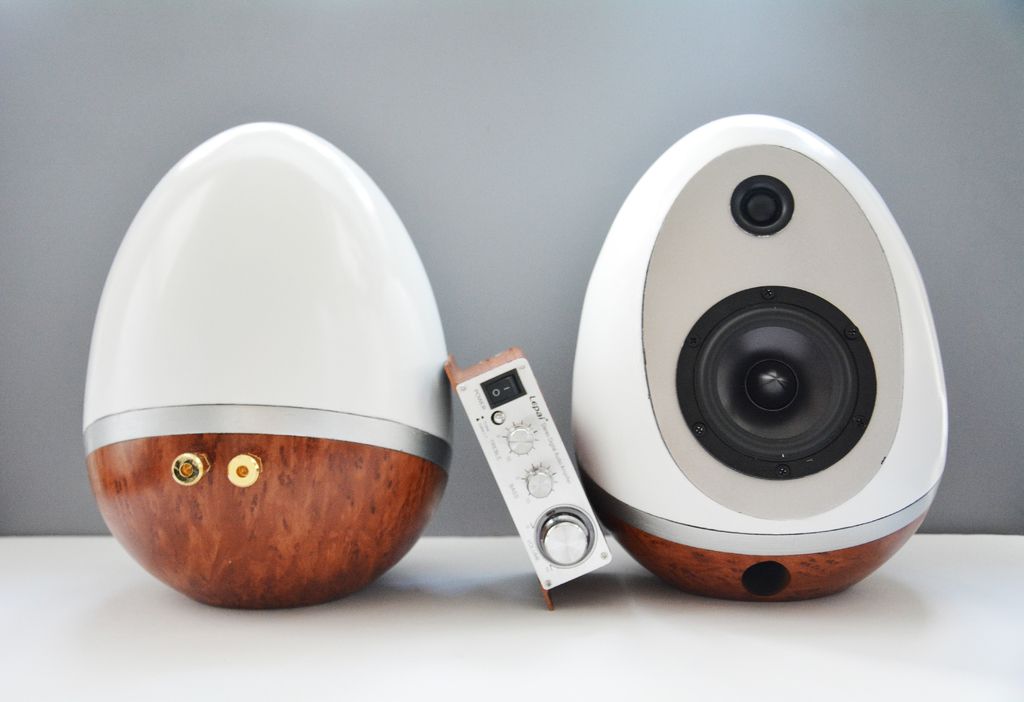
Bluetooth speaker is ready!
It's been 2 years since I started making a bluetooth speaker. And finally, she is completely ready. (Of course, again, not to the end - you still need to slightly add the firmware). I must say that I made the electronics itself much faster - only 3 months. This is the time from idea to finished board. But with the case, speakers, DSP settings, I had to conjure. As a result, I made three versions of the case, tried two types of speakers, and I consider the last option to be the final one. I will not redo. What column are you talking about? Who is interested in reading ..
Speaker Requirements
When JBL speakers began to gain popularity, my son asked me to buy such a speaker. Since he and I were actively involved in electronics, the idea immediately arose to make a speaker for ourselves, and of course, the quality is not worse than the JBL Boombox.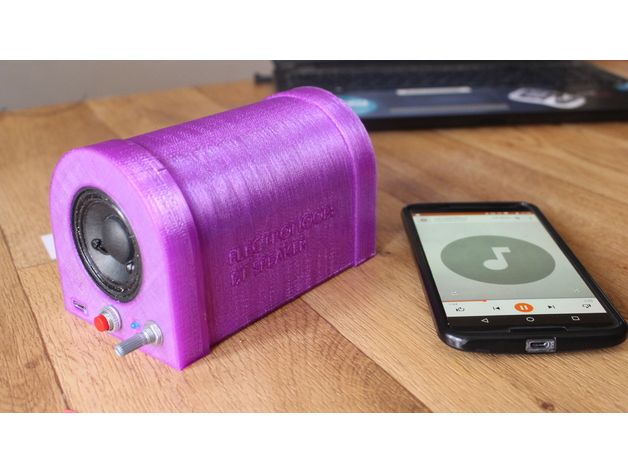
What characteristics should the speaker have?0012
Hi-Fi sound
Bluetooth Apt-X
Built-in SD map and mp3 player-the entire collection of music with it
Also, many more small functions were invented, which should have been. I will not describe them.
We select a sound amplifier
I began to study the components from which you can assemble a column. And of course I started with a sound amplifier. Having studied what is on the market and is actively used in all crafts, I realized that all this is not right, and turned my attention to the latest developments in the field of sound. On the site of Texas Industries, the heart of the future speaker was found - TAS5782M - a Hi-Fi level sound amplifier. Check out its features:
-
30W stereo (total 60W)
-
Digital sound
-
Built -in DSP processor with a bunch of settings
-
Unbearable - various protection of chip
-
Work without radiator
9000 9000 9000
Those same 5 criteria for success
I won't describe all the ordeals for a long time and will immediately get down to business.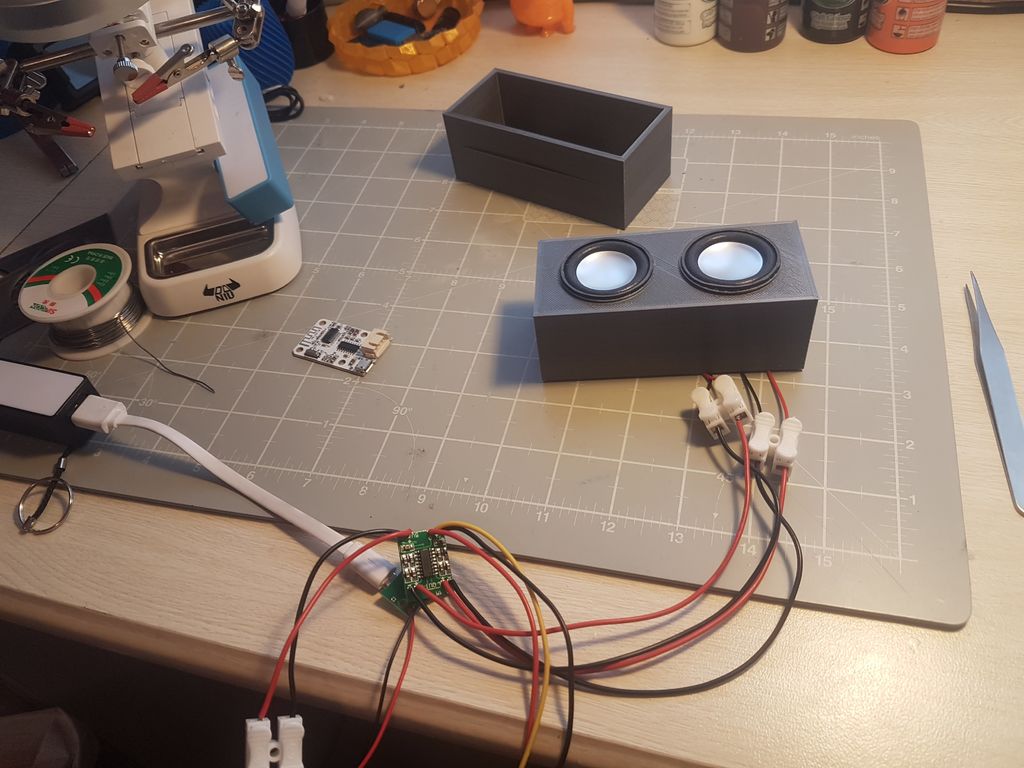 Here are those 5 success criteria:
-
The entire audio path must be digital. The analog signal is very capricious in terms of board routing, build quality and requires tuning on special equipment. The digital signal, on the contrary, is practically undemanding to tracing, calmly treats "crooked hands". The Bluetooth module must only be connected via a digital channel.
-
A DSP processor is required. Getting powerful sound in a compact package is very difficult. DSP processor will expand the acoustic range of acoustics, especially in the low frequencies. Additionally, the latest developments in this area will make the setup process very simple, and the sound quality at any volume level.
-
At home, it is very difficult to make a high-quality, beautiful case. 3D printing comes to the rescue. The quality of 3D printing on home printers is now very high. Modern plastics allow you to get a durable, stylish case. Independent development of the model allows you to take into account all the features of the location of the components and provide quick access to them.

-
The speakers are the heart of our system. Only branded components will allow you to get a natural powerful sound. Be sure to use 2 speakers: Broadband - bass and mid range and tweeter. Also, for a small case, a passive speaker is simply necessary. The speakers must have a passport and documentation, a frequency response graph, without this it will be difficult to fine-tune them without special equipment, and as a rule, it is not at home.
-
All portable speakers run on batteries, so the economy and energy efficiency of all components is not in last place. As a result, the amplifier must be of the D-class with the highest possible efficiency. Most of the time you will listen to acoustics at an average volume level - it is in this mode that the speaker should work for a very long time. To get a powerful sound, you need a lot of current, which means you need high-power lithium batteries.
Diagram of column modules
Sketched the diagram of column modules.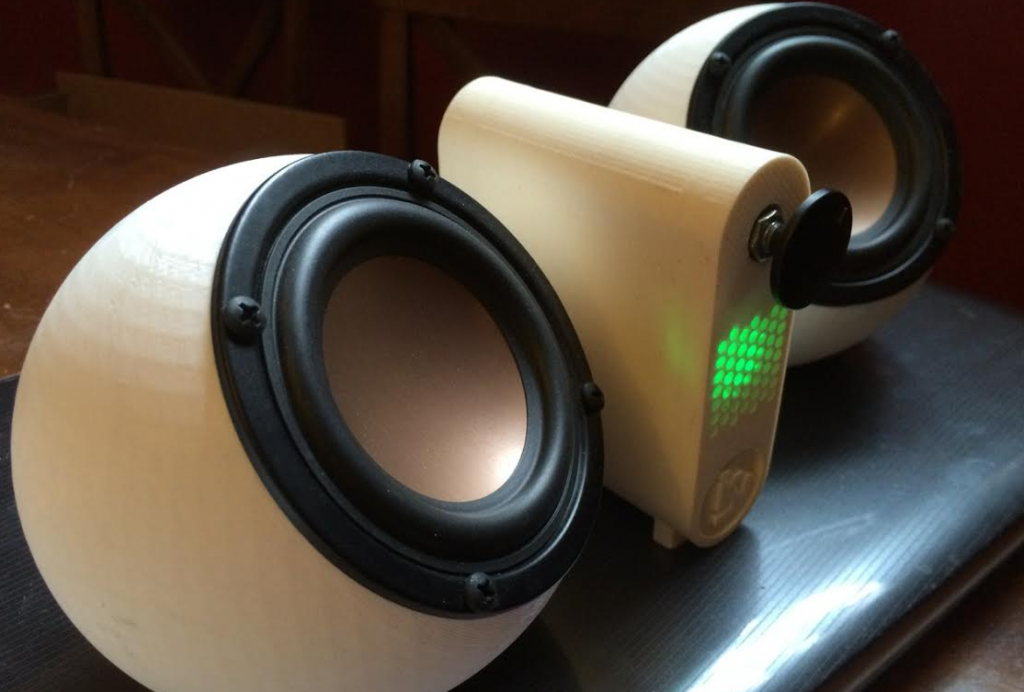
Speakers and bluetooth module
The best speakers we could find are AURA NS3-193 and Dayton Audio AMT Mini-8 hales. They sound great. The bass they produce is very good!
Bluetooth module based on CSRA64215 chip. Everything is not very bad. digital output. apt-X support. Excellent call quality. Ready to use.
Body
The main headache was with the body. The final version was made on a 3D printer. I did not dare for a long time, I thought that everything would fall apart immediately. But in the end, after a series of tests, I realized that everything is very, very strong. Here is what the 3D model of the case looks like.
DSP setup
I really like TI as a chip manufacturer. I believe that they have the best documentation for their products. The amplifier comes with detailed documentation and recommendations on passive components, as well as on setting up the DSP processor. I bought the chip from TI itself on their website. After receiving the chip, they can be asked for software to configure it.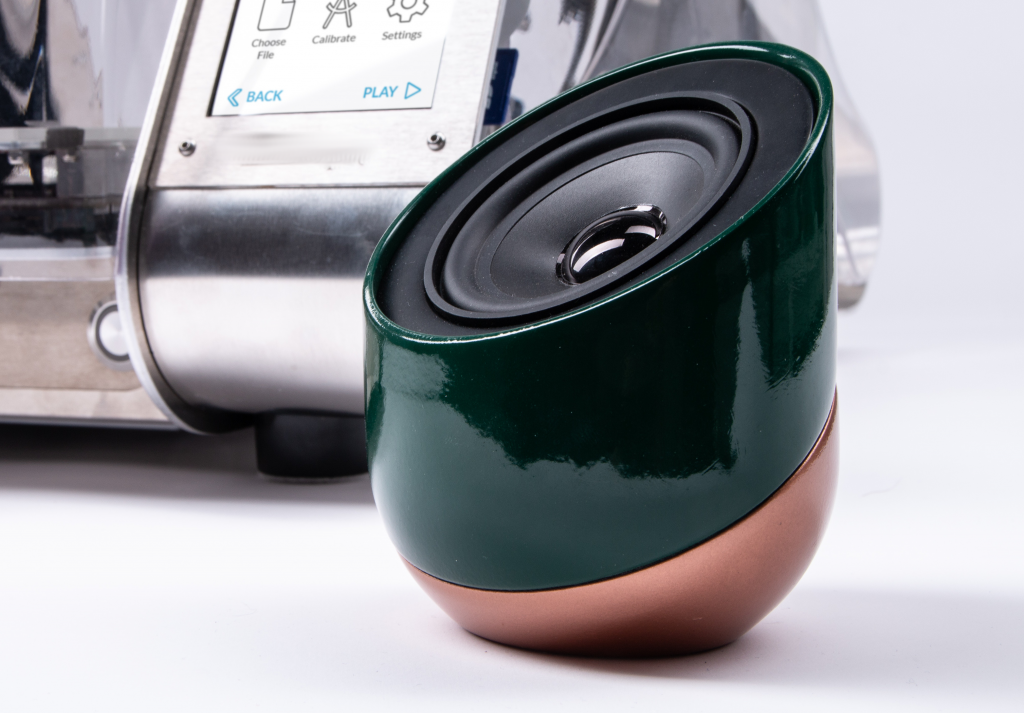 They give access for 3 years to receive software updates, and you can use it unlimitedly. There are not many settings, but a lot. I will not describe everything, here are those that I used in the column.
SMART BASS. This is a smart bass tuning. It is necessary to enter the Til-Smol parameters for the speaker into the software and specify the bass frequency that we need. Everything else will be configured automatically. I ended up setting it to 60Hz (-3dB). The speakers themselves without a DSP processor in a small package give out about 80Hz (-3dB), to achieve 60Hz, you need a gain of about 10dB. Of course, you will say that everything is not difficult here, there are many equalizers, but the main problem that the selected amplifier perfectly solves is dynamic gain. As the volume increases, the gain must decrease, otherwise the speaker will be overloaded. But that's not all, the microcircuit calculates the critical parameters of the speaker - the stroke of the head and the heating of the coil. The amplification eventually adjusts to the composition so as not to exceed critical indicators and not degrade the sound.
Mono bass. In a compact case, it is technically difficult to separate the speaker volumes. If this is not done, then at low frequencies, if the composition has stereo effects in the bass area, there may be an overlay of sound waves and a strong drop in volume. To avoid this, the processor automatically makes the composition mono in the bass area.
Stereo zone extension. The tweeters are too close together in a compact cabinet. The processor expands the stereo base.
It is very difficult to match the tweeters and midrange speakers in terms of sound pressure (loudness) due to passive components. But due to the equalizer - it's easy.
DSP processor gets a solid five!
Microcontroller - color music and all sorts of tinsel
A microcontroller is needed to control the amplifier.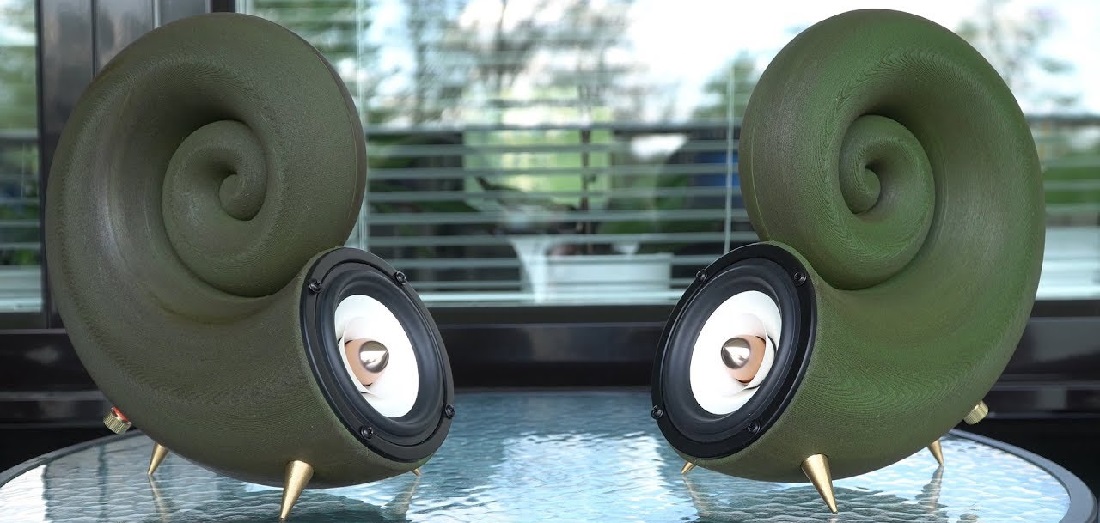 I immediately took a powerful MK with DSP functions and a float module - STM32F446. It controls all modes:
-
amplifier control
-
Charging processes of batteries
-
digitization of analogy sound from the FM module
-
mp3 player and maintenance of the built -in SD card
-
000 work as an audio device from a computer
Model -Western Management 9000
90 RGB LEDs are used as color music. Management goes on SPI. I can only say that it turned out very cool. The effects were appreciated by everyone who saw the column.
Why do all this on my own - I bought everything
The project turned out great. More information can be found on the website of the same name. A homemade speaker allows you to get the necessary functions, take any speakers, adjust the sound to your criteria.