3D builder scanner
3D Scanning Tutorial: Microsoft Kinect and 3D Builder | 3D Printing Blog
Begin typing your search above and press return to search. Press Esc to cancel.
by Fabian | September 15, 2016 | Tutorials
3D Scanning Tutorial for Microsoft Kinect and 3D Builder
by Fabian | September 15, 2016
Are you looking for ways to create color 3D scans of objects and turn them into high-quality 3D prints? Then this tutorial is for you! In this guide we will discuss how you can use Microsoft’s free 3D Scan app to turn your Kinect into a 3D Scanner. We will also take a look at how to import, edit and print these scans with the free 3D Builder app.
In order to use Microsoft’s 3D scanning solution, you will need a computer with Windows 10 or 8.1 and a Kinect. If you own an Xbox One with an integrated Kinect this cable will enable you to connect it to your PC. All that’s left for you to do is to download and install the 3D Scan and 3D Builder apps on your system.
Microsoft’s free 3D Scan app enables you to make color 3D scans in real time using the Kinect sensor and your PC. In this first step we will concentrate on the scanning process, and later we will tell you how to use 3D Builder to edit them.
You can use your Kinect either as a handheld or desktop 3D scanner.
- If you choose to scan an item or person while holding the Kinect, make sure to enable the handheld mode and rotate around the objects you are scanning. Carefully pick the size of the area you want to scan and hold the Kinect sensor to “record” your object, just like you would use a normal camera. The app even lets you take 3D selfies using the one-click timer option
- You can also get great results by putting the Kinect on a tripod and placing the object you have in mind on a turntable in front of it. Don’t forget to switch off the handheld mode if you go for this option
Using a Kinect sensor to scan a person.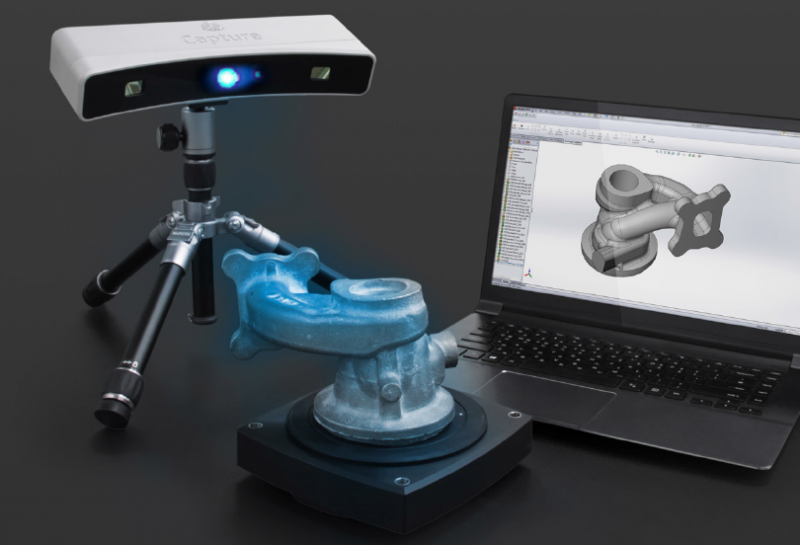 © Microsoft
Five major factors influence the quality of your 3D scan:
- The GPU quality (Graphics Processing Unit): A high-end GPU allows for higher frame rates and produces better scans. In order to get the best results, try to stick to at least 20 frames per second (fps)
- The lighting quality: Not surprisingly, a setting without any visible shadows produces the best results. The surface colors of your 3D scan will become better with more diffused light
- The distance from the background: Aim to maximize the distance between your background and the object you want to scan. This way the Kinect sensor will not mistakenly add artifacts from the background to your 3D scan
- Reflections: Try to scan in an environment with as little reflections as possible, since reflections in the background can create noise around the scan
- The distance from the object: You will get the best 3D scanning results when you place the object approximately an arm’s length away from the Kinect sensor (that’s 3 ft.
 or 90 cm)
Microsoft’s 3D Scan app makes scanning user-friendly. © Microsoft
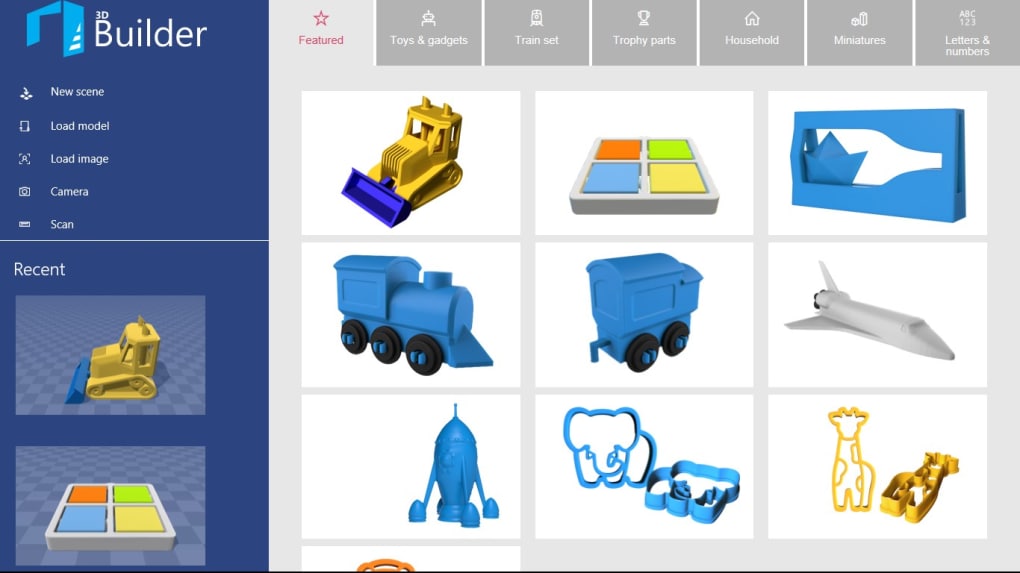
Step 2: Import and Edit Your 3D ModelNow that 3D Scan has captured your object, it’s about time to import and edit this 3D model. Microsoft’s free 3D Builder app does the trick. It allows you to import your 3D scan directly, to visualize it as a 3D model, to edit it and to 3D print it.
In order to import the 3D scan, start the 3D Builder app and choose “Scan” from the menu on the left-hand side. Once the scan has been imported, you can start editing the object. For example, you might want to create a base for your 3D scanned selfies.
If you want to learn more about the editing options of 3D Builder you can have a look at our beginner-friendly video tutorial here. We also recommend you to check out this practical user guide with detailed explanations of all the important editing tools in 3D Builder.
Step 3: 3D Print Your ObjectWhether you are in need of a professional 3D print, don’t actually own a 3D printer or are looking for 3D printing solutions beyond plastic, there are many reasons for choosing an online 3D printing service.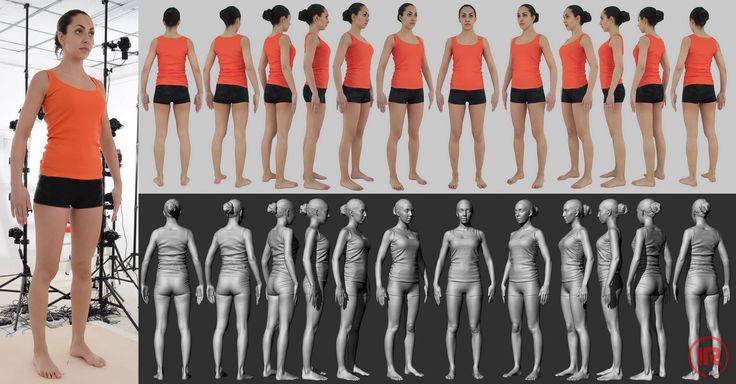 And 3D Builder makes this even easier: you can order a professional, high-quality print of your model with i.materialise from inside the app. We will then print it in awesome materials such as stainless steel, multicolor, silver, gold, ceramic and more!
In the top right corner of the screen you can find a 3D print button. Click it to prepare your model for 3D printing. In the ‘select printer’ dropdown menu, you can choose ‘3D printing service’. In the layout tap you can still double-check the size of your future 3D print.
High-quality 3D prints can be ordered from within 3D Builder.
Click ‘order online’ to upload it to our online 3D printing service. You will immediately see the price for a high-quality 3D print of your model in 100+ materials and finishes. Now you are just a click away from turning your 3D scan in a physical 3D print.
From 3D Builder model to reality: a multicolor 3D print.
Top 3D scanner apps and software in 2022
3D Learning Hub
See all categories
Contents:
- Introduction
- How does 3D scanning work?
- Photogrammetry software
- 3D scanning software for 3D scanners
- 3D scanning apps
- Let's 3D scan today!
Introduction
How does 3D scanning work?
We already wrote an article about how 3D scanning works, so dig into it if you would like to know all the details! In a nutshell, 3D scanning allows you to produce a 3D model of a physical object.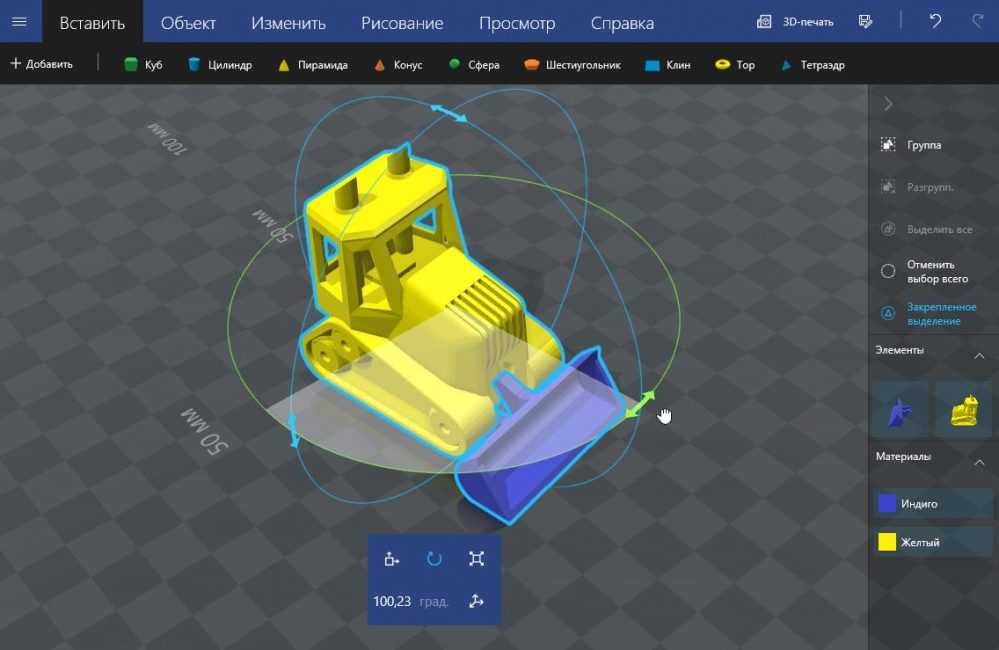 3D scanning is a technology that’s now available for everyone. Doctors and other professionals use 3D scanners at work, but they are also widely used by commercial companies and amateurs.
3D scanning can be as easy as using your own smartphone or setting up a bunch of cameras. There are 3 methods to use 3D scanning technology: laser 3D scanning, photogrammetry, and structured light scanning. We prepared a guide to help you choose the best 3D scanner for your project. Since there are different devices used for 3D scanning, we organized our list of the top 20 3D scanning software by type: photogrammetry software, 3D scanning software used for 3D scanners and 3D scanning apps for your phone.
Photogrammetry software
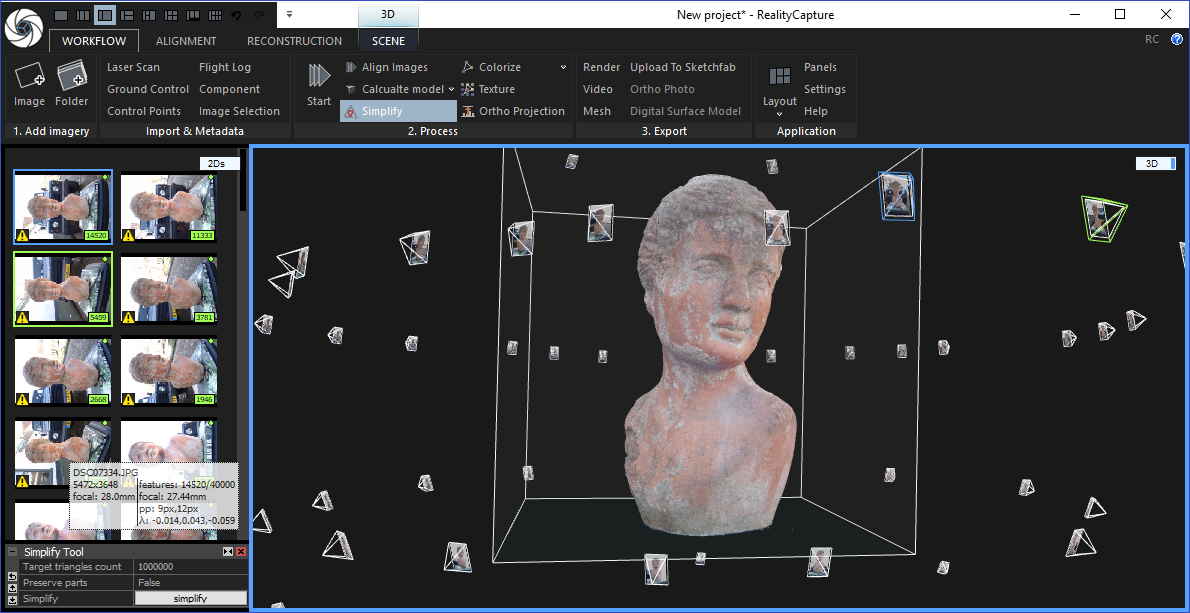
Photogrammetry software is a technology based on photos to produce your 3D models. It uses photographs to calculate measurements and turn them into 3D data. To 3D scan with a phone, drone or a camera, you need photogrammetry software. We already dedicated a blog post to the best photogrammetry software, but now we will enrich this list.
3DF Zephyr
3DF Zephyr is one of the leaders on the market thanks to its UI. It is very intuitive and user-friendly. Inexperienced users will be guided through the 3D scanning process, however, 3DF Zephyr is not only for amateurs. Professionals from different fields will use a lot of helpful tools, such as the ability to transform the model into CAD software. There are also plenty of options to tweak the 3D model and adjust it.
Agisoft Metashape
This professional 3D scanning software is popular for GIS applications (Geographic Information System), but also for visual effects production, historical documentation and game development. The software is capable of working with both close-range and aerial photogrammetry.
An interesting feature of Agisoft Metashape is that the user can make 4D models as the software allows to save whole scenes as editable 3D objects
Autodesk ReCap
Autodesk ReCap stands for Reality Capture.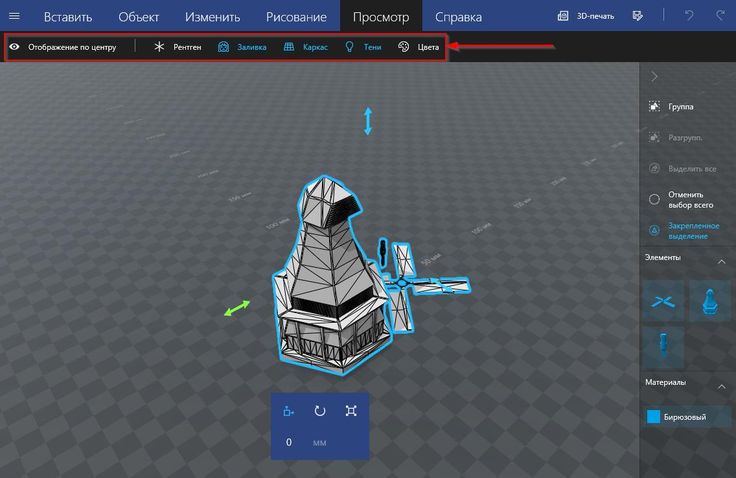 It uses photos, but can also apply laser scans to produce 3D models. It can be used for aerial scans and close-range. The 3D objects can be used with CAD and BIM software. With this 3D scanning software, you will be able to achieve high-quality models, which can be edited thanks to specialized tools.
Bentley ContextCapture
This is a very powerful professional photogrammetry software, capable of producing whole infrastructure landscapes. It will give you a lot of advanced tools to organize and edit the 3D models. This software is popular for construction projects, it can create highly detailed street views This software can be with aerial photogrammetry and laser scanning in order to achieve the best 3D models. With Bentley ContextCapture you can even produce 3D animations and fly-throughs.
Colmap
Colmap allows for the production of 3D mesh from one camera or from a set up of cameras. It is free and easy to use. There are more advanced options available, especially to improve quality.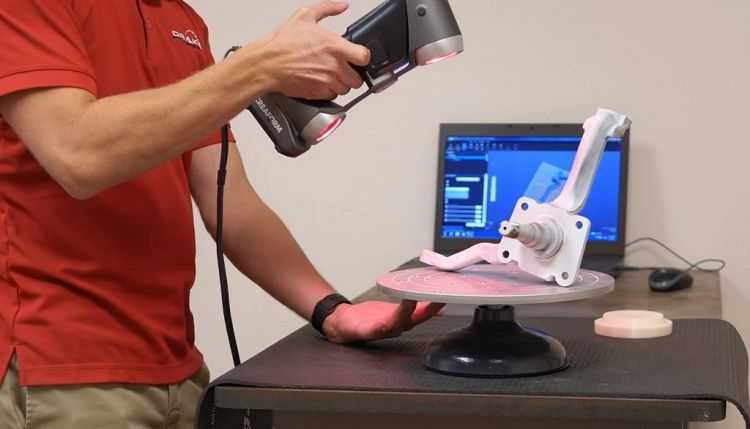 However, you can’t edit the 3D model in this software. It is great for quick and easy 3D scanning.
DroneDeploy
As the name suggests, this 3D scanning software was designed for drones. It consists of two apps. One controls the path of the drone and will guide it from take-off to landing. A second program gathers the photos and creates a 3D model. It provides you with tools to measure areas, volumes, and distances. Additionally, you can add more personalized features.
IMAGINE Photogrammetry
IMAGINE is a professional photogrammetry software. It is important for you to consider if you’re planning to work with mapping 3D scans. It is very well known in the industry and used by the department of transportation, commercial mapping companies, and national and regional mapping authorities. It provides users with plenty of professional tools such as different point cloud views, to help transform the photos and manage large data.
Meshroom
Meshroom stands out for an easy learning curve. The 3D scanning process is very intuitive, and based on nodes and creates a 3D model for you. You also have the option to edit the nodes later and adjust the 3D scan according to your needs.
MicMac
This professional photogrammetry software was created by the French National Geographic Insitute and the French National School of Geographic Sciences. It provides you with highly professional tools, especially for academic and industrial applications. It can be used for small and large scale scans.
OpenMVG
Yet another 3D scanning software for professionals. It is trusted by computer-vision scientists and the Multiple View Geometry (MVG) industry. OpenMVG operates with Structure from Motion (SfM) photogrammetry technology.
Photomodeler
Photomodeller allows you to create 3D objects thanks to 3 different methods.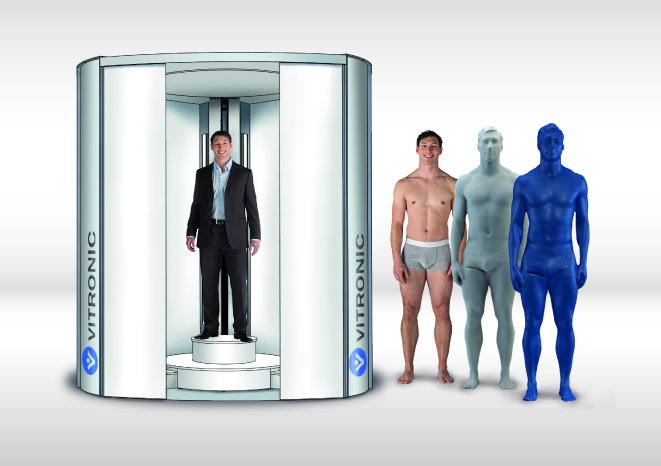 You can manually fit common characteristics, automatically produce a 3D model from coded targets or match point clouds from overlapping images. It is an easy to use and affordable 3D scanning software.
Pix4D
This 3D scanning software covers all the tools from flying a drone to generating a 3D model. It will assure your drone path is correct and then allows you to create orthomosaics, index maps, elevation models or point clouds to produce an accurate 3D model. You also have access to different analytic tools so the model can be edited.
3D scanning software for 3D scanners
3D scanning apps
This cutting-edge technology of 3D scanning has gone so far that you can even use your phone to both make a 3D scan and then a 3D model. There are dedicated apps that will allow you to turn a real object into a 3D model in just a few clicks.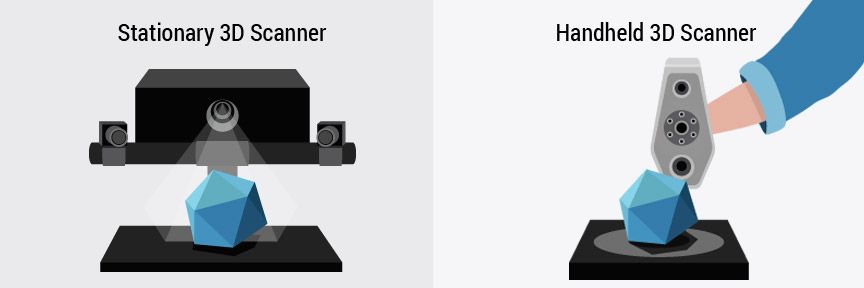 Learn how to 3D scan with a smartphone
Qlone
This is all-in-one mobile 3D scanning software. Qlone will allow you to 3D scan and produce a 3D model with just your smartphone. It’s easy and fast to use. The 3D model can be exported into several 3D formats and sent for 3D printing.
Trnio
Trnio can be considered as photogrammetry software but can be used on a smartphone. It turns pictures into 3D objects, but you can also actually 3D scan the object. It offers two quality options: high and low texturing resolution.
Sony 3D Creator
If you need to get high resolution models using a 3D scan app on your smartphone, this Sony 3D Creator app could totally fit your needs. This free app is perfectly adapted to beginners, allowing you to render your 3D model in 4K for a better resolution.
Heges
Heges is a scanning app for iPhone, targeting professional users. This program has many interesting features: it performs 360° rotation, it includes “Infinity scanning” for large spaces. You can also make the most of its dark mode allowing you to scan in dark environment!
Scann3D
Yet another photogrammetry software. It has a very simple UI and is user-friendly. Take 20-40 pictures in order to generate a 3D model. It can work with small objects as well as bigger objects (such as a tree). You can export your model as an STL file, one of the most popular formats for 3D printing.
3D Creator
This mobile app was developed by Sony and will provide you with high-quality 3D scans, it’s especially popular for portraits. The models can be used within different apps such as messages, but also to 3D print models in full color.
Scandy Pro 3D Scanner
This intuitive 3D scanning software makes it so easy to generate high-quality models.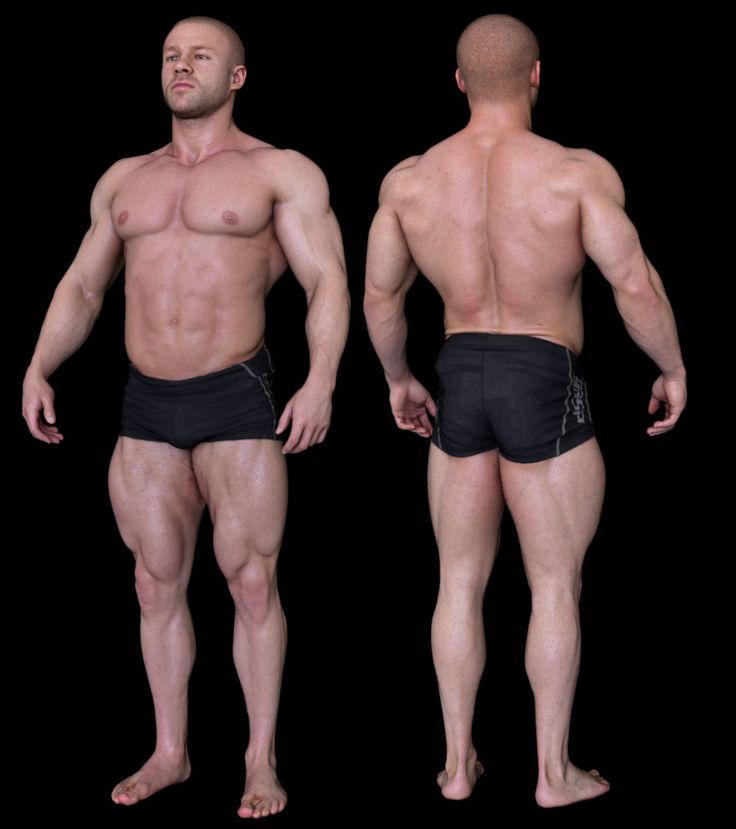 It prides itself in light files without losing quality, built-in support for STL, OBJ, GLB, USDZ and PLY formats, and moreover, fully-featured editing tools.
Let's 3D scan today!
As you can see the list of Top 3D scanning software is long and for sure one of them will fit your needs. From professional landscape mapping to medical 3D scanning, this technology amazes us. But it can also be used at your home, all you need is a phone.
3D printing can be just as easy. All you need to do is to upload your 3D objects to our online Additive Manufacturing service. 3D printing has never been more simple!
Don’t forget to subscribe to our Newsletter and follow us on Facebook for the latest 3D printing news!
Related Topics
- Return to Top
Get the latest 3D printing news delivered right to your inbox
Subscribe to our weekly newsletter to hear about the latest 3D printing technologies, applications, materials, and software.
Hexagon - Leica surveying instruments and equipment
Hexagon - Leica surveying instruments and equipment-
The new Leica GS18 I. Measures everything you see in front of you
Good afternoon, dear colleagues!
We are pleased to present to your attention a new high-end GNSS receiver from Leica Geosystems - Leica GS18 I.
Read more
-
Arctic version of the automated total station - Leica TS16 P Arctic
Dear colleagues! We are pleased to present you a new Arctic version of the automated total station - Leica TS16 P Arctic.
Read more
-
2 year warranty
We start fulfilling the wishes of our users! Since 2021, all buyers of GNSS receivers (GS07, GS10, GS16, GS18) and Leica Captivate (CS20) controllers in the Russian Federation have a 2-year unconditional warranty on the purchased equipment. Without any additional conditions, hidden fees and without the imposition of services.
 Good luck in the coming year, colleagues!
 Read more
-
Leica Active Assist already in Russia
We are pleased to inform you that Leica Active Assist remote support service is now available for our users in Russia. This service allows you to solve issues that arise in the fields when working with equipment much faster and better.
Read more
-
From the creators of the world's first scanning total station…
Learn more
-
Modern Building Solutions
Download Icon Site Software Simulator for Controller
Learn More
-
GS16, GS18 & CS20 software updates
All GS16, GS18 & CS20 ships starting March 16, 2020 will have a significantly extended free software update period over the coming years.
Read more
-
Leica FlexLine
New generation mechanical total stations. Automatic height measurement, highest accuracy, LTE panel and more
Learn more
-
IDS GeoRadar
New RockSpot Radar Monitoring SystemIDS GeoRadar (part of Hexagon ) announces the innovative RockSpot Radar System capable of detecting, tracking and alerting rockfalls and rockfalls in real time.
Read more
-
How to increase productivity by 20%?
Leica Geosystems announces the release of the new Leica GS18 T GNSS receiver
Read more
-
IBIS Rover georadar monitors mine workings at the Kuzbassrazrezugol enterprise
At the end of 2018, HEKSAGON GEOSYSTEMS RUS delivered and put into commercial operation an IBIS Rover interferometric radar for the purpose of remote monitoring of the stability of the sides of open mine workings at JSC UK " Kuzbassrazrezugol.
Read more
-
Leica TS16 total station available for rent!
Only in HEXAGON GEOSYSTEMS RUS in the equipment park are available for rent new high-precision robotic total stations of the Leica TS16 series with an angular accuracy of 1”, reflectorless mode of 500 meters and the function of fast search and acquisition of a remote target PowerSearch
Read more
GNSS technology
Hexagon Mining
3D field work
Hexagon Geospatial
IDS
GNSS Station
Construction and Repair
Deformation Monitoring
Hupply laser 3D scan
3D 3D LEICA ICON
9000 9000 9000 9000 9000 9000 9000
- total stations
- GNSS equipment
- Accessories
- Laser rangefinders
- Levels
- Laser scanners
- Routers
- Leica iCON leveling systems
- Software
- Sale
- Hexagon Mining Solutions
- IDS GeoRadar Monitoring Solutions
- laser levels
- 3D DISTO
- Field controllers
- Theodolites
- Out of production
Calendar of events for March 2023
Media section
Field Day 07.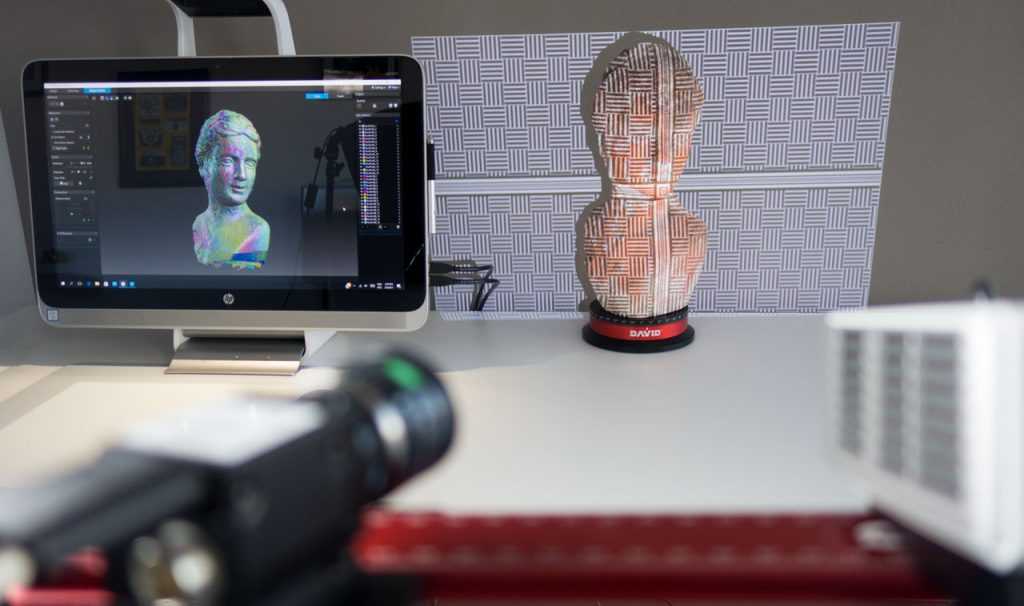 09.2017
Mastless 3D solution for bulldozers
News
-
21 March 2022
Information about the work of the company
Dear partners!
LLC "HEXAGON GEOSYSTEMS RUS" is currently experiencing a number of difficulties with deliveries to the Russian Federation, related to the current situation.
The company does not stop operating in the Russian Federation and does everything possible to ensure the fulfillment of obligations under agreements with partners. -
March 18, 2022
Hexagon Training Center invites you to study on professional development programs
Hexagon Training Center invites you to study on professional development programs:
-
February 21, 2022
Geodetic monitoring during the construction and operation of buildings and industrial facilities
Training under the advanced training program "Geodetic monitoring in the construction and operation of buildings and industrial facilities.
 "
"
All news
Articles
-
11 September 2020
How modern technology allows you to get a digital copy of the city and how it can be used
Our cities are becoming truly digital and urban planning cannot ignore this trend. It's not just about cameras and social networks - I'll tell you how Moscow gets a digital copy and how the city can work with it.
-
October 17, 2019
Architectural measurements of a church in the Ryazan region for the purpose of restoration
Specialists of the engineering company NGKI made architectural measurements of the Sretensky Cathedral in the town of Skopin, Ryazan region for the purpose of preparing a project for its restoration.
 Two measurement technologies were used for the survey: 3D laser scanning of the temple building from the ground surface and photogrammetric survey from a quadrocopter of areas inaccessible for scanning.
 -
23 August 2019
Leica GS18 T - High Accuracy RTK Positioning with Tilt Compensation, Calibration Free
The rapid development of geodetic GNSS receivers and Inertial Measurement Units (IMUs) creates the promise of increased productivity and user experience with high accuracy RTK positioning.
All articles
Dear colleagues, we would like to inform you that since May 16, 2017 NAVGEOKOM has been renamed Hexagon. Hexagon is a leader in the information technology market with a unique portfolio of geospatial and industrial solutions that helps professionals in many industries do their jobs well.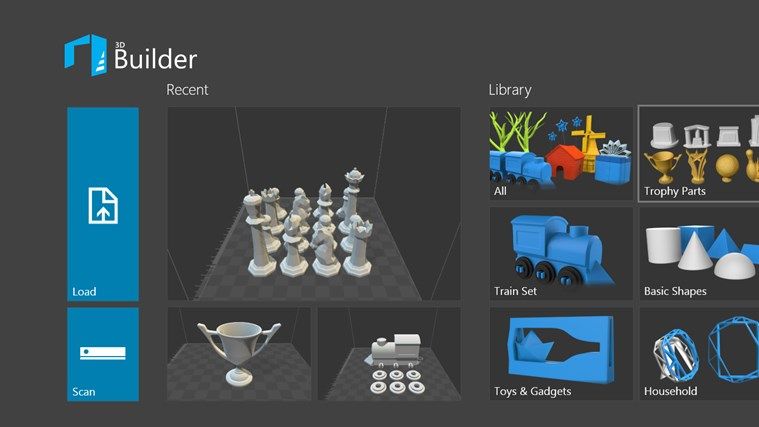
Hexagon provides the following solutions:
- Electronic total stations
- GNSS technologies
- Robotic and Scanning Total Stations
- Electronic total stations and GNSS receivers made in Russia
- Automation of road construction equipment
- Ground, mobile and airborne laser scanning
- High-precision optical and digital levels
- Laser distance meters Leica Disto TM
- Systems for searching and tracing communications
- Rotary laser levels
- Reference GLONASS/GPS stations
- Deformation monitoring
- Georadar IDS
- Geoinformation technologies
- Unmanned aerial systems
- Digital aerial photography
- Aerobathymetry
 For Leica Geosystems, first of all, the quality, accuracy and reliability of the instruments produced are important, since the reliability of the data obtained is one of the company's top priorities. With the most advanced design, PinPoint EDM rangefinder technology achieves unsurpassed results in the following parameters: measurement range, accuracy, reliability, laser spot size and measurement time.
 Intuitive field software allows even the most inexperienced users to perform many surveying tasks directly in the field.
Mechanical electronic total stations Leica Geosystems are represented by the following series: Leica TS02plus; Leica TS06plus; Leica TS06 RUS; Leica TS09plus; Leica TS09 RUS; Leica Viva TS11 and (Leica TS06 Ex-Proof is a special Russian development for work in explosive environments).
Robotic total stations are presented in series: Viva TS16, Nova MS60, Nova TS60, Nova TM50.
The highest build quality, unsurpassed accuracy and reliability of all components of electronic total stations Leica Geosystems allow to achieve high efficiency in the production of geodetic works and high reliability of the received geospatial data.
Top
You are adding a product from another category,
the current comparison list will be cleared.
Cancel
3D scanning for construction and maintenance control
- BIM modeling
What we offer:
- It is possible to visit a specialist in Moscow and the region, as well as in all cities of Russia, CIS countries and the European Union
- Implementation of any projects
- The price is calculated individually. How the price is formed, you can find here
- Software used: Autodesk, Faro BuildIT
- Comparison accuracy ≈ 2 mm
- In-house 3D scanners
- You can write to us at [email protected], call +7(495)223-01-21 or leave an online application
What we do:
In any construction, in addition to the actual construction work, it is important to exercise constant control. Timely detected discrepancies with the project using 3D scanners will make it possible to make the necessary changes in the project in a few days.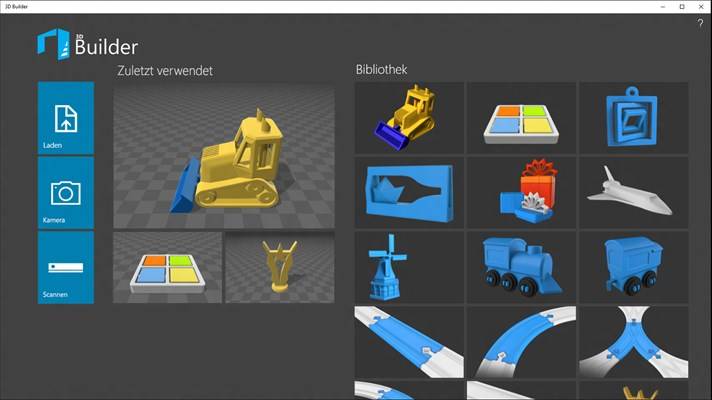 Scanning also helps to control the quality of ongoing construction work, detect plate defects, inaccurate adjunctions of elements, violations in geometry and other discrepancies with the plan. The 3D scanning service is available for both individual premises and buildings.
Until recently, the determination of surface area was carried out by measuring with a meter or laser tape measure. This method made it possible to achieve good results, but only on perfectly flat planes. However, such surfaces are practically never found in everyday life. If it was required to measure a curved or intentionally curved wall, then a significant amount of time was spent on measuring it. Now with a 3D scanner, measuring surfaces of any size and geometry takes only a few hours. As a result, the customer receives a digital 3D model that repeats the original wall with an accuracy of up to 8 microns. Thus, having accurate initial data, it is easier for specialists to design and control construction work.
Measuring and drawing up a plan, a drawing of a room or house in which construction or repair is planned is the very first and important stage. The final result directly depends on the accuracy of the execution of the measurement plan: whether the furniture ordered will fit in the niches, whether there is enough building material. Any flaw in drawing up a drawing can lead to financial costs, temporary downtime of the facility, or dissatisfaction with partners/customers. In a few hours, the 3D scanner copes with the measurement of large areas, and the software calculates the surface areas. The 3D scanning service for construction control and repair work can significantly save both time and money.
Designing capital construction projects is a complex and responsible job. The project must meet all the requirements of urban planning, operational safety and resistance to natural disasters. However, 3D technologies can simplify the work of engineers and at the same time help to do it more accurately and faster.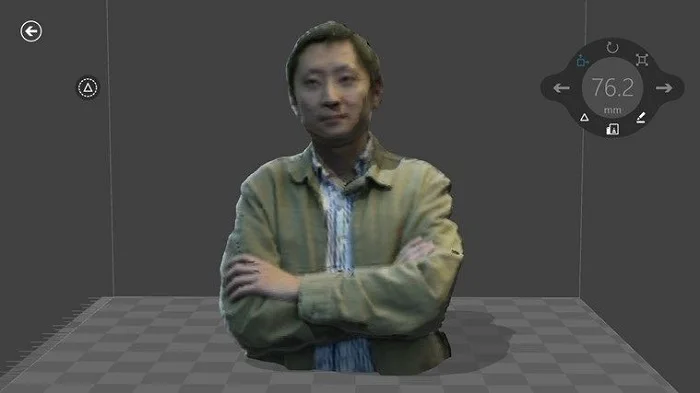 The software already contains all the calculation formulas and the necessary state standards, which eliminates the possibility of design errors in the project. The absence of shortcomings in the project accelerates the process of putting the capital construction object into operation. 3D scanning also helps to carry out construction control at each stage of work.
Why?
A 3D scanner in construction is becoming an indispensable tool that helps to save contractors' finances and time for construction work. Now you can get a detailed floor plan in a couple of hours, even if every wall is curved and contains niches. The scanner is useful at any stage of construction: when designing, measuring and calculating areas, as well as when monitoring the accuracy of compliance with project requirements - both for capital construction projects and for repair work in small apartments.
Stages of work
Obtaining initial data from the customer, drawing up technical specifications. assignments (TOR)
Estimating the price and terms of work, agreeing on working conditions
Signing the contract and invoicing
Making an advance payment
Carrying out work on agreed dates
Providing the customer with the finished result of work in the required format
signing the act
Do you have questions about BIM modeling?
Write to us, and our managers will answer all your questions and solve your specific problem!
Ask a question
Call me back
Hardware and software park
- Autodesk Navisworks
- Autodesk Revit
- Faro AS-built
- Faro Build IT
- Autodesk Recap
- faro scene
- Geomagic Control X
- Faro Focus S 150
Autodesk Navisworks
Autodesk Navisworks is software for design validation and effective building information modeling (BIM) coordination. In this software, it is possible to combine design data and construction data into a single model, as well as eliminate conflicts and intersections before starting construction.
Order
Autodesk Revit
Autodesk Revit is a software package designed for building modeling. The main tool for BIM modeling. Provides design of load-bearing structures of structures and engineering and communication systems, allows you to create flat drawings and three-dimensional models.
Order
Faro As-built
Faro As-built is an innovative platform that integrates post-processed 3D data into FARO Scene software and further enables object modeling in Autodesk Revit and Autodesk AutoCad.
Order
Faro BuildIT
Faro BuildIT is a software product for assessing the quality of construction and measuring characteristics such as floor flatness, evenness and verticality of walls, as well as for comparing scan results of a construction site with original documentation.
Order
Autodesk Recap
Autodesk Recap is a software product for creating accurate 3D models with reality capture. Used to transform reality into a 3D model or 2D drawing ready for further design. An application that can convert photos or scanned files to formats supported by CAD software such as AutoCAD.
Order
Faro Scene
Faro Scene is a powerful and practical software tool for processing 3D scan results (3D point clouds). The program is designed to view and manage a large 3D point cloud obtained after high-resolution 3D scanning by a FARO Focus laser scanner.
Order
Geomagic Control X
Geomagic Control X is the most powerful and most complete measurement software package available. Provides complete control over the quality control process.
Used for:
- CAD and GD&T sizing
- analysis of multiple results
- synchronous control
- causal analysis and traceability
- sampling processes based on workflows
Order
Faro Focus S 150
Laser scanner Faro Focus S 150 allows you to quickly produce high -precision 3D measurements of complex objects and buildings
Type 3D scanner: Portable laser
Skaniing accuracy: to ± 1 mm 9000
Maximum distance scan: 150 m
Widely used in construction and design
Output file format: .


