Tutorial 3d printing
How To 3D Print? Basic 3D Printing Tutorials For Beginners
This page covers a number of tips and tricks on how to print 3D models. We also recommend some sites where you can get ready to print 3D designs.
📌If you want to learn 3D printing, the job is quite challenging, but if you are interested to learn the craft, you will eventually understand the procedure. The difficult part is actually setting up your printer and adjusting it accordingly to deliver the results you desire because the machine does the majority of the job.
So, for those who wish to learn the craft, here is a 3d printing for beginners tutorial to help the novice get started with 3D printing.
Contents
- 1 3D Printing Basics
- 1.
1 Step 1: Select a design
- 1.2 Step 2: Choose Your Materials
- 1.3 Step 3: Find a 3D Printer
- 1.
- 2 How to Use a 3D Printer?
- 3 How to Print a 3D Printer?
- 4 Conclusion
Before I go into details, I’ll give you an overview of the entire procedure. First, let’s identify the things that you need to get the job done. Here’s what you need:
- 3D printer
- 3D models
- Filaments
For the 3D model, you can design your own 3D object or use the existing models available online. It’s more fun if you do your own design.
Doing your own 3D model will be easy if you are already familiar with the 3D printing software for modeling. Otherwise, designing your own 3D model alone might take time as you have to get yourself familiar with the tool.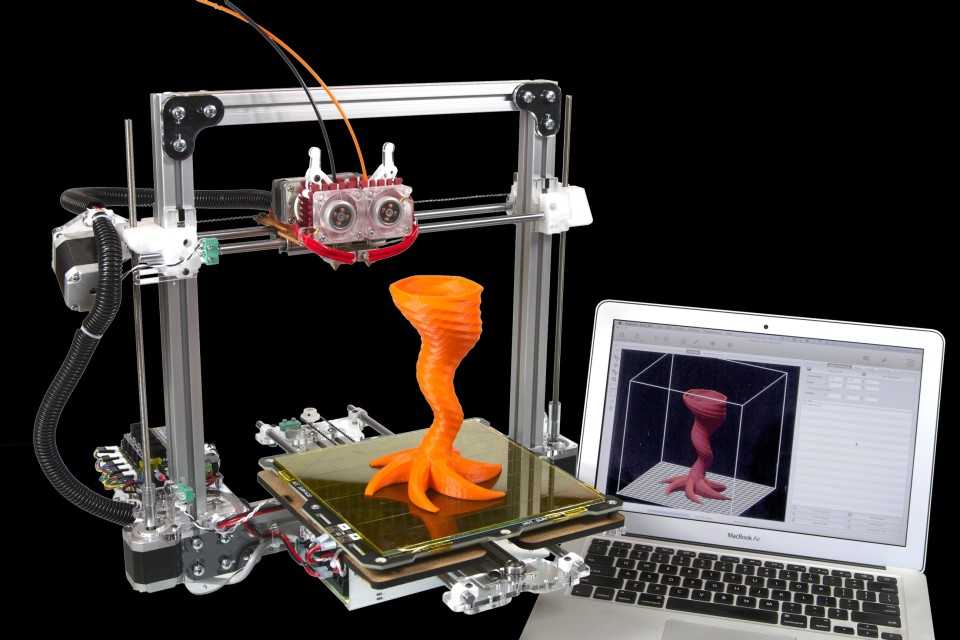
For this reason, I suggest that you use the readily available 3D models online, for the sole purpose of getting your first 3D printed object done.
You can look for free 3D models in the following sites:
- Turbo Squid
- Exchange 3D
- TheFree3DModels
- DMI 3D
- Oyonale
- 3Delicious
- NASA Space Models
- Thingverse
The first 3D printers only use plastic parts. But, the new models of the machine can now handle a growing variety of materials.
The most popular materials are plastic filaments like ABS and PLA, but there are more materials to choose from. If you want a tough and flexible material, plastics like ABS or nylon works great especially for functional parts like gears and integral hinges.
If you want to produce 3D objects that can handle the heat, the best material would be ceramics. Ceramics can withstand a temperature of 2,500 degrees Fahrenheit.
📌Meanwhile, if you want to create a detailed model, then resin would be a smart choice. Resin’s smooth surface and ability to show details make it perfect for prototypes and models.
If you are looking for the real thing, there are already plastic filament embedded with wood shavings or chalk that produces a final product that resembles a wooden or concrete product.
Step 3: Find a 3D PrinterFor the 3D printer, you can borrow your friend’s machine or purchase a low-cost machine. You do not need an expensive machine, an entry-level low-cost 3D printer will be a good start.
How to Use a 3D Printer?This is an overview on how to use your 3D printer for the first time.
- Visit a site and download a 3D printer model. For instance, you can visit Thingiverse and select a 3D object that you want to 3D print.
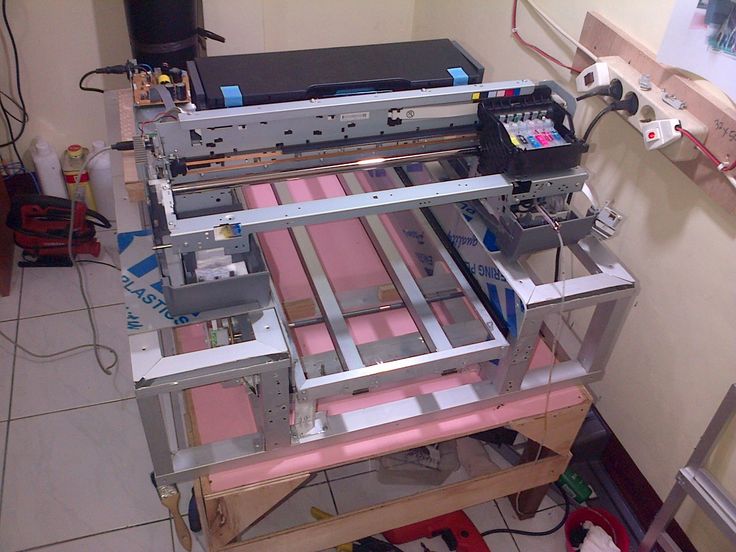 You will get a zip folder. Extract it.
 - Download a 3D printing software. For this example, you can download Cura Software, this is free. You will use this software to set your printing parameters and slice your model. Once Cura is ready, open it and click on the machine. Then, click add new machine.
Click next. Select Other and choose your 3D printer. Cura is now ready to be used. Please remember that you might need to tweak the setting if your printer is not in the list. You can also use another program like Craftware, KISSlicer, MatterControl or Astroprint to get the job done.
- Set the parameters. You have to open the basic and advanced tap to adjust the parameters accordingly
Basic
- Layer height: 0.1mm or 0.2mm
- Print Speed: 50mm/sec
- Printing temp: 190 C
- Bed temp: 45C
- Filament diameter: 1.75mm
- Flow: 100%
- Nozzle Size: 0.
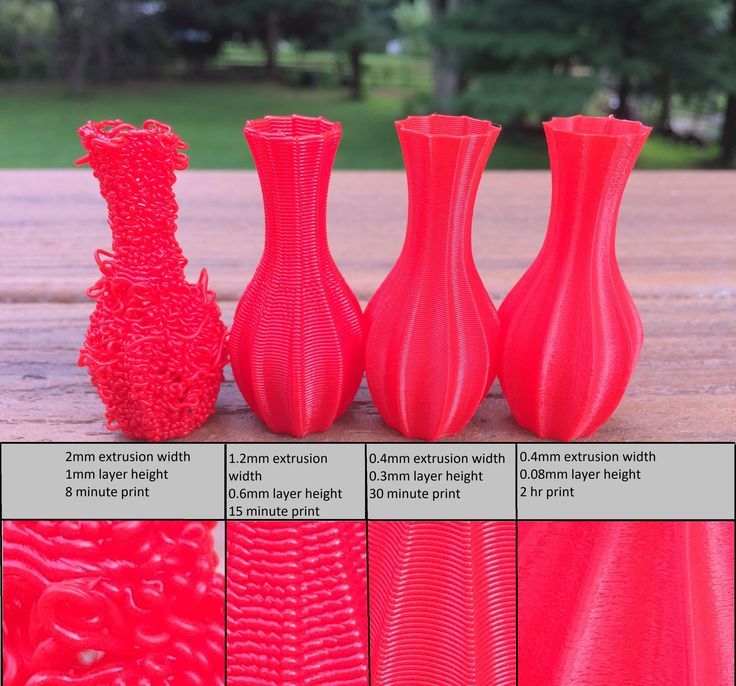 4mm
4mm
Advanced
- Travel speed: 100mm/sec
- Infill speed: 60mm/sec
- Save your file. Click on toolpath to SD to save the file to your USB. The process will convert the file into .gcode.
- 3d print your design. Insert the SD card to your printer. Turn on the printer and adjust the setting of your machine. Once the set up is done, the 3D printer will start printing your 3D model.
If you wish to learn more, you can find more 3D printer videos online.
How to Print a 3D Printer?I understand that you have reached this part because you are interested in producing your own 3D printer. The good news is – that’s possible. However, do not expect a ready-to-use 3D printing machine because the process requires you to assemble the output.
Dr. Adrian Bowyer invented the first self-replicating 3D printer through the RepRap project.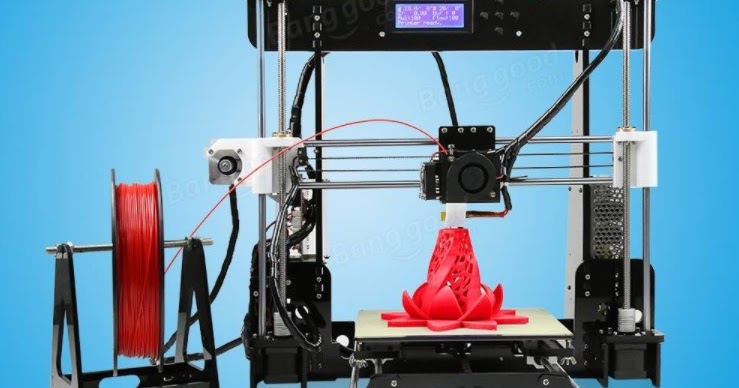 His first functional machine called the RepRap “Darwin” with 50% self-replicated parts was unveiled in 2008.
The 3D printed 3D printers are made using the FDM (Fused Deposition Modeling) printing technology with plastic materials. They are desktop 3D printers and has limited applications compared to industrial machines.
📌These printers cannot totally print themselves, they can only print some parts of themselves just like they could totally build other 3D printed objects. You then need to assemble the part yourself and add the components that can’t be 3D printed like the electronics or metal parts.
RepRap project is open source and you can find 3D models available online. In fact, the Prusa i3 is one of its improved versions.
Why is 3D printer iterations successful? This type of printers is low-cost. In addition, it’s easy to construct and modify. In fact, this is a must-have for hobbyists. It’s also popular in the education field.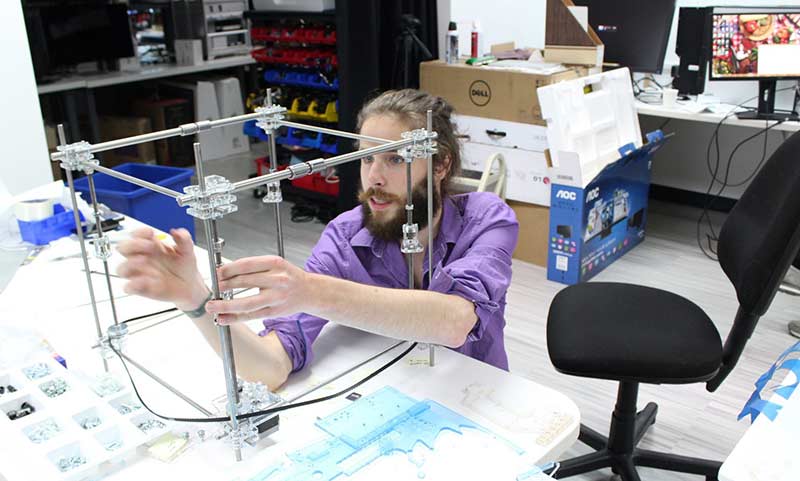
We keep our tips and tricks simplified so it’s easy to understand. We hope that the aforementioned hacks will help you create your first 3D printed objects with ease.
Please keep in mind that you might need to make some tweaks in the settings we provided above to make it work for your 3D printer. Also, you might need to make additional changes if you are using another 3D printing software. But, overall, this is how to 3d print something.
If you need to learn more about 3D printers and 3D printing, feel free to check our homepage.
References
www.popularmechanics.com/technology/gadgets/a19698/get-started-3d-printing
www.lifehacker.com/how-to-get-started-with-3d-printing-without-spending-a-1340345210
www.youtube.com/watch?v=FOxZcpyKmzM
www.allthat3d.com/3d-printing-pen
www.sculpteo.com/blog/2017/10/24/3d-print-3d-printer
Tips to Prepare Your Design for 3D Printing
Autodesk’s Fusion 360 is a versatile CAD package that has all the features needed to develop products from the conceptual phase through design verification to manufacturing on both traditional and digital fabrication tools like 3D printing.
In this in-depth Fusion 360 3D printing tutorial, you’ll find a quick overview of Fusion 360’s interface and features for 3D printing as well as detailed tips to help you prepare parts for 3D printing.
Webinar
In this webinar, dive deep into the brand new Formlabs-specific workflows built into Fusion 360. This integration makes it easier than ever to make downstream design changes with a seamless connection between design and manufacturing.
Watch the Webinar Now
Fusion 360 is a cloud-based CAD platform that is an affordable, highly capable alternative to other major players in the industry. It is easy to use and has all the common features you can expect from popular CAD packages. Fusion 360 was built from the ground up to be an all-encompassing product development solution and aims to offer a simple workflow from conceptual design all the way through manufacturing.
Fusion 360 has a very large knowledge base that thoroughly covers every feature of the software, these tutorials can be accessed through Fusion 360 as well as through the Autodesk website. There is also an official YouTube channel with many hours of free tutorials.
The software receives frequent upgrades and new features arrive every few months. Fusion 360 is ideal for high turnover businesses as well as start-ups looking for a professional tool to get them into the market.
Fusion 360 can perform resource-intensive operations on the cloud, including rendering, simulation, shape optimization, and generative design. This means that work can continue while all the heavy lifting is done on the cloud.
There are various licensing packages available, these are listed below:
- Free Trial: Autodesk offers a 30-day free trial upon signup.
- Educational: Like most other CAD packages, Fusion 360 comes with an educational license to students, educators, and academic institutions.
- Start-up: A free license is available for start-ups, enthusiast, and hobbyist. In order to use this license, the user must run a company that has a turnover of less than $100 000 per year.
 The start-up license does not include any of the more advanced features such as generative design.
 - Commercial: There used to be two versions of the paid license, namely a standard and ultimate, but these have been merged into one version that contains all the features that used to be in the ultimate version. The fees are structured as a subscription model.
In Fusion 360, you can switch between seven different workspaces. Each workspace has its own set of tools and functions:
- Design: For drawing 3D models and surfaces by making use of sketches, extrusions, revolves, and many other standard CAD tools.
- Generative Design: Generative Design is a form of artificial intelligence that leverages the power of the cloud and machine learning to output efficient design iterations based on your mechanical constraints.
- Render: Create photorealistic renderings of components and products.

- Animation: Animate assemblies to see if they function as expected or to show functionality to prospective clients.
- Simulation: Computer-aided engineering to perform various stress analyses on the designs to make sure they can handle the operating conditions.
- Manufacture: Computer-aided manufacturing (CAM) to assist with manufacturing the part on various digital fabrication tools, such as CNC mills, CNC lathes, laser cutters, and waterjet cutters.
- Drawing: Create shop drawings of designs for manufacturing in a traditional manual machine shop or to accompany the G-code for CNC machined parts.
The Fusion 360 workspace is divided into seven main sections, namely the tool bar, data panel, navigation, timeline, browser, view cube, and the marking menu. Each of these is described in more detail below.
The toolbar contains all the tools and features that are available in a workspace. In the case of the design workspace, these tools help create and modify 3D models, surfaces, sheet metal, and assemblies.
The data panel allows the user to open existing projects, create new ones, manually save a project and access the data panel. The data panel is a space where designs can be saved and organized in an easy to navigate format. The data panel allows you to create project folders as well as a place to find sample parts and tutorials.
The navigation bar contains all the tools for rotating, translating and changing the visual style of a model. There are also options to break the canvas into subsections with each indicating a different view of the model.
The timeline shows a history of all the operations performed to create the part. This includes all features, patterns, material changes, and sketches to name a few. This is a unique feature that allows you to see the complete history of their part without having to navigate through the browser tree. Any feature can be modified with a right-click within the timeline. The timeline can also be used to find that specific feature in the browser tree.
The browser contains all the components, features, bodies, sketches, and construction geometry of a design. The browser takes the form a tree-like structure which should be familiar from common CAD packages.
The view cube allows you to manipulate the model in a more structured way. By clicking either on the corners, edges, or faces of the cube the model will re-oriented inside the canvas. This makes it easy to switch between standard views. If the user clicks the arrow on the bottom right of the view cube, a drop-down menu appears that provides more options to control the view.
The marking menu is a situation specific pop-up menu that contains commonly used features, it can be accessed by clicking right on the model or the canvas. The features that show up in the menu are determined by what is clicked and what workspace is currently active. This menu helps increase modeling speed and convenience.
Webinar
In this webinar, Formlabs Product Marketing Lead Jennifer Milne will provide a simple overview explaining what generative design is, framed in a way that is applicable to mechanical part design, including a step-by-step tutorial of Fusion 360 where she’ll produce a lightweight bracket.
Watch the Webinar Now
Formlabs and Autodesk have partnered to streamline your digital workflow with introducing new functionality in Fusion 360 for 3D printing your designs with SLA and SLS technologies from Formlabs. Our Form 2, Form 3+, Form 3B+ and Form 3L SLA 3D printers and the Fuse 1+ 30W SLS printer are included in the Machine library for Fusion 360. This new workflow combines the best of Autodesk’s versatile CAD package with professional 3D printing results. We’re excited to bring this new functionality to Formlabs users, who can now iterate on new ideas in just a few steps.
The software integration includes a brand new graphic interface where users can visualize how parts will fit into the build volumes of the different printers natively in Fusion 360. Individual designers can orient their parts, arrange them within the build platform and automatically generate support structures parametrically all within the manufacturing workspace of Fusion 360. If they need to make a design change, their print preparation operations update automatically. Teams can also streamline file management by exporting their build platform as a “.form” file from Fusion 360 and open them in PreForm. Soon additive manufacturing setups created in Fusion 360 will be sent directly PreForm as well. This new integration eliminates the need to save individual parts as “.stl” files and importing them to PreForm manually, giving designers and manufacturers more reliable version control.
Sample part
See and feel Formlabs quality firsthand. We’ll ship a free sample part to your office.
Request a Free Sample Part
The form feature, denoted by a purple cube, allows the sculpting of complex organic shapes.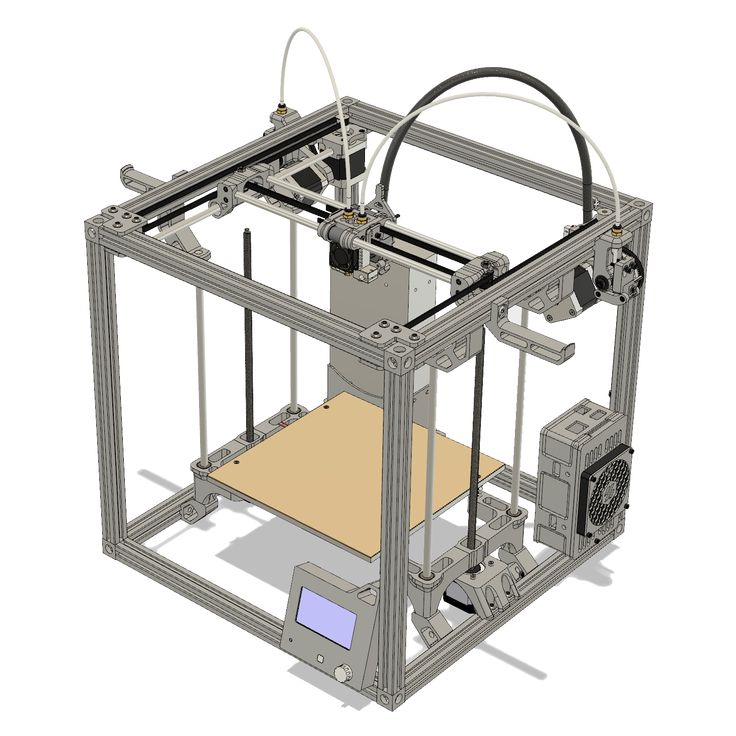 It opens a new workspace that has a wide array of features for sculpting complex shapes. This feature is ideal for creating organic and artistic models for 3D printing.
The surface tools allow the user to repair models for 3D printing. Surfaces can be stitched closed, extruded, pulled, and pushed to reshape the part. The surfacing tools also help create a watertight model that has no openings in the shell.
This feature is useful for simulating how your 3D print will behave under time dependant loads and velocities. For example, snap fit joints can be modeled to show what loads are experienced by the clip as it is forced closed, providing a good idea of where the weak points are so that the design can be optimized.
Some 3D printing technologies like fused deposition modeling (FDM) create parts with non-linear material properties that can only be simulated if the FEA package has a non-linear study type. Fusion 360 features a very capable non-linear study type that can accurately predict the stress on a component provided the correct material data is loaded in.
Find out more about isotropy in 3D printing.
Webinar
In this session, Peter Deppe of KUHMUTE discusses how he leverages Fusion 360 with 3D printing to reduce costs, iterate quickly, and manufacture bespoke solutions for customers.
Watch the Webinar Now
Designing for 3D printing is not an overly complex task, however, there are a few general guidelines to ensure a perfect print every time.
First, consider the 3D printing technology that will be used to print the part(s). This will determine the type of design constraints, the levels of accuracy achievable, and support structure requirements
Learn more about the three most established technologies for 3D printing plastics today—stereolithography (SLA), fused deposition modeling (FDM), and selective laser sintering (SLS)—in our comprehensive guide.
Wall thickness is critical because parts with too thin walls will be brittle and might break during 3D printing or in post-processing. The minimum recommended wall thicknesses vary by printing technology.
Download the Formlabs design guide for stereolithography 3D printers.
Overhangs are easy to print on SLS 3D printers, as the material is supported by the unfused powder. Other technologies like SLA or FDM might require support structures for overhanging features.
Depending on the technology, printing large solid or flat components can result in warping due to the heat build up in the part. Add design features like ribs to make the design structurally stronger and help minimize warping.
Read our guide for ten insights to help you optimize your 3D printing rapid prototyping workflow to be as cost and time efficient as possible.
Clicking the Make icon in the Design workspace opens the 3D print menu to make a number of modifications to optimize the model for printing and then send the model to a 3D print utility.
The menu is broken down into a number of options as listed below:
This option allows the user to select the model for 3D printing.
This checkbox shows the mesh on the model that is useful if the user wants to see what effect changes in the settings have on the model.
This shows the number of individual triangles that make up the model. A higher refinement will increase this number.
This option allows you to select one of three pre-defined refinement settings: low, medium, and high. This determines the total number of triangles used in the model. There is also a custom option which allows the user to further refine the mesh based on specific parameters:
Fusion 360 allows you to send the model to a range of 3D print utilities such as Meshmixer or Formlabs PreForm for 3D printing.
Use PreForm software to prepare parts for 3D printing on Formlabs SLA 3D printers.
If the “Send to 3D print Utility” is not selected Fusion 360 will export the model as an STL file according to the refinement options selected. This STL file can then be loaded into any 3D printer slicer software.
Fusion 360 is a versatile CAD package with an array of features that makes it easy to connect digital workflows and move from design to manufacturing.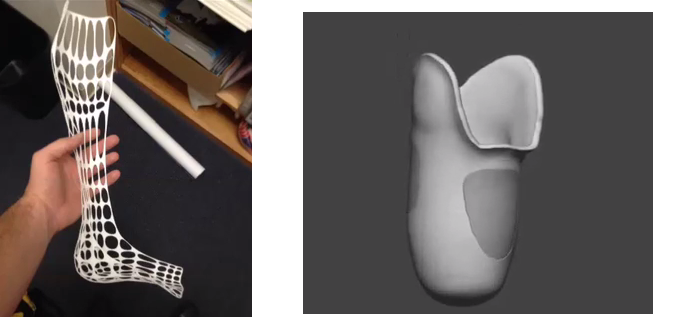
Looking for the right tool to turn your design into reality? 3D printers empower engineers and product designers to rapidly prototype in-house, saving time and costs at every stage of product development.
See the quality firsthand by requesting a free sample part printed on a Formlabs 3D printer.
Explore Formlabs 3D PrintersRequest a Free Sample Part
3d printer tutorial
back to contents
Application of 3d printers in modern world
AT Currently, 3D printers are used quite widely. AT areas such as industry and architecture, they have become are simply irreplaceable because they are an important part of the process of creating prototypes of objects in three dimensions. Prices on this technology is constantly declining, and already now it available not only to large companies, but also to individuals. Therefore, it is to be expected that the 3D printer business will become very successful due to increased demand for 3D printing.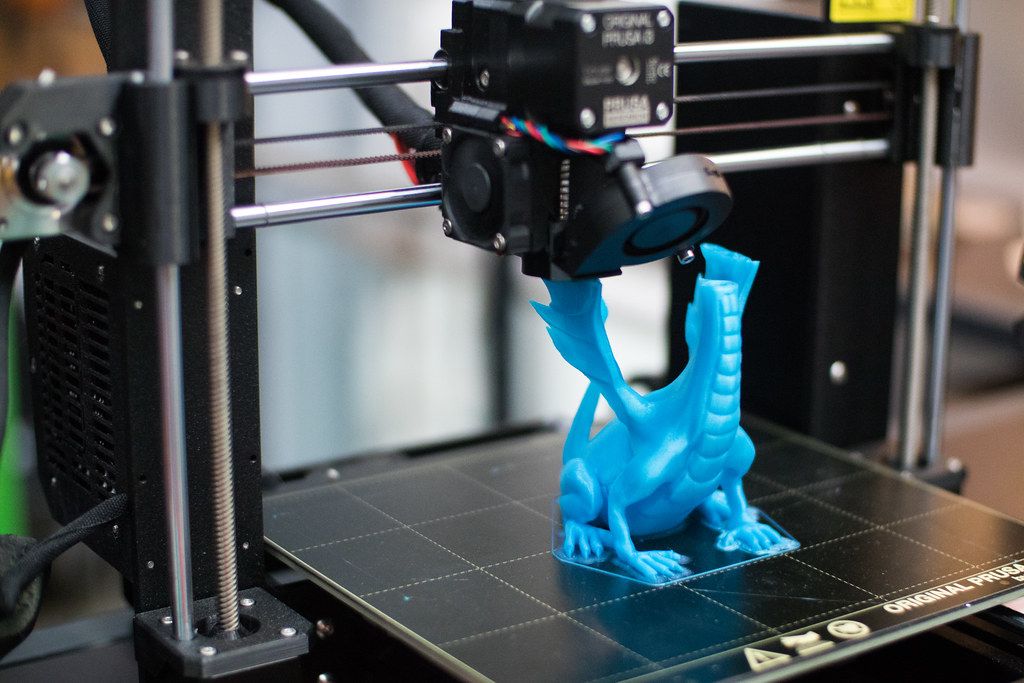
Having a 3D printer makes it easy print a three-dimensional image in digital format. The cost of some Chinese-made models is less than two thousand dollars. At the same time these devices are getting smaller. All this gives an opportunity not only to organize a business on 3D printers, but also to engage in creativity using 3D printing.
Business idea, by use The capabilities of a 3D printer are not limited to one printout of graphics. Consumers can offer other services. For example, creating 3D models, after all, not every person has for this the necessary skills. Purchasing an additional equipment, such as a 3D scanner, will greatly expand the range of modeling and 3D printing services various objects. In this case, the business will definitely successful, which has already been proven by the experience of many entrepreneurs from different countries of the world.
back to index
Appearance bulk printers has become a revolution not only in industry, but also in the arts. Now the masters artistic compositions reach a new level implementation of your ideas. Most people still don't even imagine what a jewelry 3D printer is, and at the same time time, tens and even hundreds already own printed decorations. In addition to direct printing of the finished product on plastic jewelry printer, you can use it in as a manufacturer of molds for subsequent casting, or buy a jewelry 3D printer to create wax models of the future product.
Among jewelers, such printers called "plants" - according to the principle of creating waxes for future castings by extension method. Most Popular 3D printer for jewelers of the American company Solidscape, attracting high construction accuracy, familiar to jewelers with a material based on foundry wax, and low cost of consumables for one model. At this is the “printing” speed that a jewelry 3D printer gives, up to 10 rings per day. Planned in the future the use of clays containing gold and silver, already now there are printers that can work with metal.
back to index
3D printers, although they are in the stage of rapid development, but already able to compete with conventional production technologies. This is especially true for small scale manufacture of products for which it is not only unprofitable, but not the entire production line is needed, requiring both time and and funds. Home, relatively inexpensive 3D printers significantly simplified, giving out reduced object accuracy, low overall quality. Industrial 3D printer, on the contrary, it is distinguished by high accuracy, speed of the process printing, the quality of the finished "prints", which allows use it both to create models for casting, and to produce fully functional parts.
The main characteristics of industrial 3D printers - the highest quality, accuracy up to several microns, large print area, full control process, almost complete automation. For installation such a unit requires a fairly large room, high-voltage line, gas outlet, and the cost will make it many times to think over further use - lay out hundreds of thousands of dollars (or even a million) for the sake of printing one or two products is simply unreasonable. In this case better think about renting or even custom printing - unless, of course, the production is not of the highest level of secrecy.
As an industrial material A 3D printer can use almost all those that used for 3D printing: plastic, metal (titanium), gypsum, ceramic masses, cement, glass powder, etc. Further. Constantly researched (and identified!) New and new substances that can turn into a "bulky printed impression" using a 3D printer.
back to index
The appearance of the first 3D printers produced a real revolution in architectural design and brought with presents many new opportunities for engineers, architects and construction companies. 3D printing allowed reproduce 3D models and use them on the most different stages of the project.
Using 3D printers, architects received not only the opportunity to materialize their projects, but also significantly save time and money. Before prototypes were made by hand, and this process was so time-consuming and time-consuming that the creation of such architectural model itself turned into standalone project.
Today, most architectural companies have been using 3D printers since the early days of project, from early layouts to the creation detailed 3D prints for constructive elaboration (previously, layouts were created only at the final development stage). This reduces the possibility of errors in the late stages of prototyping and helps complete projects with the greatest efficiency and least costs.
Application in construction and architecture of 3D printers, infers relationships with customers to the next level. Working with 3D printers, architects get the opportunity to convey to client's thoughts and ideas accurately, quickly and clearly.
back to index
Application 3D printers in the field of education is gradually becoming an ideal solution for involving pupils and students in educational process.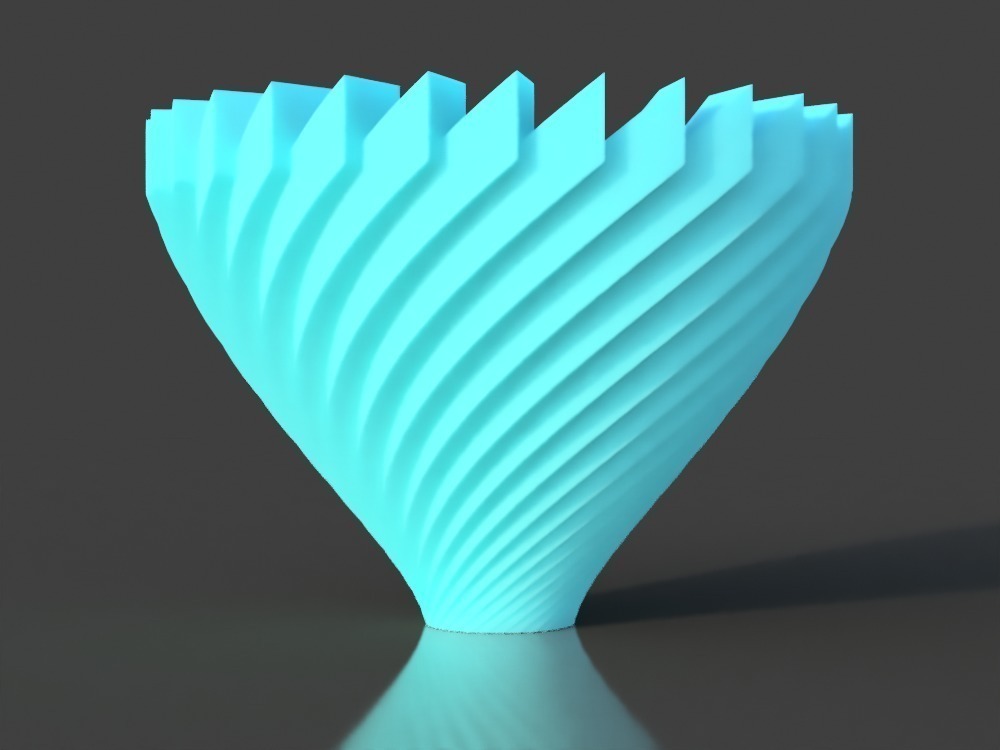 The use of 3D printing in schools and universities makes learning interesting and exciting, understandable and intelligible, allows students to touch what are complex and not always clear abstractions and theories reflected in their notebooks, to get acquainted with characteristics and properties of the subject being studied, to obtain visual representation of its functions.
Prototyping is used by many leading Western, and increasingly domestic, higher and educational institutions. 3D printers improve the learning process, develop students and students imaginative thinking, accustom future specialists to automated programming and design.
In the education of a 3D printer, the thing is not replaceable, especially when it comes to technical universities. Students can design objects, details and layouts right in the audience, print, evaluate and test them. 3D printing included in the curriculum engineering disciplines, enables students to embody in life their design ideas and ideas, thereby increases the share of innovation in their projects.
Students using a 3D printer in educational purposes, have the opportunity to study at own mistakes. After all, there are flaws on paper or a computer it is not always possible to notice one or another model, but creating layout or some detail, the student, having modeled it on computer in a 3D program, after a short period time holds it in his hands. If something doesn't work, then it's no problem, you can try again and again.
back to index
The use of 3D printers in medicine allows you to save human lives. Such printers can recreate the exact a copy of the human skeleton for practicing techniques, guaranteeing a successful operation. Increasingly 3D printers are used in prosthetics and dentistry, as 3D printing makes it possible to obtain prostheses and crowns much faster than conventional production technology.
3D printed dental crown prototypes
Medical 3D models can be made from a range of materials, including living organic cells.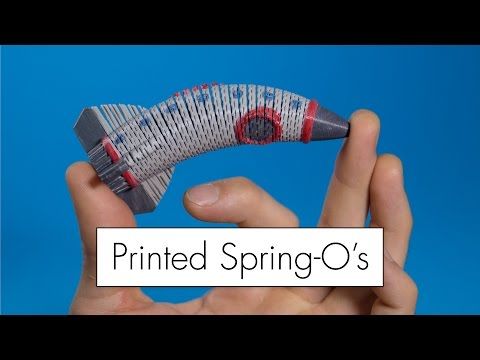 The choice of one or another material for medical prototyping depends on the goals and objectives facing physicians, and problems related to the health of the patient.
The picture below shows baby Emma Lavalle (Emma Laval), suffering from a rare congenital disease in which the muscles of the hands atrophy, and the child cannot even pick up light toy. Doctors designed and 3D printed printer a special plastic exoskeleton, which helps the girl to live a full life.
3D printed exoskeleton for a girl with trained arm muscles
As the girl grows, specialists print new spare parts for the exoskeleton, so it always fits her.
Not resting on their laurels, doctors have learned to print "patches" for damaged human skin. As materials for printing uses a special gel from donor cells. According to scientists, for printing skin can be used even the most common office printer, a little modified for the task at hand.
"Patch" for human skin, 3D printed bioprinter
In 2011, scientists were able to reproduce a living human kidney. To do this, the 3D printer took only 3 hours.
3D printer prints a living kidney
back to index
Working principle of school 3d printer "Alpha" (FDM-technology)
Fused modeling deposition modeling (FDM)) – additive manufacturing technology, widely used in creating 3D models, prototyping and industrial production.
FDM technology involves the creation of three-dimensional objects for by applying successive layers of material, repeating contours of the digital model. As a rule, as materials for printing are thermoplastics supplied in the form spools of thread or rods.
FDM technology was developed by S. Scott Trump at the end 1980s and entered the commercial market in 1990.
Original term "Fused Deposition Modeling" and abbreviation FDM are trademarks of the company Stratasys. 3D printing enthusiasts, members of the RepRap project, coined the similar term "Fused Filament Fabrication" (“Filament Filament Fabrication”) or FFF for use without legal restrictions.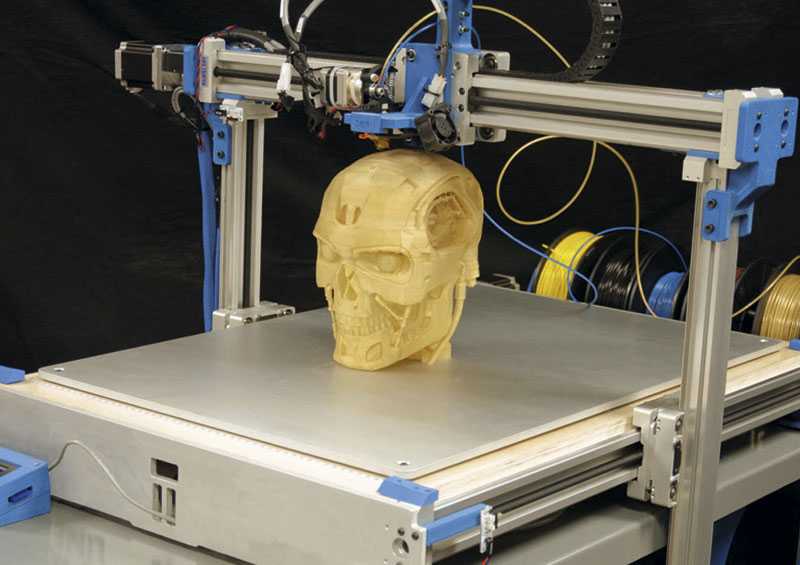 FDM terms and FFFs are equivalent in meaning and purpose.
The production cycle begins with the processing of three-dimensional digital model. The STL model is divided into layers and oriented in the most suitable way for printing. At necessary, supporting structures are generated, necessary for printing overhanging elements. Some devices allow the use of different materials during one production cycle. For example, it is possible to print models from one material with printing of supports from another, highly soluble material, which makes it easy to remove supporting structures after the process ends print. Alternatively, printing in different colors is possible. the same type of plastic when creating a single model.
The product, or “model”, is produced by extrusion ("extrusion") and the application of microdroplets of molten thermoplastic with the formation of successive layers, cured immediately after extrusion.
Plastic thread is unwound from the spool and fed into extruder - a device equipped with a mechanical drive for thread feed, a heating element for melting the material and nozzle through which it is carried out directly extrusion. The heating element is used to heat nozzle, which in turn melts the plastic filament and feeds the molten material to the model under construction. How as a rule, the upper part of the nozzle, on the contrary, is cooled by fan to create a sharp temperature gradient, necessary to ensure a smooth feed of the material.
The extruder moves in horizontal and vertical planes under the control of algorithms similar to used in numerically controlled machines. The nozzle moves along the trajectory set by the system computer-aided design ("CAD" or "CAD" according to English terminology). The model is built layer by layer, upwards. Typically, an extruder (also called "print head") is driven by step-by-step motors or servos. most popular system coordinates used in FDM is the Cartesian system, built on a rectangular three-dimensional space with axes X, Y and Z. An alternative is a cylindrical system coordinates used by the so-called "delta robots".
FDM technology is highly flexible, but has certain restrictions.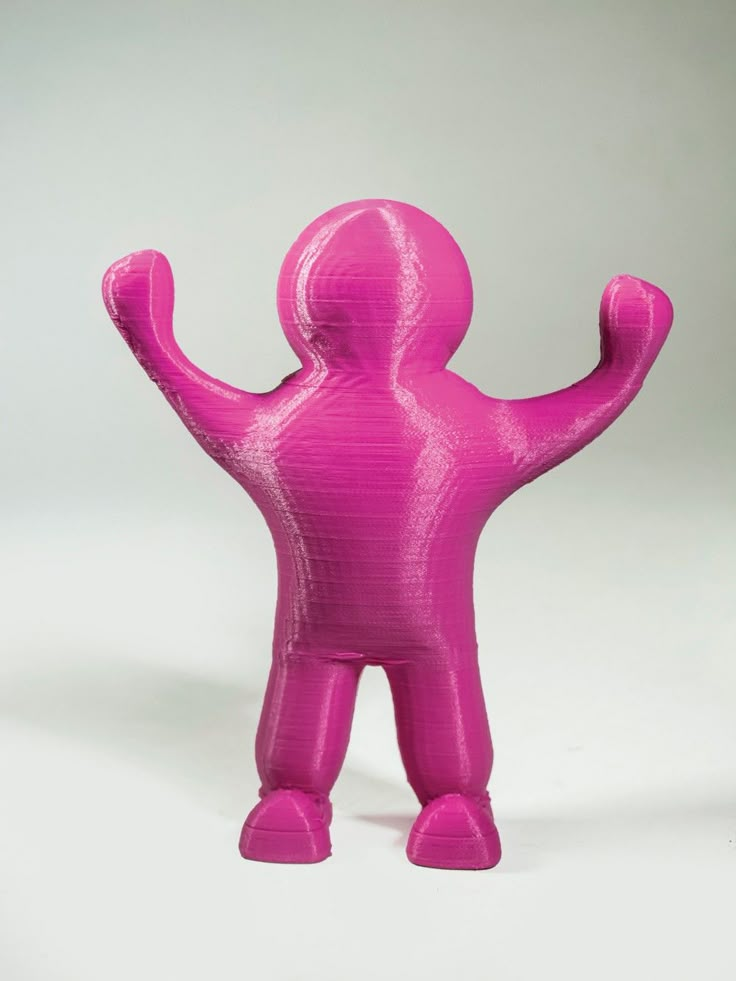 While the creation of overhanging structures possible at small angles of inclination, in the case of large corners, it is necessary to use artificial supports, as rule created during the printing process and separated from models at the end of the process.
Various consumables available thermoplastics and composites, including ABS, PLA, polycarbonates, polyamides, polystyrene, lignin and many others. Usually, different materials provide a choice of balance between certain strength and temperature characteristics.
back to index
Demo video
To start playing the video in the video window, click right mouse button and tick "Play"
To stop playing the video in the video window, click right mouse button and uncheck "Play"
download video printer operation
back to index
General characteristics of school 3d printer "Alpha"
| Dimensional dimensions of 3D printer | 410x420x390 mm |
| Weight | 13 kg |
| Enclosure type | closed |
| Print area | 200x200x200 mm |
| Table type | heated |
| Quantity extruders | 1 PC. |
| Nozzle diameter extruder | 0.3 mm |
| Print speed | 50 mm/s |
| Minimum layer thickness | 0.1 mm |
| Minimum wall thickness | 0.4 mm |
| Plastic type | ABS/PLA |
| Print Technology | FDM |
back to index
School device school 3d printer "Alpha"
School 3d printer consists of:
1.Outer body
2.Extruder
3.Worktable (panel)
4.Control board
5.Marine motors and various actuators
6. Power supply
To start playing the video in the video window, click right mouse button and tick "Play"
To stop playing the video in the video window, click right mouse button and uncheck "Play"
download video instruction
back to index
PC Minimum Technical Recommendations to which 3d will be connected printer "Alpha"
Computer: 2-core, clock frequency is not below 1500 GHz, 64 bit
Processor: Intel Celeron/AMD FX2
RAM: from 2 GB (preferably 4-8 GB)
Hard disk: from 250 GB
Video: both built-in and external with an internal memory of at least 1 GB (only for printing, and for 3d simulation preferably gaming video cards)
Software : Windows 7 (64 bit), with English account (e. g. 3d ). Russian language DO NOT USE! There may be problems with the slicer (software) when using Russian characters.
back to index
Connecting a 3d printer to a PC and familiarization with the controls
To connect a printer to a PC you need:
1. Remove the printer
from the packaging 2.Connect the printer to the computer via USB
3.Turn on printer power
4.Install drivers and software to work with the printer from installation disc
5. Set up the software to work
To start playing the video in the video window, click right mouse button and tick "Play"
To stop playing the video in the video window, click right mouse button and uncheck "Play"
download video instruction
back to index
Software installation and printer driver
To start playing the video in the video window, click right mouse button and tick "Play"
To stop playing the video in the video window, click right mouse button and uncheck "Play"
download video instruction
back to index
Setting gap between the extruder and the desktop (panel) of the school 3d printer "Alpha"
1. Remove from the packaging and place on a stable hard its base (for example, a table)
2. Open the transparent front cover of the printer to access internal details.
3.Connect the printer's USB cable to PC. Turn on the printer power.
4. Run the previously installed Repetier-Host software on computer and connect programmatically to the printer.
5. On the Repetier-Host software "Management" tab, enable "Heat extruder" and wait until the extruder is heated to the required temperature (230-250 degrees Celsius).
6. Only on a hot extruder can you insert / change line for printing. To do this, carefully on the extruder itself press the yellowish button from above, while from below, immediately after main cooling fan, with another finger gently hold the extruder itself to avoid damaging it. (Caution! The temperature of the heated extruder is 230-250 degrees Celsius). Without releasing this button, take the end fishing line and insert carefully into the hole from the top side (straight near the button itself) until they appear from the extruder from below "plastic threads". (in the previous paragraph on the video this the procedure is shown in detail!)
7. Now you need to adjust the gap between the desktop and yourself extruder. To do this, you need to take an ordinary sheet A4 paper and fold it in half.
8. Then through the program Repetier-Host, tab "Management" alternately move the extruder along the desktop to the extreme 4 points of the table.
9. For each of the 4 points, do the following: lower the extruder programmatically along the Y axis and check the gap between the work table and the extruder itself. Normal is such a gap through which it is difficult to passes a regular sheet of A4 paper folded in half. You can set the gap by screwing / unscrewing adjustment screws on 4 corners of the work table.
10. After installing all 4 gaps at the corners of the desktop and installation of the fishing line in the extruder, you can start a test print.
To start playing the video in the video window, click right mouse button and tick "Play"
To stop playing the video in the video window, click right mouse button and uncheck "Play"
download video instruction
back to index
Filling the cartridge with fishing line in 3d printer "Alpha"
To thread the line into the printer you need:
1. Connect printer to PC
2. Using the R.H. heat the extruder to the melting temperature of the line
3. Press the special button on the extruder and thread the line through extruder.
To start playing the video in the video window, click right mouse button and tick "Play"
To stop playing the video in the video window, click right mouse button and uncheck "Play"
download video instruction
back to index
Removing (replacing) the cartridge with fishing line on a 3d printer
To replace the cartridge with fishing line need:
1. Connect printer to PC
2. Using the R.H. heat the extruder to the melting temperature of the fishing line
3. Press the special button on the extruder and pull out the fishing line from the extruder.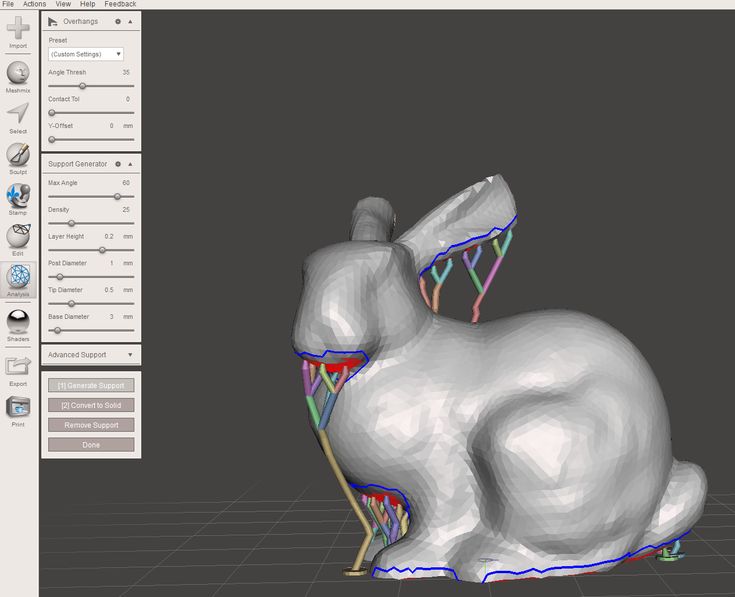
4. Fix the line in the cartridge
To start playing the video in the video window, click right mouse button and tick "Play"
To stop playing the video in the video window, click right mouse button and uncheck "Play"
download video instruction
back to index
Loading ready-made 3d models in computer and preparing them for printing
To download ready-made 3d models required:
1.Start R.H. on computer
2. In the program menu, select the submenu "File" ---> "Open G-code"
3.Check scale and placement of model
4.Start "Slicing"
5.Prepare the printer for printing
6.Start printing
To start playing the video in the video window, click right mouse button and tick "Play"
To stop playing the video in the video window, click right mouse button and uncheck "Play"
download video instruction
back to index
3D printing from scratch | BHV publishing house
- Description
- Details
- Reviews (0)
Description
The principles of operation of modern 3D printers are considered, tips are given on choosing, self-assembling and setting up such a device, an overview of the most popular models is given. The materials used in 3D printing are described, their comparative characteristics are given. All stages of 3D printing are described in detail: preparing the printer for operation, starting it, eliminating possible printing defects, post-printing processing of products. Attention is paid to working with the free programs Cura, Repetier-Host and the Tinkercad 3D editor, as well as modern 3D scanners that allow obtaining three-dimensional images of real objects….
About the Authors
Dmitry Gorkov is an entrepreneur and 3D printing enthusiast with over 20 years of experience in IT. I decided to create a business in the field of 3D printing in August 2013, having accidentally stumbled upon an article on this topic. After purchasing the first 3D printer, he began to implement his ideas by promoting 3D printing, and after a few months he began to fulfill regular orders. His business began to generate a stable income, which allowed him to develop other projects in parallel. Dmitry teaches master classes, speaks at specialized conferences, and also publishes articles on 3D printing on specialized Internet resources and on his own website http://3d-print-nt.ru.
Valentin Kholmogorov — writer, author of more than 40 books on computer technology, including "Encyclopedia of a personal computer", "Secrets of working in Windows", etc. Valentin's first publication was published in 1993, and since then Since then, in his luggage, there are several hundred articles in online and paper magazines. For many years he has been fond of 3D printing, he independently assembled his first 3D printer in 2014. Valentin's publications can be found in the popular Hacker magazine, as well as on the author's own website: http://holmogorov.ru.
Parts
| Art. No. | 2692 | |
|---|---|---|
| ISBN | 978-5-9775-6599-8 | |
| Number of pages | 256 | |
| Series | 1 From scratch||
| Binding | Paperback | |
| Printing | Black & White | |
| Year | 20200460 Dimensions, mm | 215 x 165 x 10 |
| Weight, kg | 0. |


