Starting a 3d printing service
How to Start a 3D Printing Business
The 3D printing market value increased on average 25% per year over the last five years. Its increased market value generated a boom of interest in setting up a 3D printing business. The 3D printing industry offers different niches in which to develop a business. While each type of 3D printing business will have specific requirements to start, there is general information that can make setting up any form of 3D printing business easier.
Decide Which Kind of 3D Printer You Want to Be
3D printing can be used in a variety of different ways. As such, there are many different niches for profitable 3D printing businesses. Some examples include 3D printing prototypes and manufacturing components, setting up a local 3D printing service, and 3D printing toys.
3D Printing of Prototypes and Models
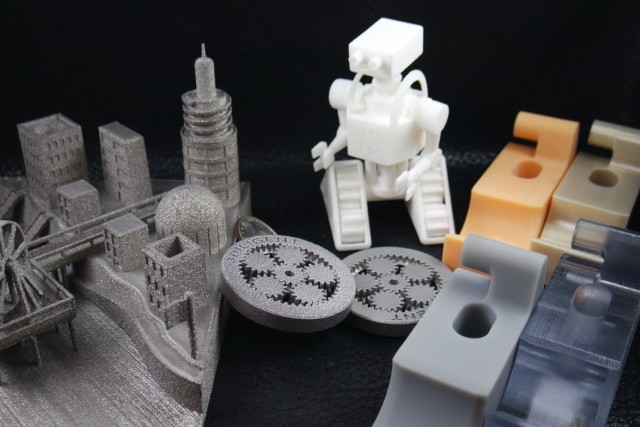
Roughly 65% of the 3D printing demand comes from engineers developing industrial, electrical, or consumer goods. Also, industries such as architecture, engineering, technology, and medicine require models of devices, manufacturing parts, and chemical compounds. These industries also typically have a section of their research and development process dedicated to testing out prototype designs or finding more efficient ways of creating a needed manufacturing part. 3D printed parts and components not only speeds up production time but also lowers cost. Therefore, dedicating a 3D printing business to helping other businesses with these needs can be quite profitable.
Raise 3D recently interviewed 2050.AT, a 3D printer farm to learn how 3D printing assists manufacturing. 2050.AT created 3D printed components and parts. 2050.AT explained that 3D printing is valuable for producing parts that are hard to find or expensive to produce. 3D printers make prototyping more efficient. To learn more about 2050.AT’s range of work with 3D printing, click here.
3D Printing Service
A more general idea is to establish a local 3D printing service.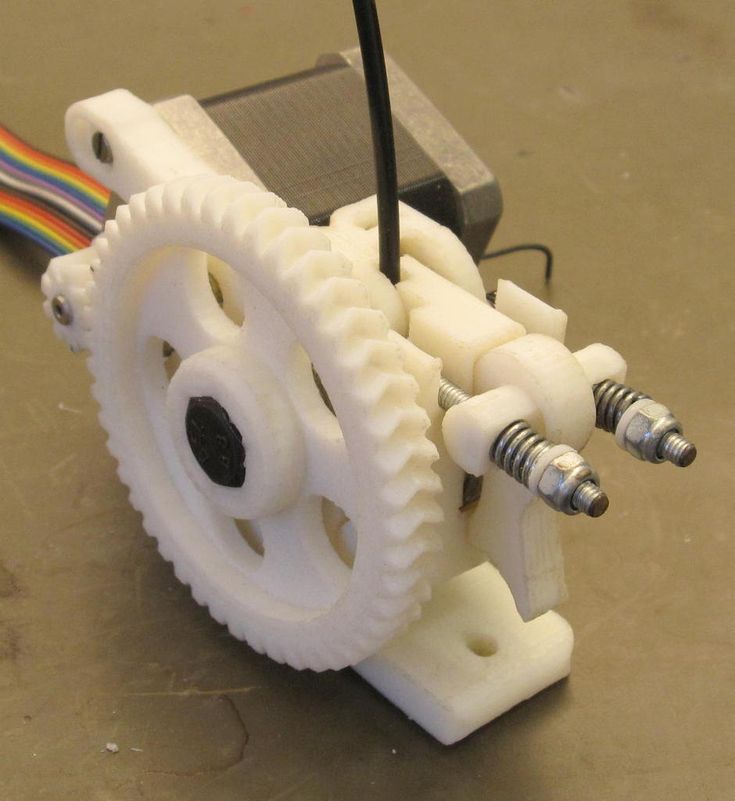 As we covered in the previous example, many businesses incorporate 3D printing into their production process. However, not all businesses can afford their 3D printers. In this situation, a local 3D printing service is still more efficient for these businesses than traditional research and manufacturing methods. A 3D printing service also can produce work for individuals that require their own 3d printed products. For example, students may need a 3D printed model for a school project. Or an artist may need 3D printed models or devices for art projects.
3D Printed Toys and Models for Children or Collectors
A third option is to 3D print toys and models of characters or clothing of a character for children, collectors, and cosplayers. For example, a helmet of a well-known character from a tv show or movie will be appealing to all three demographics.
What Kind of 3D Printing Business Can You Set Up?
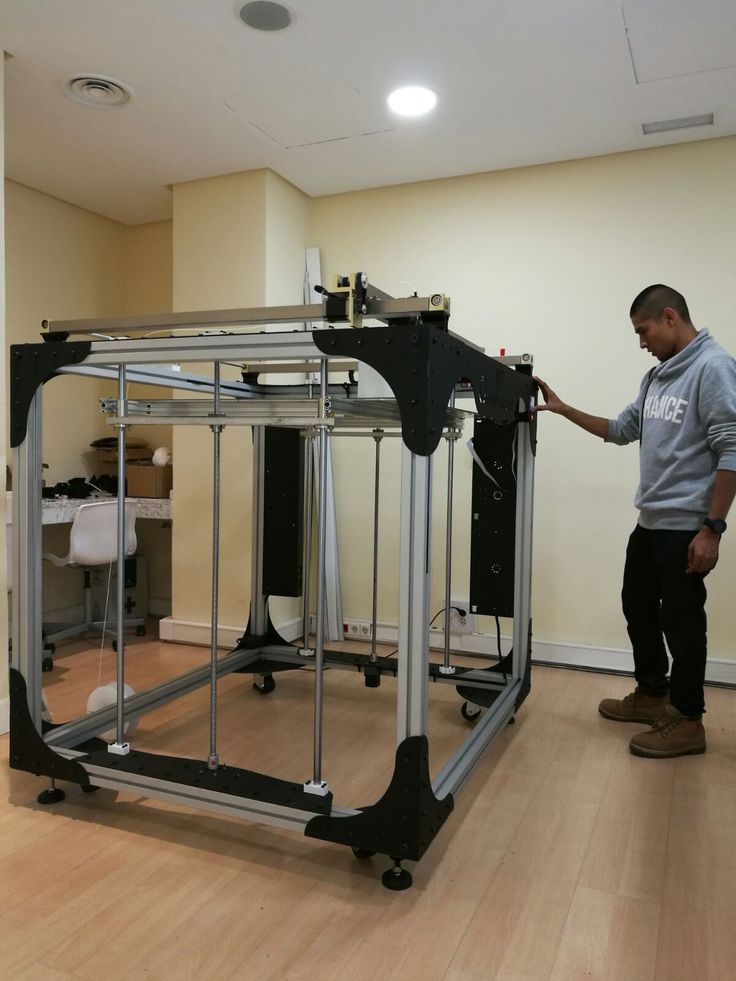
As with any new business, a 3D printing business will take time to get off the ground.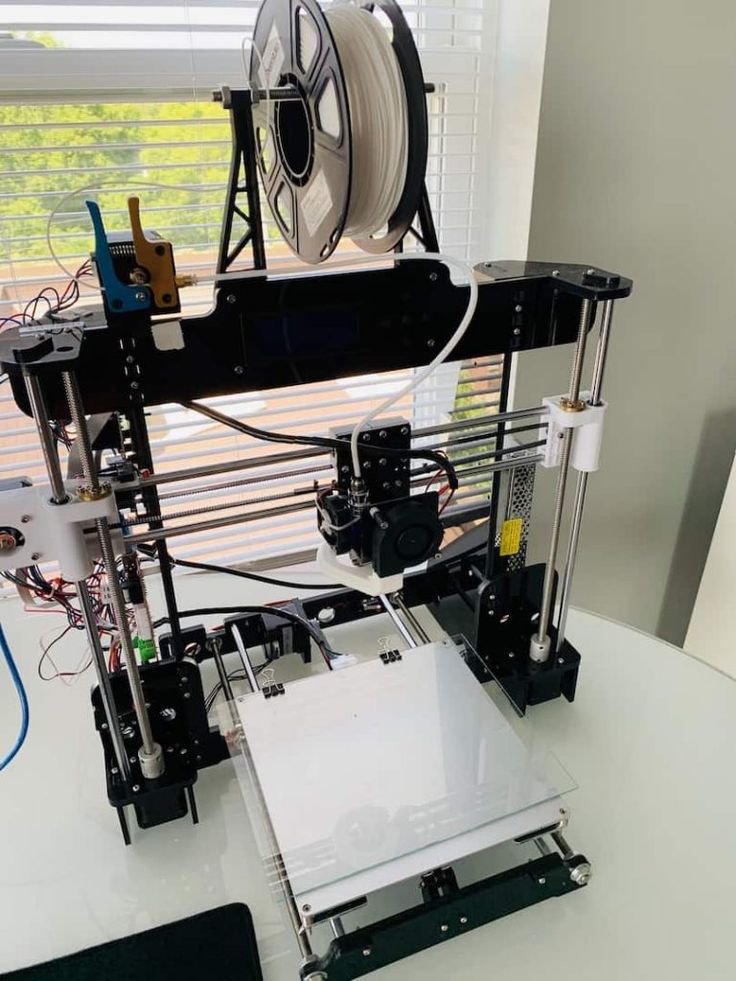 Therefore, part of deciding to start a 3D printing business is knowing how much you can handle. This includes knowing your budget, knowing how much physical space you can dedicate to your business, knowing how many people will be working with you, and knowing how much time you can put into each of your projects. Since not every kind of 3D printing business is the same, each niche will have its requirements. For example, 3D printing prototypes and manufacturing parts will require larger printers with more specialized capabilities.
How Much Does Starting a 3D Printing Business Cost?
The actual cost of starting a 3D printing business depends on the type of focus you choose. However, the cost of setting up a 3D printing business ranges from $1,000 to $10,000. This cost will be affected by the type of 3D printer that you choose, utilities, rent (if you choose to not work from home), software, and marketing. The cost of a 3D printer changes based on the size, capabilities, and quality that you wish to produce.
3D Printing Filaments
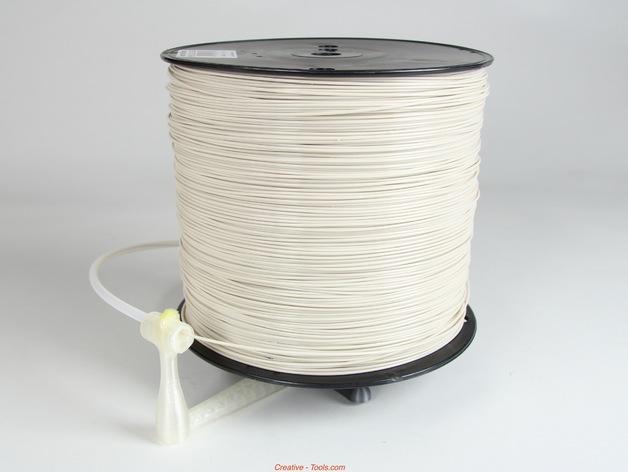
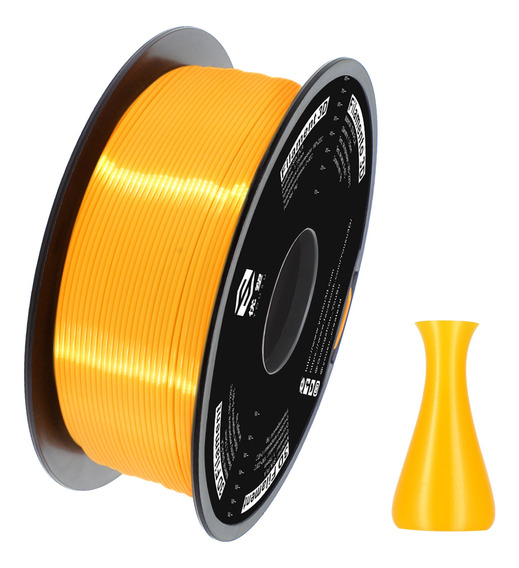
A crucial aspect of establishing a 3D printing business is in understanding the capabilities, characteristics, and differences of each printing material. The different kinds of 3d printing materials are also known as filaments. The most common filaments for 3D printing are plastics. Each plastic has its strengths which make it suitable for different projects and tasks. Sometimes a 3D printed device has many parts to it, and each part may perform better with a different kind of plastic. For example, TPU/TPE filaments are flexible sometimes to the point of being like rubber. And PLA filament is durable and easy to print.
3D Printing Competitors
Each type of 3D printing business will have its market and competitors. For example, a 3D printing service will have a local market with local competitors. Meanwhile, 3d printed toys and models will rely heavily on online sales and social media. A general suggestion for all 3D printing businesses is to find an focus on making yourself visible on the platforms where other businesses like yours appear.
Making Your 3D Printing Business Stand Out
All forms of 3d printing businesses are competitive, and it can be hard to know how to stand out from competitors. One way of adding value is to know how to do model design. Model design is a necessary procedure to create a 3D printed product. Many businesses contract out the model design process to another business. However, you can learn how the process of turning an image into a digital model which will be used for 3D printing. This will give you more control over your project and keep your work in-house. Another way to stand out from your competition is through post finish. Post finish means smoothing out the final 3D printed device and adding color. Deciding how far you want to go with post finish can also help you stand out from other 3D printing businesses.
3D printing offers a variety of niches to establish a profitable business. Knowing the exact details for setting up the foundations for each niche will require more specific research. However, there are some common factors for establishing any kind of 3D printing business such as learning about filaments and knowing your competitors. Once these factors are known, a strong foundation can be built for a profitable 3D printing business.
Connect with Raise3D:
Have you had a great experience with Raise3D that you would like to share? Please contact us at [email protected]. We look forward to hearing from you.
For more information about Raise3D printers and services, browse our website, or schedule a demo with one of our 3D printing experts.
How to Start a 3D Printing Business
A home based 3D printing business capitalizes on this emerging technology’s ability to efficiently and affordably create three dimensional objects from graphic models. Many project this will be a technology in everyone’s home someday, but for now it is not, so if you own a 3D printer, you can use it as a profit center.
You can make money with your printer either by making it available to the designs of others or by designing printing, marketing, and selling your own product online. Whichever path you choose, if you are ambitious, you can easily scale 3D printing into a full-time business.
1
Before you get started, you’ll need an idea of what resources you’ll need—and how to monetize your business in a practical way. We’ve answered the biggest questions about clients, costs, and profits below.
How does a 3D printing business make money?
There are a few common paths 3D printing businesses take to make money:
- List your printer as a service on 3D Hubs, i.materilise or Shapeways and take orders.
- Support rapid prototyping. Market to architects, designers, engineers, and construction firms to create instant prototypes of designs and plans.
 Using 3D printing for prototyping makes it cheap, allows for more room for error, and also allows for multiple stages of prototypes.
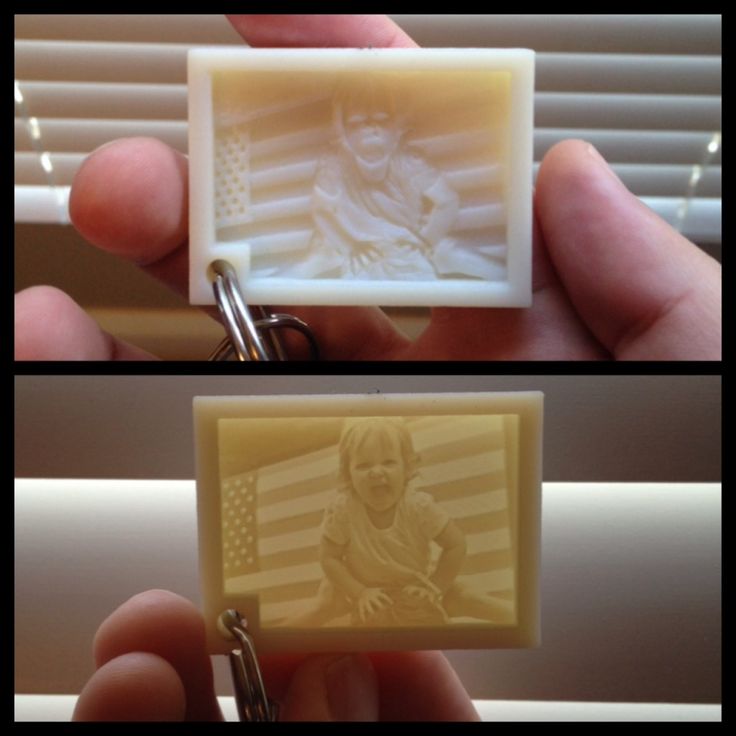
 - Create personalized crafts and components.Here, the sky is the limit. You could come up with any idiosyncratic component. For example, one company made money printing out of producing rail links for a specific model train track. Other successful ideas have included personalized jewelry, ear buds, and hard-to-replace faux antique home décor.
How do I get clients?
How you get clients depends on whether you plan to 3D print other people’s products or your own.
Print on demand
Many blogs tout leasing your printer to sites like 3D Hubs or i.materilise as an easy process. The idea is that these sites send printing projects to your printer and pay you for the service. But it isn’t necessarily that easy. Most of these sites have a strict vetting process and do not allow desktop printers. Also, the only high profit margins are in metal printing, which is prohibitively expensive for most home based businesses. This approach is actually perhaps best reserved for operations of scale.
That doesn’t mean you can’t offer the use of your printer to others through other means. There are lots of people who might have a one-time need for a 3D printer. Perhaps the most interesting and highest margin niche will be here. It will involve you also offering your design services. Here, a customer has a conception or drawing of an idea, and you work with them to create a graphic model and then print them a final product. You can market your 3D printing services to these customers through hobby and craft pages on social media. You’ll want to become familiar with how specifically Facebook is capable of targeting their ads to these groups. You’ll also want to create an excellent business website, which Facebook can send these customers to.
Print your own products
Of course, you can also design, print, and sell your own product. Many have found success through this idea by conceiving of a niche product and making it available on Amazon or eBay. These are great strategies for finding buyers. You just need those few people to enter a search for your product and then you’ve got them. The key to finding clients here is wording your product name in away that maximizes its discoverability through searches.
The downside to using these sites is they are costly, and they prevent you from up-selling, cross-selling, or establishing a repeat customer base. For this reason, you may want to create and market your own website. The two best ways for you to direct traffic to your own website are through SEO ranking and social media advertising. Ranking high in Google’s search results through SEO management can bring your business significant traffic. SEO rankings can be improved organically by doing some search term (keyword) research.
How much money will it take to get started?
The biggest expense is, of course, the printer. You’ll also need to invest in software and the time it takes to master that software. Below is a list of basic supplies you’ll need to start a small-scale 3D printing business.
- AstroPrint (a cloud-based operating system for 3D printers): $10/month
- Thermoplastic filament spools: $50 ea
- software, (Adobe Illustrator or Autodesk)- $250-$500
- 3D printer: $1500-$6,000
How much do 3D printing businesses make each year?
3D printing is a technology that relies on economies of scale. The margins for printing are low. But ultimately your profits will come from eithera farm of printers you build to scale or through the marketing of your skill set as a graphic modeler. As this is a new industry, there is little data about the income of specific 3D printing businesses.
How much should I charge?
Consider charging for your time. At least at first. If you are helping clients to design, model, and print a product, you’ll want to be compensated for that time and expertise. $75-$150/ hr is not unreasonable, especially if you are marketing to other businesses like architecture or engineering firms. If you are printing and selling small, inexpensive components and selling them online, you won’t be taking that into consideration, and you’ll have to compensate for it through scale. Eventually.
2
Have a great name idea? Before you start marketing and branding your business, you’ll need to ensure your name is available. Most states prohibit or restrict businesses from adopting names that are already in use. Even if it’s legally allowed, a copycat name puts your business at risk of a lawsuit.
See if your business name is available in your state with our Free Business Name Search.
Trademarks and Domain Names
Plan to trademark your business name? You can see if the trademark is available on a website like Trademarkia. It’s also a good idea to see if the domain name is available, which you can do on websites like Network Solutions and GoDaddy. Even if you don’t plan on putting together a website right away, you can buy the domain name to make sure no one takes it in the meantime.
3
Should you form an LLC? A sole proprietorship? Your choice of business structure will affect many aspects of your business, from liability to taxes.
Sole Proprietorships & General Partnerships
If you don’t file any paperwork to legally form a different kind of business—you have a sole proprietorship or general partnership. Essentially, these are “default” business structures. A sole proprietorship has one owner, and a partnership has multiple owners.
These structures have a few initial benefits. They’re easy, fast and cheap to start and maintain. However, the limitations and risks of these business structures quickly become more apparent as your business grows. In both of these business types, you are your business, legally speaking. Your company’s legal business name is YOUR name—so you’ll need a DBA to operate under any other name. Any business debt is YOUR personal debt. If anyone sues your business, they are suing YOU personally.
LLCs & Corporations
Limited liability companies (LLCs) and corporations are business entities formed at the state level. The entity is legally separate from its owners, meaning the owners are not personally liable for the debts and obligations of the business. As a separate entity, the business also has multiple tax election options. For example, both LLCs and corporations can choose to be taxed as S-corps if they meet the requirements.
LLCs and corporations are not quite as simple and inexpensive as default structures. LLCs and corporations come with formal requirements like state reports. They also have more fees than default structures, such as formation and annual report fees. However, the benefits of an LLC or corporation—especially liability protection and tax flexibility—are significant.
Check out LLC vs Corporation and Why Turn a Sole Proprietorship into an LLC to learn more about choosing the best structure for your business.
4
If you opt for a sole proprietorship or general partnership, there’s no formal paperwork to file to legally create your entity—you just start selling your product or service. However, you will not have any liability protections or tax flexibility.
LLCs and corporations are formed by filing paperwork with a state agency, typically the Secretary of State. To start an LLC, you file articles of organization. To start a corporation, you file articles of incorporation. In most states, you can file these forms online or download a paper form from the state’s website.
Whether you’re forming an LLC or corporation, your articles will require certain basic information about your business, such as your company’s:
- name
- business address
- registered agent and office
- business purpose
- members/managers or directors/officers’ names and addresses
- number and type of authorized shares (for stock corporations)
You’ll also need the signature of someone authorized to sign on behalf of the business, along with the state’s filing fee. Fees vary by state but are typically between $100 and $200. If you hire Northwest to form your LLC or corporation, we complete and submit your formation paperwork on your behalf for just $100 plus state fees.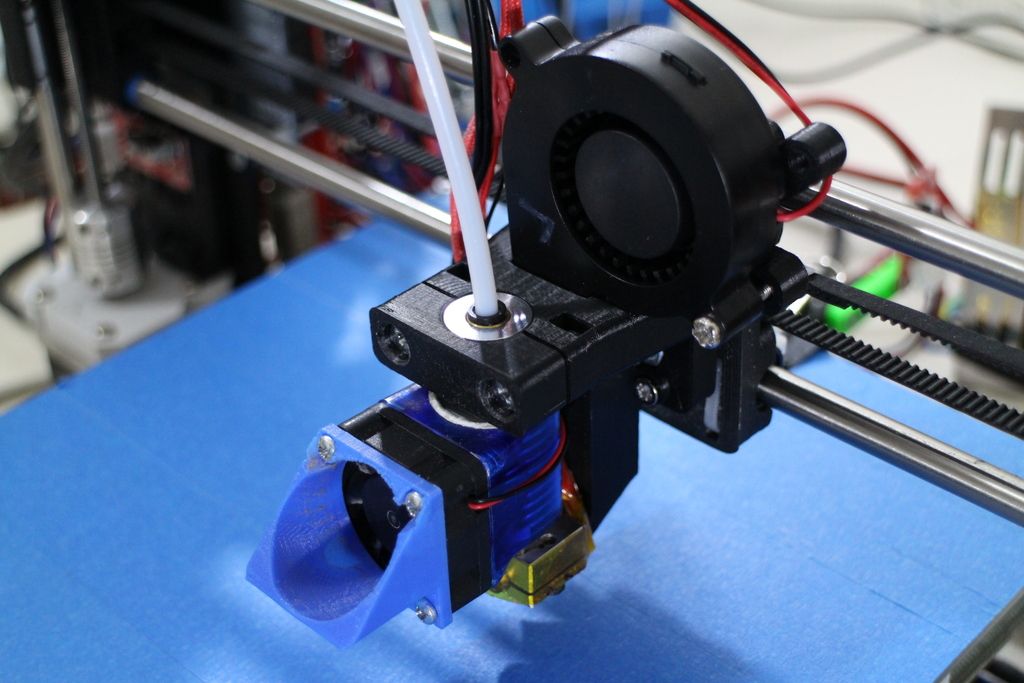
Start Your LLC or Corporation Now!
GET STARTED
5
It’s important to put your company’s internal policies and procedures in a written document, especially if you’re starting your business with others. Partnerships have partnership agreements. LLCs have operating agreements. Corporations have bylaws.
These documents look a bit different for each kind of business, but they serve the same general purpose. They ensure there’s a clear path forward for any major issue that may arise, from changes in ownership to closing the business. LLCs and corporations also typically need an operating agreement or bylaws in order to open a bank account.
Get a free template for an LLC operating agreement or corporation bylaws.
6
Nearly all LLCs and corporations will need to request a federal employer identification number (EIN) from the IRS. If you file corporate income taxes, have employees, or file certain franchise taxes, you must have an EIN. An EIN is also a common requirement for opening a business bank account. Most businesses can request an EIN by filling out the IRS’s online form.
Your EIN is for federal taxes—but you’ll likely have state and local tax obligations as well. You will most likely need to set up an account with the state’s Department of Revenue, and you may need to apply for a state tax ID or a sales tax license as well.
Learn more about how to Get an EIN for your business.
7
A business bank account keeps your personal finances separate from your business finances. For LLCs and corporations, keeping separate finances is essential for maintaining liability protection. To open an account, LLCs and corporations typically need to bring to the bank a copy of their articles, their operating agreement or bylaws, and their EIN.
8
Many businesses will need a business license to operate. Licensing information—as well as any zoning requirements or other permits—can usually be found on the city or county website.
If your home is part of a homeowner’s association, you’ll also be subject to any of their restrictions for home-based businesses. Some areas may also require home-based businesses to obtain a Certificate of Occupancy (a document certifying the property owner has given the business permission to operate).
After your business is up and running, there are a few additional steps you may want to take as you grow:
- Get online: With your domain name, you can create a business website. You can hire a professional or use a website-builder like Wix or WordPress. You may also want to invest in online ads through a program like Google Ads.
- Hire employees: Hiring employees requires quite a few steps. You’ll need to collect W-4s and I-9s from employees, report the new hires to the state, set up withholding, pay for unemployment insurance, distribute any required documents and notices to employees, and display wage and safety info in the workplace.
 Employer.gov is a good place to start, followed by your state’s tax or labor office.
 - Get business insurance: While LLCs and corporations protect you from personal liability, you don’t want your business to go bankrupt in the face of an accident, injury or other disaster. At minimum, it’s a good idea to look into general liability insurance. Home-based businesses can sometimes add insurance onto their homeowner’s policy.
How Do I Know if a 3D Printing Business is for Me?
What’s it really like to work in a 3D printing business?
You may be interested in this field because you enjoy modeling designs and working with the printer. It is satisfying to see a completed, real-world object that you conceived of on a computer screen. These are great reasons to consider starting a 3D printing business. But keep in mind, a great deal of your day-to-day work will be marketing and talking to clients, ensuring they have a great customer experience.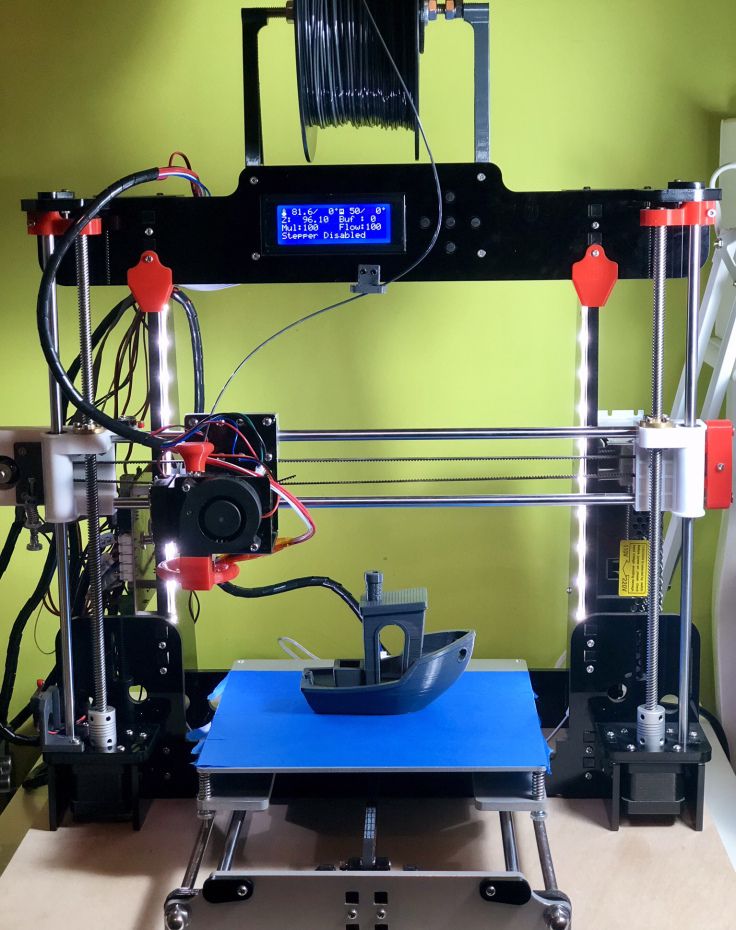 If that part sounds horrid to you, you may want to consider looking elsewhere.
What does it take to succeed in the world of 3D printing?
3D printing is a new and exciting industry. To succeed you will need to have an eye on growth and efficiency. You will also need to keep a keen eye on the constant changes taking place in the industry as a whole. As the field grows, unpredictable changes to the technology and the way the technology is used are bound to take place, and you will need to be out in front of it. If this sounds like the type of thing you would be excited about, this could be the market for you!
Ready to Form an LLC or Corporation?
Northwest Registered Agent is here to help with all your small business ideas and needs. Answer a few simple questions about your business, and we’ll prepare and submit your formation paperwork to the state. We also provide your new business registered agent service, free business forms and guides, and much more.
Learn More About Starting a 3D Printing Business in Your State
WA
Show States
Beginner's Tips on Getting Started with a 3D Printer, Table Calibration and Slicer Setup
Despite the abundance of videos and articles, the information in them is scattered and it can be difficult for a novice 3D maker to understand such an abundance of facts. In fact, everything is not so difficult, at the first stages it is enough to deal with just a few important nuances.
First use
Before using the printer for the first time, it is best to read the instructions. Each printer may have its own usage and settings. Some 3D printers are able to calibrate automatically, without user intervention, and some need to be configured manually. nine0003
If there was no paper instruction in the box, you can download it from the manufacturer's website.
Some manufacturers stick a sticker on the box with a link to the current version of the instructions.
Before the first run, make sure all shipping locks are removed from the 3D printer. You can gently try to move the extruder along the axes with your hands to make sure that nothing interferes with its free movement.
Table calibration
The result of the entire operation of the printer depends on the calibration of the table. It is very disappointing to see that the model, after many hours of printing, came off the surface of the table and deformed or “moved out”. In order to prevent this from happening, it is necessary to correctly set the working plane and the gap between the table and the nozzle.
In many printers, manufacturers began to add an automatic print surface calibration sensor. A special sensor measures the distance from the table to the nozzle and makes a “map” of irregularities that are taken into account when printing.
nine0003
Table auto-calibration sensor
There is a semi-automatic calibration. In this case, the printer, using a sensor, determines the distance to the table and tells you in which direction to turn the adjusting screw.
Here we will look at the manual calibration of the working surface of the most popular mechanics of FDM printers - Prusa, H-BOT, CoreXY, etc. nine0003
Table leveling
First you need to level the plane of the table. To do this, using the adjusting bolts, it is necessary to set the same distance between the table and the nozzle. Anything can be used as a probe, but it is better to take the probe recommended by the manufacturer (usually 0.1mm).
Table calibration
-
Heat up the table. The 3D printer table is made of a metal plate, when heated, the metal expands, so it is better to heat the table before calibrating.
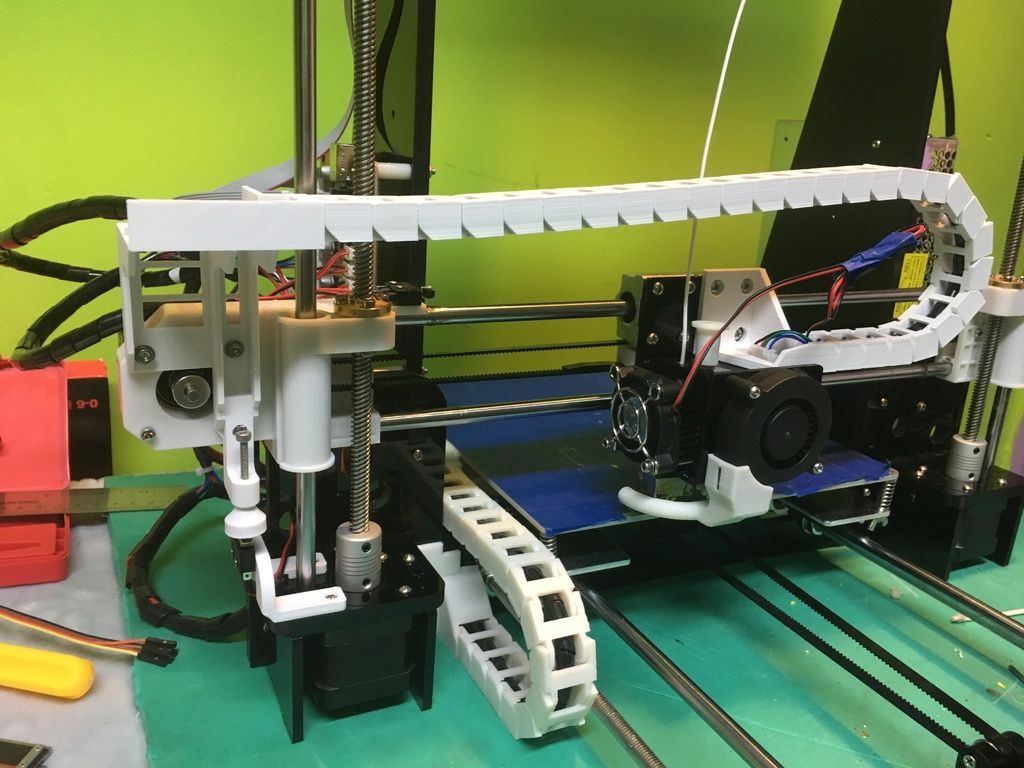 nine0003
 -
Tighten the calibration screws as far as possible at the bottom of the print surface. This will help prevent the work surface from colliding with the nozzle in the next step.
-
Send table and extruder to zero position. Raise the table as high as possible or lower the extruder as far as possible with Prusa kinematics. This can be done from the menu with the HOME command. Make sure that the nozzle does not “crash” into the work surface. nine0003
-
Using the menu, move the nozzle so that it is above the calibration screw.
-
Place the probe between the work surface and the nozzle, use the screw to raise or lower the work surface so that the probe is firmly clamped. Repeat this for all table gauge bolts. There may be 3 or 4 of them.
-
Move the extruder to the center of the table and use a feeler gauge to check the gap between the table and the nozzle. If the gap is the same as above the calibration bolts, then the plane is aligned correctly, if the gap is different, then it is worth repeating the calibration or checking the evenness of the printed surface.
 nine0003
The square test can be used to check the uniformity of the table plane calibration.
Work surface flatness test
Depending on the size of the work surface, you can place test squares in different places.
Test squares on the printed surface 30x30 cm
For this test, you need to print several thin squares (1 layer thick) on the printed surface. Depending on how they are printed, you can see if the table plane is evenly calibrated.
Table for determining the correct calibration of the table and nozzle.
Sometimes the printed surface is a bit uneven on its own and there are some small depressions or bumps in some places. If it is not possible to change the working surface or there is no time to re-calibrate, you can try to print the model on the “raft”. nine0003
The raft is a thick substrate that is printed under the model.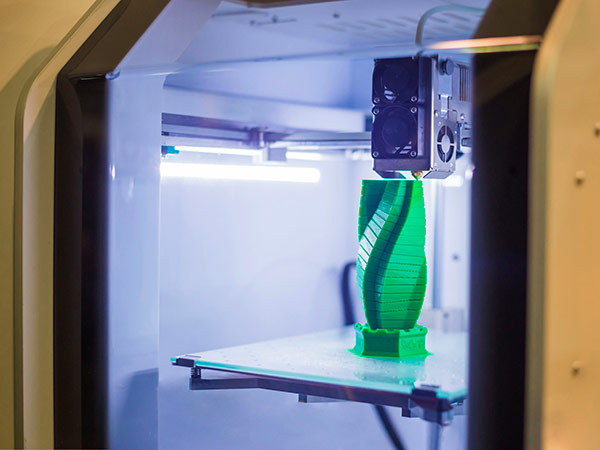 A thicker layer of plastic adheres better to the printed surface and “smoothes out” its bumps.
3D model printed on raft
Table to nozzle gap calibration
If a feeler gauge was used to align the work plane, which matches the required gap between the table and the nozzle, then the extruder does not need to be calibrated separately. If the printer has 2 extruders, then only the second extruder needs to be calibrated. nine0003
Some 3D printers, like the Raise 3D, come from the factory with a leveled bed, but it's a good idea to check the gap between the bed and the nozzle before printing. Settings may change during shipping.
-
Using the menu, you need to send the table and extruder to the zero position (HOME).
-
Using a feeler gauge, set the distance between the working surface and the nozzle recommended by the manufacturer (usually 0.1 mm). Some manufacturers recommend calibrating the nozzle “to the table” without clearance.
 The distance between the nozzle and the working surface can be adjusted by the calibration screw, which is located at the z-axis limit switch, programmatically or by the extruder. nine0003
 -
If the printer has 2 extruders, then the calibration must be repeated with the second extruder.
-
It is necessary to heat the extruder to the melting temperature of the plastic filament. The temperature range is usually marked on the box or spool of plastic.
-
After heating the extruder to a predetermined temperature, depress the lever that presses the filament in the feeder and push the plastic into the extruder until it starts to flow from the nozzle.
 nine0003
 -
If necessary, fix the pressure lever so that it firmly presses the filament against the feed gear. (If the lever is not spring-loaded and does not return to its original position).
After changing the nozzle, thermal barrier, table surface or moving the printer - it is necessary to check the gap calibration between the work surface and the nozzle, and sometimes the plane of the table.
Loading filament
After setting up the print platform, you can load the filament (plastic). nine0003
In some 3D printers, the plastic loading process is automated and starts from the menu.
After loading the filament, you need to push the plastic bar a little until the remnants of the old plastic come out of the nozzle.
Setting print options
In order to get a neat and accurate model of the insufficiently good mechanics of a 3D printer, it is important to properly prepare the model using a special slicer program. nine0003
Table and nozzle temperature
Perhaps the two most important parameters are the temperature of the nozzle and the working surface. These settings may affect other slicer settings.
Slicer CURA
Table temperature settings
A heated work surface is necessary for better adhesion of plastics with a high percentage of shrinkage, otherwise the part will simply come off the printed surface during printing. But due to too high a temperature, the lower layers can soften and deform under the weight of the growing model. nine0003
Depending on the surface of the table, the recommended temperature may vary. For example, if ABS is printed on a special substrate, the recommended table temperature is 100 degrees, and if glass with stationery glue is used as the work surface, the temperature should not be raised above 80 degrees.
Some manufacturers indicate the recommended table temperature on the box or on their website. But there are general temperature ranges that you can focus on. nine0003
-
PLA - 0 - 50 degrees. During printing, the plastic must be blown.
-
ABS - 80 - 90 degrees. Drafts should be avoided during printing.
-
Nylon - 80 - 90 degrees. Drafts should be avoided during printing.
-
Flex - 80 - 90 degrees. Drafts should be avoided during printing. nine0003
Nozzle temperature settings
The required temperature range is indicated by the manufacturer on the filament spool, but it is better to print a couple of small tests to determine the ideal temperature for a given filament.
After changing the nozzle to a nozzle with a different diameter or a significant increase in printing speed, it is necessary to slightly increase the temperature of the extruder. Due to the small “melt chamber”, the plastic may not have time to warm up to the desired temperature. nine0003
There are extruders with a large volume of "melting chamber" of plastic, but they are not suitable for every 3D printer and are designed to work with large diameter nozzles.
Conventional heating block and Vulcano block with enlarged “melting chamber”
Printed tests
To configure some slicer parameters, it is convenient to use special tests, rather than setting the settings at random. Some of the tests can be printed every time you change the spool of filament. For example, plastic from the same manufacturer, but with a different dye, may have slightly different temperature settings. nine0003
XYZ Cube
Printed cube
This is one of the most popular tests that can be used to evaluate the quality of the surface and the accuracy of the kinematics of a 3D printer (belt tension, number of steps per mm, etc. ). You can download it here
Boat 3D Benchy
A small test boat that allows you to evaluate many 3D printer parameters and slicer settings. 3DBenchy has become so popular that enthusiasts have come up with various fun and practical accessories for it. nine0003
Parameters to pay attention to in the finished model
For two extruder printers, there is a boat that needs to be printed in two colors. You can download the model or find models of accessories for the finished boat here.
Boat for two-color printing
Simple temperature tower
Setting the correct print temperature is one of the most important factors in obtaining a strong model with a quality surface. Many factors can affect the fusibility of a plastic - the quality of the raw material, the addition of dyes, the speed of printing, the thickness of the layer, etc.
In order to understand how plastic behaves at different temperatures, enthusiasts came up with a simple test turret that prints at different temperatures at different heights. There are several types of these tests. Some have overhanging elements and “bridges”. You can download the test here. nine0003
Temperature tower with bridges and overhangs
Turrets
Retract Turrets
These small turrets allow you to fine-tune the retract in your slicer settings. Due to their small size, they print very quickly. You can download the model here.
Bridge printing test
Test Bridge
Some overhanging elements can be printed without supports, the slicer even has special settings for printing such “bridges”. To find the optimal parameters, you can use this small test model.
Surface overhang
nine0026 Test model
A small test that allows you to understand how the plastic will behave when printing overhanging elements.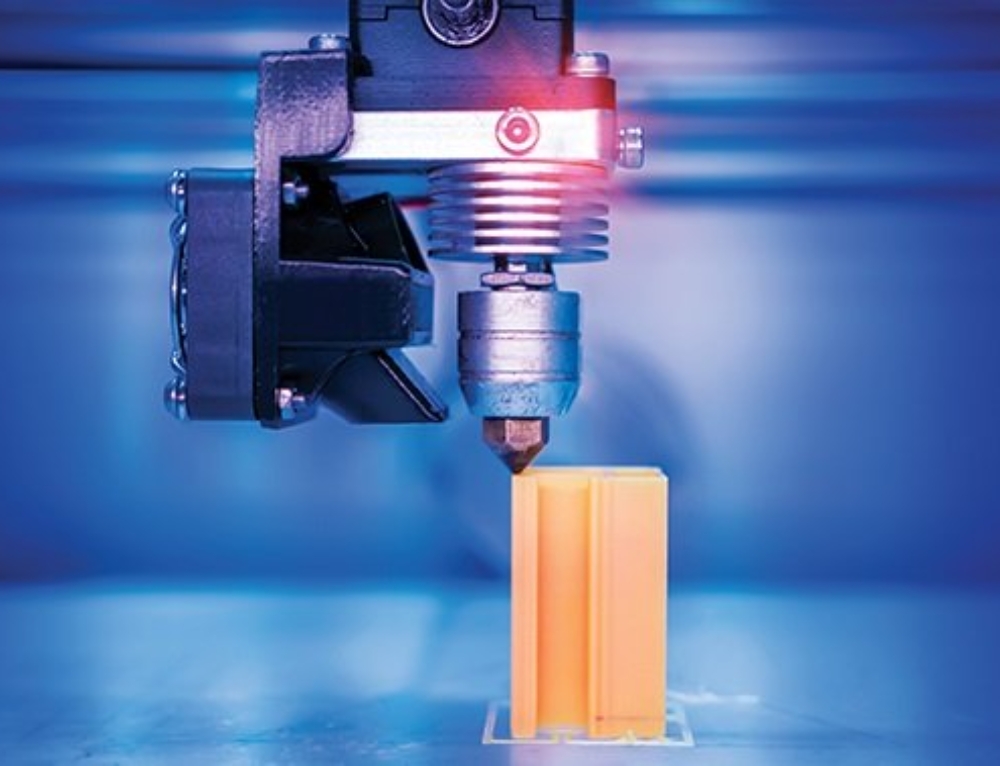 With this test, you can configure support settings in the slicer. You can download the model here.
Test All-in-one
There are printed tests - all in one, but it can be difficult for a beginner to figure out which settings need to be adjusted. Therefore, to begin with, it is better to print simple tests, and with experience, you can use universal ones. nine0003
Printed test all in one
Model can be downloaded here
Common errors
Poor first coat adhesion
This is usually due to incorrect print surface calibration or poor adhesion of the first layer.
First you need to check the correct gap between the table and the nozzle. If necessary, calibrate the plane of the printed surface and the gap between the working surface and the nozzle. nine0003
To increase adhesion, you can use special adhesives that are applied to the printed surface. Check the correct temperature of the extruder, table and thickness of the first layer in the slicer settings. The higher the temperature of the extruder, the better the adhesion. The first layer is usually thicker than subsequent ones, because the thicker layer of plastic adheres better to the work surface.
Printer does not extrude plastic
If the printer stops extruding plastic and the feed mechanism starts to click, then most likely the problem is a clogged nozzle. The nozzle can be burned or cleaned, but in 3D printing nozzles are consumables and it is better to replace it immediately. nine0003
Plastic bubbles when printed
If the plastic bubbles when exiting the nozzle, then it must be dried. Some engineering plastics, such as nylon, need to be dried before each print.
Model is printed with errors
The slicer cannot always process the model correctly if it has errors. For example, inverted normals, internal walls, or the model is not closed. Such models need to be “cured” before printing. nine0003
Model printed with error
Some slicers are able to fix simple errors on their own, but if the slicer is powerless, you can use special programs designed to work with STL files. For example, Autodesk Netfabb allows you to fix model flaws with the click of a couple of buttons.
Repairing a Model with Autodesk Netfabb
Totals
Despite the fact that a 3D printer is essentially a CNC machine, manufacturers are trying to make it as easy as possible to work with it. There are many additional options that allow the novice user not to delve into the nuances of setting up and calibrating the printer, but to start printing right out of the box.
Most slicers are also simplified as much as possible for a more comfortable acquaintance with 3D printing. Universal profiles appear, in which the user only needs to specify the type of plastic and send the file for printing. And later, you can use the advanced settings menu for finer control of print settings. nine0003
Setting up and maintaining FDM 3D printers for long life. Instruction for users.
Contents:
- Which 3D printer parts require regular maintenance?
- What are the features of caring for FDM 3D printers?
- Calibration and maintenance of the heating table.
- Cleaning and maintenance of the print unit.
- Cleaning and maintenance of 3D printer kinematics.
- Cleaning and maintenance of the hull. nine0052
- Electronics compartment, how to care?
- Output
Hello everyone, friends, 3DTool is with you!
Modern 3D printers have advanced systems for controlling the printing process, material supply, auto-calibration and many other useful, automated functions, and have gone quite far from their predecessors, where all manipulations, up to adjusting the current on the stepper motor drivers and programming the firmware for your version of the device, were necessary. do it manually. However, most modern devices also require constant care and maintenance. Let's try to summarize the most necessary and common operations and describe them in our article as a kind of guide for new users. nine0003
Which parts of the 3D printer require regular maintenance?
To begin with, let's decide what large nodes can any 3D printer be divided into?
- Housing
- Kinematics
- Print unit
- Printing table
- Motherboard / electronics
Regardless of the 3D printing technology, any 3D printer can be broken down into these components. For example, the case requires cleaning from adhering dust outside or inside in order not to create a risk of a short circuit from static electricity, kinematics requires cleaning from adhering dirt, regular lubrication and, if necessary, replacing belts (not in the case of rigid kinematics on a ball screw), the printing unit must be cleaned of adhering material, and in the case of photopolymer printers, do not allow any contamination at all, especially if it is a DLP or SLA 3D printer. nine0003
However, let's concretize our guide and take as a basis a certain standard FDM 3D printer, as the most common on the market, and based on it we will describe the processes in detail.
Catalog of FDM 3D printers
How to care for FDM 3D printers?
What the technology itself is and on what principle it works, you can find out from our article HERE. In this material, we mean that the reader is already familiar with the basic concepts and terms and understands the subject being described. nine0003
So. We know that thermopolymer 3D printers work with filament as a consumable, and the printing process itself is associated with heating the working elements of the device to fairly high temperatures. The molten material itself is deposited on the desktop either on a special adhesive surface (BuildTak), or on glass with glue applied to it, or on any other type of this element. For example, in the past, there were often just aluminum tables that required kapton tape or masking tape. nine0003
A good, even surface with adhesive applied is a 90% chance of a successfully completed print. The first layer always determines whether the product will turn out at all, or after a certain amount of printing time, if the first layer is peeled off or not printed, instead of the model you will see a characteristic "vermicelli".
Thus, the most important and first point of maintenance and adjustment of a 3D printer is the adjustment or calibration of the heating table.
Calibration and maintenance of the heating table. nine0005
There are 3 options for calibrating the heating tables - Manual, Semi-automatic and automatic. Most often in modern printers there is a semi-automatic option, we will now consider it.
With the semi-automatic option for calibrating the horizon of your work area, the printer runs a special motion program that facilitates the process. For example, in PICASO3D 3D printers on the X platform, the user needs to level the glass platform in its slots, start the calibration process and follow the device's on-screen instructions. It is important to visually control the actions of the device and avoid strong distortions or gaps in the table and glass surface. This calibration should be done as often as artifacts appear on the first layer, or the filament does not stick to the table at all / is pressed into it too much. nine0003
In the case of manual calibration, for example, on Zenit 3D 3D printers, the printer also controls the process by moving the printing unit along the calibration points, but the operator himself must raise or lower the table at the corresponding point.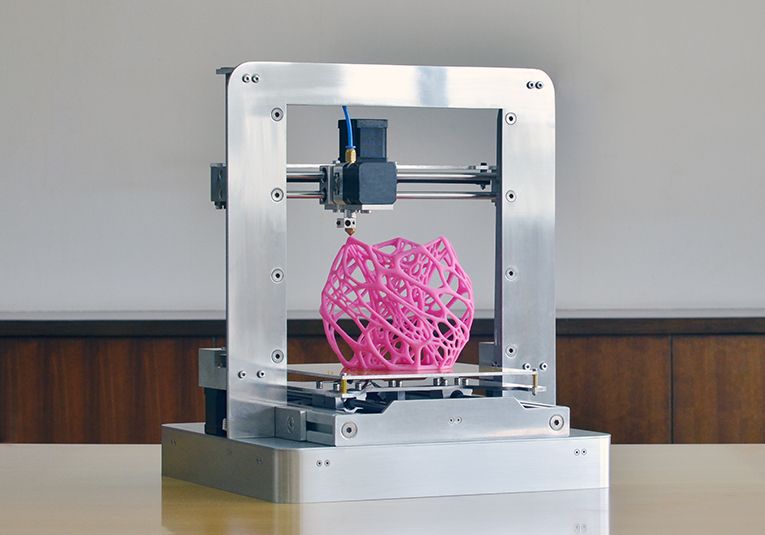
In the zenith 3D printers mentioned above, this allows you to make 3 special adjustment screws under the table console (pictured), which must be tightened until the distance from the table to the tip of the nozzle is +/- 100 microns. It is best to measure this distance with a special automotive probe (for adjusting valves), or using plain white A4 paper. nine0003
The essence of calibration is to adjust the height so that a sheet of paper or probe moves between the table and the nozzle with little effort, but still easily passes this gap. It will be necessary to do this in the case of a zenith at 3 points, however, as a rule, in such devices, calibration is performed at 4 points.
!Note!
When applying adhesive varnish/spray to the glass tabletop, always calibrate _after_ application, otherwise the level may “escape” during the glass change. For the best adhesion to printers with a glass table, we can recommend the adhesive adhesive proven over the years - Picaso3D Spray. nine0003
The next node that requires frequent attention and care is the printing block. Let's talk about it next.
Cleaning and maintenance of the print unit.
The design of this assembly is such that the lowest point, the tip of the nozzle, is always in contact with the material. On many configurations of its shape, the lower edge, as it were, "smoothes" the layer of material emerging from it. In view of this, it is almost impossible to avoid plastic sticking to the surface of the nozzle, which over time will lead to its contamination, because the nozzle goes through heating / cooling cycles and the adhered plastic caramelizes, forming a kind of "plaque". Also, in case of rare, but inevitable printing defects, or an incorrectly calculated job, large amounts of material can stick to the nozzle, which eventually gets onto the surface of the product during the next prints and spoils it. nine0003
To ensure that the nozzle is always clean, after every two or three successful prints, try to wipe the nozzle with non-woven wipes, or a flame-retardant cloth at a time when the nozzle is still hot.
If this is not possible, or the contamination is too great, there is a more radical method that requires removing the nozzle.
There are quite a few ways to clean the removed nozzle and there is no need to describe them all in this material. It is enough to list two main ones: dissolving plastic in a solvent, or burning it with a gas burner. nine0003
!ATTENTION!
Any method indicated below requires you to have a prepared room with an exhaust hood and equipped with a fire system. In no case do not carry out these procedures at home. It may be dangerous!
In the first case, the nozzle is lowered into acetone and kept in it for several hours, after which the remaining plastic is manually cleaned off with a stiff brush.
In the second case, you need a gas burner and long thick tweezers / tongs with which you will hold the nozzle. It is necessary to heat it to a slightly reddish state so that all the plastic burns out and cool in warm water. After that, it can be installed back into the printer after drying. nine0003
Catalog of FDM 3D printers
Cleaning and maintenance of 3D printer kinematics
The kinematic system of your 3D printer is the most important node that provides most of the print quality of the device. The execution of kinematics, the quality of its units and conditions affect the product no less than the filament itself or the printing unit. Of course, one cannot work without the other, but if you encounter "artifacts" that suddenly appear on the surface of your printouts and are sure that this is not the fault of the print unit or electronics, pay attention to your kinematics. nine0003
Different 3D printers are built on different kinematic schemes. They use belts of different lengths, different types of guides and brackets, different types of bearings and spools. However, they have one important thing in common - all of them require cleanliness and timely lubrication.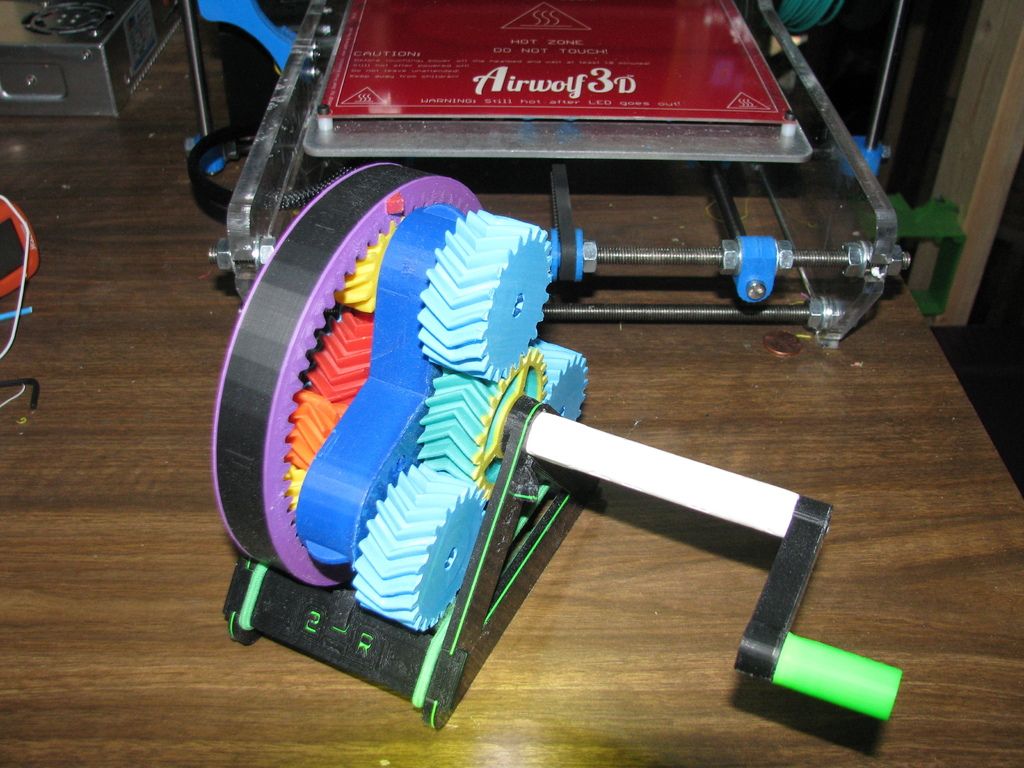 How to lubricate one or another type of guides and their carriages, as a rule, can most often be found in the printer manual, and the procedure itself must be performed when the printer is heavily loaded at least once a month. In addition, the more often the device works, the slower the lubricant becomes unusable, and the more the device is “idle”, the more likely it is that the guides are clogged with dust and the lubricant has lost its properties. nine0003
To reapply it, unplug the printer from the mains and manually move the print unit, successively clean the guides from old grease and adhering dirt with a rag or non-woven cloth soaked in gasoline / alcohol. Then wipe dry and apply a little lubricant evenly along the entire length of the guides.
Note that rail guides most often have breathers to inject grease into the body of the bottom bracket, and cylindrical bearings get clogged with grease inside. Of course, it will be best to change the lubricant on the elements with a complete analysis of the kinematics, but for inexperienced users we will not advise this.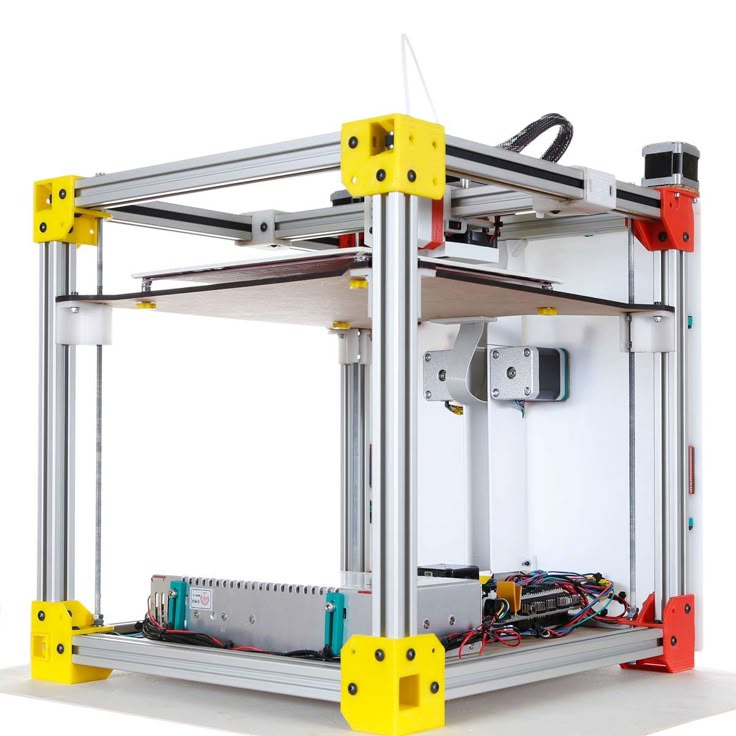 Just contact the nearest service and trust the professionals. nine0003
Catalog of FDM 3D printers
Cleaning and maintenance of the hull.
Depending on the material that the body of your 3D printer is made of, you can choose different cleaning scenarios. For example, if the case is made of dibond, as in PICASO 3D printers, it is enough to use a furniture cleaner and an ordinary antistatic spray. The same should be done with elements made of acrylic / plexiglass.
If your case is plastic or metal, before cleaning you need to make sure that the products you use will not damage the paint and / or plastic, this can be checked by the markings on the bottles of such products.
Why do you need to clean the case at all? A rare reader will ask. And we will answer: for the simple reason that even grounded 3D printers with numerous protection against static and filters on the power cord are not immune from the discharge of accumulated energy through the motherboard or other electronic components, which can disable them.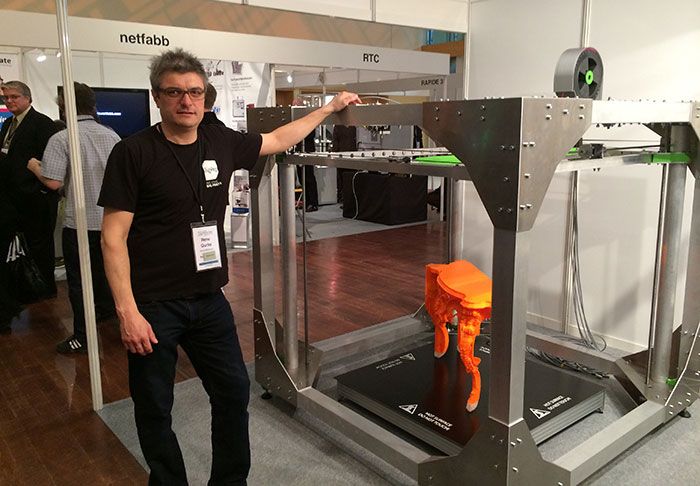 In addition, a dirty case inside and out is simply dangerous from the point of view of spontaneous combustion and not aesthetically pleasing. nine0003
And yet, what about electronics?
Electronics compartment, how to maintain?
Through numerous slots in the case and ventilation holes, dust and other debris can enter the electronics compartment. As you might guess, electronics are the brains and nervous system of your device. Without it, your 3D printer is nothing more than a bunch of gears and plastic. By itself, the electronic filling of the device is usually protected from various misfortunes with the help of grounding, various filters, meshes and active blowing, but over time it is still covered with a layer of fine dust or dirt and requires periodic attention. nine0003
If your device's electronics bay is difficult to access and requires the floor of the printer to be disassembled for inspection/cleaning, we do not recommend this.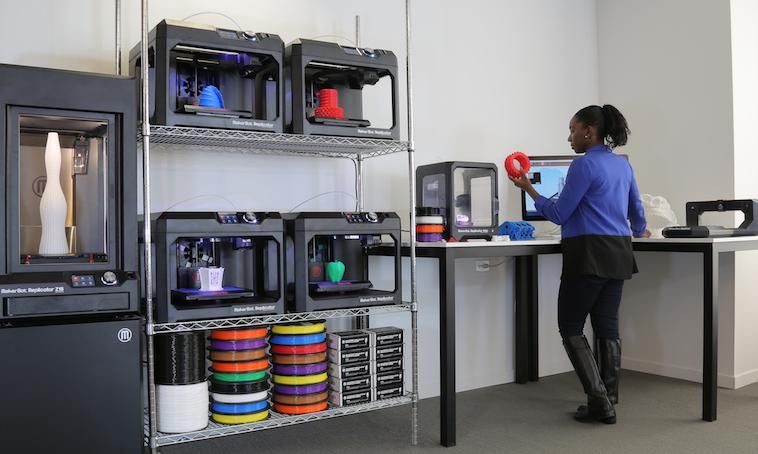 If the case requires unscrewing one / two covers, regularly check the condition of the system and, if necessary, blow it with compressed air. But never vacuum! Ordinary household vacuum cleaners can be compared to huge magnets that accumulate static on their bodies, with direct contact with which a spark can run through your electronic components and boards in an unplanned scenario and simply damage them. nine0003
The best way to clean the dust compartment is to manually clean the fan blades and blow out the components with compressed air. In this case, it is desirable to do the whole process under a good hood or in the open air.
Conclusion.
Like any other complex technical device, a 3D printer requires regular care and maintenance. It may include both periodic full inspections, analysis with the elimination of minor problems, as well as simple cleaning of rubbing / heating elements and caring for the appearance of the device. nine0003
In our article, we did not address issues related to the replacement of consumable spare parts and cases of device breakdowns.