Print my 3d design
Design, Upload, and 3D Print Your Files
Design, Upload, and 3D Print Your Files
3D print with Shapeways by creating complex products previously impossible with traditional manufacturing. Create sophisticated 3D printed ideas and designs, upload 3D print files, and expedite product development.
From a sketch to the final 3D printed product, Shapeways allows you to choose advanced 3D printing materials, technology, and feedback for 3D print files. This ensures quality manufacturing for assembly and fit, functionality, and high-performance parts for applications like aerospace or medical.
Upload a File
Contact Sales
Have a 3D File Ready?
Create your 3D model and upload the 3D print file to Shapeways. Don’t have a 3D file? Shapeways can help.
Shapeways 3D prints and post-process your product.
Your 3D print is shipped expediently and arrives ready to use!
Upload a Model to 3D Print
Whether you are uploading 3D models for jewelry or automotive parts, Shapeways instantly analyzes the 3D file for printability. While most 3D models are uploaded successfully, if an issue arises, Shapeways file fixers can help regenerate the 3D file or provide customized feedback. Inspections, proprietary processes, and expert 3D printing operators lead to exceptional products.
Explore Materials
Proper selection of 3D printing materials is key as they must be compatible with 3D printing technology and optimized for project requirements. From plastics to metal, Shapeways offers over 90 materials and finishes–and additive manufacturing services for any project.
3D Print Design Tips
While excellence in product development depends on optimized modeling, prototyping, and quality management, 3D printing design guidelines play a critical role in the outcome of every 3D printed part. Check out the following resources for assistance in taking your 3D design from concept to market.
Services for Your Business
- Use Shapeways 3D printing services to create complex 3D printed products for you.
- Receive 3D printed parts quickly, print new iterations, or rapid prototypes as needed.
- Rely on expert 3D printing operators and inspections for delivery of quality products.
- Choose from a range of additive manufacturing and traditional manufacturing options, designed to scale any business.
- Drop ship your 3D prints to over 130 countries.
Contact Sales
First Name*
Last Name*
Email*
Phone*
Company
Title
Country*
--None--AfghanistanAlbaniaAlgeriaAndorraAngolaAnguillaAntigua and BarbudaArgentinaArmeniaArubaAustraliaAustriaAzerbaijanBahamas, TheBahrainBangladeshBarbadosBelarusBelgiumBelizeBeninBermudaBhutanBoliviaBosnia and HerzegovinaBotswanaBrazilBruneiBulgariaBurkina FasoBurundiCambodiaCameroonCanadaCape VerdeCentral African RepublicChadChileChinaColombiaComorosCongo, Democratic Republic of theCongo, Republic of theCosta RicaCroatiaCyprusCzech RepublicDenmarkDjiboutiDominicaDominican RepublicEcuadorEgyptEl SalvadorEstoniaEthiopiaFaroe IslandsFijiFinlandFranceFrench GuianaFrench PolynesiaGabonGambia, TheGeorgiaGermanyGhanaGibraltarGreeceGreenlandGrenadaGuadaloupeGuamGuatemalaGuernseyGuineaGuinea-BissauGuyanaHaitiHondurasHong KongHungaryIcelandIndiaIndonesiaIraqIrelandIsraelItalyIvory CoastJamaicaJapanJerseyJordanKazakhstanKenyaKiribatiKorea, SouthKuwaitKyrgyzstanLaosLatviaLebanonLesothoLiberiaLibyaLiechtensteinLithuaniaLuxembourgMacauMacedoniaMadagascarMalawiMalaysiaMaldivesMaliMaltaMarshall IslandsMauritaniaMauritiusMexicoMicronesiaMoldovaMonacoMongoliaMontenegroMontserratMoroccoMozambiqueNamibiaNepalNetherlandsNetherlands AntillesNew CaledoniaNew ZealandNicaraguaNigerNigeriaNorfolk IslandNorthern Mariana IslandsNorth KoreaNorwayOmanPakistanPalauPalestinian TerritoryPanamaPapua New GuineaParaguayPeruPhilippinesPolandPortugalPuerto RicoQatarRomaniaRussiaRwandaSaint Kitts and NevisSaint LuciaSaint Vincent and the GrenadinesSamoaSan MarinoSaudi ArabiaSenegalSerbiaSeychellesSierra LeoneSingaporeSlovakiaSloveniaSolomon IslandsSouth AfricaSpainSri LankaSudanSurinameSvalbard and Jan MayenSwazilandSwedenSwitzerlandTaiwanTajikistanTanzaniaThailandTimor-LesteTogoTongaTrinidad and TobagoTunisiaTurkeyTurks and CaicosTuvaluUgandaUkraineUnited Arab EmiratesUnited KingdomUnited StatesUnited States Minor Outlying IslandsUruguayUzbekistanVanuatuVatican CityVenezuelaVietnamVirgin Islands (British)Virgin Islands (US)Wallis and FutunaYemenZambiaZimbabwe
How can we help?*
Choose an optionI'm interested in repeating ordersI'm interested in batch productionI want to design a one-time prototypeI'm new to 3D printing and need guidanceI’m interested in custom packagingOther/general questions
Description
By entering your email address, you grant Shapeways permission to send you messages about Shapeways and Shapeways services. You may unsubscribe from these messages at any time by using the unsubscribe link. Your information is protected by the Shapeways Privacy Statement.
Please check recaptcha box
Upload 3D Model | 3D Printing Service
Upload 3D Model | 3D Printing Service | i.materialiseOops...Seems your browser is blocking cookies. Please adjust your settings to accept cookies.
drag and drop it like it’s hot
Analyzing your design
Please wait for a few seconds while we update the 3D viewer with the repaired model.
Something went wrong while updating your model. Please try again.
No results found.
Sorry! Something went wrong. Please refresh the page and try again.
Upload 3d model
Share Your Model Recent models
3D model workspace
Materials
Loading...
{{$select.selected.name}} No results found.Colors and Finishes
Loading...
{{$select.selected.name}} No results found.
Scale
Quantity
Price
{{vm.getProductProcessingStateKey() | translate}} Calculating
Discounted price
By clicking ‘Accept Repair’, I understand that the repair may have altered the geometry of my model.
(*) If the model is 3D printable in the requested material
Materials
Analyze
Optimize
3D Printing
- How It Works
- 3D Printing Materials
- 3D Printing Technologies
- Hire a 3D Designer
- Educational Discount
Business
- Manufacturing Partnership
- Referral Partnership
- White Label Integration
- Crowdfunding
- API
Support
- Contact Us
- Shipping Info
- Tutorials
- 3D Design Tools
Shop
- Shops
- Designers
- Open a Shop
Community
- About Us
- Blog
- Forum
Terms and Conditions Privacy Policy Cookie Statement Sitemap
© Copyright 2022 Materialise nv, all rights reserved. “i.materialise” is a registered trademark of Materialise nv.
Planoplan — 3D apartment planner, free online program for interior design, furniture arrangement and virtual tours creation
Between idea
and realization
Download
How it works2 weeks of maximum possibilities for free
High quality 3D visualization
Create realistic 3D renderings of high quality 2D apartment interior design for free.
Achieve a real sense of space with VR panoramas and virtual tours
Download
2 weeks of maximum possibilities for free
Huge selection of models
Planoplan's free catalog contains more than 5000 interior items for creating 3D renderings and VR layouts. Each can be scaled and repainted, change the shade of the coating, set a glossy or matte surface. Also in the catalog there is furniture from real manufacturers.
Didn't find the right one? Upload your model and customize it to your taste and color!
Powerful 3D editor
- Create a unique apartment interior design project and get high-quality 3D renders
- Create a 3D model of an apartment, country house, office, cafe or shop
- Upload your own textures and 3D models
- Embed projects and virtual tours to third-party sites using the Planoplan widget
- 0029
- Create the right atmosphere in your interior with the window editor
- Adjust the sunlight according to the location of the object, time of day and season
- Create a unique design of walls and other surfaces using the tile layout
- View VR panoramas in a smartphone and glasses virtual reality Google Cardboard
- Get inside the project with help in VR and Windows Mixed Reality
Who Planoplan 9 is for0010
Beginners and experienced interior designers
- High speed development of the program
- Loading their own textures
- Sunny Sun Light
- The ability to create VR-pans
- Wall editor (tile laying, layout templates)
- Creature Creature Creature project
Organizers and teachers of interior design courses
- Special conditions for students within the Education 9 tariff0029
- No need for a powerful computer
- Focus on learning interior design rather than working in the program
Manufacturers and distributors of furniture and construction products
- Add store products to the Planoplan catalog for subsequent distribution to stores, designers and VR users -platforms Planoplan
- Product presentation using VR
- Possibility to brand Google Cardboard and transfer to the buyer as a handout
Reviews of Planoplan
I liked the combination of speed and visualization quality.Planoplan is a good editor for novice designers, design lovers
Ekaterina
Planoplan allows you to quickly create plans, renders and panoramas without special training, just go through a short video course that the application itself offers. Everything is clear and simple.
Irina
This is a great program, my friends watching my renders sometimes even ask the question: is this 3ds Max?
Olga
I like Planoplan's modern furniture, the ability to load and edit textures to size, good VR panoramas. The project is gorgeous in visualization, and if it was possible to work with estimates and calculations, it would be the best project on the market))
Artyom
I liked the combination of speed and quality of visualization. Planoplan is a good editor for novice designers, design lovers
Ekaterina
Planoplan allows you to quickly create plans, renders and panoramas without special training, just go through a short video course offered by the application itself.Everything is clear and simple.
Irina
This is a great program, my friends watching my renders sometimes even ask the question: is this 3ds Max?
Olga
In Planoplan I like modern furniture, the ability to load and edit textures to size, good VR panoramas
Jeanne
Planoplan is a great experience. The project is gorgeous in visualization, and if it was possible to work with estimates and calculations, it would be the best project on the market))
Artyom
I liked the combination of speed and quality of visualization. Planoplan is a good editor for beginner designers, design lovers
Ekaterina
Start now
Creating professional interior design projects with Planoplan is easier than you think
Download
2 weeks of maximum opportunities for free
100 days of 3D design.
 How I Learned 3D Modeling in 100 Days
 It was a rainy weekend in Seattle. I drank some tea, watched a YouTube video and downloaded Blender 2.79. A year later, I completed my sixth 100 day project, 100 Days of 3D.
Since 2015 I have been working on 100 day projects. My past projects were: 100 days of doodles, 100 days of lettering, 100 days of watercolor, 100 days of vector illustration, and 100 days of motion design.
My previous projects in the 100 Days series
Although all of my previous projects were done in 2D, I have always loved the beautiful 3D work on the web. I looked at them with reverence and wanted to be their author.
As a product designer, I believe that 3D skills can broaden my horizons and open up opportunities in VR/AR, indie gaming, and 3D printing.
In 100 days I learned how to create amazing 3D works. I used a free program called Blender. It has an extensive feature set and a rapidly growing online community.
Below is my workflow, my 100 day journey of advice and reflections on the project.
My workflow
3D art is very technical. For this project, I developed a workflow and aimed to complete it in 2-3 days.
Step 1: Ideation
I looked at my collection of YouTube videos and Pinterest boards for inspiration. When I had an idea, I sketched it out on paper and started looking for a reference photo.
Collection of ideas and references
Step 2: Modeling
I modeled the 3D object in Blender using a technique called "Box Modeling". The process starts with a basic element (like a cube) that I've improved through editing.
Box modeling of Chinese dumplings
Step 3: Materials
I applied materials to the 3D model to achieve a cartoony look.
Material application in Node Editor
Step 4: Lighting
I used a lighting setup called "three-points lighting". It illuminates the object with three different light sources at different angles.
With three-points lighting you add a key light, fill light and backlight
Step 5: Rendering
I rendered the final scene using Blender's built-in Cycles engine. Sometimes, to give the final touch, I edited the image in Photoshop.
Final render
My 100 Day Journey
Day 1-5: Introduction to Blender
I spent the first few days learning how to navigate the Blender interface.
I created my first 3D model in Blender - a coffee cup - following a 10 minute tutorial from tutor4u.
Coffee cup
I then created 3D donuts following the Blender Guru's beginner's guide. This series of lessons was so helpful that I often returned to it.
Donuts
Tip
Blender is a program with a complex keyboard shortcut. I recommend printing them out and memorizing common hotkeys that will allow you to work faster.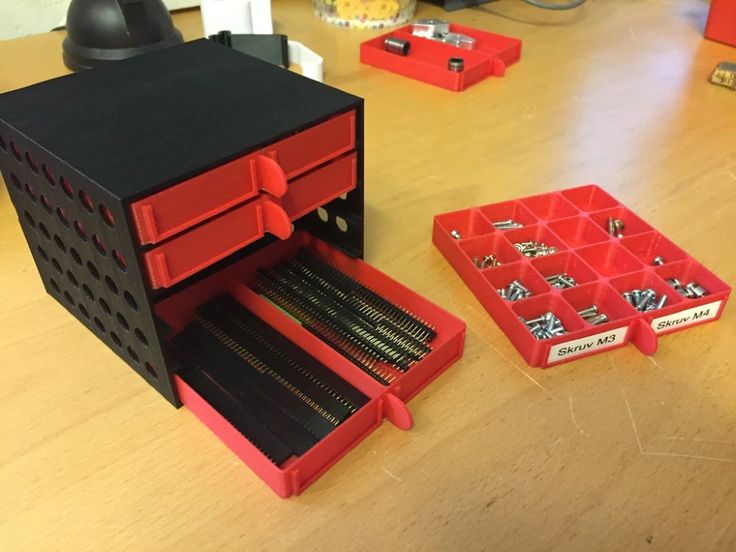
Day 6-70: Climbing the learning curve
Once I got comfortable with Blender's interface, I applied the following methods to climb the learning curve.
Method 1: 1-on 1-off
I used a method called "1-on 1-off" by Blender Guru:
- 1 lesson project
- 1 project created entirely by myself
- Repeat
I created a pink cupcake following Mr. Sorbias. The next day I made my own blue cupcake.
Cupcakes
I created a glass of beer following the instructions from Blender Guru. Later, using the same methods, I made a cocktail.
Beer and Cocktail
I learned how to simulate physics by following a tutorial by Oliver Villar. The next day I made a batch of popcorn.
Chocolate and popcorn
The 1-on 1-off method helped me deliberately reapply the methods I had learned earlier. It also motivated me to create something new on my own.
Tip
Be patient.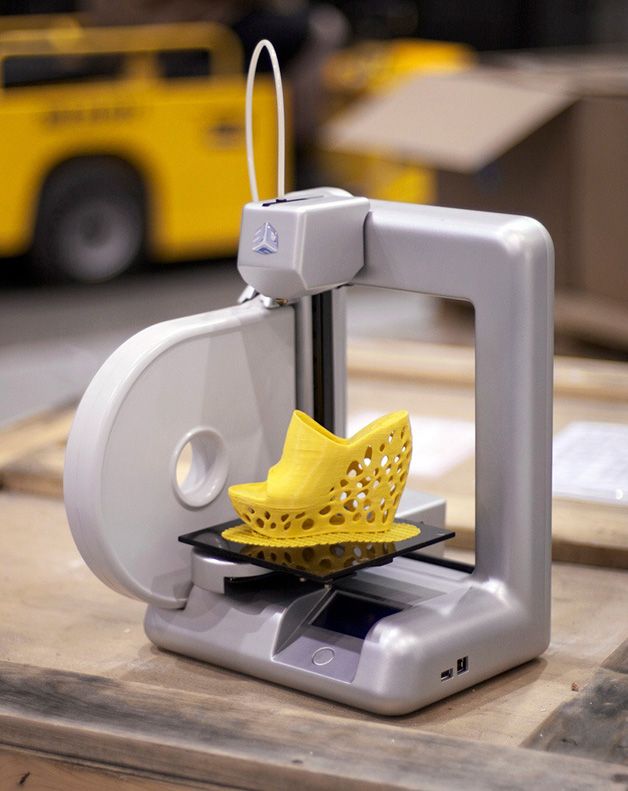 The first render is not always good. It takes time to adjust the material and lighting to achieve the desired aesthetic.
Method 2: 1-Hard 1-Easy
Learning 3D can be mentally exhausting. To prevent burnout, I alternated between heavy and light projects.
I spent 3 days working on a snow globe following a complicated manual. After that, I created a simple popsicle model.
Snow globe and popsicle
I spent 3 days making a minion. The next day I made a small pig.
Minion and pig
Advice
When work wasn't going well, I found it easier to delete the unfinished work and start over - fresh start helps solve problems.
Method 3: Work on different topics
Modeling one type of object all the time can be boring. To make it interesting, I worked on different topics.
I created a series of abstract artworks following Ducky 3D's instructions.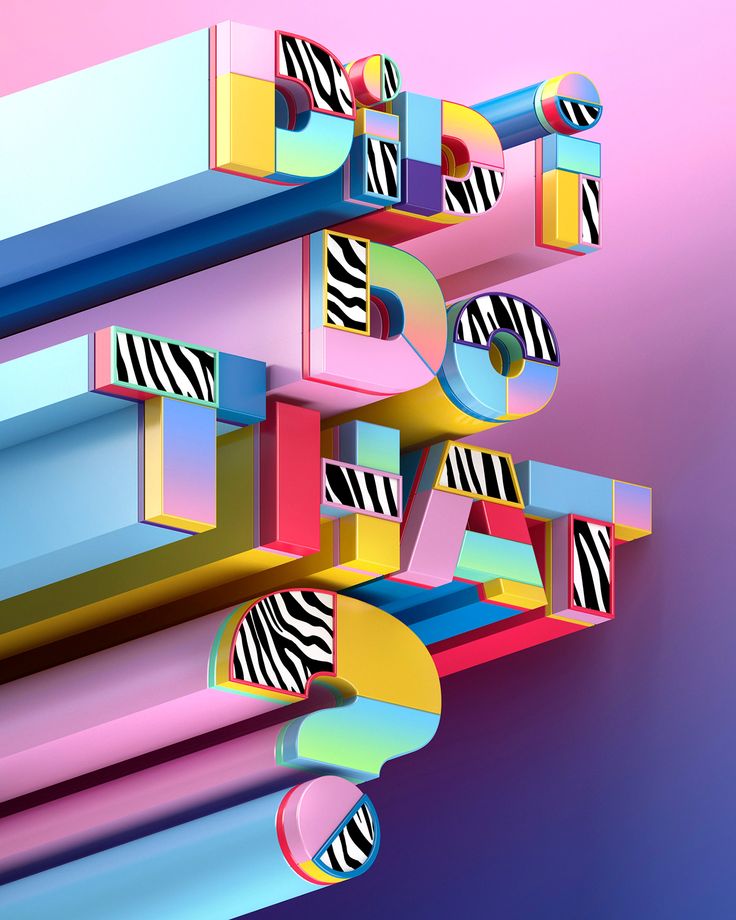 They introduced me to new techniques that I would never have known otherwise.
Abstract series
When I started to fill the apartment with houseplants, I decided to create a series of works.
Houseplant Series
I experimented with a low poly style following the instructions provided by Polygon Runway and Tiedie.
Land and Planet
Tip
Creating Abstract 3 D -objects as it does not require extensive modeling or texturing is a good starting point for beginners.
Method 4: attending classes and reading books
In the middle of a 100 day project, I signed up for the Blender Mesh Modeling Bootcamp. It solidified my knowledge and helped connect the dots.
I spent the weekend reading The Pushing Points Topology Workbook. This book taught me the best techniques for managing mesh topology.
I also discovered the Blender digital magazine published by the Chinese Blender community.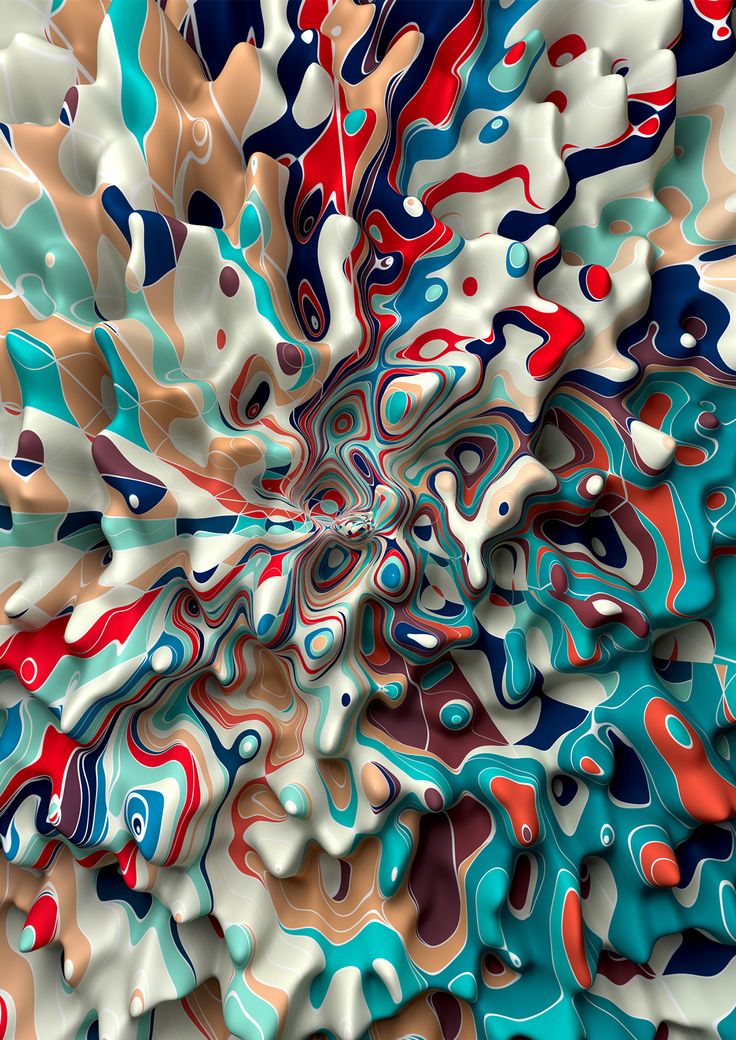 I enjoyed reading a wide range of 3D case studies.
Tip
Store your knowledge and frequently performed activities in a notebook so you can return to them and work faster.
Days 71-100: Create your own work
As I became a more experienced Blender user, I had more creative freedom to bring my ideas to life.
Some of my works are inspired by my favorite games and movies.
Raven Man (Inspired by Monument Valley game)
The Enchanted Rose (Inspired by Beauty and the Beast)
100 Days of 3D - Balloon House (Inspired by the animated film Up)
I also created a series of works with cartoon characters.
Gunther (Adventure Time Cartoon)
Cat (The Legend of Hei Cartoon)
Ghost
I redid my watercolor drawing of a whale from my previous 10 day project.
Whale Mountain
I love the low poly style so I created a series of floating islands.
Island with Low Poly Tutorial)
Island with a beacon (inspiration was Jeremy)
Island with a watchtower (inspiration was the game Firewatch)
9000 9000 9000 V. At the end of this project, I redid my very first 3D model.
Dream in a cup
Tip
To overcome fear and start a complex scene, I always told myself to create a simple object first. The main thing is to get started.
Reflections
1. Create something yourself
In the beginning, I relied heavily on tutorials, guides, and lessons. As I became more familiar with Blender, I forced myself to do things on my own.
Building something on my own was much more difficult than following a tutorial. I spent hours looking for things and experimenting with different techniques. I often felt frustrated because I could not achieve the desired result.
However, as difficult as this process is, I have learned some of the most useful techniques.
The real learning happened when I switched to "problem solving" mode and tried to figure things out on my own. Passive learning forms knowledge. Active practice builds a habit.
2. Learn only what you need
As a beginner, I was amazed by the sheer amount of theoretical knowledge in the 3D industry. The more I learned, the more I realized that there was still a lot to learn.
In order to navigate the learning process, I took a “teach only what you need” approach.
Learning only what I need means I don't have to learn everything to feel good or get started. Instead, I need to learn only the necessary knowledge to achieve my goal.
Since my goal was to create simple 3D cartoon-like objects, I skipped the advanced texture tutorials and focused on learning basic modeling techniques. As a result, I was able to focus and complete this project.
3. Done is better than perfect
By the end of the project, my level of expectations increased. I hesitated to finish the work, fearing that it would not be perfect. I also had trouble getting started on a new model. I was afraid that the new model would not be as good as the previous one.
As I wrestled with this fear of imperfection, I stumbled upon the words of Elizabeth Gilbert: "A good enough novel is better than a perfect novel painstakingly crafted but never finished."
To paraphrase her words:
A reasonably good work of art is better than a perfect work of art carefully crafted but never finished.
Realizing this, I recognized the imperfection of my work, called it finished and moved on to the next model.
End
Looking back, 100 days of 3D is the most challenging 100 day project I've ever done. Compared to other projects, the amount of practice required to learn 3D exceeded my expectations.
It also taught me that the real problem with learning 3D for me was not motivation or time. It was to constantly confront my own skill gap and not look away.