Print 3d arduino
How to Make a 3D Printer with Arduino – ELEGOO Official
Source: https://unsplash.com/
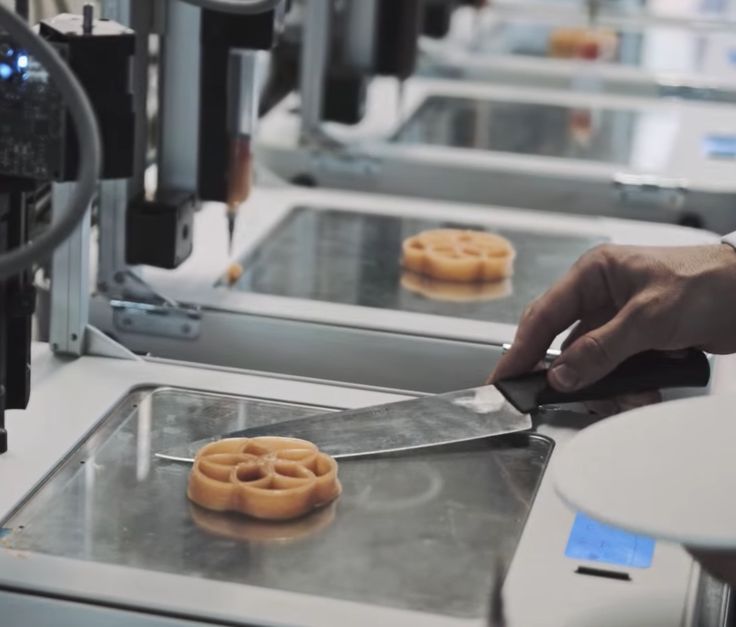
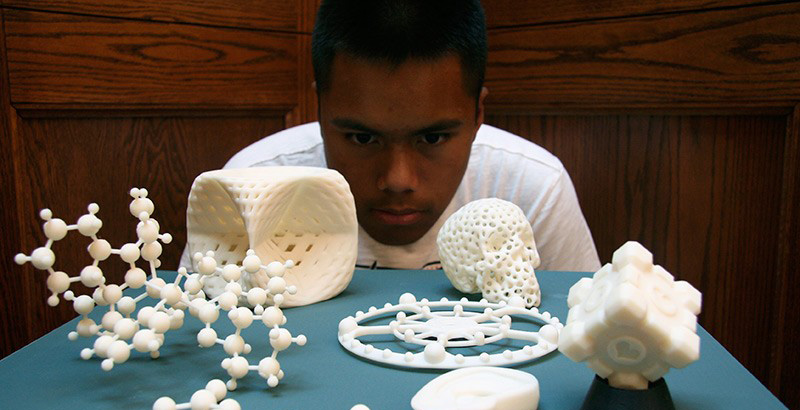
3D printing technology is wide, despite having been around for a little over 30 years. The improvements the technology has been undergoing are all slowly pushing it slowly towards a realm where everyone will be able to access simple 3D printers at low prices, getting the ability to make whatever they want from the comfort of their own homes. One of the most utilized 3D printing concepts is the Arduino.
Arduino is an open-source electronics platform that is based on easy-to-use software and hardware. They are boards that have the ability to read inputs, activating other machines, among many other automated functions. We are going to explore how to make a 3D printer using the Arduino platform, the benefits of having a DIY Arduino printer as well as some comparisons with other official models that are in the market.
Why Arduino?
Source: ELEGOO
There are perfectly good reasons why Arduino is used extensively in most DIY projects of making 3D Printers. The first Arduino kit was created in 2005, and in the last 15 years, it has become a very reliable software for people who are looking to create their own 3D printer. The following are reasons why they are the best choice for DIY 3D Printers.
- It is cheap: Arduino is easily accessible and affordable, and the price keeps going down as more improvements are being made in the 3D printer sector. A simple Arduino kit will set you back just about $24, which is well within the affordable range of most people.
- Easy to use: An Arduino kit is usually ready to use straight from the box. The kit comes in a complete package that includes a 5V regulator, a burner, a microcontroller, a serial communication interface, LED, and headers. All you have to do is plug it into the USB port of a computer, and you are ready to roll.
- Wide range of codes: Arduino comes with a huge library of codes that are already present in the Arduino itself. The kit literally sets itself up in a number of ways, and in the event, you run into obstacles, troubleshooting is not that complicated to pull off on your own.
- Large community: There is a huge number of online forums that are full of people who use Arduino, and this provides new users with a platform where they can get help immediately from other users who have had the experience already. Every trouble you may run to will have a solution, and this makes Arduino a very resourceful tech.
- Cross-platform: Arduino is a cross-platform software that can be used on Windows, Linux, and Mac. This makes it resourceful and unlimited in many ways. You don't have to buy a particular computer to run it; all you need is to get a computer with the right specs. You will be making your 3D models in no time.
Making a 3D Printer with Arduino
The process of making a 3D printer may look daunting for those that have never used it before, but if you are a newbie to the game, the process is a little easy.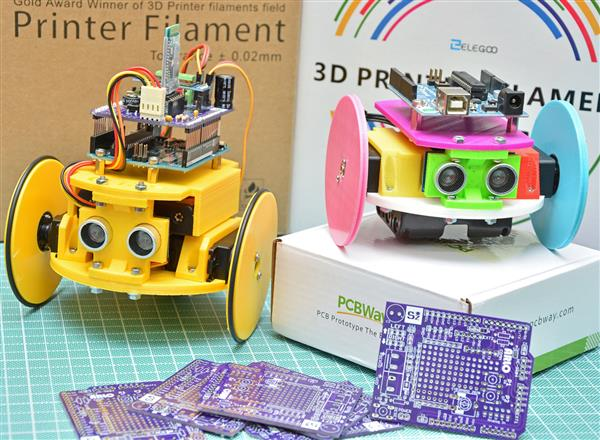 The following are some of the stages that are used in making a 3D printer using the Arduino platform.
To start off, you have to start collecting the components and supplies to start yourself off. The following are the boxes you have to tick off.
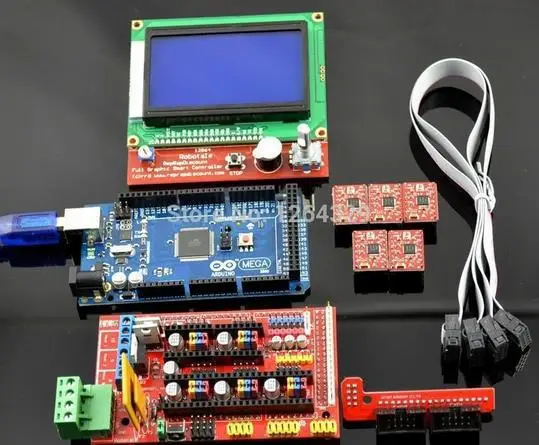
- A ramps 1.4 controller board: This is used for interfacing purposes like connecting the end-stop switch, the heatbed, the stepper motor driver, the hotend, and a host of other components with the Arduino.
- Optical end-stop switch: This is a sensor switch that comes with two markings. NO or NC (Normally Open/Normally Closed). They function as triggers when the XYZ axis of a printer reaches its endpoint. They can be used at any time to stop and start movements.
- NEMA 17 stepper motor: This is a motor that allows the user to set the speed of revolutions for the movable parts of the printer. The average motor has about 200 steps, but you can get a bigger one.
- PCB heatbed: This keeps the extruded plastic parts warm at all times to prevent them from warping.
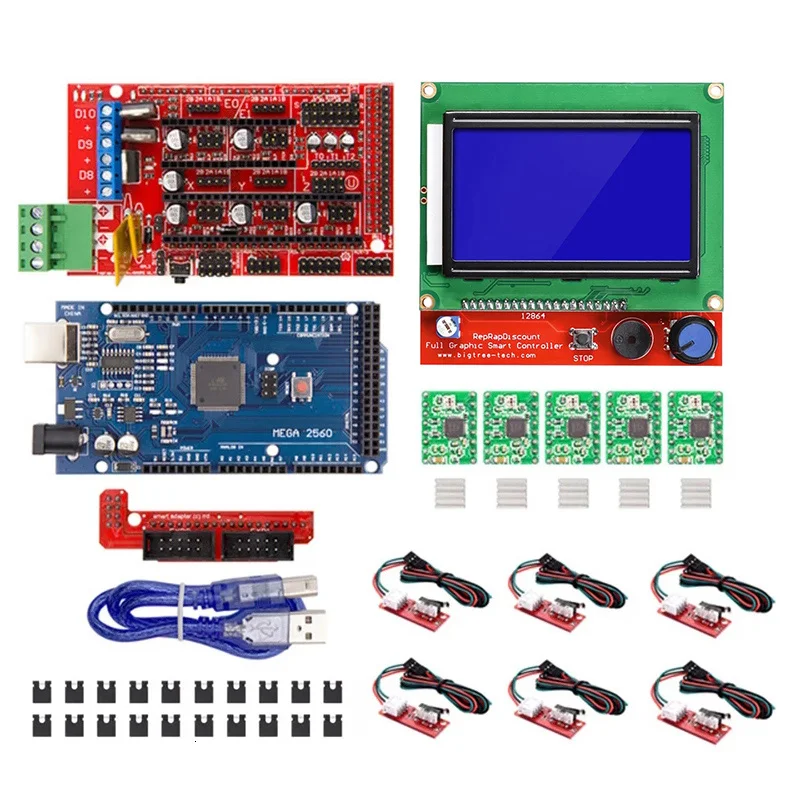
- Power supply: A 12V/20A power supply is needed to run a simple kit. These power metrics are the minimum you should go for success.
The Process
With all the important components in place, the next step is to start making your DIY 3D printer. The stages involved include the following.
Step 1: Build the Frame
Source: https://www.pinterest.com/
The frame is the outer casing that houses the entire contraption, and it can be made to any size depending on what you need. The materials used to make the frame also vary, and the decision comes down to personal preference. The most compliant used materials are aluminum, acrylic, or hardened plastic. You have to make sure that all the parts fit well and there are no loose parts. It is important that the frame is solid because it will be providing support to the other parts that are added.
Step 2: The Display
Source: https://www.pinterest.com/
An LCD display is important as it relays the information you need to know about the printing process in the absence of a computer connection.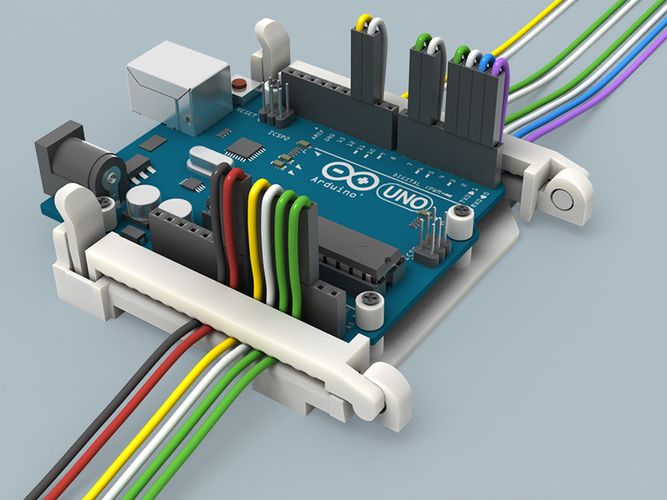 You need an aluminum sheet for this process with some holes and screws, and nuts. You have to cut out space into the aluminum sheet through which the display screen will pop out of. Once you have all that art covered, connect the necessary display cables from the inside leading out, waiting for the main part of the printer to be installed.
Step 3: Preparing the Y-axis and Z-axis
Source: https://www.pinterest.com/
You need an MDF base that houses a cooling fan to reduce the heat produced by the stepper motor. These are done by adding two wooden cuttings for the X-axis placement. This is followed by making the Y-axis placement that’s supposed to be at 90 degrees from the X-axis. Hold them in place using glue, or you can simply use some screws.
You have to add a stepper motor to the X-axis using two pieces of sliders of any length that can fit within the structure. Once the slide is screwed in place, fit your wooden mount for the hot-end, the cooling fan, and the PTFE tube. With these two in place, your 3D printer is starting to take shape.
Step 4: Preparing the Bed
Source: https://www.pinterest.com/
The bed is one of the most important parts of the entire machine. It is the part that provides the platform upon which the model being printed is made. It can be made out of glass or an acrylic sheet held down by screws. You can have the base supported by another solid material. Once all that is done, place the bed on the Y-axis, and it is ready to start rolling.
Step 5: Make the Connections
Source: https://www.pinterest.com/
The next part involves making the wiring connections of all the components that you have already laid down. All the electrical components like the ramps. The drivers and the power supply have to be linked properly for them to run as designed. To avoid entangling the wires, make sure you deal with one connection at a time, ensuring that they don’t cross each other unless there’s no other way around it.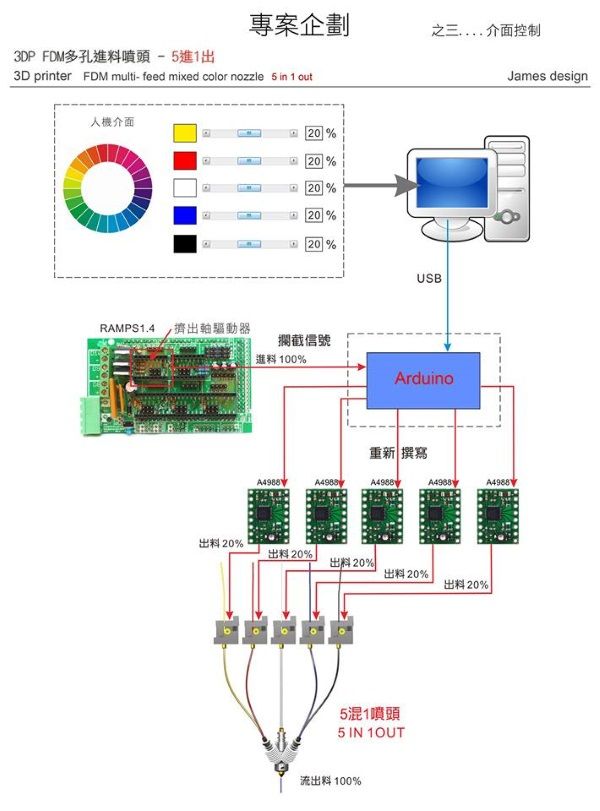
Step 6: Make Alignments
The bed you created earlier has to align with everything else, or you may experience a lot of trouble getting the models right. Start by aligning your bed, rotating it clockwise and counterclockwise until you create some space between the hot-end tip and the bed. The margin of error should be between 0.5mm to 1mm. Anything larger than that will have the printing guy misfiring.
Step 7: Programming
Source: https://www.simplify3d.com/
With all the hardware installed and the electrical wiring and cabling in place. It is time to install the brain of the whole operation. Programming the 3D printer doesn’t require you to code from scratch. The software simply needs to be installed on the computer connected to the machine. This should not take too much of your time.
Step 8: Run the Machine
Once the 3D Printer program is installed and the components are set, it is time to run the machine for the first time to finger out if it is working as designed or whether it needs some more tinkling. The number of software that you can use to model your objects is many; you are free to choose the one that works best for you and switch the machine on for the first test run. Make sure the fan is working to deal with the heat.
Building Your Own 3D Printer. Is It Worth It or Not?
Source: https://www.pinterest.com/
Having established that making your own printer is possible, and having seen the process and what it takes to attain success, the question now is, is it worth the trouble? High-quality 3D printers cost less than $400 these days, and as much as making your own brings pride and cuts costs significantly, how do DIY 3D printers hold against professionally manufactured ones? To better get to the answer, the following are the pros and cons of DIY 3D Printers.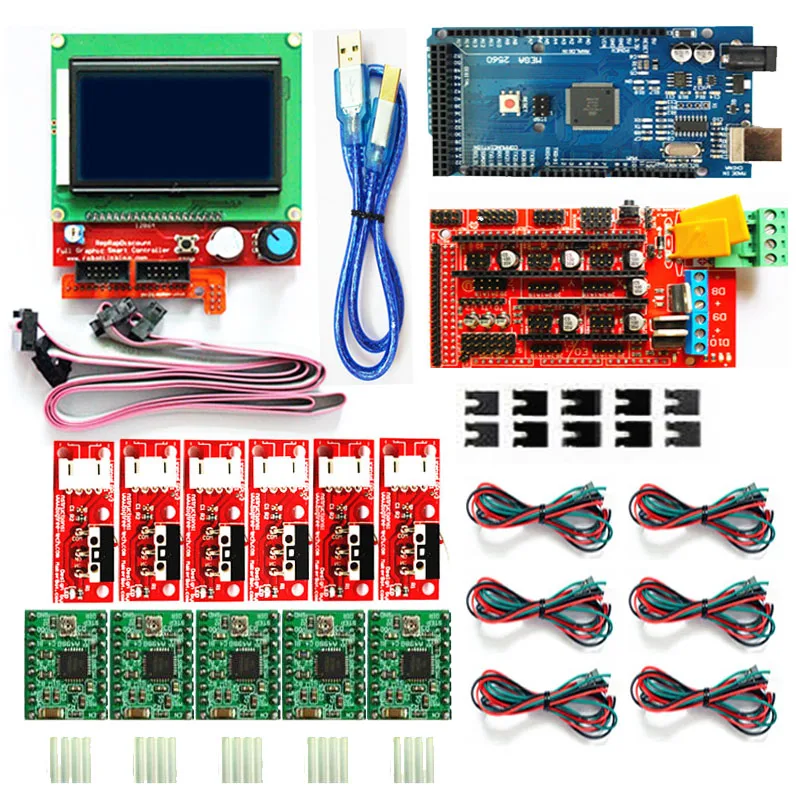
Pros
- DIY Kits are cheap and easy to access. For as little as $25, you can have a full package that can help you set up your own printer.
- DIY projects will make you understand 3D printing more, adding to your experience on the subject, which increases your level of knowledge and chances of success if you ever think of getting fully immersed into the industry.
- It is fast if you know what you are doing and you have all the materials you need in one place.
- There’s a huge online community of DIY 3D printer enthusiasts, and these platforms provide resources that help people learn more about 3D printing.
- The kits come with instruction manuals that anyone can follow and hack the construction. They are very easy to use.
Cons
- You still need some basic knowledge of assembling electronic parts in the right way to be able to put 3D printers together. You can’t wake up one morning and decide to make it because you feel like it.
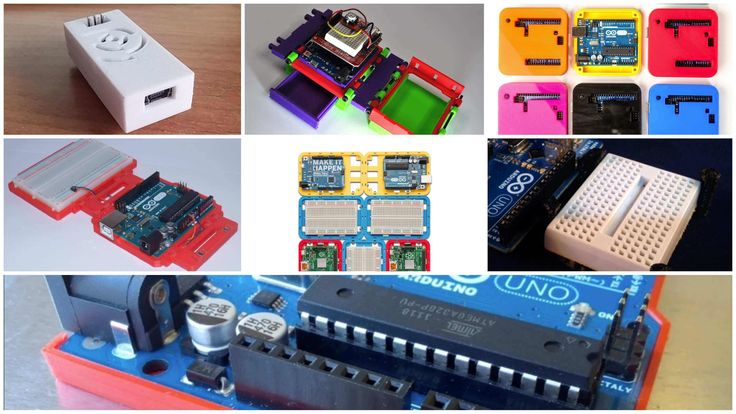
- They are not as high quality as those that have been manufactured by proper 3D makers. The parts found in DIY printers are too rough and rudimentary for the machine to produce superior products.
- There are very many things you may miss along the way, and this can end up frustrating you later on as that will force you to retrace your steps backward until you find the source of the malfunction. That will waste a lot of your time.
- You will always need to buy more parts the furthest along you go. There’s also the disadvantage of the parts falling apart since they're not well optimized for such an intense process. You will need replacements much faster.
- There are limitations when it comes to software configurations and upgrades since the hardware is not optimized for the software you may choose to go with. You may end up using the same software for years, and that will limit the things the printer can pull off.
Roughly, you may end spending between $100-$200 making your own DIY 3D printer.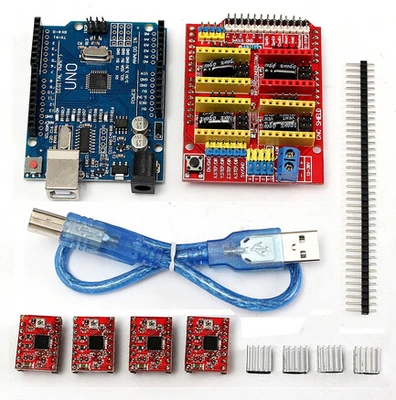 That cost may be cheaper than the standard prices for a professionally made printer, but when you weigh the strengths and weaknesses of each, the DIY is at a disadvantage. Therefore, on the question of whether to go for a DIY 3D printer or simply buy a good one, the answer comes down to what you plan to do. If the thrill of making your own is what is important, then take the DIY route. But if you want to get some professional work done, then you are better off adding that extra $200 and getting a proper 3D primer with accessories and software updates.
There are some things you have to pay attention to when going the DIY route, factors that will determine the success or the failure of your project. Some of them include the following.
- The size of the printer you intend to make
- The printer type (Cartesian vs. Delta)
- Extrusion type
- The cost
- Availability of liquid polymers
- Software compatibility.
Before you embark on setting anything up, you have to first determine whether all the conditions mentioned above are met; only then will you get anything done by coming up with a good plan.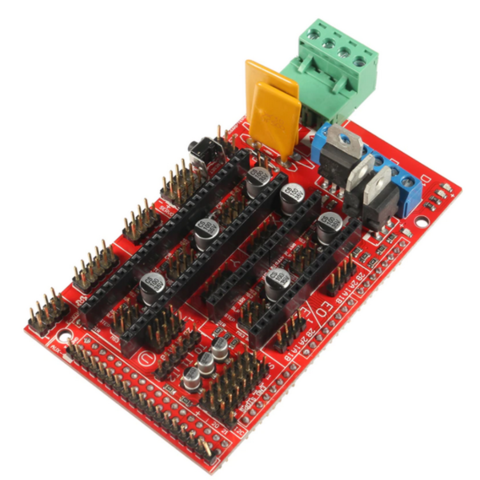
Conclusion
DIY 3D Printers are effective if they are made in the right way, and there are many methods of creating them. Finding a good Arduino kit could be the difference between having a 3D printer that world and one that keeps breaking midway. Ensure you do some background research before having to gain more knowledge before committing yourself to an ambitious project like this one.
For more information on how 3D printers work, the accessories they need to function properly, and the current trends in the industry, check out our website, and you will have access to a huge pool of resources and expert advice.
7 of the Coolest 3D Printed Arduino Projects
You can make some really cool things with an Arduino. And you can make some really cool things with a 3D printer. What do you get when you use them both? Some extremely cool things!
Here are seven projects that you can 3D print and power with an Arduino (and, as a bonus, a 3D printer that you can make with an Arduino).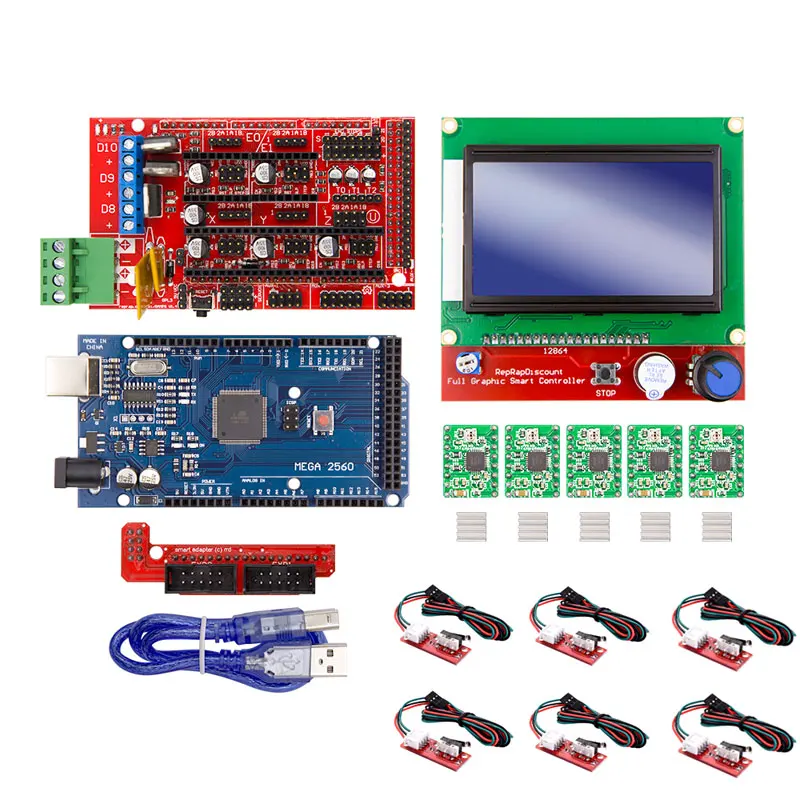
With 3D printing, you can take your robot builds to the next level. Take, for example, this quadruped robot that looks like something from a sci-fi movie.
It’s built from 38 3D printed parts and is controlled using an old PlayStation controller. Each leg is equipped with three servos, giving it three degrees of movement: forward and back, up and down, and a bend at the joint. What this all means is that this four-legged robot can move in any direction.
With most of the hard coding work done for you, it’s just a matter of assembling the robot and uploading the correct files. But of course, this is easier said than done—luckily, the project guide (linked above) has everything that you need to build this awesome creation.
3D printing Arduino projects have pushed electronic hobby makers to make even more amazing designs and this cyborg prosthetic hand is one of them.
The 3D-printed arm has quite a nice design. On the outside, it looks like prosthetic arms that we’ve seen in real life, while on the inside its hollow body allows room for electronics.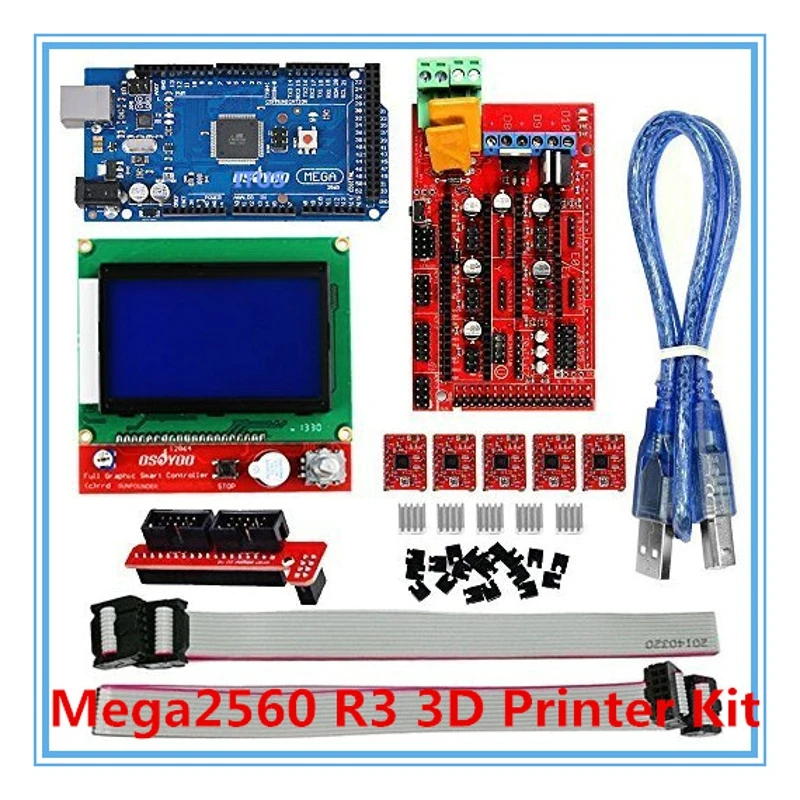 The Arduino Uno powers this creation and following the assembly of the 3D printed parts, you just need to upload the code from the project page.
Other parts you will need to include are some servos, wires, and nylon string. The latter is used in this case to move the fingers. It’s these kinds of projects that might just make a difference in the world!
Inspired by the human body, this creator set out to design the ultimate 3D printed muscle and bones set. When slotted together, these artificial muscles and supporting bone structures can move with incredible flexibility. Because it's designed to be modular too, you can create whatever robot you can imagine out of these parts!
Each 3D printed muscle is shaped like the omega symbol and can easily slot together with identical shapes, supported by 3D printed bone structures. Running through all these shapes are thin plastic tubes, essentially creating a pneumatic system that can be controlled with a microcontroller.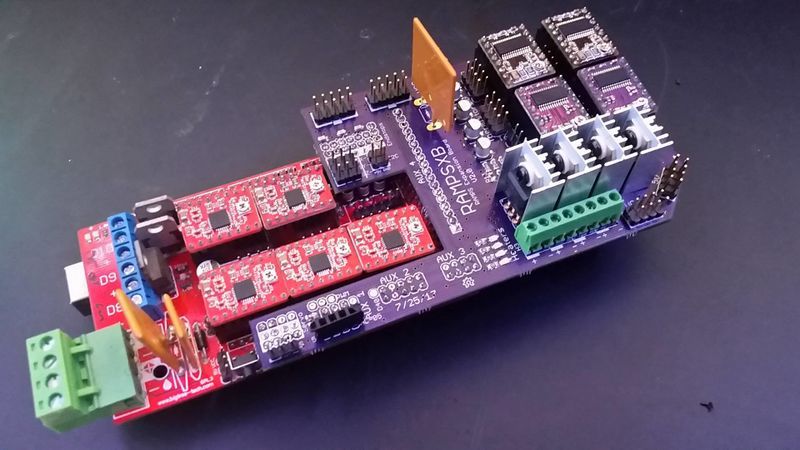
Included in the project guide is a tutorial for an air pressure controller. Use this alongside your Arduino to build a robot with up to 90 degrees of rotation. With a little creativity, it's a project that has a lot of possibilities!
Two of the most popular things in the geek world right now are 3D printing and drones. Why not combine the two to make a 3D-printed quadcopter drone?
By using an Arduino Nano, several affordable PCPs, a NRF24 for radio transmission, alongside motors, propellers, and a number of other parts, you can build your own little quadcopter. You might have some of the parts you need hanging around if you have an Arduino starter kit, but the rest can be bought online with ease.
You'll need to do a lot of wiring to get everything attached to the frame, but creator Yue Beifong will walk you through it with pretty clear explanations of what you need to do. The project includes the 3D printer files, so you'll just need a printer to get everything to work.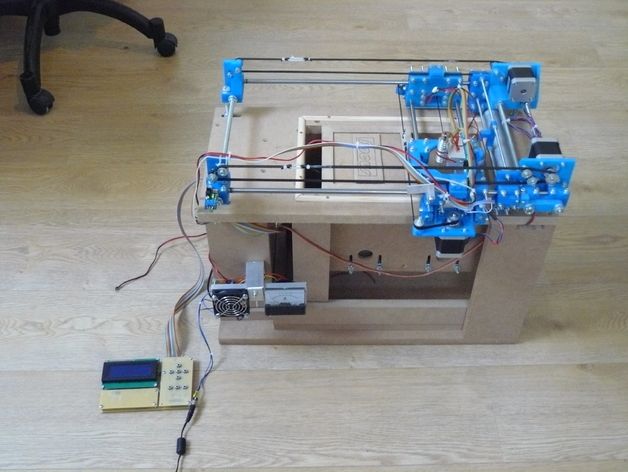
For this project, you'll need more parts than the previous two, including a bunch of LEDs, capacitors, an oscillator, transistors, and an AC mains switch and connector.
The result, however, is one of the coolest lamps that we have seen.
Once you've collected the various parts, you'll need to use some basic electronics skills to wire up the 3D printed double-helix to a rotating motor, like one from a microwave. The full guide (linked above) takes you through each step in detail. When you're done, you’ll have a rotating strand of glowing DNA!
A word of caution: because this one involves mains power, be extra careful when you're working on it!
https://www.anrdoezrs.net/links/7251228/type/dlg/sid/UUmuoUeUpU49129/https://www.youtube.com/supported_browsers?next_url=https%3A%2F%2Fwww.youtube.com%2Fwatch%3Fv%3DDcCTDOr2EXI
Pip-Boy from Fallout 4 has been a popular DIY build ever since fans got a first look at it!
It requires quite a few unique parts, including a gyroscope, power pack, a capacitive display with driver board, flashlight, pressure sensor, methane sensor, and a multi-part 3D printed case.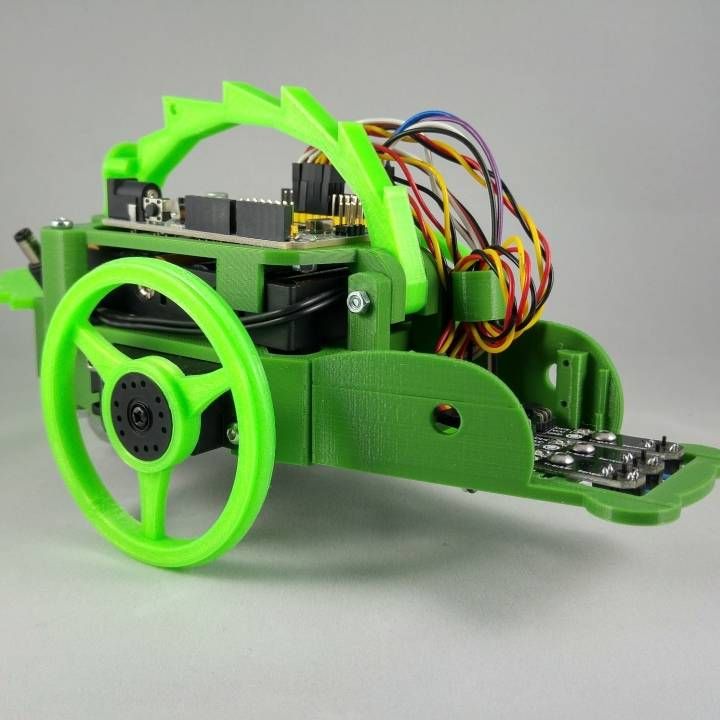
You'll need to make a custom I/O board to get this project working, but in the detailed guide (linked above), the steps for making it are very clear. If you are after a later version of the Pip-Boy, you can also have a look at this YouTube video which covers a beautiful 3D printed design with great painted details.
It's a pretty involved project, but it absolutely can't be beaten as a Halloween costume, cosplay accessory, or conversation piece!
If you're trying to build your own personal makerspace, a CNC mill is a great addition. The project page notes that it's accurate enough to cut and drill circuit boards, so it should be good for any milling project you want to take on. It requires a large number of 3D printed parts, so you may want to consider using a printing service, but it wouldn't be too difficult to print your own.
You'll also need quite a large selection of parts, including a lot of fasteners, some bearings, a relay module, and DC connector, some metal parts for the surface, and an Arduino to run everything. It's quite a project, but then again, having your own CNC mill is quite a handy thing!
Don't Have a 3D Printer? Build One!
If you don't have a 3D printer, there are still a few options for getting the 3D printed parts you'll need for these projects. You could borrow a 3D printer, use one at a local makerspace, or use a 3D printing service. Alternatively, you can even build an Arduino-powered 3D printer for $60!
The EWaste 3D Printer is a micro printer and might not be big enough to print the parts for some of the larger projects above. But it's a really great home project that is affordable and environmentally conscious, as it uses mostly recycled computer parts.
You'll need a couple of old CD or DVD drives, a floppy disk drive, a small stepper motor, a power supply, an extruder, and a few extras, but overall it’s a surprisingly simple project.
You'll need to do quite a bit of calibrating and basic electronics work, but the end product is fantastically functional for what it's made out of.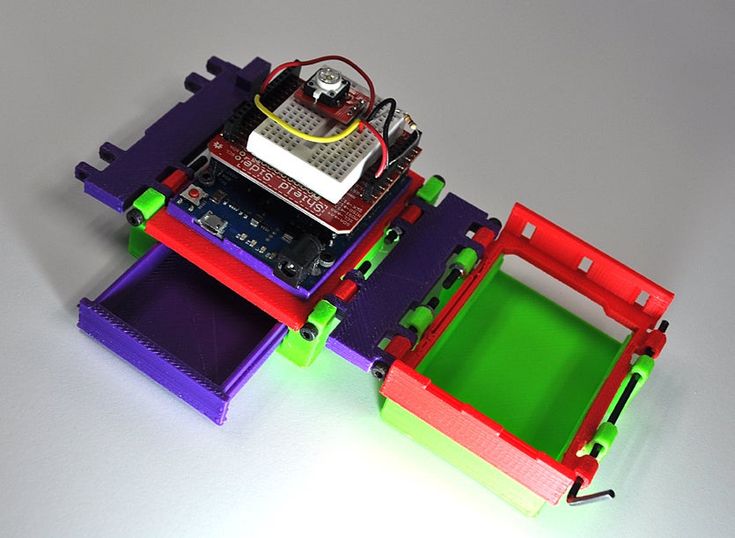
Build Your Next Arduino Project with 3D Printing
Combining 3D printing and Arduino is a no-brainer, and the projects above should give you a good idea of the limitless potential that it provides. Whether you have your own 3D printer, you use someone else's, or you use a 3D printing service, you can build your own project from start to finish.
Cheap Arduino 3D Printer||Arduino-diy.com
This article describes the construction of a 3D printer that costs around $60-70 (probably the cheapest concept in the world).
This 3D printer works with the cheapest motors on the market - 28Byj-48, Electronics - Ramps 1.4 controlled by Arduino.
The author of the project is a 16-year-old guy from Germany.
3D printer specifications:
Working space: 10x10x10 cm; nine0003
Speed: 20 mm/s;
Resolution (accuracy): 0.2 mm.
P.S. Under each section, in accordance with the table of contents of the article, photos are posted as a visual instruction
Mechanical part
MDF boards:
-1x 30x34 cm (Base).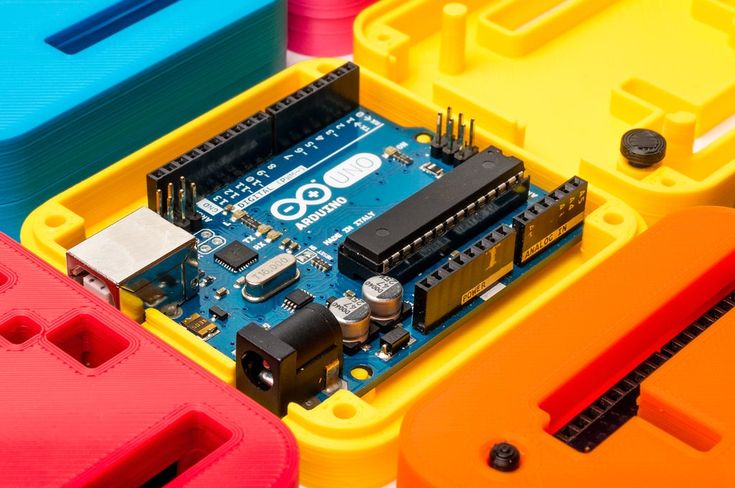
-2x 6x4 cm.
-1x 34x6 cm.
-1x 15x4 cm.
- 2 GT2 pulleys + 1 m GT2 timing belt. nine0003
-10 bearings 624.
-1 pulley Mk8 for drive.
-1 PTFE tube.
Smooth rods for guides with a diameter of 8 mm:
- 2, 22 cm long.
- 4 x 17.5 cm long.
Local hardware store:
- 1 shaft with M5 thread, which you will cut into 2 pieces.
-2 M5 hex nuts.
- 8 screws M3x16 mm.
-6 screws M3x 25 mm.
-4 screws x M4x45 mm.
-2 screws M4x60 mm. nine0003
-4 screws M4x20 mm.
-20 M4 hex nuts.
-10 M3 hex nuts.
-12 small screws.
Electronics
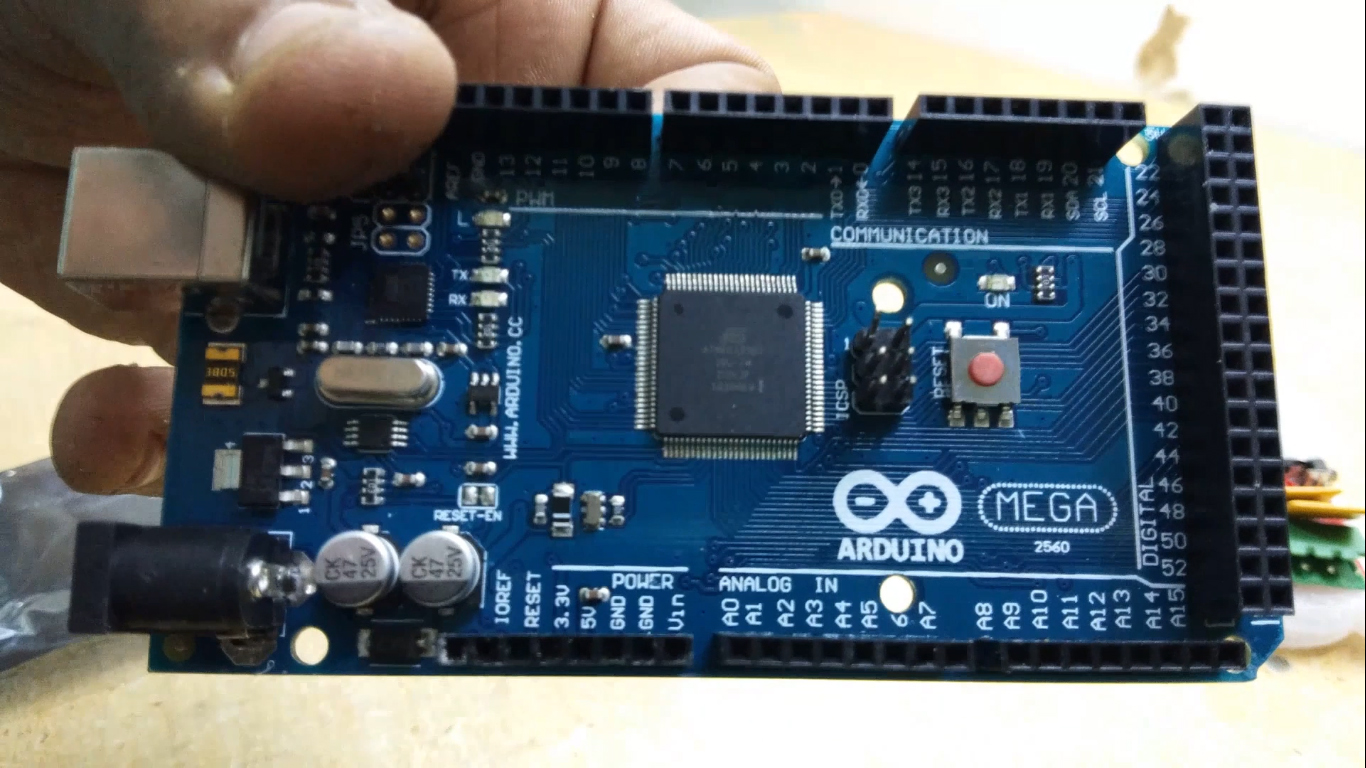
-1 Arduino Mega 2560 board + Ramps 1.4 + 4 A4988 stepper motor drivers.
-4 stepper motors 28byj-48.
-3 optical limit switches.
-1 Nema 17 stepper motor (we also order from Ali or Ebay. Such drives cost about 10 dollars).
Extruder tip:
-1 E3D-V5 Aliexpress extruder
or more expensive but with cooling
-1 E3D-V6 Aliexpress extruder.
Knots to be printed on a 3D printer
Download the latest versions of 3D models of units to be printed from the link: Thingiverse
.
2 "Z-Motor" parts
2 "Y-End" parts
2 "X-End" parts
1 "X-Carriage" part
1 "Motor" part
1 "Hotend" part nine0003
1 piece "Hotend Clamp"
Download mechanism for extruder here: Thingiverse.
28BYJ-48 Stepper Motor Modification
In order to convert the 28BYJ-48 stepper motor from unipolar to bipolar, you need to open the plastic cover.
Then remove the red cable and open the contact track from it as shown in the figure.
Now at the other end is the output that you will connect to the Ramps, arrange the pins as follows:
blue--yellow--orange--pink
With this little modification, you can connect these motors directly to the pins provided on the Arduino Ramps 1.4 shield
Y Axis
First you need to glue two wooden boards together.
Then place the printed parts "Motor", "Z-Motor" on the wooden boards.
Then fix the printed parts with the screws.
Next step: fit the motors into the slots and then the LM8UU bearings. nine0003
Install the pulley on the motor and the 624zz bearings next to it.
Use plastic ties to secure LM8UU bearings.
Next - install two guide rails 17.5 cm long with a diameter of 8 mm.
Finally, pull the belt through the "Y-ends" and install the limit switch.
X-Axis
For X-Axis you need:
Install two M4x45mm bolts in the "X-End".
Connect the motor as shown in the illustrations. nine0003
Tension the belt and install the limit switch.
Mount the extruder with two screws M3x25 and tighten with nuts.
Z Axis
In order to assemble the Z axis, you need:
Install LM8UU bearings in "X-Carriage" + "X-Ends".
Post install "X-Ends" + "X-carriage" on rails 17.5 cm (X-Axis) and 21cm (Z-Axis).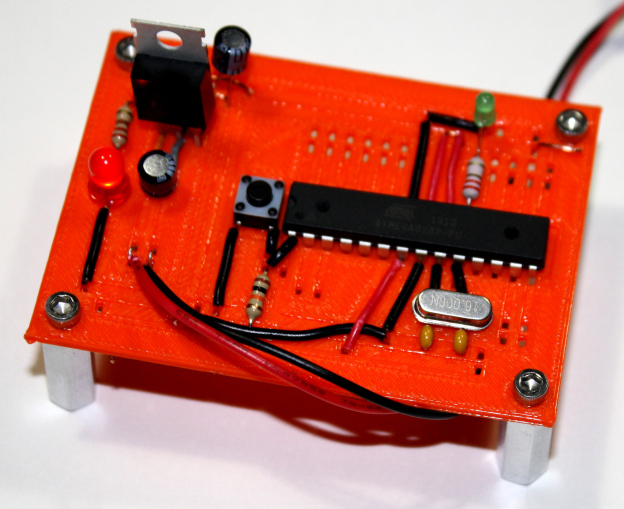
After that it is necessary to connect the threaded shaft with the motor
Printing table
We drill four holes with a diameter of 3 mm in a wooden plate 20x13 cm. nine0003
After that we tighten 4 bolts M3x25.
We assemble the entire 3D printer
We assemble it in accordance with the figures below. There is no point in giving additional explanations. The main thing is that the previous steps are correctly implemented. In this case, there should be no problems.
We connect electronics to the 3D printer
We connect electronics (including Arduino) in accordance with the figure below.
Software for Arduino
You can download the Arduino IDE configuration file from www.repetier.com.
This should be enough. You can carry out direct adjustment for your received design, dimensions, etc.
Photo of the printing process and results
After some calibration, good cube samples were printed with dimensions of 1x1x1 cm.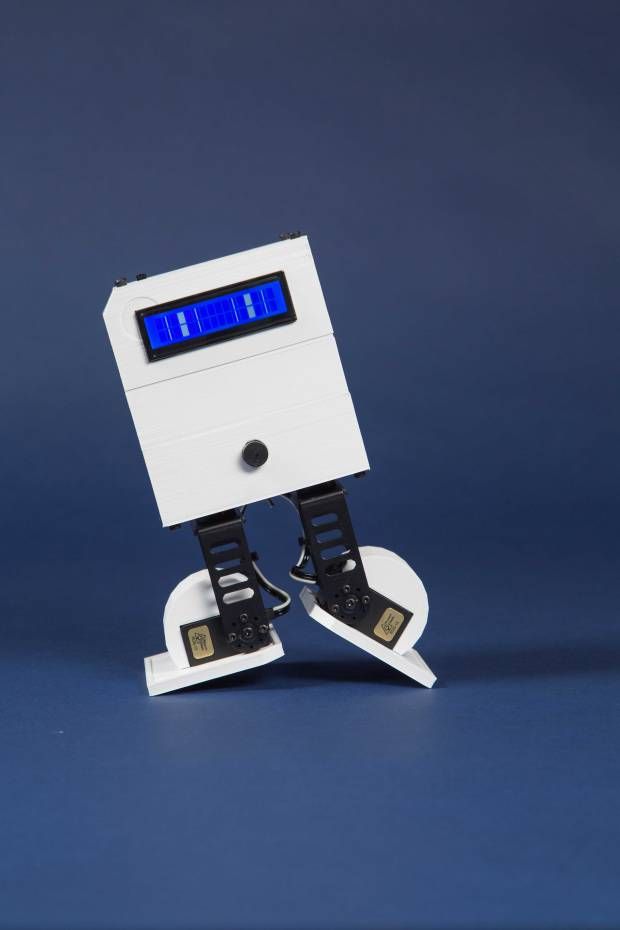 As a result, there is a significant displacement of the layers. nine0003
So I recommend setting the A4988 to 1/16 microstepping and adjusting the current to the minimum value.
You can also play around with the Arduino firmware to get better results.
Leave your comments, questions and share your personal experience below. In the discussion, new ideas and projects are often born!
Top Arduino・Cults
3D Printer ModelsUSB Buck Boost voltage converter Case
€1.20
Arduino Nano Enclosure
Free
arduino uno case with 9V battery compartment
Free
Adapter for Arduino Uno on large bread board
Free
Wind simulator mounts and air ducts for racing and combat simulators
12 € -fifteen% €10. 20
20
Pixel matrix frames
Free
Support for LCD monitors
Free
resizable housing for PCB materials and 3D printing project
6.25 €
Robotic moving micro butterflies
Free
Arduino UNO case with single 7 segments 3D printed model
6,20 €
Distributeur de friandises
Free
Portable Breathalyzer
Free
nine0202 Dirtywave M8 Tracker - custom case for M8C project5 €
Mini Robot Tank for Arduino Uno
Free
Yet another : rainingauge / pluviomètre
Free
Solar Powered Rain Gauge with LoRa (Mark III)
Free
nine0202 Electric turntableFree
Spiderman mask with mechanical lenses
35 €
Frank!
Free
Arduino Nano DIN Rail Mount
Free
IOT2020/2040 Cover for Arduino Motor Shield V3
Free
PIR support HC-SR501
Free
Motor holder for DC motor 3-6V kit ELEGOO
Free
Support STM32
Free
Robot steering with Arduino
Free
nine0202 Portable 3D printer monitor for OctoPrintFree
LED and Switch Modules for Arduino Prototyping Parts
Free
K1 Controller for DCC
Free
Rhine adapter for DC gear motor
1. 59 €
59 €
Free
Raspberry holder for DIN rail
Free
Keyboard (arduino) 3x4
Free
Controller base structure
4.53 €
Boitier RAMPS Arduino LCD12864 / RAMPS Arduino LCD12864 Enclosure
Free
Two-drive clapperboard extruder
Free
CHACRAS (CherHubert Amazing Case for Ramps-Arduino-Screen)
Free
Engine Ferrari F113 Testarossa
€5.50 -27% 4.02€
SmartCarDuino
5 €
ZOOX SMART CAR
7,99 €
ZOOX SMART CAR
14.