M300 3d printer
REVIEW: The Zortrax M300 Plus, a well designed machine for large volume desktop 3D printing
0Shares
The Zortrax M300 Plus is one of the latest material extrusion 3D printers from the M Series of Polish OEM Zortrax. With a build volume of 300 x 300 x 300 mm, it outstrips much of the competition when it comes to the scale and volume of parts achievable on the desktop. Tipped for “Plug and Play” functionality, the M300 Plus promises ease of use in terms of both hardware, and its custom Z-SUITE slicer. It is also built to use a variety of own-brand and third party materials, keeping applications versatile and practical.
In this in-depth review, 3D Printing Industry tests the capabilities of the Zortrax M300 Plus as listed above. Through a rigorous process, our engineers compiled a report outlining the machine’s capabilities with tests designed to verify print accuracy, the ability to work with third party materials, make use of the full volume of the print bed, produce functional part assemblies, and undertake print runs longer than 24 hours. They applied these qualities to a range of real-world uses, as well as assessing the construction, design and utility of the hardware.
This article summarizes the findings and the team’s overall view of how the M300 Plus fulfills its core claims of large volume desktop 3D printing, user friendliness, and response to industrial quality requirements.
General observations of the Zortrax M300 Plus
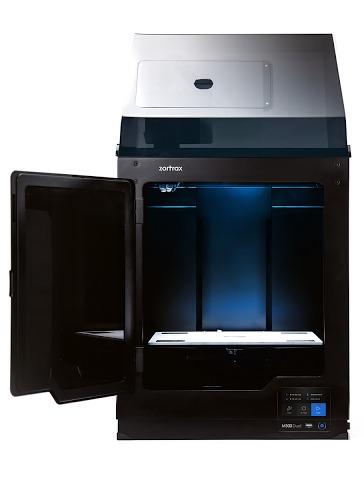
The Zortrax M300 Plus has a full metal chassis containing a rigid cartesian system. The print bed is heated and perforated, enabling the use of higher quality, often more challenging materials (such as PETG, ASA, HIPS and TPU) and a stronger grip when 3D printing that crucial first layer. Metallic calibration squares on the bed also facilitate leveling. The sensor used for semi-automatic bed leveling is inductive, working only on metallic surfaces. This means that it is not affected by any debris or moisture that may be on the print bed.
Included with our test unit, and available as an add-on to the M300 Plus, is a HEPA cover.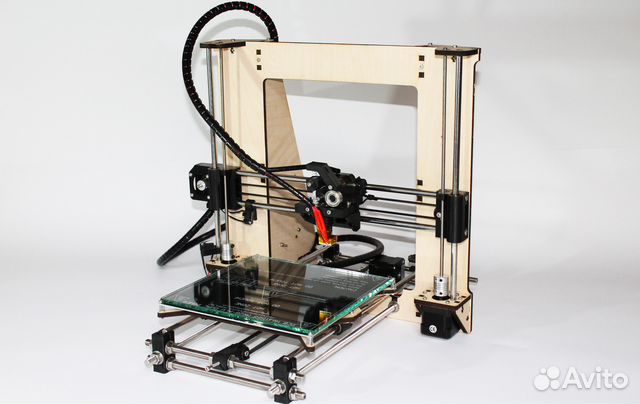 The enclosure is a welcome addition for avoiding common warping and curling issues, and for air filtration. It is also a vital upgrade when 3D printing large objects, to ensure a consistent chamber temperature.
As with the structure of the machine, the components inside the M300 Plus are a high quality. The bed leveling sensor, for example, is more expensive than sensors that you would typically get in other self-assembly desktop systems. As a more expensive, higher quality component, its functionality shows in the 3D printer’s ability to handle semi-automatic leveling. The threaded rods, and components holding them, are another example of the M300 Plus’ solid construction. The way these rods are installed in the system limit the mechanical play of the print head as it moves and changes directions. It inhibits vibrations too, substantiated by the resultant quality of 3D printed objects. Advanced features such as spool-end sensing, and semi-automatic bed leveling.
The Zortrax M300 Plus 3D printer. Photo by 3D Printing Industry.
Setting up the Zortrax M300 Plus
Initial setup of the Zortrax M300 Plus took less than 10 minutes to complete. Filament loading or unloading is performed simply by selecting one or the other on the 3D printers inbuilt touch screen. The whole process takes around 2 mins.
Bed leveling on the system is semi-automatic, and in our tests it only took just over 5 minutes to complete. Again operated by the machine’s touchscreen, the M300 Plus analyzes the level of the bed and advises on the degree to which each leveling screw should be tightened. It’s a very convenient method of leveling, but it could be improved even further through the use of clear markings on the screws.
In the final step of set up, we found wi-fi connection to be straightforward, taking no more than 2 minutes, and enabling computer access to the M300 Plus’ inboard camera – a useful feature for monitoring when using the system as part of farm, or for critical jobs.
Activating 3D printing on the M300 Plus was an very intuitive process. Following the preparation of Z-CODE in the machine’s custom Z-SUITE slicer, 3D prints were easily activated over wi-fi or using a USB flash drive.
Proving industrial level quality 3D printing, and third party compatibility
The 3D Printing Industry engineering team spent a month testing the Zortrax M300 Plus at our HQ. To determine 3D printing capabilities an extensive number of tests were performed, and repeated to validate results. A selection of these results are presented below.
Our testing methodology and procedures include checking for repeatability, retraction, circular trajectory, precision, and the ability to produce high details, overhangs, tall parts and wide objects, covering the boundaries of the print bed.
Once the fundamental testing in complete, testing using a series of models to represent the various uses of the 3D printer commences.
Some of the parts produced in this step are listed in the chart below.
In the first test, a differential gearbox, with moving parts, was selected to see if the M300 Plus handles mechanical components. This part turned out particularly well. The mechanism works, with only minor cosmetic defects that don’t hinder movement in any way. It was made in own brand Z-ASA Pro material and provides an accurate examples of mechanical workings, which could be using in functional prototyping.
In test two, the team tried a support-free print, and tested the M300 Plus’ ability to work with third party filaments. A test of retraction as much as design fidelity, this object experienced no stringing when printed, and showed good surface quality in relation to the relatively high layer thickness (0.29 mm). The raft proved difficult to remove, however a subsequent update to Z-SUITE means that rafts are now deselectable.
It is also possible to customize the raft and first layer of a print with the new update. Flow ratio, print speed and density for 3D printing the raft and first layer can be separately set between 50% and 150%. The gap between the raft and build platform, first layer and raft or first layer and build platform (when raft free) can also be determined. And users can select how many layers, upwards of 3, should be included in the raft.
In a more demanding third party filament test, Polymaker TPU was used to assess how the M300 Plus’ handles flexible materials – often more harder task for some desktop 3D printers. The result of this test when producing a phone case was satisfactory and the printer experienced no problems throughout. When repeated using proprietary Z-FLEX TPU, an even better surface quality was achieved. Overall, the test proved that it is possible to print a flat surface with flexible filament, however, the settings have to be chosen carefully.
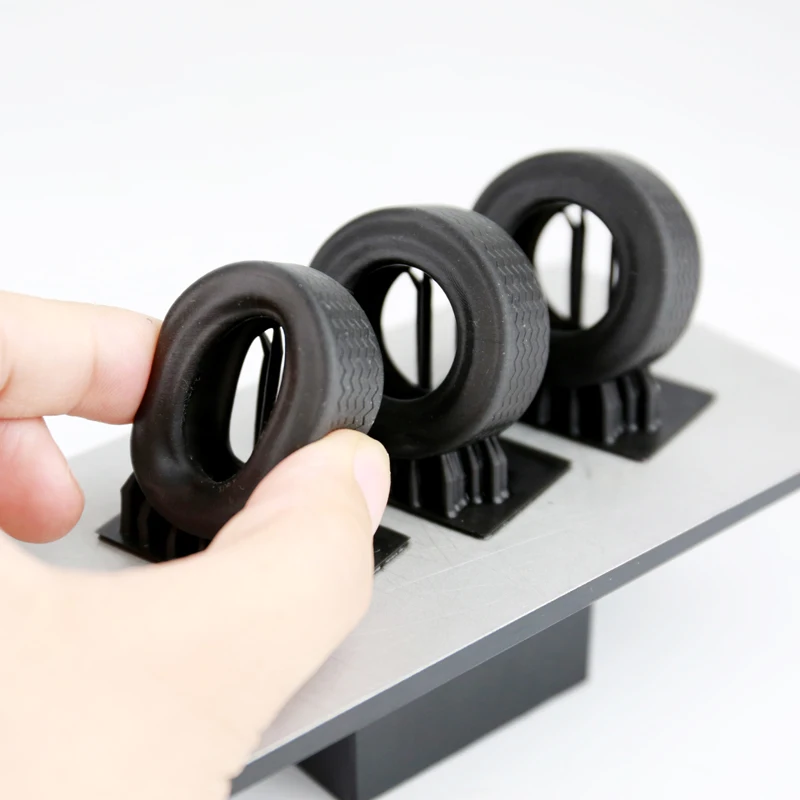
Tests 2 through 3 on the Zortrax M300 Plus. From left to right: Differential gearbox, Klein vase, Phone case. Photo by 3D Printing Industry.A two-part test, to understand how the 3D printer deals with multipart assemblies, in 4a and 4b the team produced a wheel and tire model. The central wheel was 3D printed using Z-SEMIFLEX and the wheel from Z-ASA Pro. Though 3D printed separately, both objects showed tight tolerances and could be assembled without a problem. The quality of both parts was very good.
A huge test of the M300 Plus’ ability to run for long periods (and utilize a larger build volume) the next test undertaken was 27 hour print of a highly detailed replica sculpture of a bearded man. For this test, the use of the HEPA cover is highly recommended, as it helps to maintain a consistent atmosphere within the build. A lower print speed, in this case -20%, and 10% fan speed ensured the quality of the object, which was produced with 20% infill. Made from Z-ASA Pro, supports were easy to remove and quality was maintained from start to finish of the marathon build. Some faces on contact with support material however would require further post processing to achieve a smoother finish.
Head of a Bearded Old Man 23cm tall sculpture 3D printed on the M300 Plus. Photo by 3D Printing Industry.And finally, in what our engineers considered a key test for the M300 Plus a hexagonal vase, which makes use of the entire build volume of the M300 Plus was made over the course of one and half days. The result of this 3D print fully corresponds with Zortrax’s claims.There are no major defects on the vase, and no deformations or shifts of the print when the surface is close to the boundaries of the workspace.
The final verdict
The Zortrax M300 Plus is a well designed 3D printer, made from good quality components, and it is simple to set up. Its perforated bed proved very efficient for ironing out any adhesion issues with 3D prints. The intuitive touch screen made it easy to load and unload filament, level the bed and start and stop prints. Using Zortrax’s Z-SUITE slicer was also very effective. The program is also continually being updated to fulfill the potential of the company’s machines, which is an encouraging sign when considering investment.
Zortrax’s own brand filaments work incredibly well on the M300 Plus. However we were able to produce parts using other standard, and challenging, materials such as flexible TPU. When 3D printing, the machine is capable of making full use of the remits of its build volume. It has shown it can manage the long print-times required for models of such a scale. The overall quality on large prints is very good, and all details are well replicated. Assemblies, small detailed parts, functional prototypes and other useful applications have also been proven through our testing. When warping, curling or wobbling is a concern of the material and model used the use of the company’s HEPA cover achieves the best results.
Following our internal testing we can confidently say that the Zortrax M300 Plus lives up to its claims. The machine accurately produced large objects and is easy to use. It has great potential, and would be a good addition to in-house workshops, and makerspaces, where the machine can be pushed to its limits.
Vote for your 3D Printer of the Year in the 2019 3D Printing Industry Awards.
Subscribe to the 3D Printing Industry newsletter for the latest news and 3D printer reviews. You can also keep connected by following us on Twitter and liking us on Facebook. Looking for a career in additive manufacturing? Visit 3D Printing Jobs for a selection of roles in the industry.
Featured image shows the Zortrax M300 Plus 3D printer with HEPA cover. Image via Zortrax
Tags M300 Plus Zortrax Zortrax M300 Plus
Beau Jackson
EP-M300 Metal 3D Printer | Metal SLM Additive Manufacturing 3D Printing Machine
Products
SLM Metal 3D Printer
- Home
- Products
- Additive Manufacturing Machine
- SLM Metal 3D Printer
- EP-M300 Metal 3D Printer
- Additive Manufacturing Machine
- Additive Manufacturing Material
- 3D Printing Service & Consulting
- 3D Printing Software Solution
EP-M300 is a marvellous metal printer that makes the production of reliable and high-quality large metallic parts viable on an industrial scale, with 500W/1000W single or dual laser optional, an ideal choice for big-sized parts and batch production efficiently.
EP-M300 Metal 3D Printer Features
What can EP-M300 Print?
Hemipelvic Implants
Machine: EP-M300
Process: Metal Powder Bed Fusion (MPBF)
Material: TC4
Size: Φ150x80x95mm³
Printing time: 14 h
Application: Medical
Technical Specifications
| Machine Model | EP-M300 |
| Build Chamber (XxYxZ) | 305x305x450mm³ |
| Optical System | Fiber Laser, 500W/1000W (single or dual-laser optional) |
| Spot Size | 90-130µm |
| Max Scan Speed | 8m/s |
| Layer Thickness | 20-120µm |
| Building Speed | Single laser: 15~35cm³/h Dual laser : 25~63cm³/h |
| Material | Titanium Alloy, Aluminium Alloy, Nickel Alloy, Maraging Steel, Stainless Steel, Cobalt Chrome, Copper Alloy, etc. |
| Power Supply | 380V, 7kW, 28A, 50 / 60Hz (Dual laser: 8KW, 31A) |
| Gas Supply | Ar/N₂ |
| Forming chamber oxygen content | 100ppm |
| Dimension (WxDxH) | 2990*1320*2590mm³ |
| Weight | 2900kg |
| Software | EP-Hatch, EP Control |
| Input Data Format | STL file or other convertible formats |
Review of the 3D printer Zortrax M300
Content
-
- Appeal
- Complex
- Cinematics
- Preparation for work
9000 - Results
In 2011, the development of the M200 3D printer started, and in 2013, the Polish company Zortrax became known throughout the 3D world thanks to its Kickstarter campaign. The aim of the campaign was the launch of the M200, which promised ease of use and professional quality. The campaign raised $180,000. In 2014, the first Zortrax store was opened, and at the moment the brand is already represented in 50 countries with 160 partners.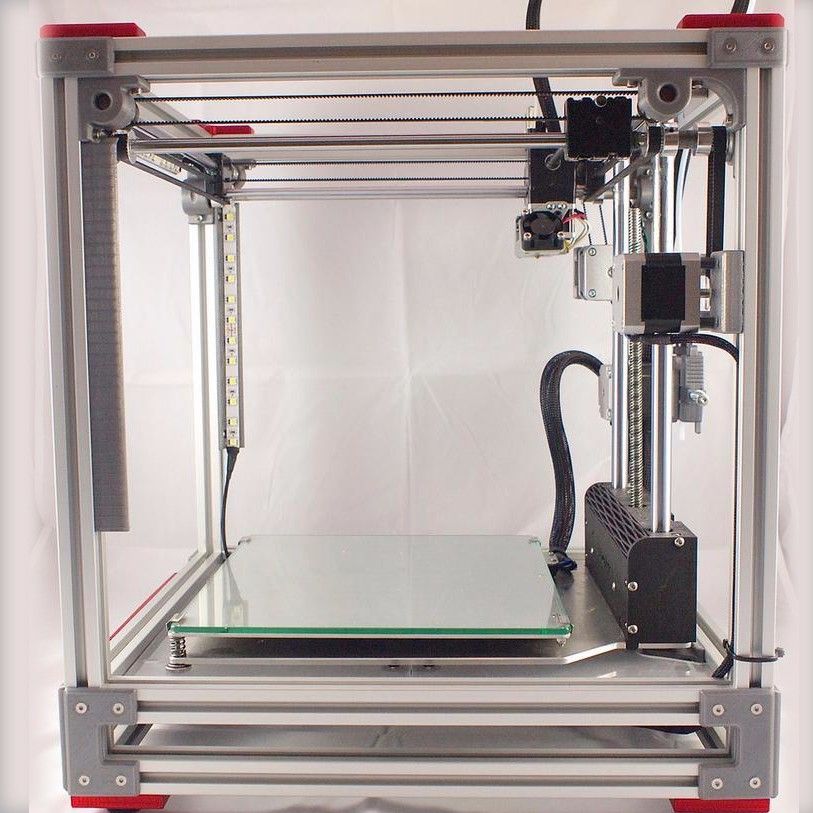
The Zortrax M300 is the older brother of the M200. In the M300, the print area has become much larger (300x300x300 mm). Zortrax M300 is a really big printer for printing large items =)
Initially, Zortrax was optimized for printing only with its own production of plastics. Despite the rather large assortment (at the moment, Zortrax has about 9 types of plastic), many were repelled by the impossibility of printing with third-party plastics. In the new versions of Z-Suite proprietary software, the developers have solved this problem - the ability to print materials from other manufacturers has been added.
Appearance
The printer is made of durable aluminum and looks very solid and reliable. Despite the impressive size, there were no distortions, cracks or backlash anywhere. Build quality is top notch.
Zortrax M300 looks exactly the same as the M200, differs only in size) The same strict black color, smoothed corners. The design of the printer can be called minimalistic and concise.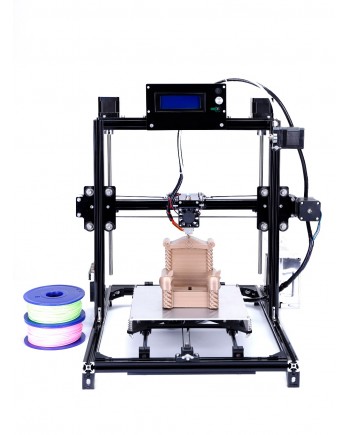
The printer is controlled through a small display with the already familiar joystick - twist)
Equipment
Perfect set:
- Spool holder.
- Material guide tube and fasteners.
- 2 spools of 2kg Zortax branded material.
- Power cable.
- SD card and card reader.
- Protective gloves.
- Knife.
- Scalpel.
- Hexagon set.
- Nozzle wrench.
- Nozzle cleaning strings 0.4 and 0.35.
- Wire cutters.
- 2 spatulas - large and small.
- Tweezers.
- Grease for printer moving parts.
- Safety goggles.
- Side panels and door.
A very worthy set. Zortrax made sure that the user has everything they need at hand and does not have to buy something extra. Presented as many as two coils of plastic, we had HIPS and PETG in the box. Most likely, the types of plastic for printers are selected randomly.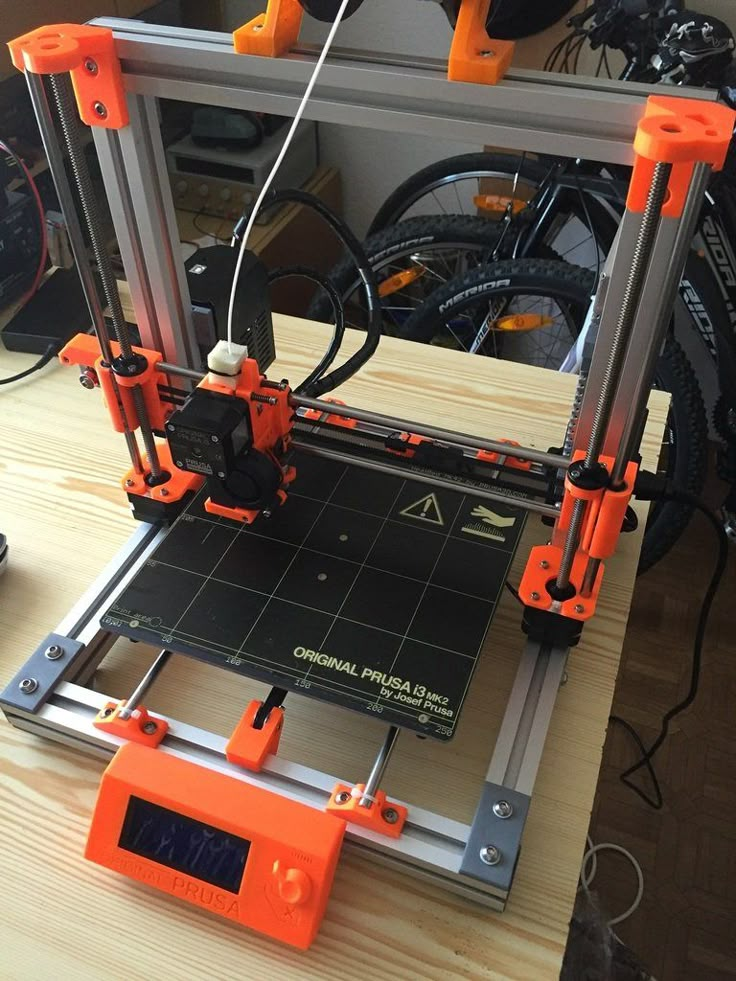 Even the nozzle cleaning needle is available in 2 versions - for a nozzle with a diameter of 0.4 and 0.35 (by default, a 0.4 mm nozzle is installed on the printer).
Another important difference from the M200 is that the M300 comes with plastic side and front panels.
Kinematics
The kinematics of the printer is an enlarged copy of the famous Ultimaker. It turned out to be a win-win solution.
Along the Z axis, instead of the already familiar trapezoidal screw, a powerful ball screw and guide shafts are installed. I was very impressed with the thickness of the shafts - almost with the index finger.
The extruder is exactly the same as on the younger brother Zortax M200. All-metal with a maximum heating temperature of 280 degrees. The “cube” of the heater into which the nozzle is screwed is fixed. A trifle, but, thanks to this, the nozzle is very easily unscrewed, and you do not have to look for ways to fix the heater.
The feed motor is located on the print head. That is, the printer has a direct-feed plastic mechanism. Of course, this solution makes the print head heavier, but it allows you to print all types of plastics, including soft Flex and rubber.
The print platform is a bit unusual - perforated, like on UP printers.
The advantage of this solution is very good adhesion. There is no need to use glue or stickers to keep models from peeling off during printing.
The only inconvenience is that you will always have to print on a substrate (raft).
The board is made and designed specifically for the printer. All wires are shielded.
Preparing for work
After unpacking the printer, the first step is to prepare it for printing:
- connect the extruder cable;
- install and connect the printing platform;
- calibrate the printer.
Connecting the cable is not difficult - you need to open the top of the extruder and plug the cable into the connector.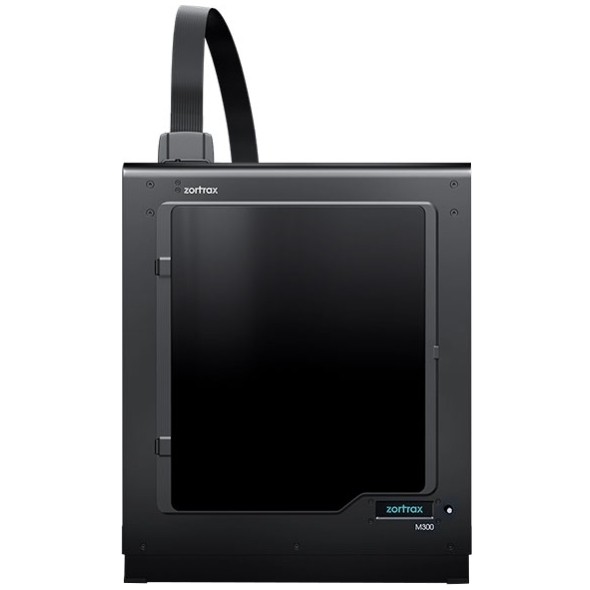 It's nice that the cable is additionally securely fixed with latches.
We connect the connectors on the platform and install it on magnetic fasteners.
When turned on, the printer asks to download a file from the manufacturer's website and save it to a USB flash drive. Without this, the printer will not start. The M300 does not support Wi-Fi connection, files can only be transferred via a USB flash drive.
After downloading, restart the printer. Everything is working)
The printer menu is ascetic, but very convenient. There are points for loading, unloading plastic and calibration.
Next, we calibrate.
The printer is calibrated "hot". We are waiting for the printer to heat up the nozzle and the table. After that, following the instructions on the screen, we calibrate. The printer will alternately poke the nozzle into the metal squares on the platform and ask you to unscrew or tighten a certain screw at the bottom of the platform.
Calibration completed, you can start printing =)
SW
Zortrax Z-Suite proprietary slicer is used as printer software. The printer will not work with other slicers.
To download and run the program, you will have to enter the serial number of the printer.
Z-Suite has a very nice and intuitive interface. We launch the program and select our Zortrax model.
We load the model and place it on the table.
Preparation for printing takes place in several stages:
- Model analysis. The slicer will show the weak and problem areas of the model.
- Show support. Here you can select the overhang angle of the model, at which the support will be set, and slightly edit the support. Support is edited by "blocks". You cannot add or remove support pointwise.
- Print settings. Here you can choose either a ready-made profile for native Zortrax plastic or set your own settings for any material.
 The range of settings is very decent.
- Preview. In preview mode, you can add pauses at different heights. This will come in handy if you want to print a multi-colored model.
The file is saved not in the usual GCode format, but in the native ZCode format.
Totals
We have not had time to conduct printed tests yet, but now the Zortrax M300 pleases with its thoughtfulness. The M300 impresses with its reliability and competent design, and, of course, with its really large working area - 300x300x300. The Z-Suite software also pleased us with a friendly interface and the presence of all the necessary functions. Unfortunately, the printer does not have a Wi-Fi connection and the files will have to be transferred via a USB flash drive. The complete set of the M300 includes everything necessary for comfortable work, including material for initial work. The M300 is practically omnivorous, which makes it a good helper for large and small productions.
What kind of concrete is needed for a 3d printer
No one is surprised by information about the construction of objects using 3D printing. Moreover, we are talking not only about the creation of small architectural forms, from which printer construction began, but about quite significant buildings suitable for housing and work (cottages, offices and even multi-storey buildings). And given that this branch of the industry has just begun to develop, we can assume what volumes it can achieve.
So, what (besides desire) is needed for 3D printing of building objects? Obviously - what to print on, and what to print. That is, first of all, the 3D printer itself and consumables - the so-called bulk ink. Considering that houses are made not from ink, but mainly from concrete, liquid concrete mortar is taken as a consumable. What are the benefits of concrete? The fact that it is fluid, plastic, has the ability to gradually set and harden, is durable, moisture resistant, resistant to frost, heat and temperature extremes, environmentally friendly and generally is a proven building material with a worthy history..png) In addition, concrete is good because it can change its consistency and properties depending on the quality, type and proportion of its constituent components. And do not forget about additional additives, the introduction of which allows you to control both the state of the concrete mixture (plasticity, fluidity, workability, hardening speed), and the quality of the finished product.
In addition, concrete is good because it can change its consistency and properties depending on the quality, type and proportion of its constituent components. And do not forget about additional additives, the introduction of which allows you to control both the state of the concrete mixture (plasticity, fluidity, workability, hardening speed), and the quality of the finished product.
Which concrete from the available range is better to choose for 3D printing? It is important to pay attention to the combination of plasticity, uniformity and fast setting ability. Plasticity is needed so that the concrete mass easily passes through the extruder, and fast setting is necessary so that the lower layers harden and hold their shape under the weight of the newly applied layers.
One of the advantages of the S series portal printers is that you can use various building mixtures for printing, special and the cheapest.
For printing small architectural or landscape objects that are not subject to loads, M300 sand concrete can be used.