How to use flashforge 3d printer
How do I send my first print to a FlashForge? (In-depth)
This article covers the in-depth settings for the Flashprint software.
NOTE: These instructions are not compatible for newer versions of Flashprint (version 5.0 or higher).
Having installed the Flashprint software, after opening you'll be prompted to input the type of machine you have. In the drop down, select either 'Inventor II Series' or 'Guider II S' and click 'OK'
Next, the software will show you the various buttons and what they do.
One setting you can change to get the best experience:
Auto layout
Loading a file
To load a file (.stl file downloaded from the Teachers Dashboard) click on 'Load' and select your .stl file. It should then show up in the 3D view.
The Three Ways of Altering Files Before Printing:
'Move'
To move an object, first click it so it goes white.
Then click on 'Move'
You can then click and drag the object around the print bed.
NOTE: By clicking once more on 'Move' you can access a more accurate menu.
'Rotate'
To rotate an object in any direction, first click it so it goes white.
Then click 'Rotate'.
You can then click and drag either of the three rings to rotate the object.
NOTE: By clicking once more on 'Rotate' you can access a more accurate menu.
'Scale'
To scale an object, first click it so it goes white.
Then click 'scale'.
You can then click and drag up on the object and it will scale uniformly.
NOTE: By clicking once more on 'Scale' you can access a more accurate menu.
Adding Supports if Needed
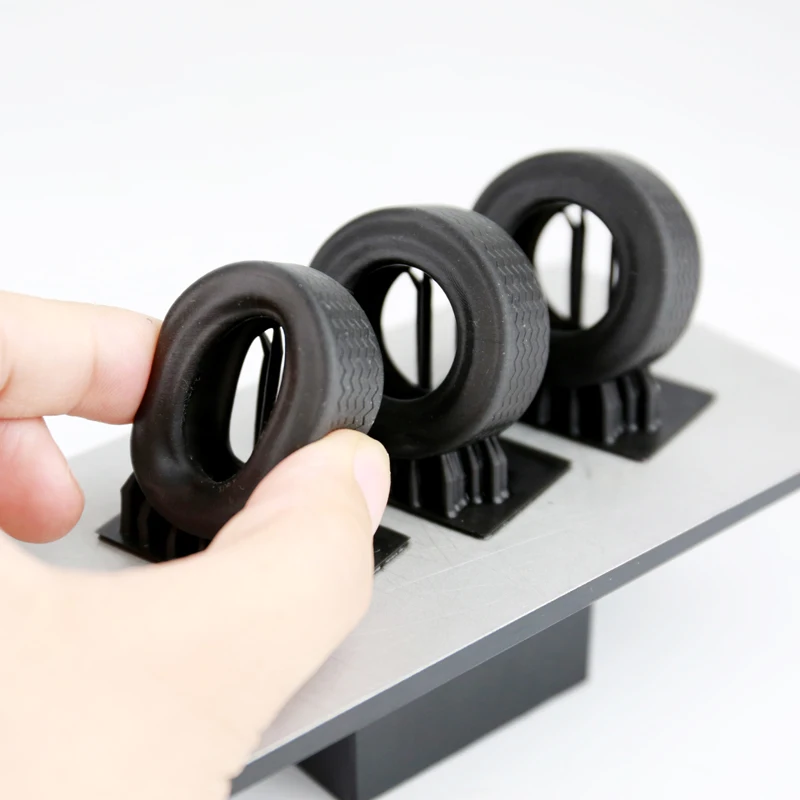
By rotating the view (click and hold Right-Mouse-Button and drag the cursor), we can view any potential areas that will need supports. These are areas with an angle greater than 45 degrees from vertical.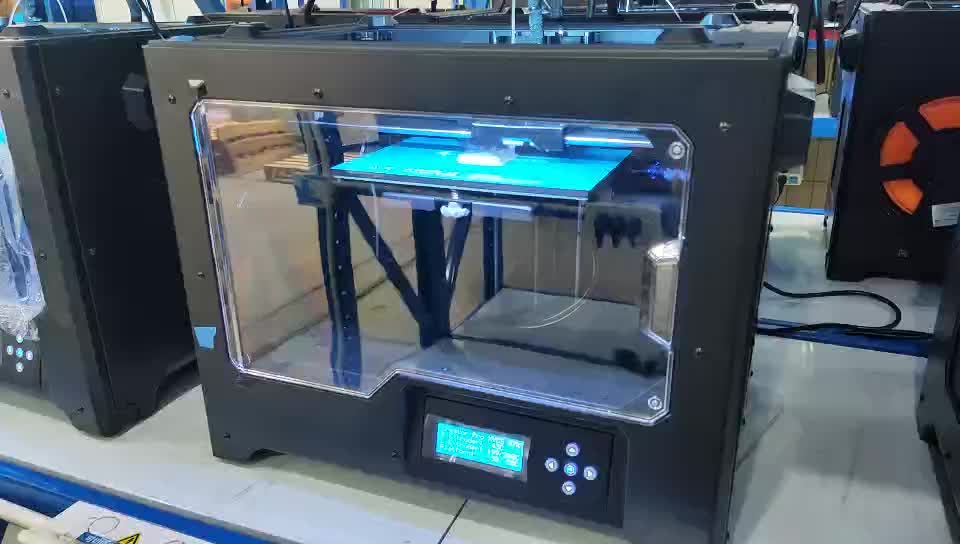 There are some on the tree below.
To add supports, first click on 'Supports'. Then click on 'Supports Options' and select 'Linear' instead of 'Treelike'. NOTE: You will only need to set this once, it will save the setting from now on.
Now that you've selected 'Linear', you can click on 'Auto Supports' and the software will automatically make them all for you.
Next, click on 'Back' and say 'no' to saving this file.
Sending Your Print
Next up we need to connect to the Inventor IIS. First, check that the included USB cable in connected between your computer and the printer. Begin by clicking on 'Print' and selecting 'Connect Machine'
Ensuring that your 'Connect Mode' is USB, you should click 'Rescan' and the printer should now show in the 'Select Machine' Drop-down bar.
With your printer selected, click 'Connect'. NOTE: If you have issues connecting to your Inventor IIS, please contact your IT department as the drivers may not have installed correctly.
Once connected, click on the blue 'Print' button and check your settings. The default settings should be perfect. Then click on 'OK' and the software will 'slice' your model into the different layers for printing.
Once 'slicing' is complete, you will notice, in the top right corner, an estimate of print time and material usage. Also, on the left hand side is a slider bar. This will let you inspect each layer of the print.
If you're ready to go, simply click on 'Print' and the file will get sent to the printer.
Once you confirm it is indeed printing, you can disconnect the computer by going to 'Print' and clicking 'Disconnect'. Then just unplug the USB cable and your Inventor IIS will keep going by itself.
The next thing for you to do is to remove the print once it's finished.
Continue here: http://help.makersempire.com/hardware-help/how-do-i-remove-the-print-from-an-inventor-iis
Flashforge
This page will help you set up your new Flashforge Creator Printer to use the All-In-One 3D printing software by Simplify3D™ (the same process can also be applied to the Wanhao Duplicator 4 or other MakerBot style printers).
The printer comes with an integrated LCD interface as well as an onboard SD card. Make sure to read the Flashforge User Manual that comes with the printer. This describes the unboxing and final assembly including installing the filament guide tube and filament spool holder.
Final Hardware Checks
Before we get started with the software, there are a few final hardware checks you should perform. If you’re confident your printer is ready to go, skip forward to Software Setup. The Flashforge comes with several screws that will need to be screwed in with a hex wrench before performing your first print. This process is described in Flashforge’s User Manual – link provided above. Two important items are the filament guide tube and the filament spool holder. The filament guide tubes plug into the extruder body and are held in place by two clips on the rear of the Flashforge. The filament spool holder is held in place by two large washers on the back of the printer.
The filament spools will rest on the brackets to allow the filament to spin and feed freely during normal operation. The spool holders are easily installed by hand. There should be two spool tubes and six spool tube washers. First, screw one washer, flat side facing away from the center, into the end with more threads. Then, simply push the black tube through the hole in the back of the printer with the flat end of the washer resting up against the wall (the long end should be jutting out from the printer). Next, tighten one washer onto the tube from the inside of the printer. Repeat these steps for the other tube. Once finished you should have two washers remaining. You’ll be using them on the outer end of the tube when the filament spools are mounted to keep them in place.
Out of the box, Flashforge comes with two spools of ABS filament. When mounting them to your printer you will need to remember to orient the spools correctly. Facing the back of the printer, the spool on the left should be mounted so that it rotates counter-clockwise when feeding. Likewise, the spool on the right should rotate clockwise.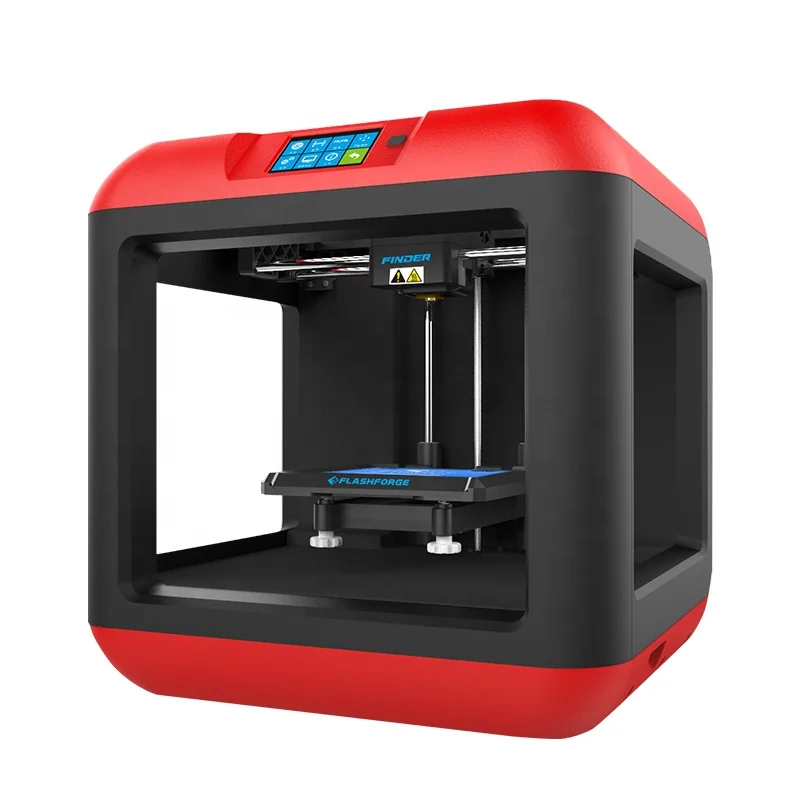 When you have mounted the spools, remember to finally attach the two washers left over from the filament spool installation.
The last thing to do would be to power on your Flashforge by plugging in the included power cord and flipping the switch located on the rear left of the machine. The first time you do this, the built-in LCD menu will automatically run the included startup script that will walk you through the process of leveling your build plate and feeding your ABS filament into the extruder. You can also manually start the startup script by navigating to Utilities > Run Startup Script on the LCD screen. All of these hardware steps and startup sequences are explained in more detail in the Flashforge User Manual. At this point, you’re ready to start printing using Simplify3D!
Software Setup
The Flashforge uses a x3g file format for printing. This is a binary file which contains all of the instructions the printer needs for it to print your part. The software can be set up to output this file format directly thanks to its integrated Makerbot printer support. The resulting x3g file can then be printed in two ways. You can copy it to the machine’s SD card and use the built-in LCD menu or you can stream the file directly to your machine via a connected USB cable.
The first step in syncing the software with your Flashforge is to configure the software to speak the same language as your machine. You can do this by opening the Simplify3D software and going to Help > Configuration Assistant.
When the assistant window pops up, just select the correct Flashforge Creator profile for your printer under the drop down menu. You have successfully configured Simplify3D to work with your Flashforge printer!
If you would like to manually change the firmware settings, you can go to Tools > Firmware Configuration. From here you can change the firmware profile and the general communication settings. For the Flashforge, you should select the ‘Sailfish/Makerbot Firmware’ profile. This will allow the software to work with both the Flashforge firmware and the common Sailfish firmware upgrade (read more about the Sailfish upgrade here).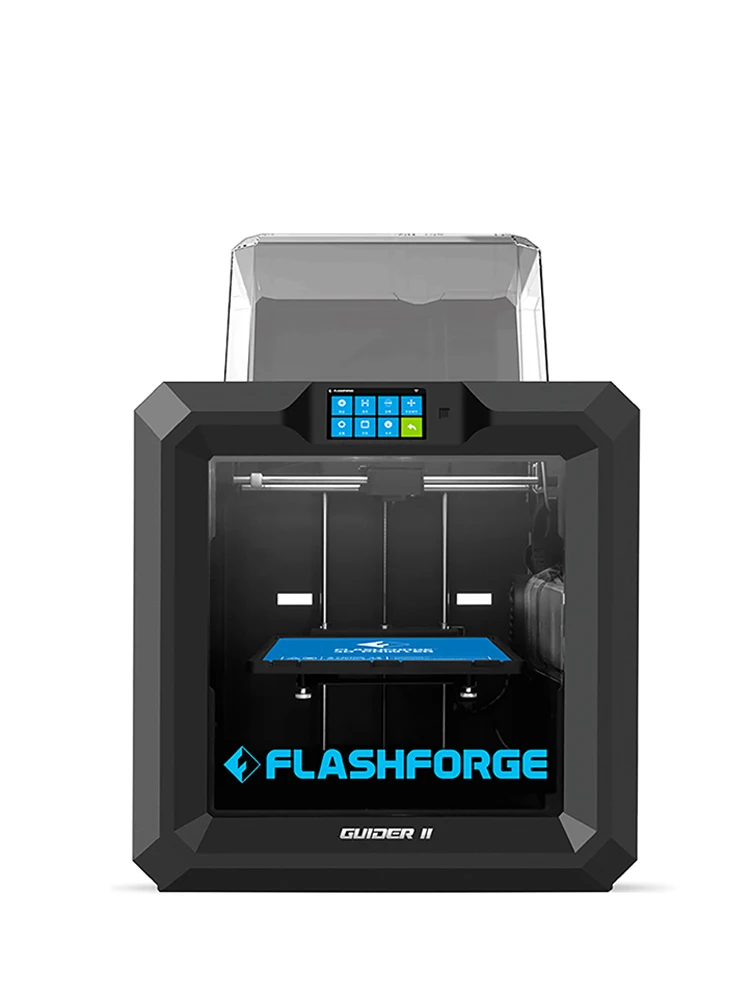 In this same window, click on the X3G tab and select the correct machine profile (if you have the Creator 1 select “Replicator 1 – dual extruder”; if you have the Creator 2 select “Replicator 1- single extruder”).
You are now ready to set up your workflow. Select one of the Flashforge printer profiles in the drop-down menu. Import your STL file. Next, add the preconfigured Flashforge process or customize your own process settings. The software includes pre-configured profiles specifically for fast, medium and high-quality prints. Note: If you are not familiar with the basic printer workflow, refer to the Simplify3D Quick Start Guide that can be accessed from within the software at Help > Quick Start Guide.
Starting a Print!
Once you are happy with your print settings in the FFF window, click “Prepare to print!” to advance to the Preview stage. An important point for your Flashforge is that when the “Prepare to print!” button is pressed, the software creates two files.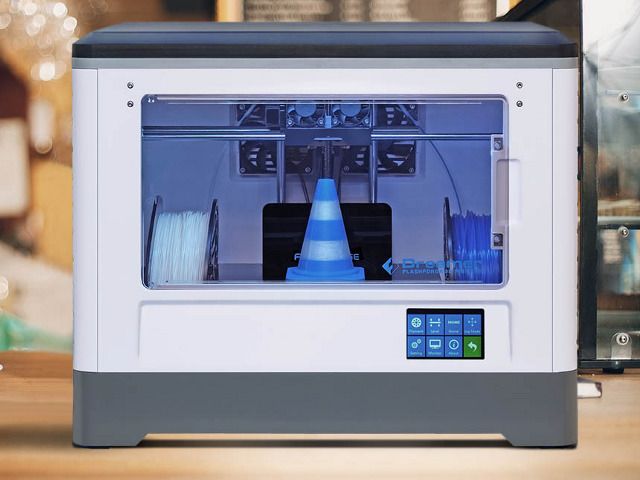 One of these files is the binary x3g instructions that you will use for printing on the Flashforge (.x3g). The other file is the standard ASCII G-Code (.gcode) file that creates the Preview animation.
We always advise that you view the Preview carefully to determine if your model appears the way you desire. If you are happy with the build sequence in the Preview, you have two options to begin printing.
- Print using the SD card. Simply click on the SD card picture labeled “Save Toolpaths to Disk” button and the software will copy the .x3g and G-Code file to the Flashforge′s SD card. You can then insert the SD card back into your printer and use the built-in LCD menu to select the “Build from SD” option. Select the file you wish to print and start printing.
- Print over a USB connection. When you plug the USB cable into your computer, the software will automatically connect with the printer. A pop-up message will let you know when you are connected. To print, click on the “Begin Printing over USB” button.
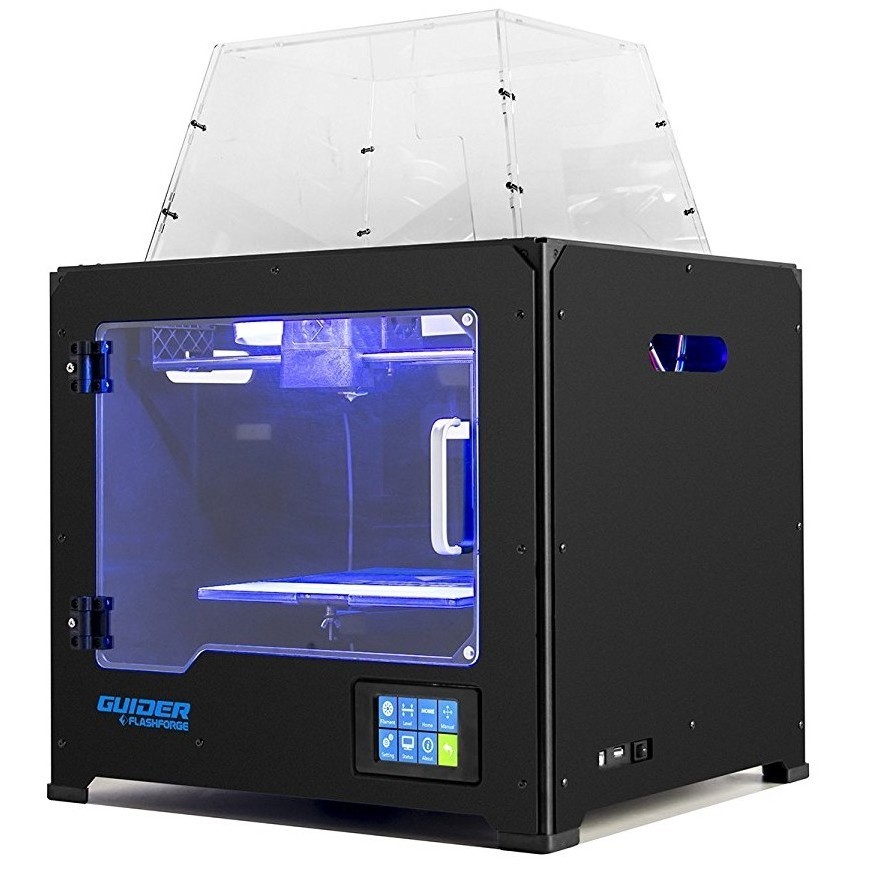 Your machine will start receiving commands and relaying information back to the computer. The software will alert you of the progress of the print through the same pop-up message in the bottom right corner. For example, if the printer is heating the extruders, a “Preheating Extruder” message will appear with a loading bar. When printing over USB the Preview Mode will turn into a live tracking tool. This tool will track the machine’s motions so that you are able to watch your print’s progress on your computer. If you wish to change the update interval you can set it on the left side under “Real-Time Updates”.
Congratulations! You’ve reached the end of the guide and you are now ready to start making models using the Simplify3D Software with your Flashforge Creater 3D printer! If you have further questions feel free to contact our technical support staff and we will be happy to assist you.
Troubleshooting
If you run into problems during your first print, here are a few common troubleshooting tips you can try.
- Please make sure that the filename you choose when clicking the Prepare button is less than 30 characters. Note: You cannot simply rename the file to something shorter, you must export it a second time from the software using the shorter name.
- If you are using a Windows computer, please make sure that you have installed the necessary MakerBot Mightyboard drivers. If you have already installed MakerWare or RepG, you do not need to worry about this.
- If you have MakerWare installed on your computer, please make sure that the Conveyor service is disabled before trying to connect to your printer using the Simplify3D Software. You can do this by opening MakerWare and going to Services > Stop Background Service.
Upgrading to Sailfish
If you are trying to upgrade to Sailfish, here are some tips and suggestions.
- Make sure you follow all the instructions specified on Makerbot’s Sailfish installation guide. Also, don’t forget to complete Step 1 and 2 on the Sailfish setup guide.
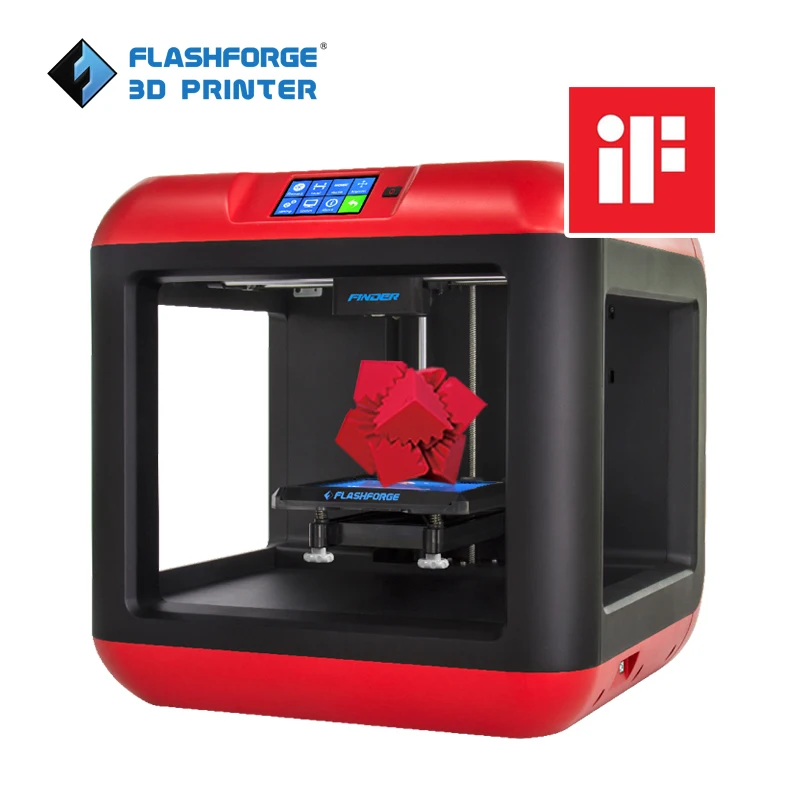 When you get to the ‘Installing the Sailfish Firmware’ portion of the guide and it asks for you to select the correct board, make sure to choose the FlashForge board.
 - If the extruder is printing extremely far off to the left, make sure your home and extruder head offset is set correctly in the EEPROM. To do this, open up RepG and open up Onboard Preferences from the Machine menu.
- For the x home offset, you should have a value around 152mm.
- For the y home offset, you should have a value around 75mm (for dual extruders) or a value around 72mm (for single extruders).
- For the extruder offsets, you should have a value of around 32mm or 33mm. Alternatively, you can have a value of 0mm and the firmware will automatically set it to the default value.
- If the bot is printing off center to the left for the left extruder only, you can use this modified starting G-Code script to resolve the issue.
; **** Replicator 1 dual start. gcode****
M103 ; extruder off
M73 P0 ; enable build progress
M70 P2 (Simplify3D)
G162 X Y F3000 ; home XY maximum
G161 Z F1200 ; home Z minimum
G92 Z-5 ; set Z to -5
G1 Z0.0 ; move Z to 0
G161 Z F100 ; home Z slowly
M132 X Y Z A B ; load current position from EPROM
M135 T1 ; load left extruder offsets
G1 X70 Y-70 Z30 F9000 ; move to wait position off table
G130 X20 Y20 Z20 A20 B20 ; lower stepper Vrefs while heating
M70 P1 (priming nozzle…)
M6 T0 ; wait for right extruder to warm up
G130 X127 Y127 Z40 A127 B127 ; default stepper Vrefs
G1 Z0.4 ; position nozzle
M108 R5.0 ; set extruder speed
M101 ; start extruder
G4 P3500 ; purge nozzle
G1 X65 Y-65 Z0.15 F1200 ; slow wipe
M103 ; stop extruder
G1 X60 Y-60 Z0.2 F1200 ; lift
M73 P1 ;@body (notify GPX body has started)
; **** end of start.gcode ****
When you change the EEPROM settings, be sure to click on the ‘Commit’ button to save your changes.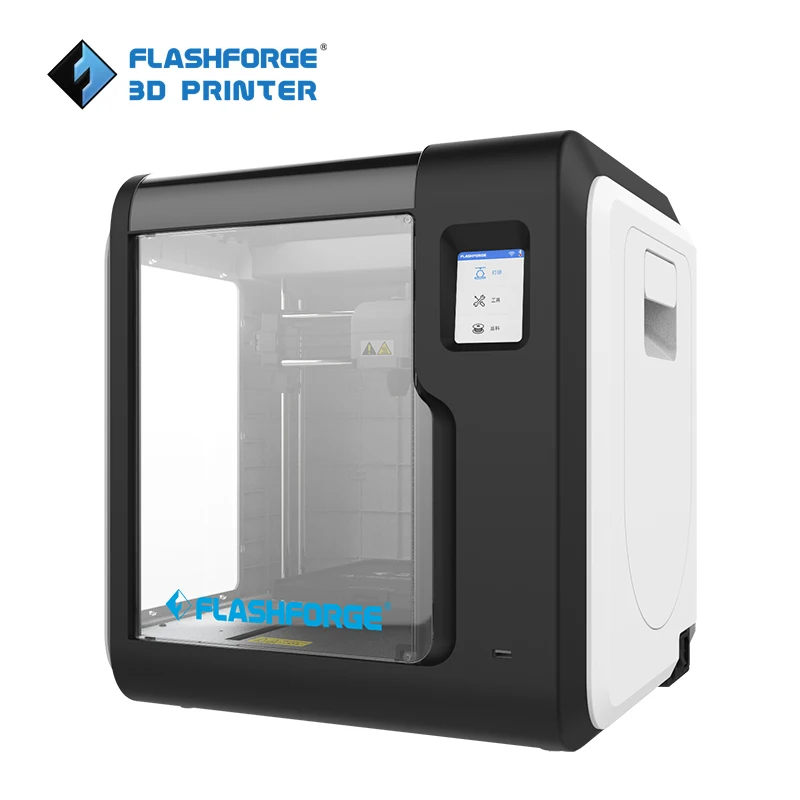 If you need to change all the settings back to default, press the ‘Reset Motherboard Completely’ button.
3D printer FlashForge Finder 3. Review, testing, impressions.
I have not written anything here for a long time, a lot of material has accumulated for various printers. But one came, with whom I decided to start publishing. Moreover, a novelty has arrived, which was just produced by FlashForge. This is the Finder3 model, as the name implies, this is the third model in the line.
As I understand it, Finder has always been a line more focused on educational institutions, various hobby centers, and people who do not want to go into the details and assembly of the printer, but get it out of the box and print. Of course, they are more in demand in America and Europe, but we also meet often.
The box is of course huge, we are immediately greeted by instructions, and a set of Pei sheets with a self-adhesive magnet and a flash drive.
There are a lot of packages. A lot of cardboard, which is filled with everything that is possible, the mechanics are tightened with clamps and warnings are added that need to be removed before starting work. By the way - the box and all the contents arrived in perfect condition, it pleases.
The kit includes a set of tools (although I don’t even know why they are needed here), a narrow spatula (palette knife), glue, grease, a small probe of Pla plastic, a spare nozzle, a nozzle cleaning needle.
The first thing that caught my eye was the glass fastening. These are not standard braces and various braces that various sellers invent. At the back, the glass has a groove into which it is inserted, in front there are two eccentric clips with which the glass is clamped.
Table bearings are also unusual. This is a one-piece bearing with a mounting platform in the center. This was done by our printers on DIY projects, usually assembling from two short bearings, clamping them on both sides. Plus the very base of the table is steel, bent. The table is held in one piece.
So, the process of assembling the printer consists of two things (besides taking it out of the box and removing all packaging) - this is to stick the material supply tube into the extruder and install the spool holder
And this is how it looks.
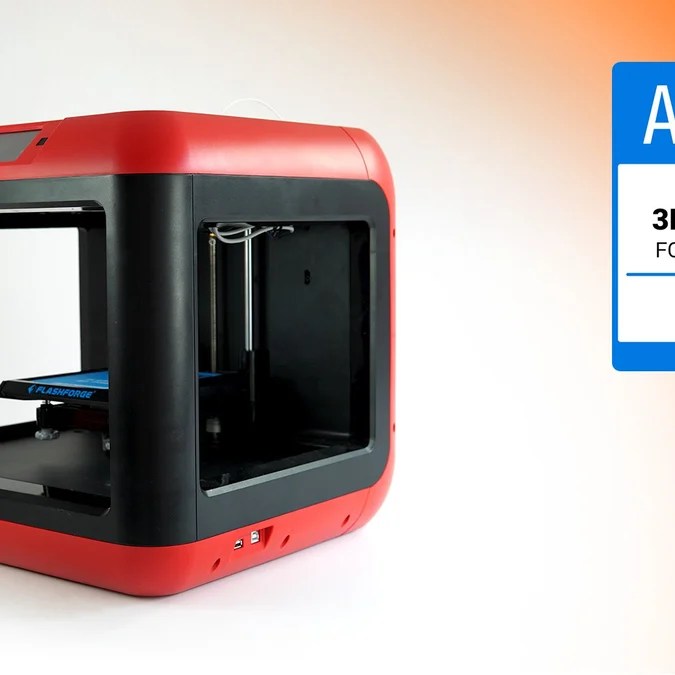
First of all, he is handsome. Nothing to say here. Just a neat printer, without protruding wires, iron profiles, etc. Plastic injection molding is top notch. Added different accent inserts.
Direct extruder installed here. Exactly the same as it was in the Voxelab Aquila S2 which I reviewed in detail earlier. Surprisingly, here they position it as 260g maximum, although in Aquila it heats up easily and works at temperatures of 300g. Inside is the same bimetal as it was there.
By the way, Finder3 is the same Voxelab Ariec (which was on sale for a very short time, I didn't even have time to buy and try it), but improved. At least the direct extruder costs, unfortunately I don’t know big differences.
There is also a board on the head, where everything is connected and it is easy to disconnect and replace in case of further repair, there is a free entrance for the BLtouch sensor, and if I understand correctly, even a mount for it. I'll get ahead of myself by typing on it, I don't see any need for it. The table is small, even, the parts stick without problems.
There is a small bonus on the head, very nice. This is a small LED to illuminate the printed area. It turns on and off from the screen both before printing and during printing. It is not super bright, but illuminates everything you need enough.
And yes, the printer is plastic. Almost all. True plastic is a sandwich everywhere, with stiffeners everywhere. And there are several steel plates for rigidity. One under the table, one at the back, and one at the bottom of the printer. In general, the printer, if you drag it around, does not feel flimsy, it is assembled monolithically. Yes, of course, the rigidity is not as if it were all-metal, but I think it will fulfill its tasks in full.
And now let's get under the bottom. All electronics are their own. Drivers are quiet all around. The power supply is standard 350w, but low profile. On the Z axis, the motor-shaft, without intermediate couplings, the screw is even. By the way, the legs are rubber, as are the red corners of the printer.
The end of the filament sensor is located on the rear wall. And under the steel cover, there is actually nothing but wires. All the wires are neatly removed and there are practically no wires outside the printer.
The printer menu is convenient, there are all the necessary functions. And unlike all marlin-based printers, this one is really made for people. Especially for those who are just starting their printing journey. A minimum of buttons, pressed and he immediately does what he asked. There are no extra menus, submenus, settings, etc. This may limit me somewhat, but it is unusual that the printer does everything on its own, and there is no need to think about something once again.
The printer also has 8GB of internal memory. You can print both from internal memory and from a flash drive. Moreover, when printing from a USB flash drive, it first copies the file to internal memory, and then prints from it. Therefore, there will be no problems with the fact that the flash drive breaks and the print is rejected.
A simple example is WiFi. It is and works immediately without any manipulation. Turned it on, selected the network, entered the password, connected. The printer immediately said that there is a firmware update, offered to download it, and updated itself. This is of course a big difference with DIY printers. I patted it straight)
Table calibration is also very convenient. Only two lambs in front. First, he rises to the center of the far point and asks to set the offset, that is, to select the value when the nozzle rests on the table. Then it will move to the front left corner for you to adjust with the thumb and further to the right corner. And that's it, the calibration is over.
Instructions in the style of the whole printer. Everything that can be done intuitively is described in detail in it. Even how to stick a magnet and install a Pei sheet.
Actually, this is what I will do. The glass included is good, but after trying Pei sheets I switched to all printers on them. It is very comfortable. And in general, it is much more durable than glass. Therefore, I decided that I would not put glass on it, and removed all unnecessary fasteners. And put on a magnet. By the way, the magnet is narrower than the width of the table, but the print area is just not for the entire table, so there will be no problems with this.
First of all, I installed the complete plastic probe and ran the finished cut file that was on the printer. No settings, just click and print.
The first impression is very very good. For a printer that I took out of the box and pressed print.
There was one more file on the flash drive, I launched it for printing. That's all that was enough for a probe of plastic.
Everything is clear with PLA plastic. And with default settings. Now I decided to start the slicer and print PETG. The printer slicer uses its own, FlashPrint 5. This is the main slicer for all Flashforge printers.
I have an old Flashforge Inventror (which I think I will talk about here soon), I worked on it in this program. There are enough settings in it, updates are constantly coming out. Various features are being added. There are also tree-like supports, and the ability to cut the part directly in the slicer and customize anything you want.
I upped the speeds a bit, adjusted the flow to my PETG and started the vase. It turned out quite well.
Moreover, I decided to print some small details on it. Of course, I would like to use a smaller nozzle on them for them, but what do we have. At least you can appreciate the flatness of the table and how the parts adhere to the PEI sheet. Everything imprinted, no hairiness from PETG, nothing came off.
As a result, what can I say. This is certainly not a replacement for some top-end printers that print fast, engineering plastics, and so on. If you take it as a printer to get started, or to some educational institution where you need it to work and print without any adjustments and tunings, it is perfect for this purpose. The menu, the printer itself, the slicer - they tried to do everything for “people” who are far from this whole area and just want to print.
Flashforge Foto 8.9 3D printer overview
Reviews
Subscribe to the author
Subscribe
Don't want
1
FlashForge is a frequent guest of our reviews, we have already considered several excellent devices from FlashForge 3Dge photopolymer printer.
LIDER-3D is with you and this is a review of FlashForge Foto 8. 9 3D printer.
Contents
- Unpacking and packing
- Appearance
- Specifications
- Control screen
- Software
- Print examples
- Video review
- Total
- Where to buy?
Unpacking and packing
We can only say one word about the unpacking - the box.
With the package, everything is also standard and usually like most 3D printers - a couple of spatulas, a power cable, instructions, hex keys, gloves and resin funnels.
Appearance
FlashForge Foto 8.9 is very similar to one very famous device from Anycubic. I hope FlashForge will not be offended by such a comparison, in any case the shape and design are excellent. We sincerely do not understand why invent some new tricks in this regard. However, there is a nuance - the body is metal. And that adds weight.
And one more point that relates either to the design or to the configuration - an external power supply.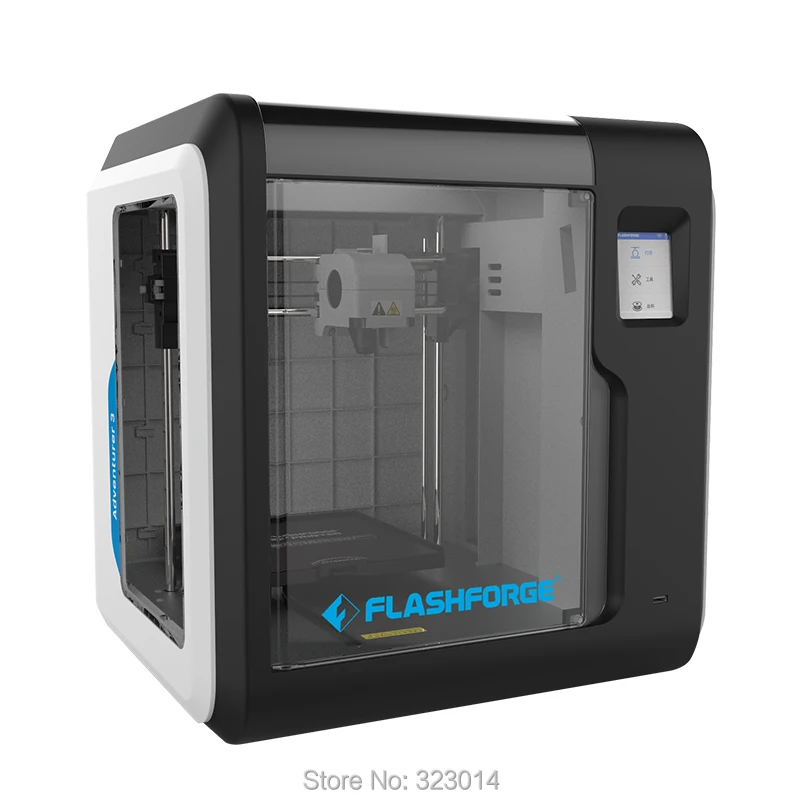
Specifications
Now let's talk about the most important thing. FlashForge Foto 8.9 3D printer is a semi-professional photopolymer printer with a monochrome 4K matrix.
The large sensor resolution, high quality light sources and mechanics, and support for 8X anti-aliasing allow him to create extremely accurate products with a smooth surface.
The printable area is 192×120×200 mm, which is slightly larger than other devices in this class. Matrix resolution 3840×2400.
In addition to the fact that the monochrome matrix lasts much longer, it also speeds up the curing of the layers. The maximum print speed of Foto 8.9 reaches 50 mm/h.
As for the hardware itself, firstly the print platform is calibrated with 4 screws and has two handles on the sides. For some reason there are 4 recesses in the platform, why they are needed other than to add time to you when cleaning the platform is not clear. Not critical, but annoying.
The resin container does not have any noteworthy features, except for the presence of handles on the sides. This is a useful addition that all SLA printers need. Oh yes, there are also four protruding screws on the bottom of the container, so that the container can be safely placed anywhere without fear of damaging the FEP film. a small but useful addition. The combination of double linear guides and a new motor significantly increases the stability of the movement of the platform along the Z axis and reduces the possibility of layer shifting. As a result, we get accurate geometry and a smooth surface without artifacts. I also want to note the overall strength of the platform holder, it is a good solid piece of metal.
Control screen
A 3.5 inch touch screen helps you manage this printer. Unfortunately, for all its commonness, the touchscreen managed to arouse our indignation - the problem is that it is dark, I really wanted to raise the brightness, but there are simply no brightness settings. We hope FlashForge will solve this problem.
Software
FlashForge Foto 8. 9 is supported by the popular Chitubox slicer and has its own FlashPrint slicer.
Here, too, there were some nuances, when choosing a preset in Chitubox, the g-code is saved in the .fbg format, but the printer itself does not support this format, it needs the .svgx format. Oddities of our town…
A selection of articles from the "Knowledge Base" section from the LIDER-3D website: 1) Guide: 3D printing figurines • 2) SLA vs. SLS - a simple explanation • 3) How to choose a good portable 3D scanner
Printing examples
By the way, we used this resin - Elegoo ABS-Like Resin.
Video review
Summary
FlashForge Foto 8.9 has a lot of great features, it's easy to use, well built and produces excellent quality models. But the photo also has a few rough edges. Perhaps the most unpleasant is connected with the printing platform.
There are a large number of photopolymer printers on the market now, and among all FlashForge Foto 8.9 definitely deserves your attention, in the hands of experienced users Foto 8.9 can definitely reveal its potential, but for beginners it is hardly suitable.
Thank you all, the material was prepared by a team of LIDER-3D specialists, we will be glad to hear your questions in the comments.
If you are interested in Flashforge Foto 8.9 3D printer, you can get detailed expert advice by contacting us at LIDER-3D, as well as purchase this equipment on our website.
Follow us on social networks: Telegram, VKontakte, Ya.Zen, RuTube, YouTube, TikTok, My World, Odnoklassniki to be the first to receive the most interesting materials!
Article comments
More interesting articles
32
Subscribe to the author
Subscribe
Don't want
Greetings, dear reader! In this article I will try to share my experience in creating.