How to 3d print from tinkercad
ERROR - 404 - NOT FOUND
- Home
- FNORD
Our server gnomes couldn't find the page you are looking for.
It looks like you mistyped the URL in your address bar or have followed an old bookmark.
Perhaps some of these may interest you?
Miniature Solar Cell - BPW34
In stock PRT-09541
1
Favorited Favorite 36
Wish List
Smart SMD Tester
In stock TOL-10829
$29.95
1
Favorited Favorite 18
Wish List
Kitronik :MOVE mini MK2 buggy kit
Out of stock ROB-16787
$32. 50
Favorited Favorite 2
Wish List
Nicla Sense ME
17 available SEN-19727
$82.95
Favorited Favorite 3
Wish List
Rechargeable Wooden "Candle"
December 1, 2021
If you have a craftsman in you, this little project is a great way to use up some excess wood and makes a nice gift for the holidays.
Favorited Favorite 1
Get Started with the Raspberry Pi Zero 2 W
December 23, 2021
A new Basic Kit that features the Raspberry Pi Zero 2 W is here along with two new IR sensors and a MicroMod screwdriver.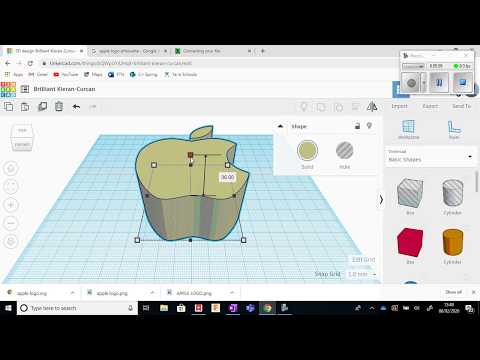
Favorited Favorite 1
Setting up Raspbian (and DOOM!)
December 19, 2013
How to load a Raspberry Pi up with Raspbian -- the most popular Pi Linux distribution. Then download, compile, install and run the classic: Doom.
Favorited Favorite 11
ERROR - 404 - NOT FOUND
- Home
- Whoopsie-Daisy
Our server gnomes couldn't find the page you are looking for.
It looks like you mistyped the URL in your address bar or have followed an old bookmark.
Perhaps some of these may interest you?
SparkFun Big Red Box Proto Board
In stock DEV-13317
1
Favorited Favorite 21
Wish List
SparkFun Raspberry Pi 4 Desktop Kit - Without Raspberry Pi
17 available KIT-17727
$104.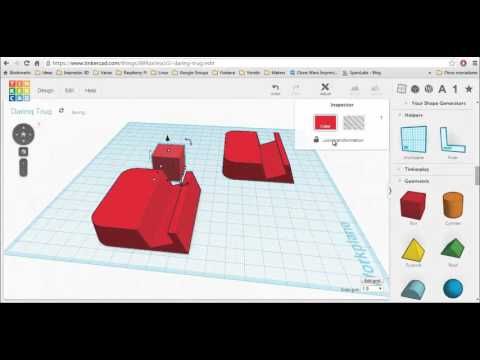 95
95
Favorited Favorite 0
Wish List
MIKROE Power MUX 2 Click
Out of stock DEV-19278
$28.95
Favorited Favorite 0
Wish List
MIKROE LLC-SPI Click
Out of stock DEV-19881
Favorited Favorite 0
Wish List
New Versions of JetBot and Thermocouple Breakouts
March 13, 2020
The JetBot Kit v2.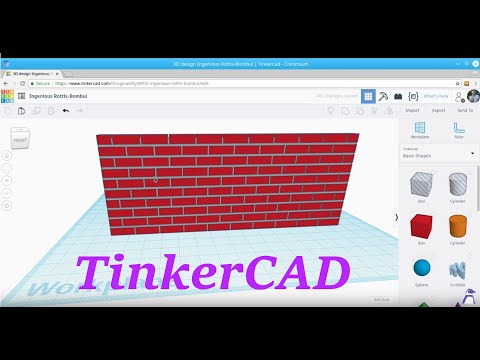 0 was released earlier this week, but we also have two new Thermocouple Amps and Current Sensor Breakouts available!
Favorited Favorite 0
MicroMod-Controlled UV Lightbox for Exposing Blueprints and Burning Silkscreens
May 5, 2021
With a strip of solderable UV LED tape, a cheap poster frame, some scrap wood and a few Qwiic-enabled breakouts, I built this simple tabletop UV lightbox with a countdown exposure timer.
Favorited Favorite 3
LilyPad Development Board Hookup Guide
July 28, 2011
The LilyPad Development Board is a sewable electronics prototyping board that you can use to learn circuits and programming with Arduino, then break apart to make an interactive fabric or wearable project.
Favorited Favorite 3
PIC-Based Serial Enabled Character LCD Hookup Guide
May 29, 2018
The PIC-based serial enabled character LCD backpack is a simple and cost effective solution for interfacing to character Liquid Crystal Displays (LCDs) based on the HD44780 controller.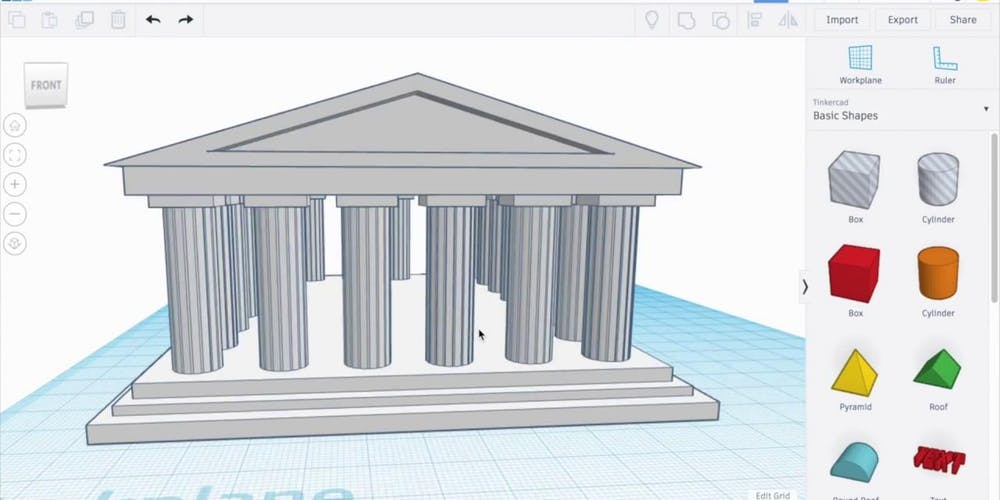 The backpack simplifies the number of wires needed and allows your project to display all kinds of text and numbers.
Favorited Favorite 4
Tinkercad for dummies. Part 1
For a long time I did not write anything on Tudey. I am headlong into '3D Printing Wizard' and am finishing a new book. For the third time, by the way. In compensation for my absence, I am posting interesting material for beginners for your judgment.
Let's take a closer look, I think the easiest and most convenient editor for preparing models for 3D printing, for beginners. It's called TinkerCAD. This is an online editor. You don't even need to install anything.
It is located at www.tinkercad.com. It's free. It was originally made by independent developers, but was later acquired by Autodesk. A well-known software developer, including AutoCAD, 123Catch and many other programs. Currently, you can register in Tinkercad using a single Autodesk account.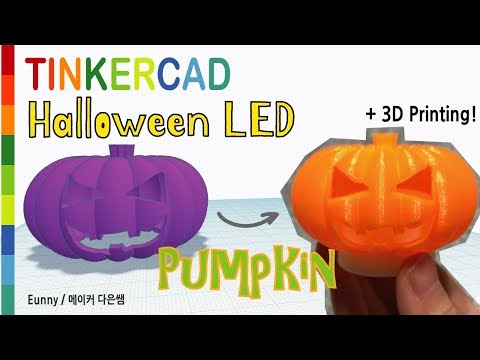 nine0003
Sorry, this product is only available in English. But it is quite simple, and it will not be difficult to master it, even if you do not speak the language.
Your All Designs section will be empty. I just found the Russian alphabet here. And also experiments - I want to make an analogue of a trolley and a control unit from the Lego Power Function set from the existing set of spare parts from a Chinese radio-controlled car in order to motorize Lego sets for my sons. Make it cooler than the original - they have IR, and I will have radio control. ) nine0003
The following menu items are marked with arrows.
Features - a demonstration of the features of this editor.
Learn – learning. There we will see several training videos and at the very bottom a table with editor hotkeys. We will consider them a little later.
Gallery - gallery of models of users who posted them in the public domain. You can also do this with your creations or take and copy the model you like to your profile. nine0003
Just when I was preparing this book, I found a ready-made Russian alphabet. Many of my students have asked me about this. Now I'm giving you a solution. Link to the model - https://www.tinkercad.com/things/8bgg4oesXBD-russkij .
There is a blue “Create new design” button in the middle of the page.
By clicking on it, you get to the window for editing a new model.
You will see a desktop in front of you where you will create your creations.
Now I will briefly tell you what and why. And then we will go through all the points in more detail. nine0003
Top left menu Design, Edit and Help Help in English.
Just below the appearance control buttons, rotate, move the model.
Top right button - Undo Redo - roll back or redo the editing action. Buttons Adjus t and two grouping buttons.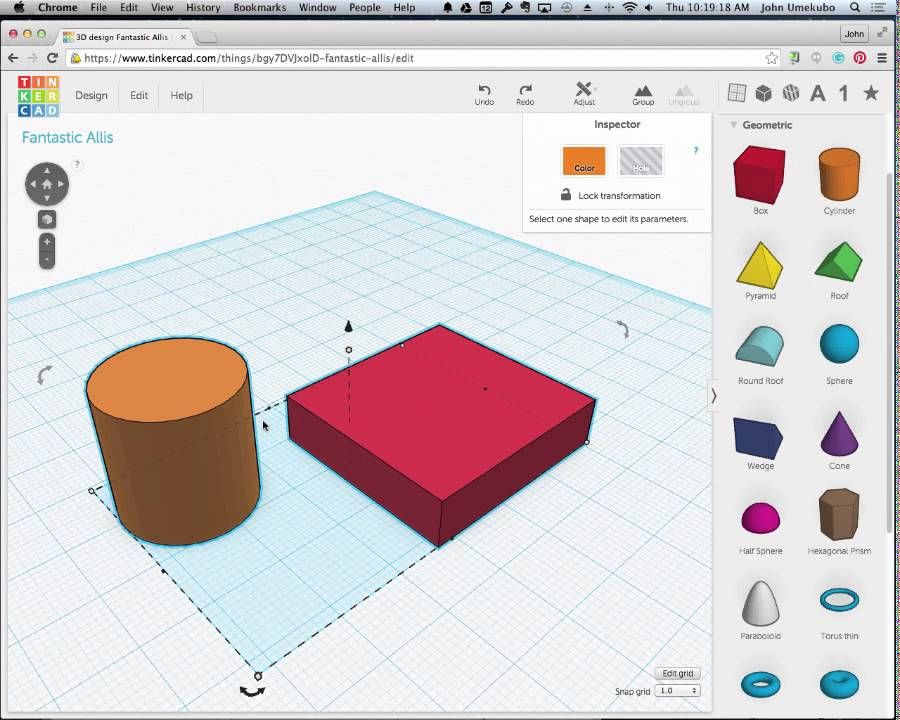
Next are the quick tool selection buttons on the right. We will also consider them in more detail later.
Consider the first menu Design
It consists of the following items:
New - create a new model
Duplicate - copy this design and make a new model. For example, you need to have several variants of the same product.
Save – save all changes. The changes are saved automatically. This button is more needed in case of some unforeseen circumstances
Properties - in this menu you can change the name of our model. The name is given automatically and is usually some kind of rubbish. If you want to have an intelligible name - you are here. Here you can also change the type of access. Make your design public, for example.
Download for 3D Printing is our main button. By clicking this button, you will be able to download your creation in a format convenient for you for 3d printing. The following formats are available - STL, OBJ, X3D colors, VRNL colors and in SVG vector format, which is used in laser cutting. nine0003
Download for Minecraft - you can download your models to use in Minecraft.
Order a 3 D Print - order 3D printing on one of the foreign services
Upload to Thingiverse - upload your model to your profile on Thingeverse.
Close – close the window.
Menu Edit, everything is simple here :
Copy – copy the selected fragment.
Paste - paste previously copied
Duplicate - create a copy of the selected fragment.
Delete – Delete the selected fragment.
The next point of UndoRedo needs no explanation.
Let's move on to the button Adjust
There are only two items in it.
First item Align is a very interesting and useful feature for merging objects together.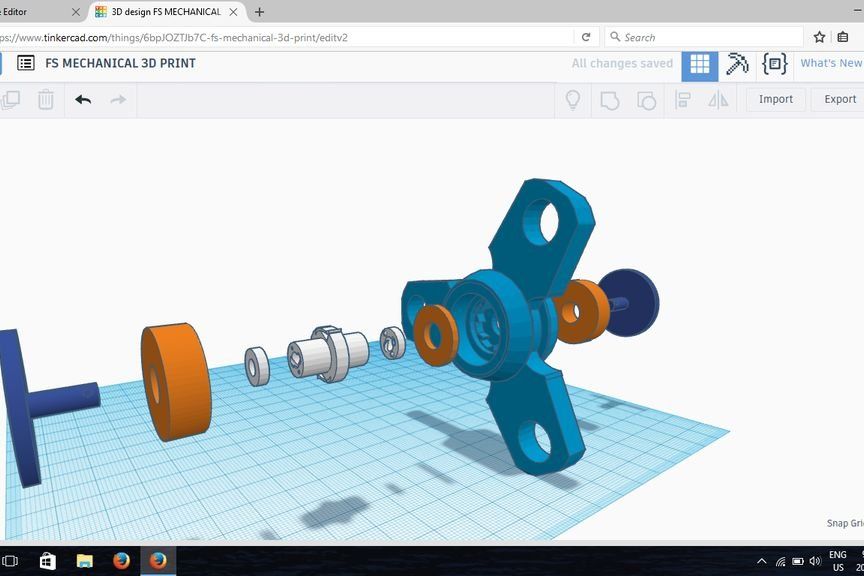 Or rather, with the help of it, you can position one object on the edge of another. Or maybe right in the middle. Without trying to manually catch the desired point. The program will do everything for you. You can see the capabilities of this function in more detail and clearly on my training video. nine0003
Second item Mirror . Everything is simple here - “mirroring” your object along one of the axes.
Next, consider the right menu, where all the main tools are located.
The very first item Favorites - here you can add your favorite instruments.
Next VERY useful item. This is Import . With it, you can import into your editor both the finished model in stl format and the vector svg format. That will allow you to translate 2D drawings into 3D. For example, you can import an image and make some kind of souvenir with a relief according to the drawing.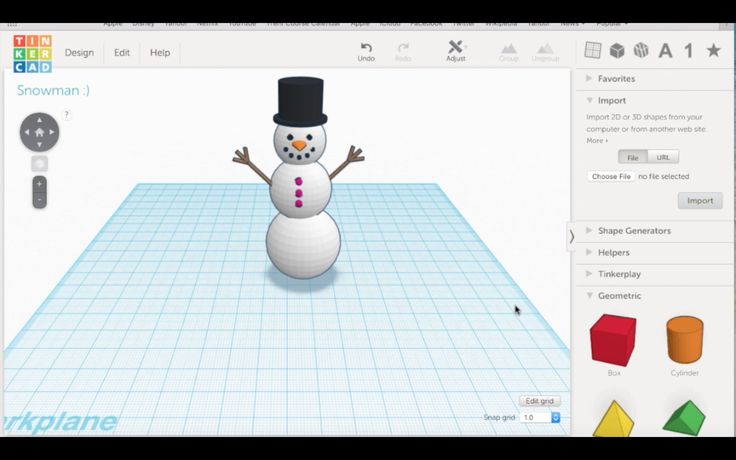 Medallion with a profile of a person with a photo for example. The breadth of possibilities is enormous. This function works much easier and more convenient than in most other editors. nine0003
The next menu is Shape Generators, it has three submenus.
Tinkercad are customizable primitives from the creators of Tinkercad.
The second huge menu Community - products created by Tinkercad users. It has a lot of “tasty” things that we will cover in the following chapters. For example - ready-made models for the manufacture of gears, threads, multi-beam stars, spirals. In general, what can be calculated using formulas according to ready-made parameters, but it is difficult to draw manually. nine0003
Third - Your Shape Generators - here you can create your custom primitives.
Next item Helpers - additional rulers for ease of positioning
And menu Tinkerplay - it contains ready-made modules for making a "constructor".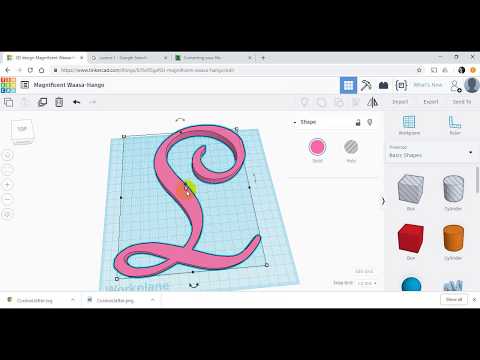
Next is the most "working" point. This is Geometric . It contains all the basic primitives for creating 3D models. By combining the shapes in this section, you can create most models. Everything is clear - you can pull it to the desktop and change any of their dimensions for these figures. nine0003
Next item Holes Holes are basically not needed. Why? Any figure can at any time be made either “material” or a hole. I combine it like this, you can create very complex products, without particularly straining. It is enough to select a model and a menu will appear in which we will change its properties with one click.
Next we see clear menus Letters, Number, Symbols – Letters, Numbers and Symbols. Ready-made models that you can use in your creations. The only thing is that the letters are only Latin. You can combine them to create Russian letters. But there were people and they made a Russian font, which I wrote about above.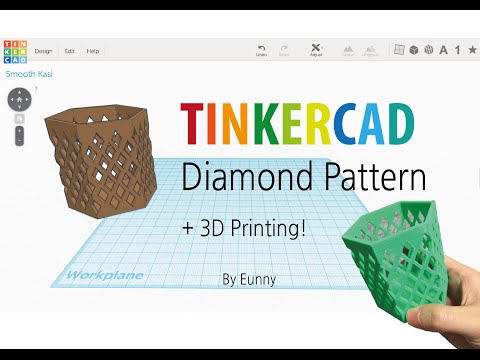 nine0003
The next tool item available is Extras . It appeared apparently along with the creation of this editor. On the examples from this menu, the creators made a lot of demo materials. With the help of these models, you can create various birds))
As you can see, everything is simple and affordable. And right now you can start creating your first models in TinkerCad, instead of tormented by studying multi-page manuals for other serious 3D editors. Next, we will consider some points for creating applied products in this editor. nine0003
This is an example of one of the chapters in my new book. It contains information for beginners about many subtleties of printing. It also describes most of the programs used in 3D printing. For some of these programs, by the way, there was simply no description in Russian.
They scolded me here for bullying everyone with sales. No sales in the book - only technical points. Only hardcore for dummies. Well, who cares, knows what to do ....;)
3D modeling for kids, or What is TinkerCAD? nine0001
The direction of three-dimensional graphics in our Center is young and very popular. Every Sunday, guys aged 8-12 gather in room 225 on the second floor and design 3D models, and then, together with their supervisor, print them on a 3D printer.
How the work is built, why be able to model at all, and why 3D printing is not an end in itself - this was told to us by the head of the project Ivan Andreevich Kirpa .
– What are the stages of the lesson?
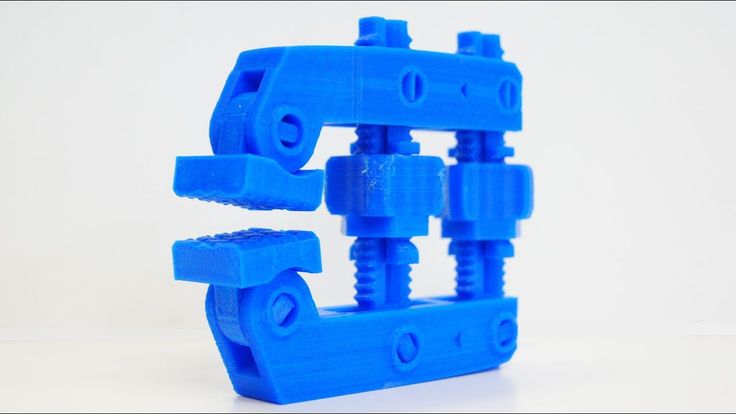
- We take into development a specific object from the surrounding world: a building, a vehicle, a character from a cartoon or a computer game, some simple tool or device - and step by step we construct this object in a software environment on a computer. It usually takes about 1.5-2 hours to implement an idea in the form of a simple 3D model.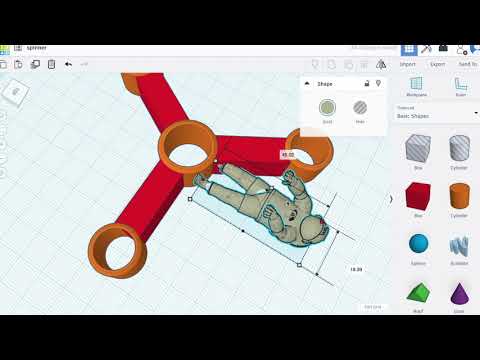 The first stage of work is "decomposition", that is, the breakdown of the selected object into its component parts. The guys and I are analyzing what possible parts of what geometric shape this model consists of. After that, we create the main three-dimensional forms of the object and begin to "dress" it with various elements, working on small details. This is followed by printing on a 3D printer - the entire model at once or in parts, if it has, for example, moving parts. So in practice the skill of creating large and complex objects from simple geometric shapes is formed. nine0209
– Can you tell me more about printing?
- We have a 3D printer that is able to reproduce a virtual model in real material - it can be hard plastic or flexible rubber-like, in different colors. The first half of the lesson is usually devoted to modeling on a computer, in the second half we start printing finished objects. Previously, I process the model myself in a pre-printing program - a slicer, prepare a 3D printer for work, launch and control the printing process. For safety reasons, children are not directly involved in the operations of the 3D printer, but they observe how it works, along the way asking questions of interest to them. If the model is complex, printing continues after class. nine0003
At the time of printing, the guys see what improvements the model needs, and then, if necessary, make changes to their projects. Printing as many items as possible on a 3D printer is not an end in itself - each printed model is necessary for a better understanding of its structure and functionality. Well, brag about it to friends or to please parents, of course, is also nice. This is already a motivation.
- What program is used to design a 3D model? nine0196
- The program is called TinkerCAD - a product of Autodesk, well-known for its computer-aided design and drafting program AutoCAD. TinkerCAD was created for children and anyone interested in 3D modeling as a free online platform for learning basic 3D modeling with the ability to print a model on a 3D printer.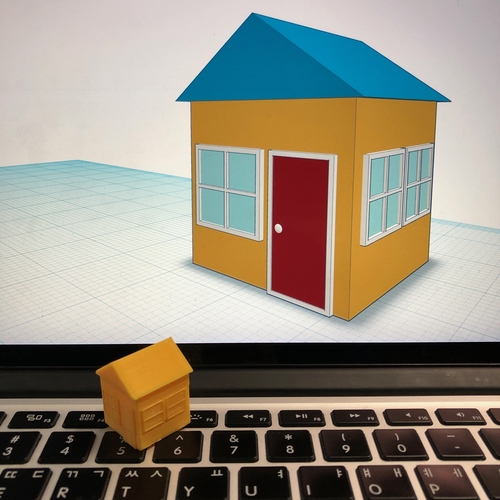 To optimize the educational process, the platform website provides classes in which teachers can view, comment on and, if necessary, correct the work of their students. nine0003
– What is the main goal of learning 3D modeling?
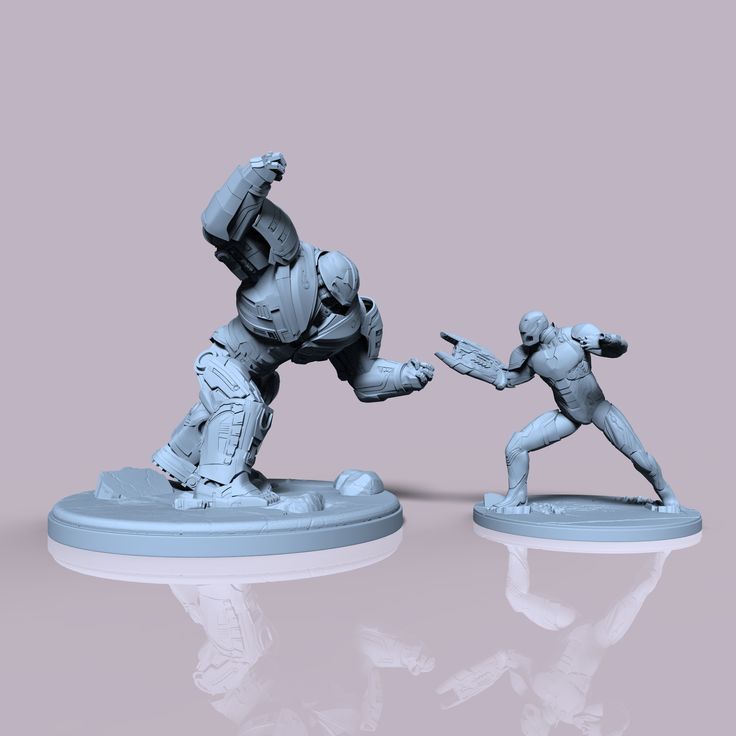
- The main thing is the development of spatial thinking, so that children can easily operate three-dimensional figures, see what complex objects consist of, what parts. For example, when we dismantled the model of a football player, for a better idea, we ourselves stood in a circle and tried to portray this pose: this is how the legs are, this is how the hands are located. The study of 3D graphics is an acquaintance with the outside world, the formation of the skill to recreate what the eye sees in the form of a digital copy, as accurately as possible, as accurately as possible. nine0003
- Can this be attributed to the development of a child's artistic perception?
- Yes, and with a bias towards volume. Our format is different than drawing or graphic design because we always work in 3D. I don’t know if the skill of three-dimensional thinking is developing for other types of creativity, that is, if a child, having attended my course, will be able, for example, to mold a figure out of clay, looking at a photograph ... but some abilities will still be developed in this direction: he will be able to decompose the image and recreate by elements what he sees in the photograph. nine0003
In addition, 3D modeling develops engineering skills. To design, for example, a car and a garage for it, we analyze various detachable connections, get acquainted with the basic concepts of "dimensions", "size tolerance", etc. The task is to connect the elements into a whole after printing and so that everything fits together and works perfectly .
– Do you remember your very first 3D printed model?
– Oh, it was a long time ago... in my opinion, a lion cub. It was a model that came with a printer on a USB flash drive.