Glass plate 3d printer
3D Print Bed Plate – Glass Vs Aluminum Vs Spring Steel – 3D Printerly
Most 3D printers will be equipped either with a glass or aluminum bed surface, both having their own advantages. You also have another candidate which is spring steel, so how do you know which one you really want to print with?
Choosing the right 3D printer bed is something that will affect your 3D printing journey, either for better or worse. This post will help you to identify which print bed plate you should be using on your 3D printer.
There is a difference between your 3D print bed plate and the build surface. Here we are talking about the bed plate, directly on top of the heated bed, so let’s look into the comparisons between glass, aluminum and spring steel.
3D Printer Glass Beds
You have a few types of glass print beds, so I’ll go through each one to give you a better understanding of the choices you can make.
- Borosilicate glass bed
- Tempered glass bed
- Normal glass bed (dollar store, scanner glass etc.)
- Mirror
Glass beds usually tend to be flatter, easier to clean, and simpler to use overall. Many people love the nice bottom surface finish you get on PLA and other materials from printing directly on a heated glass bed.
They are also cheaper depending on what type of glass you get, but the more you pay, the better quality you’re likely to get.
Borosilicate Glass
Borosilicate glass is the print bed material you want for ideal print quality.
It’s very popular in the 3D printing space for many reasons, the main ones being:
- It’s very strong and durable
- Has high temperature resistance and low thermal expansion
- It can chip, but it’s very less likely to with the right care
- Easy to try build surfaces with (glass in general)
- Cleaning glass is much easier than aluminum or steel
- Known to sometimes have adhesion issues
Borosilicate glass is made by combining many chemicals together, with the magic one being boron trioxide.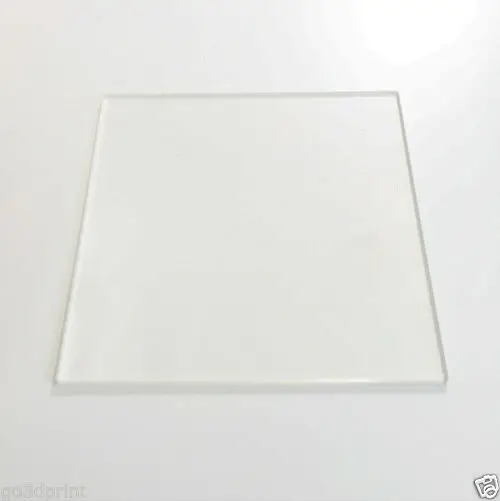 You can actually use this type of glass in a freezer or pour boiling hot water in it.
You can purchase a high quality Dcreate Borosilicate Glass from Amazon at a great price. It’s highly-rated, easy to clean and comes with a 12 month, hassle-free warranty and replacements for quality.
Trying to remove a print from a heated borosilicate glass can result in chipped glass.
You’ll find this type of glass being used in some Pyrex products because it has more resistance and is stronger than your normal glass.
Compared to other types of glass, borosilicate has a higher level of thermal shock resistance and a lower thermal expansion factor.
Once this glass has been tempered and in its final form, it can’t be cut or physically altered.
Tempered Glass
There is also Tempered glass which is a good print bed for you to use.
The chances of this print bed flaking while trying to remove prints is very rare and it is stronger than normal glass and shatter-resistant.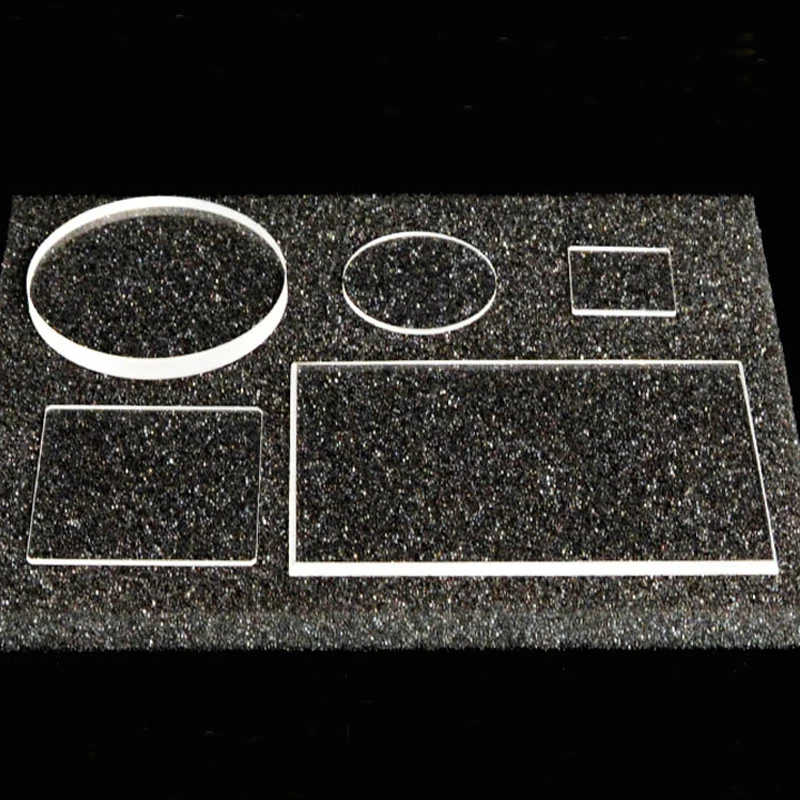 This type of glass is usually found in laboratories, safety glass windows or doors.
Rather than shattering, it breaks into several fragmented pieces that still connect together. This is why hockey rinks use this same glass to protect people in the crowd.
The way Tempered glass is treated, it is a lot stronger and heat-resistant compared to normal glass.
In a 3D printing environment, some people have had Tempered glass beds run for thousands of hours of printing without running into any issues.
It’s a fairly popular choice to add to your 3D printer so definitely consider Tempered glass.
- Much stronger than regular glass
- More heat-resistant
- A lot safer because it is shatter-resistant
- Less likely to chip under high temperatures
Normal Glass
Some people even use picture frame glass or cheap dollar store glass for their 3D printers, and although it might work for some time, they are a lot more prone to chipping and breaking.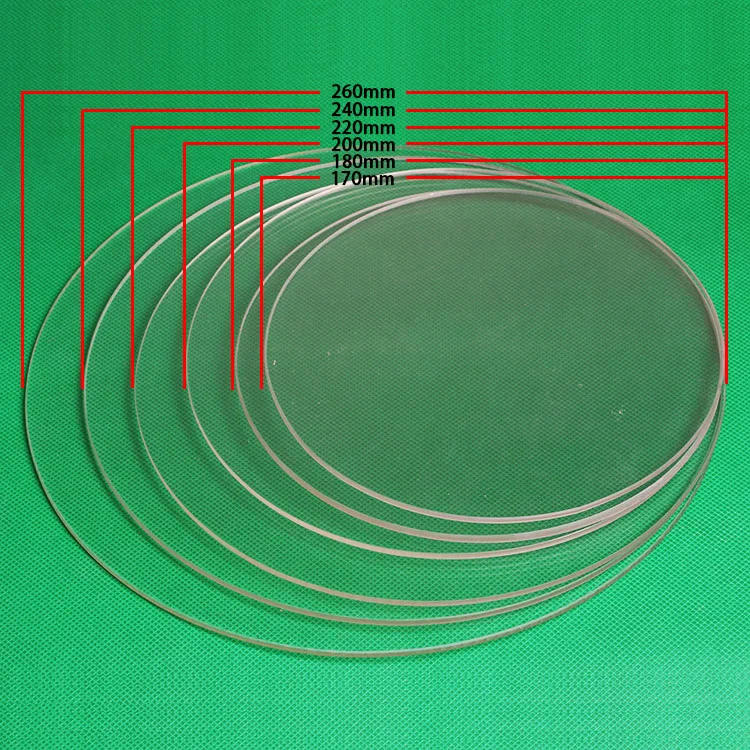
You can even use normal glass plates on top of your heated borosilicate glass. You won’t have to wait for prints to cool down to start a new print, just put another sheet of glass on top and begin printing.
There are some cases where people have seen their PLA or PETG prints actually take out pieces of glass from sticking down too hard. The force needed to get these pieces of the glass bed would’ve been too much so you don’t want a low quality glass bed.
As most people know, normal glass has tendencies to shatter in several pieces on impact. This also occurs with sudden changes in temperature so in a 3D printing environment, it wouldn’t be an ideal choice.
One person managed to get a glass plate from a flatbed scanner that was thrown away, he then cut it to size using a glass cutter and it has been doing a great job with printing. This glass is more likely to be treated in some way to give it structural strength.
Mirror
This may seem like an odd suggestion for a build plate, but you might be surprised! A mirror used as a 3D print bed has heard many praises throughout the 3D printing community, it just gets the job done so well.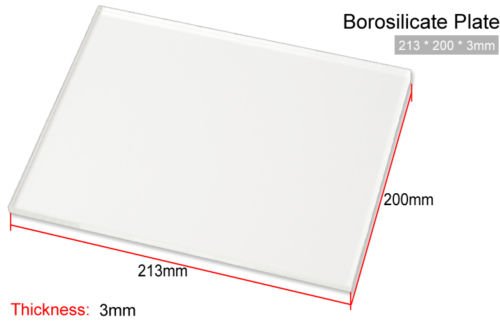
It does take some tough work to get this done, but it is worth doing if you enjoy doing some DIY.
Extra Info on A Glass Bed
- Requires raising the temperature around 10° to compensate
- It’s advised to try printing without using adhesive, then depending on the result use a small bit if necessary.
- Depending on the strength of the glass, Z endstop failures can crack a weak glass bed
- Let them cool down after a print and parts usually pop right off due to thermal expansion
- Ensure your nozzle isn’t too close to the build plate as it can make prints stick down too hard
- A heavy glass bed isn’t ideal since it can cause print imperfections like ghosting
- Leveling is easier with glass beds
3D Printer Aluminum Bed
This material has many properties that are admirable:
- It’s a lightweight material that reduces the load on the Z axis
- Has a significantly high measure of conductivity compared to other bed materials
- Very widely available to be used on 3D printers
Aluminum is widely used due to its ability to conduct heat so well, so it helps in getting an even temperature across the whole print bed.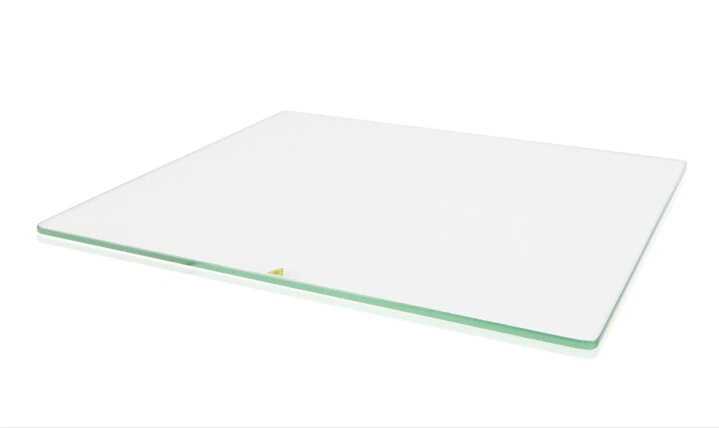 Some adhesion issues arise from uneven bed temperatures so this works out well in that regard.
My Ender 3 has a standard aluminum heated bed which works great and ihas been giving great prints so far.
If you are looking for a solid aluminum heated bed replacement, your best off going with the Official Creality Heated Bed. It’s mainly for an Ender 3 and Ender 3 Pro with 235 x 235 x 3mm dimensions.
To achieve adequate adhesion, people that use Aluminum beds usually need an adhesive substance such as Blue Painter’s Tape or Hairspray when printing difficult materials. It’s more so true for large ABS prints since they can have trouble sticking to the build plate rather than PLA.
When you 3D print on aluminum, it is likely to expand when it’s heated, resulting in a convex or concave shape over time (center higher than sides) due to its physical characteristics. You don’t get this with glass, at least at a significant enough level to affect prints.
The video below shows how you can compensate for a warped print bed with simple post-it notes!
It’s less likely to happen with filament that doesn’t require heating up your bed so high, but when it comes to ABS and other similar materials, it can definitely be a problem.
On the other hand, the expansion of aluminum from heat can be prevented by increasing the thickness of the aluminum bed (around 3mm), while at the same time, making sure it heats up evenly.
Many people actually choose to place a glass plate above their aluminum bed which works well, but it does require a longer heating time overall.
When you are trying to clean the residue (dried hairspray, glue etc) off of an aluminum bed, it is quite prone to scratching so having a build surface on top is a good idea.
If you do want to check the flatness of your bed you want to do it while it’s heated up.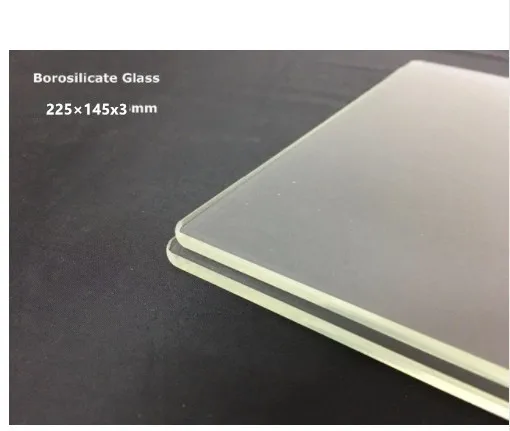 Aluminum beds may be flat when cool, but after reacting to the heat, you can start to experience warping.
Extra Info on An Aluminum Bed
- Aluminum conducts heat the best out of all bed types
- Needs replacing more often due to warping tendencies
- Works well with the popular inductive probe for bed leveling
- Won’t break due to a hotend crash
3D Printer PEI Spring Steel Bed
Spring Steel is actually used in tandem with your standard aluminum plate that comes with your 3D printer so, you just remove your original plate and stick this one down.
The adhesive behind the Spring Steel is very strong so make sure it is aligned properly before putting it down.
Spring Steel sheets have very high strength and heat-resistance, making it ideal for high temperature filament out there like ABS and PEEK.
You would see this type of bed used with a magnetic PEI bed because it sticks very well, and gives you a smooth surface for the first layer.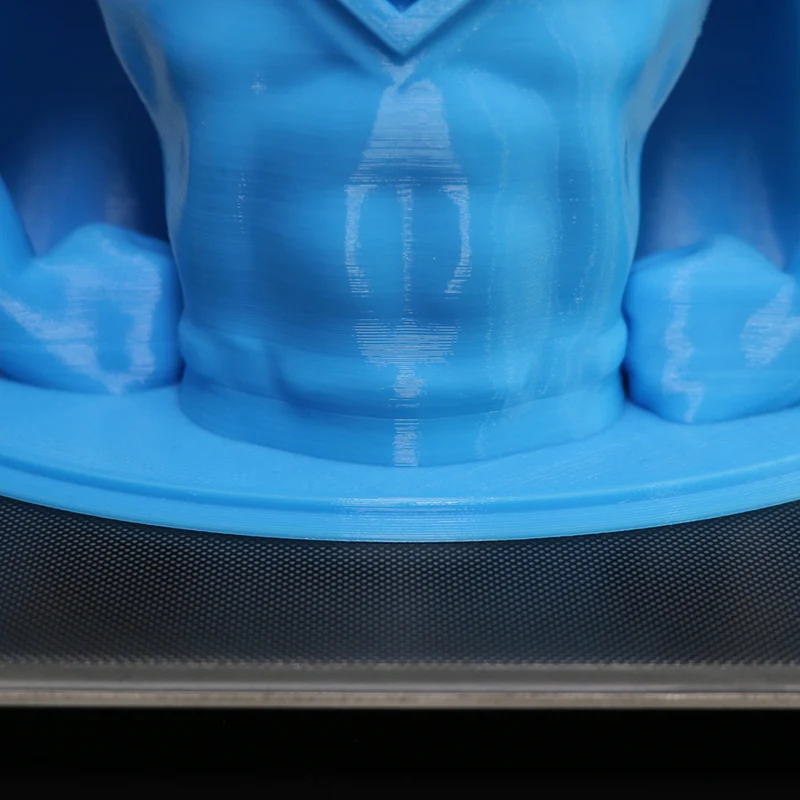 All you have to do it let it all cool down before removing the steel plate, then flexing it until your print pops off.
Spring Steel is an addition that many people wish they had gotten sooner, to save them several hours of trying to get extruded filament to stick down.
I would recommend getting the Sovol PEI Magnetic Flexible Spring Steel Bed from Amazon. It comes with a PEI plastic sheet attached with your Spring Steel sheet and a magnetic sheet.
Assembly is easy, printing is made easier, and you get better quality prints! It’s a simple choice to make if you are a 3D printer hobbyist.
Verdict
There are many people out there who have made the switch to a glass print bed and never went back. Depending on your printing needs, glass might be a great choice for your 3D printing journey.
For adhesion, simply applying a few coats of hairspray or glue stick does the trick every time. If you exclusively print with PLA, you probably won’t even need adhesive at all because the glass bed surface works just great.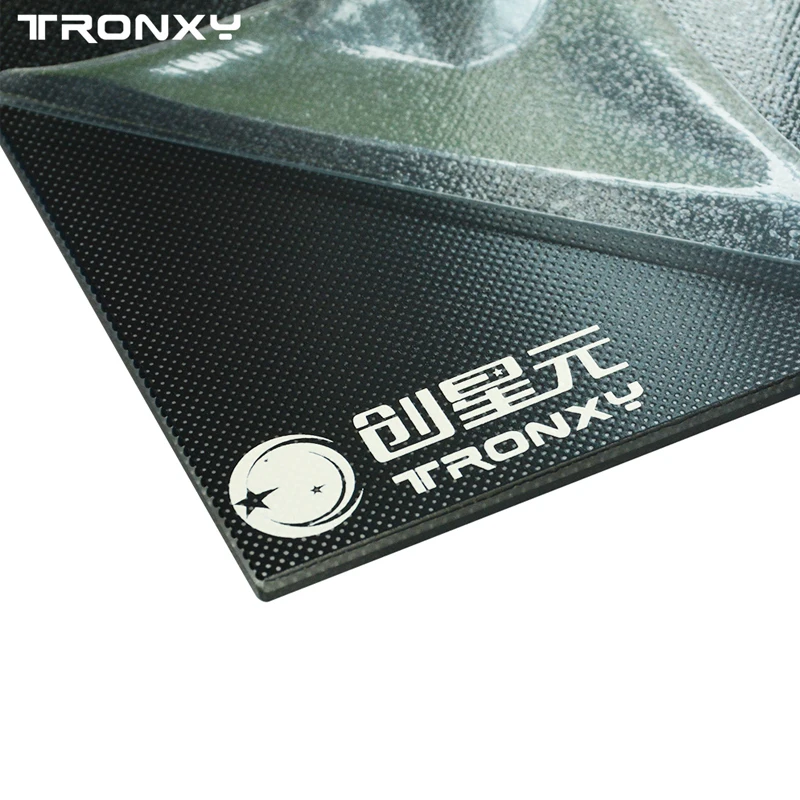
You can use a build surface like PEI, BuildTak, or some other material to add to your glass bed if you print with less manageable materials like ABS.
It seems like one of the best options is to have an aluminum build plate, then have a glass surface on top of that so you can detach the prints from the printer if need be. Just use binder caps or ZUPAYIPA Silicon Thermal Pads (Amazon) to adhere them with each other.
Instead of covering your whole bed with the silicon pad, you should cut it up into 2-inch squares and spread them out. This is beneficial because the heat rises between them so the areas which have small spaces get enough heat transferred.
It’s also a good idea doing this because it won’t act like a suction cup, making it hard to remove.
They have a good amount of grip so you don’t have to worry about your glass plate sliding around, when heat is being applied.
People have reported seeing binder clips be the cause of glass warping when they are too strongly clipped.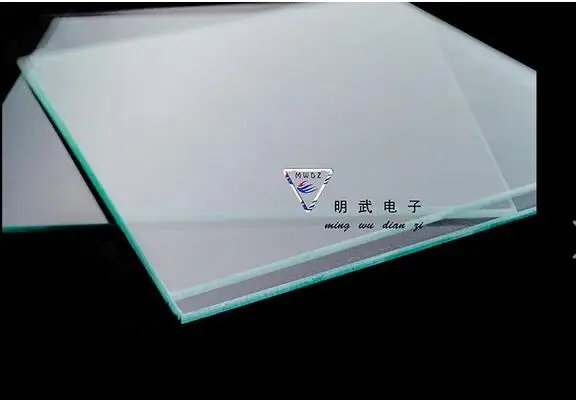 Having multiple glass plates you can swap out is ideal, so you can remove it to wait for it to cool, then use that glass plate to start another print.
Custom Glass for 3D Printing Applications
The Role of 3D Printing in the Manufacturing World
3D printing—also known as additive manufacturing—is a manufacturing process that creates physical objects from a digital model. It uses a specialized fabrication unit—i.e., a 3D printer—to add successive layers of plastic or metal material to form a 3D component. Compared to other manufacturing methods, it offers greater versatility, better cost-efficiency, and faster production speeds, especially for prototyping and small volume production runs. For these reasons, more and more manufacturers across a wide range of industries are turning to it for their product development projects.
While 3D printing is now the go-to technique for prototyping, it has also found increasing use as a primary production method in recent years.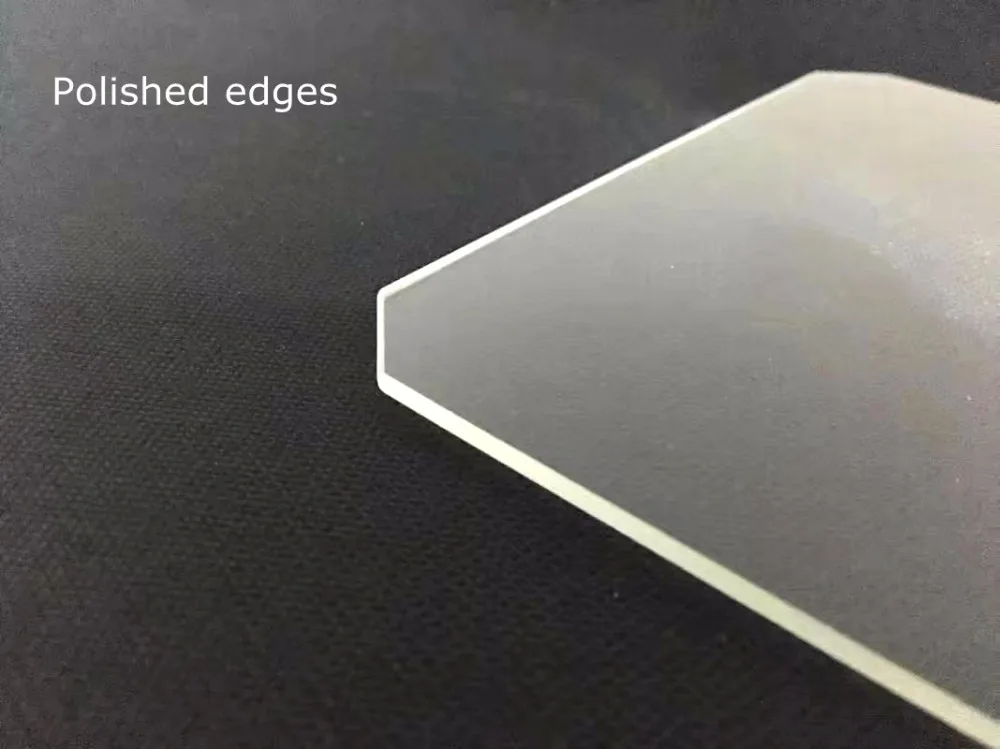 As the technology continues to develop over time, it is likely to rise even more in popularity. As a result, the demand for quality 3D printing supplies—including the printing bed—will increase too.
The Importance of the Printing Bed
The printing bed—also referred to as the build plate or print surface—is one of the most important parts of any 3D printer. It serves as the platform on which objects are 3D printed. While its primary function is providing a flat surface for the bottom layer of the print, its secondary function is providing an adhesive surface or a surface on which adhesive can be applied. Both ensure the print remains stable as it is created.
Materials for 3D Printing Beds
Printing beds are available in many variations, differing in material, surface finish, thermal characteristics, price point, and more. While they are traditionally made from metal or plastic, glass printing beds have become more ubiquitous.
Glass sheets are a simple and effective solution for print surfaces. Compared to other printing beds, they offer the following advantages:
- They are stiff and flat, meaning they will provide a solid and stable print surface for years.
- They have high material density and low thermal conductivity, which results in a longer heat up time but better heat distribution.
- They offer smoother surface finishes, making it easier to remove a finished print creating a nicer finish on the bottom surface.
Glass printing beds with heating capabilities further enhance prints by allowing for better material adhesion, a lower risk of material warping, and easier component removal.
Two of the most common types of glass used for 3D printing beds are:
- Borosilicate Glass. This specialized glass contains a high concentration of boron trioxide and silica. It is characterized by its high durability and low coefficient of thermal expansion. When exposed to high temperatures, it remains clear, strong, and dimensionally stable.

- Clear Float Glass. Clear float glass materials (e.g., soda lime glass) are a low-cost alternative to borosilicate glass. They have lower durability and a higher coefficient of thermal expansion, which make them better suited for 3D printing applications involving lower temperatures and/or more flexible tolerance requirements.
Glass Printing Beds From Swift Glass
Need glass printing beds for your 3D printer? Swift Glass is here to help! We’ve manufactured industry-leading glass components for over 100 years. This experience enables us to provide high-quality glass cutting and edging services for customers who need glass 3D printing beds. Whether you need borosilicate or soda lime printing beds, we’ve got you covered. We can produce them in a variety of shapes, sizes, and quantities to suit virtually any 3D printing need.
To learn more about our custom glass 3D printing beds or discuss how we can help with your next project, contact us today.
- I'm looking for...
- Data Sheets
- Tools
- eBooks
- Certifications & Standards
- Videos
or
Request a Quote Today
Cleaning the 3D printer table. Tips and Tricks.
3D printing is a very unstable process, I think everyone who is at least slightly familiar with plastic filament printing technology will agree with this. Unpleasant crashes in the 3D printer can occur for various reasons, and one of the most common reasons is the detachment of the model being grown from the desktop surface. And as a rule, this happens in the middle of printing, when you are already convinced of the stability of the press and are distracted by another activity.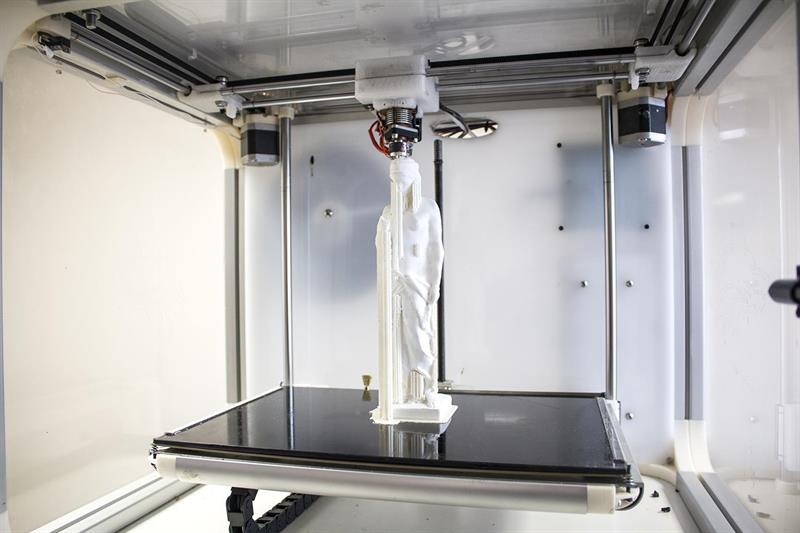 It is precisely for this reason that ensuring good adhesion of the first layer to the platform is very important for the successful completion of 3D printing.
Today there are many ways to improve the adhesion of the first layer to the bed. A lot of articles and recommendations have been written about this, so we will not talk about them. It is worth noting one of the simplest methods - is keeping the desktop of a 3D printer clean . Regular and thorough cleaning of the platform will not only improve adhesion, but will make printed models more beautiful and smooth.
In this article we will look at the best way to clean the 3D printer table, using the example of popular coatings:
Remember to be careful when using the methods below, as spilled liquid may damage the 3D printer. We recommend removing the bed from the printer before cleaning (if possible).
PEI sheet surface cleaning
Recently, PEI sheet has become a very popular material for improving adhesion in 3D printers. It provides excellent adhesion to various materials, and when it cools down, the printed model lags behind it very easily. The sheets are very simple and not fussy to use, and most often it does not require additional application of glue or adhesive tape.
Unfortunately, in order to achieve maximum efficiency, the PEI surface also requires regular and high-quality cleaning. If PEI is touched frequently, it can develop greasy spots that reduce adhesion to the material. Rough cleaning can also damage the surface and reduce sticking. Regular cleaning and maintenance of PEI will ensure that your models do not come off.
How to clean the surface of PEI
To clean this surface, we recommend using isopropyl alcohol (Chemical pure, odorless) with a concentration of more than 70%.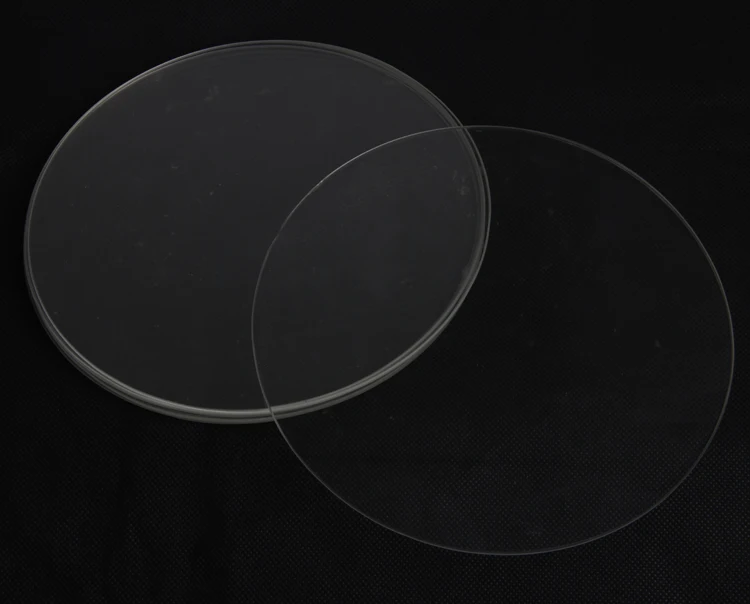 You can use it with a smell, but it is very caustic and unpleasant, the room will need to be ventilated.
Wait for the platform to cool, then liberally soak a dry cloth or paper towel with alcohol and wipe the surface. This will remove a significant portion of the fats and oils from the bed.
Acetone is also good at dissolving plastic residues on the surface. In the same way, liberally moisten the cloth with liquid, then gently wipe the surface of the 3D printer desktop. We strongly recommend doing this work in a well-ventilated area, as acetone is highly flammable and its vapors can penetrate the electronics of the device
If you have been using PEI sheet for quite a long time, and visually its resource has been significantly used up, then we recommend using fine grit sandpaper (1500+). With gentle, circular motions, sand the surface until light scratches and depressions are removed.
When should I clean?
Most manufacturers recommend cleaning the surface with isopropyl alcohol every 2 to 3 prints.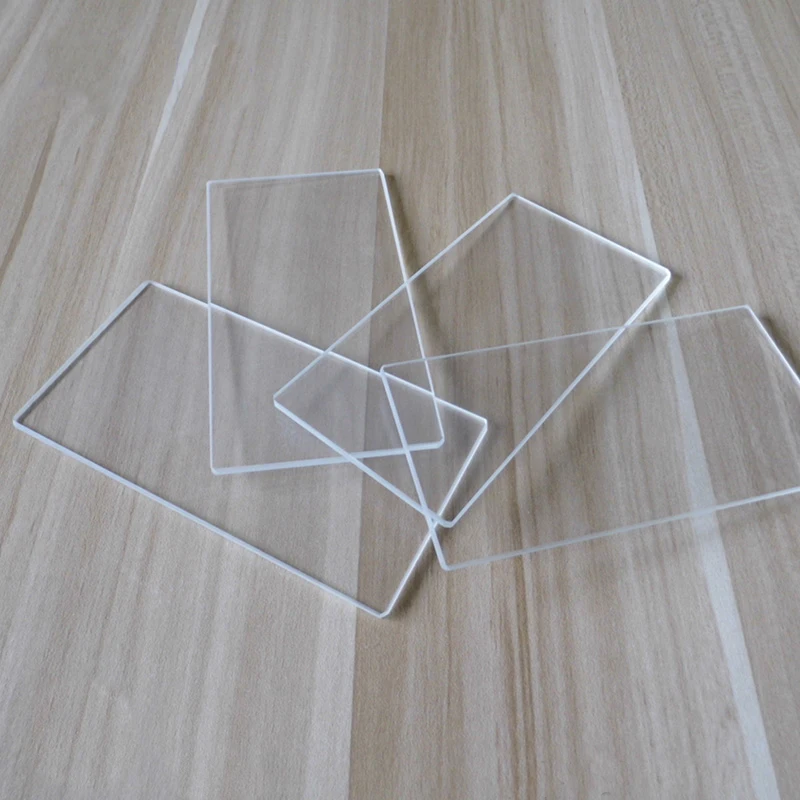 After a few months of use, sand the surface and wipe thoroughly with acetone. If it is no longer possible to restore the surface by the listed methods, then replace it with a new sheet from PEI. The lifespan of such material varies depending on the brand and frequency of use of the 3D printer.
Glass Surface Cleaning
Glass is another very common 3D printer desktop material. Much more durable than PEI and similar surfaces. The glass plates provide a smooth and level surface at the bottom of the model.
This surface is usually used in combination with other aids (eg glue stick or hairspray) to improve the adhesion of the first layer. Such products are especially popular on tables that are not equipped with heating. Therefore, regular cleaning of the glass is necessary to prevent adhesive or varnish from sticking.
How to clean the glass platform
The easiest way to clean a glass plate is to use a scraper or a non-metal spatula.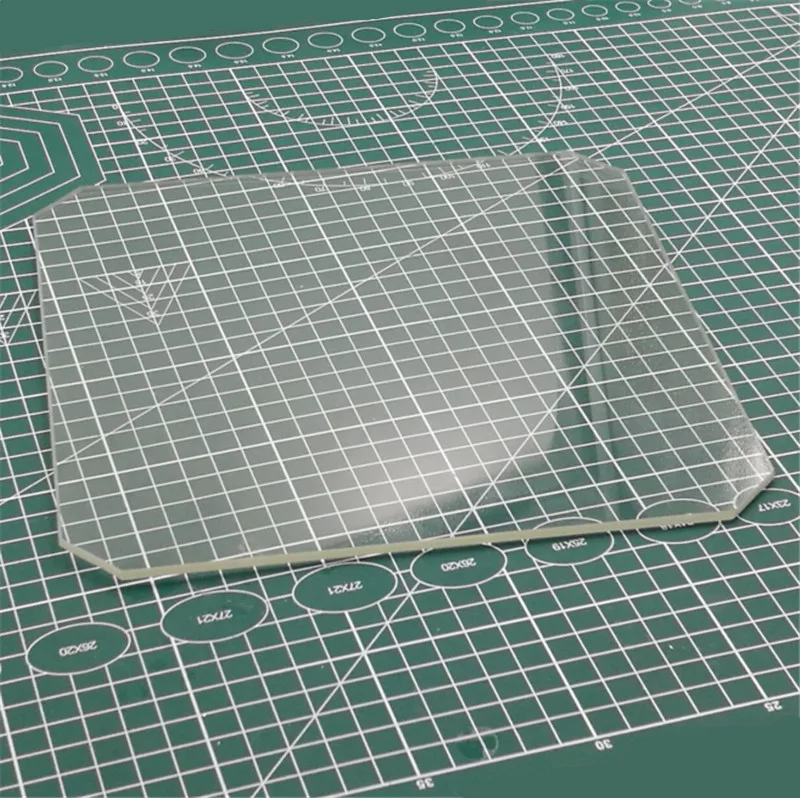 If the table is heated, then heat it until the material remains soft, after which they should be easily removed with a scraper.
Be careful when scraping. Depending on the scraper, the blade can be very sharp, so be careful not to scratch the surface. We recommend that you put your hand on the handle of the scraper, and with the other hand press down on its middle, so that the greatest force is directed downwards.
If this does not work, try wiping the glass with warm soapy water. Although simple, this method is very effective for removing hairspray, glue, and other adhesives. Keep in mind that this method is only recommended if the 3D printer allows you to remove the platform. Spilled water can seriously damage the heating element, power supply or other electronics of the device.
Dirt can also be removed with specialized cleaning products. For example, wet alcohol wipes, window cleaner, isopropyl alcohol will also effectively wash away adhesive residue and restore the glass surface. However, do not take too strong cleaners. Such substances can severely damage the surface or even the 3D printer. In order to be sure to select a cleaning agent for your particular 3D printer, it is best to contact its manufacturer. Most often, they willingly make contact with users and willingly give advice.
When to clean the glass surface
Again, this will depend on how often you use the printer. We recommend cleaning the surface after each print to prevent buildup of glue or varnish. Such a procedure will not take much time, but the print will be more stable, and the resulting prints will have a beautiful and even surface. Once the models stop sticking (usually after a month), try washing the surface with soap and water. After about two to four months, you will have to resort to isopropyl alcohol or other specialty drugs. substances.
Cleaning adhesive tapes
Adhesive tape is another proven way to increase adhesion to the print platform. Today, this method is more common on 3D printers without the function of heating the desktop. Masking tape is the most common remedy, but so are Kapton and others.
One of the reasons for the popularity of such linens is their ease of use and relatively inexpensive cost. They are easy to stick to the surface and are available at almost any hardware store. However, there are also disadvantages: the tape quite often peels off when the printed model is removed, so it must be reapplied regularly.
How to clean?
Unfortunately masking tape is one of the most difficult to clean due to its fragility. however, we have found that gentle scraping is one of the most effective ways to clean it. With light pressure, evenly scrape off the remaining plastic thread from the surface, being careful not to tear it.
If the tape does break during cleaning, replace this area with a new strip. The main thing is not to overdo it and do not apply a thick layer, this can adversely affect the quality of the print. If the tape is full of holes and looks like Swiss cheese, then it needs to be completely replaced. Strip and scrape the old tape from the surface. Then wash the platform with warm soapy water to remove adhesive residue.
Once the old tape has been removed and the surface has been thoroughly washed, apply a new layer of masking tape or Kapton. Squeeze out any air bubbles if necessary.
When should I clean?
Masking tape wears out quickly and needs to be replaced much more frequently than PEi for example. We recommend lightly scraping off any plastic that has stuck to it after each print. Depending on the frequency of printing, you will need to change such a surface daily, weekly or once a month.
Creality Tempered Glass Bed for 3D Printer Platform Heated Glass Plate Surface 220*220mm with 4 4mm Ultrabase Glass Clamps for CR-X/CR-10S Pro/CR-10S Pro V2/CR-10 V2 3D Printer ( Item#: OS5175-1 )
Creality Tempered Glass Bed for 3D Printer Platform Heated Glass Plate Surface 220*220mm with 4mm Ultrabase Glass Clamps 4mm for CR-X/CR-10S Pro/CR- 10S Pro V2 / CR-10 V2 3D Printer- Test tools and tools
- 3D printer and consumables
-
Description
-
Delivery and payment
-
Warranty
-
Q&A
-
Wholesale request
Function:
➤ High quality material: excellent adhesion, ultra-base coated with microporous coating, shows strong adhesion when printed.
➤ Easy to remove: models are very easy to remove, no tools are required when removing models. Easy to clean with alcohol/water.
➤ Easy to use: use the clamps to fix the glass plate on the hot bed, super flatness, fast and even heating.
➤ Excellent performance: durable, special inorganic coating, hardness 8 Mohs, capable of operating at 400℃.
➤ Compatibility: Suitable for CR-X / CR-10S Pro / CR-10S Pro V2 / CR-10 V2 3D Printer.
Specifications:
Material: special glass + microporous coatings
Black color
PLA: 50-70℃
Flexible thread: 50-70℃
ABS: 100-125℃ (recommended 110℃)
PC: 10036 PC ℃ (recommended 120 ℃)
Nylon: 90-120℃ (recommended 110℃)
PP: 100-130℃ (recommended 120℃)
PETG: 50-70℃
Product weight:
210*210mm: 380g/13.4oz 32*23 : 532g / 18.8oz
310*310mm: 933g / 32.9oz
Package Information:
210mm: Weight: 460g / 16.2oz; Size: 26 x 26 x 3cm / 10.2 x 10.2 x 1.3in
235mm: Weight: 651g / 23oz; Size: 27.3 x 26.3 x 3cm / 10.7 x 10.7 x 1.2in
310mm: Weight: 1108g / 39oz; Size: 34.7 x 30 x 3 cm / 13.7 x 11.8 x 1.3 inches
Packing list:
1 * glass plate
Customer reviews
No reviews yet.
- 5 stars
- 4 stars
- 3 stars
- 2 stars
- 1 stars
Share your thoughts with other customers and get Cafago points, the first 5 reviews get x2 Cafago points!
Write a review
Be the first to review this product
Best Products More
- 51 GOGOBEST GF600 Electric Bike 40V 1000W Max Speed 40km/h
Learn more
- 3D resin printer accessories
- 3D printer africa
- 3D printing for prototypes
- When to use a raft 3d printing
- 3D printed lettering

- 3D print characters
- How much should i charge for 3d printing service
- 3D printer wired
- Design 3d printer models
- Raise3D pro2 plus dual extruder 3d printer
- 3D printed typewriter