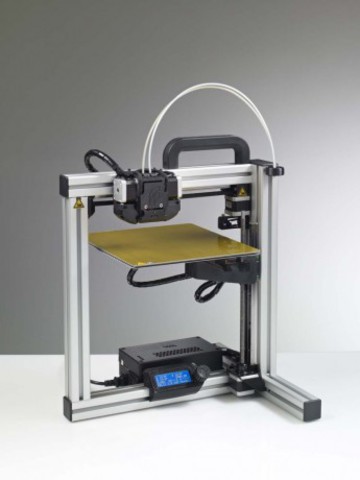
3D printer with laser cutter
Best 3D Printer, Laser Engraver, CNC Carver for Sale
Snapmaker 2.0 Modular 3-in-1 3D Printer A350T/A250T
Quick view
Snapmaker Artisan 3-in-1 3D Printer with Enclosure
Regular price $2,999.00 Sale price $2,799.00
Quick view
Snapmaker Rotary Modules
Regular price $569.00 Sale price from $399.00
Quick view
Snapmaker Air Purifier
Regular price $499.00 Sale price $349.00
Quick view
White Breakaway PLA Filament (1 kg)
$54.99
Quick view
Hot End for Dual Extrusion Module
from $49.99
Quick view
Snapmaker 10W High Power Laser Module
Regular price $459.00 Sale price from $329. 00
Quick view
Snapmaker CAN Hub
Regular price $59.00 Sale price $41.99
Quick view
ABS Filament (1 kg)
$24.99
Quick view
Black Nylon Filament (1kg)
$59.99
Quick view
Snapmaker 3D Printing Module
Regular price $149.00 Sale price $69.00
Quick view
Extension Cord for Rotary Module (1.5m)
$7.99
Quick view
PEI Glass Plate for Snapmaker Artisan
$54.99
View all
Quick view
Snapmaker 2.0 Modular 3-in-1 3D Printer A350T/A250T
Regular price $1,499.00 Sale price from $899.00
Quick view
Snapmaker 2.0 Modular 3D Printer F350/F250
Regular price $999. 00 Sale price from $599.00
Quick view
Snapmaker Dual Extrusion 3D Printing Module
Regular price $599.00 Sale price $429.00
Quick view
Snapmaker 10W High Power Laser Module
Regular price $459.00 Sale price from $329.00
Quick view
Snapmaker Rotary Modules
Regular price $569.00 Sale price from $399.00
Quick view
Enclosure for Snapmaker 2.0
Regular price $399.00 Sale price from $199.00
Quick view
Snapmaker Air Purifier
Regular price $499.00 Sale price $349.00
Quick view
Glow-in-the-dark Green PLA Filament (1kg)
Regular price $27.99 Sale price $19. 99
99
Quick view
Wood PLA Filament (750g)
Regular price $29.99 Sale price $20.99
Quick view
Snapmaker 2.0 Emergency Stop Button
Regular price $59.00 Sale price $41.99
Quick view
Power Module for Snapmaker 2.0
Regular price $129.00 Sale price $59.00
Quick view
Linear Module for Snapmaker 2.0
Regular price $349.00 Sale price from $179.00
View all
Snapmaker
MAKE SOMETHING WONDERFUL
Modular 3-in-1 3D Printers
Turn Your Desktop into a Workshop
Future Expansions
Modular Design
Snapmaker is more than just a series of machines. The creative application of the Controller Area Network realizes modularity, based on which you can enjoy a lot of amazing features simply by getting new modules or add-ons.
Shop Addons
Snapmaker Luban
Free 3-in-1 Software
Snapmaker Luban is a free, open source CAM software committed to software services that allow full controls over 3D printing, laser engraving and cutting, and CNC carving capabilities.
Learn More
REVIEWS FROM SNAPMAKER USERS
from 2870 reviewsRyan Daw
07/18/2022
Amazing!
Was able to make highly detailed images on tile with absolutely no problems Very impressive results on tile
Laser Engraving and Cutting Platform for Snapmaker 2.0
Nicolas Belin
06/30/2022
Great Snapterrarium ehh Snapmaker.
Great Snapterrarium ehh Snapmaker.
Works great. Had a faulty touchscreen but SM send me a new one and now all works like a charm.
Snapmaker 2.0 Modular 3D Printer F350/F250
Jaime Ramirez
05/09/2022
Very good laser
My first job was a vernier on my 1600mw module it took 55 min to cut, now with the 10W module only 9 min.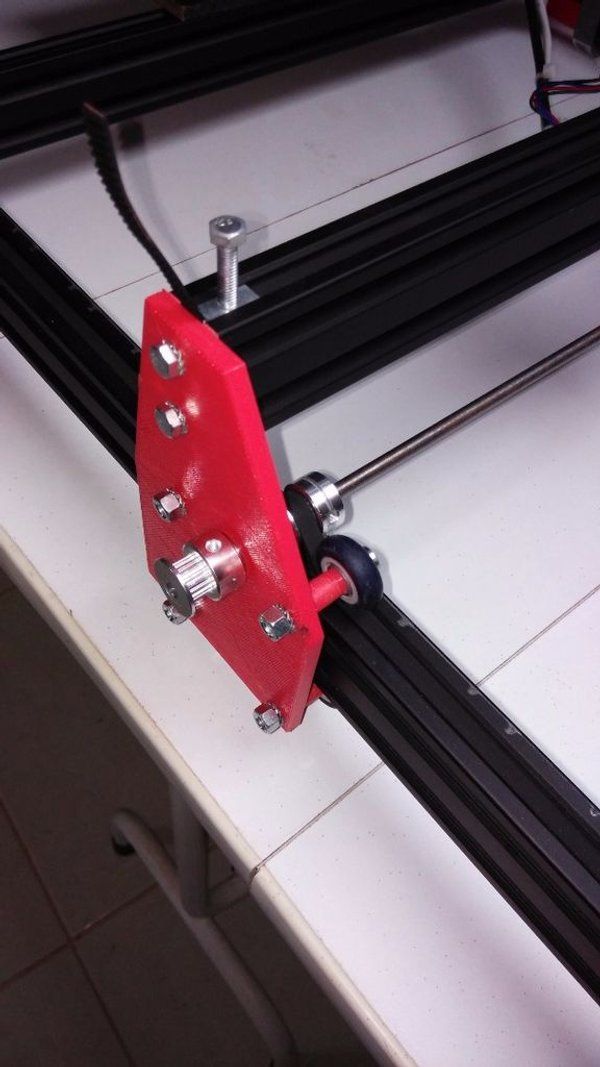
Snapmaker 10W High Power Laser Module
Eric Worrall
04/14/2022
Does exactly what it says
I’ve loved my Snapmaker since I unboxed it.
It’s not perfect, it’s complex, you need to dedicate time to learning 3D technology. The software sometimes needs to be restarted to work, and sometimes has annoying bugs.
But the engineering precision is breathtaking, I’ve created beautiful 3D PLA prints which don’t need finishing, high quality mechanical parts, like a bicycle pump holder, and ornate wooden gift boxes with laser engraved messages for loved ones.
If you have the commitment and time to learn a new skill, Snapmaker will help you realise your creative vision.
Snapmaker 2.0 Modular 3-in-1 3D Printers
Robert Allard
03/24/2022
A good addition to my a350
Very satisfied with my purchase, and service for helping me with problems I had assembly.
Enclosure for Snapmaker 2.0
Mike L
03/12/2022
Printing in an hour!
Was really impressed with how easy it went together, I was up and printing in about an hour, easy calibration and no fussing. Awesome choice for a first-timer! Simple software, takes up little space and the smaller bed is still big enough for most jobs any first-timer would want. Laser engraving works well too! No regrets choosing Snapmaker as my first printer, great value for $$. Highly recommend it! Pictured: Enigma Rotor replica
Snapmaker Original 3-in-1 3D Printer
Maker Leigh
02/10/2022
It's my second one :-)
This was my second SM2 350 purchase, Chrismas sale provided a cheap way to upgrade my set up. Super fast delivery over new year in the UK. Well done Snapmaker.
Snapmaker 2.0 Modular 3D Printer F350/F250
wentsung Peng
09/22/2021
Small problems with using Straight Groove V-bit
I used the Straight Groove V-bit to complete the Rotary Module CNC Carving a few days ago, and everything was almost perfect. My material is wood with a diameter of 50cm. When the Straight Groove V-bit goes deep into the center of the wood, because the radius of the wood exceeds the length of the flute, the wood touches the shaft and generates a lot of friction and noise, causing the 3-jaw Chuck to loosen. The diameter of 3-jaw Chuck Inward-clamping of Rotary Module can reach 60CM. The above problem may be more obvious. Is there a solution?
Straight Groove V-bits (3 Bits)
Yousif Alsabbagh
09/20/2021
A350
The only negative point is that the machine makes loud noise, other than that it’s fantastic!
Snapmaker 2.0 Modular 3-in-1 3D Printers
The Snapmaker is a hybrid 3D printer, laser etcher, and CNC cutter all in one machine. This isn't the first hybrid we've tested, and while hybrids are capable of doing all the tasks they advertise, they tend to do so with compromises. But with the Snapmaker, I still found it to be a great little printer.
Make: Magazine
Performing an admirable job across three distinct functions, the Snapmaker is a maker’s dream tool for small-scale work. There are better individual tools that cost less than the Snapmaker’s $799, but few, if any, that challenge it for 3D printing, laser engraving and CNC carving all in one.

ALL3DP
The Snapmaker 3-in-1 3D printer doesn’t pretend to be anything it is not. The presentation and ease of assembly are testament to a company who is clear in their objective, to provide an entry level and affordable solution for those seeking an introduction to not only 3D printing, but the broader world of Makers.
3DPI
It's the best 3D printer packaging I've seen in my life, and I've used many 3D printers over the last years. The assembly process was really easy. Even a friend found it easy, and she didn’t have any previous experience with 3D printing.
Agustin Flowalistik
REVIEWS FROM SNAPMAKER USERS
from 2870 reviewsRyan Daw
07/18/2022
Amazing!
Was able to make highly detailed images on tile with absolutely no problems Very impressive results on tile
Laser Engraving and Cutting Platform for Snapmaker 2. 0
0
Nicolas Belin
06/30/2022
Great Snapterrarium ehh Snapmaker.
Great Snapterrarium ehh Snapmaker.
Works great. Had a faulty touchscreen but SM send me a new one and now all works like a charm.
Snapmaker 2.0 Modular 3D Printer F350/F250
Jaime Ramirez
05/09/2022
Very good laser
My first job was a vernier on my 1600mw module it took 55 min to cut, now with the 10W module only 9 min.
Snapmaker 10W High Power Laser Module
Eric Worrall
04/14/2022
Does exactly what it says
I’ve loved my Snapmaker since I unboxed it.
It’s not perfect, it’s complex, you need to dedicate time to learning 3D technology. The software sometimes needs to be restarted to work, and sometimes has annoying bugs.
But the engineering precision is breathtaking, I’ve created beautiful 3D PLA prints which don’t need finishing, high quality mechanical parts, like a bicycle pump holder, and ornate wooden gift boxes with laser engraved messages for loved ones.
If you have the commitment and time to learn a new skill, Snapmaker will help you realise your creative vision.
Snapmaker 2.0 Modular 3-in-1 3D Printers
Robert Allard
03/24/2022
A good addition to my a350
Very satisfied with my purchase, and service for helping me with problems I had assembly.
Enclosure for Snapmaker 2.0
Mike L
03/12/2022
Printing in an hour!
Was really impressed with how easy it went together, I was up and printing in about an hour, easy calibration and no fussing. Awesome choice for a first-timer! Simple software, takes up little space and the smaller bed is still big enough for most jobs any first-timer would want. Laser engraving works well too! No regrets choosing Snapmaker as my first printer, great value for $$. Highly recommend it! Pictured: Enigma Rotor replica
Snapmaker Original 3-in-1 3D Printer
Maker Leigh
02/10/2022
It's my second one :-)
This was my second SM2 350 purchase, Chrismas sale provided a cheap way to upgrade my set up. Super fast delivery over new year in the UK. Well done Snapmaker.
Snapmaker 2.0 Modular 3D Printer F350/F250
wentsung Peng
09/22/2021
Small problems with using Straight Groove V-bit
I used the Straight Groove V-bit to complete the Rotary Module CNC Carving a few days ago, and everything was almost perfect. My material is wood with a diameter of 50cm. When the Straight Groove V-bit goes deep into the center of the wood, because the radius of the wood exceeds the length of the flute, the wood touches the shaft and generates a lot of friction and noise, causing the 3-jaw Chuck to loosen. The diameter of 3-jaw Chuck Inward-clamping of Rotary Module can reach 60CM. The above problem may be more obvious. Is there a solution?
Straight Groove V-bits (3 Bits)
Yousif Alsabbagh
09/20/2021
A350
The only negative point is that the machine makes loud noise, other than that it’s fantastic!
Snapmaker 2.0 Modular 3-in-1 3D Printers
The 5 Best 3 in 1 3D Printers 2022 (with Laser Engraving & CNC!)
Ideally, we would all own one machine that could complete every manufacturing task required – a 3D laser printer that printed, laser cut, CNC carved, and more.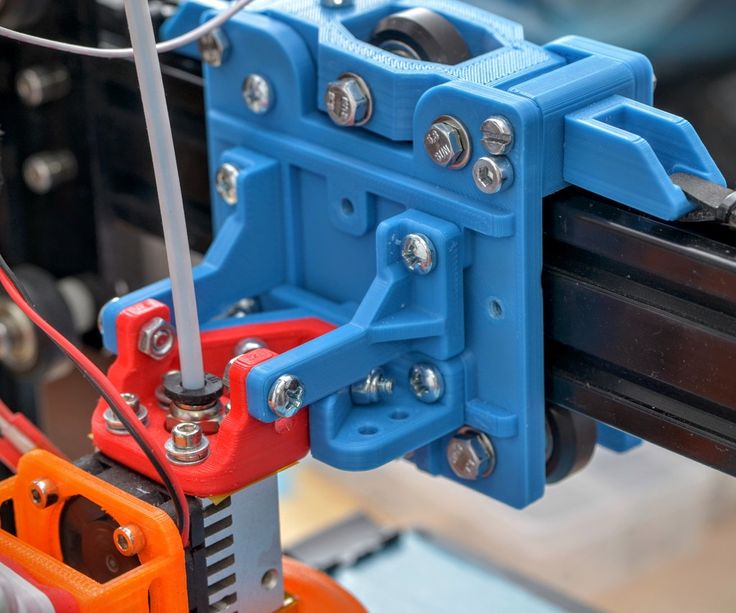 While not quite there yet, 3 in 1 3D printers offer jack-of-all-trades versatility across 3D printing, CNC machining, and laser engraving – to various levels.
3DSourced is reader-supported. When you buy through links on our site, we may earn an affiliate commission. Learn more
These printers, sometimes called multifunction 3D printers or AIO 3D printers, feature removable tool heads that can be switched out to change their function. If you want to create a prototype and want to carve a wood model first, use the CNC machine, and then switch back to the 3D printer extruder to create the final plastic prototype.
Having tested dozens of 3D printers over the years, including our top pick, the Snapmaker 2.0, we’ve collated our findings into our top recommendations for 3-in-1 3D printers to help you make the best choice for you.
| Name and brand | Type of printer | Build volume (mm) | Price | Available at: |
|---|---|---|---|---|
Snapmaker 2.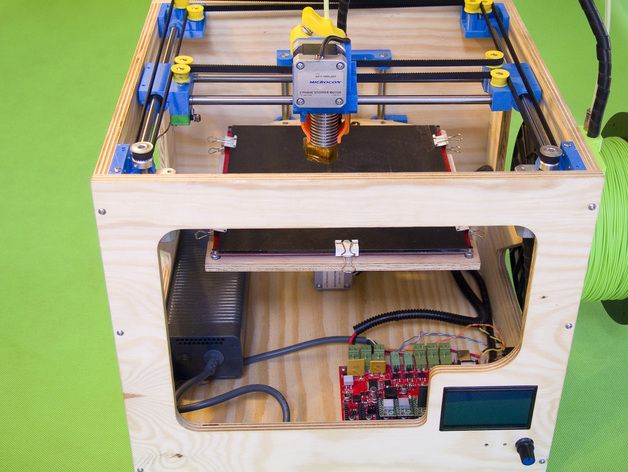 0 0 | 3 in 1 3D printer | Varies by model | $1,199-$1,799 | Snapmaker here |
| Snapmaker Original | 3 in 1 3D printer | 125 x 125 x 125 | $450 | Snapmaker here |
| ZMorph Fab | 4 in 1 3D printer | 250 x 235 x 165 | $4,000 | Amazon here |
| Creality CP-01 | 3 in 1 3D printer | 200 x 200 x 200 | $819 | Amazon here |
| Ecubmaker TOYDIY | 4 in 1 3D printer | 180 x 180 x 180 | $549 | Amazon here |
| 5axismaker | CNC mill 3D printer | Varies by model | £5,500 / £6,800 | |
| Diabase H-Series | 3D printer CNC hybrid | Depends on number of axes | $9,750+ |
How good are all in 1 3D printers?
Naturally, focusing on being good enough at everything means some quality is lost in some areas. Elites athletes could not compete at the top of the NBA, NFL, and NHL simultaneously – even Michael Jordan couldn’t crack baseball – and the same is true for less specialized all in 1 3D printers.
That doesn’t mean that the 3D printer and laser engraver hybrids we recommend don’t perform well. For hobbyist projects, 3D laser printers are great – but we do not recommend starting a full-service manufacturing company after buying a desktop 3D printer laser engraver CNC mill machine.
The criteria we used to judge the best 3 in 1 3D printers
In rating the 3 in 1 3D printers we recommend below, we compared:
- 3D printer quality: most of these 3 in one 3D printers are made by 3D printer companies and are mostly focused on additive manufacturing. Therefore, the 3D printer’s quality is key.
- CNC mill power: some CNC machines cannot fully mill, but just engrave. More powerful CNC machines spin faster, can carve tougher materials, and work more accurately and for longer.
- Laser engraver power: as with the CNC machine, some all in 1 laser engraver 3D printers can only engrave, whereas others can cut through materials.
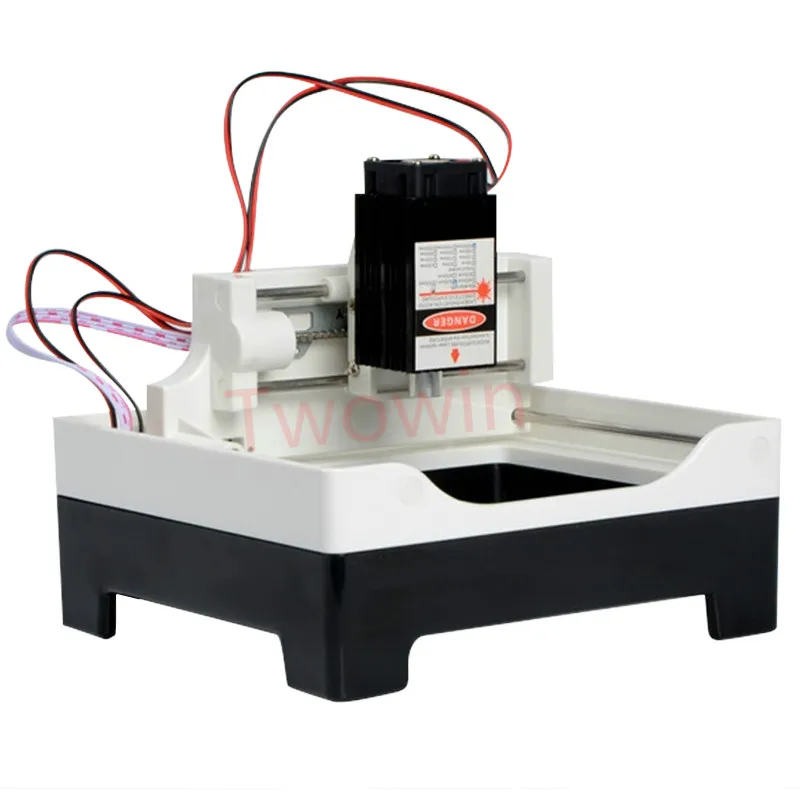
- How easy is it to change the tool heads: it’s all well and good having powerful tool heads that work perfectly, but if they’re too difficult or delicate to switch out, they may as well only have one function.
- Effectiveness of software: most of our recommendations feature specialized software that can slice models for 3D printing, and prepare CNC and laser projects. The best software is easy to use, yet effective and reliable across every function.
The Best All in 1 3D printers
Snapmaker 2.0 – comes in 3 forms: A150, A250 & A350
- Price: $1,199 to $1,799 — Best price on Snapmaker Store here / Available on Amazon here
- Build volumes: A150 = 160 x 160 x 145 mm / A250 = 230 x 250 x 235 mm / A350 = 320 x 350 x 350 mm
- Type: 3D in 1 3D printer: 3D printing, CNC and laser engraving
The Snapmaker Original already made waves when it raised over $2. 2M on Kickstarter, but the Snapmaker 2.0 completely obliterated that by becoming the most funded technology project in the history of Kickstarter, raising an astonishing $7.85M. Thousands of elated fans who loved the Snapmaker Original came back to support the new version, and it has remained the most popular all in 1 3D printer since its full release.
We have tested and reviewed the Snapmaker 2.0, and waxed lyrical about how great it was. It is undoubtedly the best 3-in-1 3D printer around, offering a fantastic 3D printing experience, as well as a great CNC carving and laser option. Arguably you could even call it a 4-in-1 3D printer, as you can also buy the 4-axis rotary module add-on which turns the laser and CNC toolheads into 360-degree, 4-axis versions. We carved cylindrical chess pieces, engraved cylinder gift boxes, and more with this add-on.
Using the 4-axis rotary module to CNC carve a lion.The 3D printer can print PLA, ABS and flexible filaments like TPU, and with WiFi connectivity as well as a USB port you can print remotely online, or offline using a USB.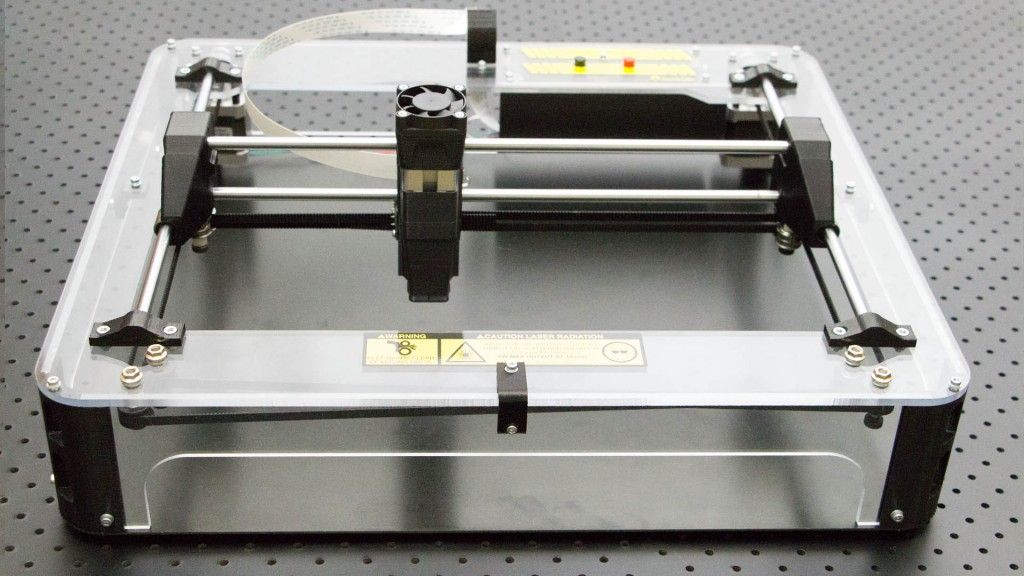 The portable and movable touchscreen used to operate the printer looks and acts like a smartphone, simplifying your workflow and making it easy to control and manage projects.
Moreover, the filament run out detector automatically pauses your print when you run out, giving you time to load more filament and resume without ruining your print, and if you buy the enclosure add-on you can more easily print ABS to prevent warping — and it’ll keep dust in from CNC, and the laser brightness out of your eyes.A vase we 3D printed with the Snapmaker 2.0.
As a laser engraver, you can create contrasting images on fabrics, leather, plywood and acrylic materials. The built-in camera lets you remotely monitor your design and ensure everything goes smoothly. It’s an effective low-cost 3D laser printer. We also tested it as a laser cutter, and managed to cut out and assemble a gift box from a thin sheet of soft wood 1.5mm thick.
The Snapmaker 2.0 also works as a laser cutter as well as a 3D printer.
The CNC machine can carve designs on walnut, PCB woods, as well as carbon fiber sheets, acrylic and hardwood. A key upgrade on the 2.0 is the increased speed, meaning that larger projects can be created in record time.
Overall, we highly recommend the Snapmaker 2.0 models, of which we tested the largest version — the Snapmaker 2.0 A350. You can optionally buy the enclosure, 4-axis rotary module, and the new 10W powerful laser toolhead, but we did not try the 10W laser add-on.
For our CNC & laser review: we tested the Snapmaker 2.0 CNC and laser toolheads
The finished lion CNC carved piece, from the Snapmaker 2.0 3-in-1 3D printer.We recommend picking up the enclosure for safer and more consistent making, as well as spare bits for CNC. Snapmaker’s store has all these in one place, which you can visit here.
Snapmaker Original — good starter laser engraver 3D printer
- Price: $439 — Available on Snapmaker Official Site here / Available on Amazon here
- Build Volume: 125 x 125 x 125 mm
- Type: 3 in 1 3D printer: 3D printing, CNC and laser engraving
Snapmaker came out and made headlines when they raised an incredible $2. 2M on Kickstarter for their first all in 1 3D printer, the Snapmaker Original. Functional as a small 3D printer as well as able to carve wood and engrave images on phone cases and other materials, the Snapmaker Original captured the hearts of many makers worldwide, becoming a roaring success.
- You can also buy an enclosure for the printer here.
The 3D printer’s heated bed can reach up to 80C, allowing for the printing ABS as well as PLA. It’s precise, with up to 50-micron layer resolutions. The heavy metal frame anchors the printer down and improves stability and durability, with the heavier frame less susceptible to vibrations that could affect print quality and surface finish.
The CNC carver can create intricate details in areas up to 90 x 90 x 50 mm, and the laser engraver works on areas up to 125 x 125 mm.
Snapmaker’s 3 in 1 software, Snapmaker Luban, can 3D print, CNC and laser engrave all in one platform and switch seamlessly between each tool head.
Snapmaker claim you can build the 3D printer in just 10 minutes, and that switching out tool heads to change the all-in-one 3D printer’s function is very simple. Highly rated by makers as one of the best 3 in 1 3D printers in its price range, the Snapmaker have since recently followed up the Original with the Snapmaker 2.0, with larger build volumes and a higher price tag.
A selection of wood and other material parts carved using the Snapmaker Original’s CNC tool head. Source: snapmaker.comZMorph Fab — 4 in 1 3D printer
- Price: $3,999 for the full set — Available on Matterhackers here / 3DPrima Europe here
- Build Volume: 250 x 235 x 165 mm
- Type: 4 in 1 3D printer: with CNC milling, laser cutting & engraving, and thick paste extruder
- Country based: Poland
Polish 3D printer company ZMorph make some of the most versatile all in 1 3D printers around, with the Fab able to 3D print, CNC machine, engrave and laser cut, and can even be switched into a food 3D printer using ZMorph’s thick paste extruder. This edible material option can print chocolate, as well as other similar materials like icing and cooking dough.
- We also have a ranking of the best food 3D printers.
- We also have a ranking of the best chocolate 3D printers.
ZMorph 3D printers are famed for their reliability and workhorse-like qualities, with the Fab no different. It’s a great 3D printer, with a high-quality heated bed that can comfortably 3D print ABS, HIPS, and other tougher filaments like Nylon. The printer can level itself automatically, and turn from a 3D printer to laser engraver or CNC router with ease.
Additionally, with the dual head option, the ZMorph performs well as a dual extruder 3D printer, able to 3D print multiple colors, or soluble support materials such as HIPS and PVA, and even blend two colors together for multiple different shades in one part. The 3D laser printer CNC hybrid can be adjusted to print both 1.75mm and 3mm 3D printer filaments, and has a large enough build area to print even the largest of projects.
Using ZMorph’s CNC tool head, the ZMorph becomes a powerful CNC mill 3D printer that can mill and engrave almost any type of wood, as well as other materials like acrylic glass and EVA foam. The 300W power mills distances of up to 120mm/s, and ZMorph recommend a cutting depth of up to 0.5mm.
The Laser PRO tool head turns the Fab into a laser engraver 3D printer capable of burning and engraving plywood and many other types of wood, cardboard, leather, and acrylic glass using its powerful yet compact 2.8W blue laser. Though the default speed is 15mm/s, the laser can work up to 120mm/s for faster engraving.
ZMorph’s Voxelizer 2 software acts as a 3D slicer for 3D printing parts, as well as offering CAD CAM software features for CNC and laser cutting models, all in one. Overall, it’s a fantastic and extremely versatile all in one 3D printer, and the closest available option to a full manufacturing suite machine.
The ZMorph CNC tool head creating a design from wood. Source: ZMorph on Medium.
Creality CP-01
- Price: $819 — Available on Amazon here
- Build Volume: 200 x 200 x 200 mm
- Type: 3 in 1 3D printer: 3D printer, CNC & laser engraving
Creality make the current most popular affordable 3D printers in the world, including the Ender 3, Ender 5, and CR-10 ranges. The Creality CP-01 is their venture into the all-in-1 3D printer sector, offering CNC carving and laser engraving along with their 3D printer.
- We also have a ranking of the best cheap 3D printers.
As a 3D printer, it features a good 200 x 200 x 200 mm print volume, and comes with a heated bed that can reach up to 100C. These temperatures mean that ABS, HIPS and TPU 3D printing should be no problem, and in theory means you could even try printing filaments like Polycarbonate and carbon fiber.
The textured glass print bed should help with adhesion and reduce warping, and the direct drive extruder also makes flexible filament 3D printing easier in most cases.
As a laser engraver, the Creality CP-01 3-in-1 3D printer features 0.5W laser tool, which can engrave areas of up to 100 x 90 mm. The engraver can create contrasting greyscale art on paper, plastics, and wood.
As a CNC carver, the CP-01 features a 4800RPM spinning CNC spindle capable of carving plastics, wood and PCB. It can carve the same sized areas as the 3D printer, at 200 x 200 mm.
The CP-01 comes with Creality’s own Workshop 3D printer software, which supports engraving and CNC functions. For 3D printing, Creality’s standalone Creality Slicer works well.
Overall, it resembles the Snapmaker and appears to offer similar specs and functions, so we will have to see if the kings of cheap 3D printers can compete in the all in 1 3D printer sector.Each of the Creality CP-01’s tool heads for 3D printing, CNC cutting and laser engraving.
5axismaker — Great CNC 3D printer
- Price: £5,500 / £6,800 depending on size
- Build volume: 5xm400 = 400 x 400 x 400mm / 5xm600 = 600 x 600 x 400mm
- Type: 2 in 1 3D printer with CNC milling
London-based 5axismaker have developed an excellent 3D printer CNC machine multi use 3D printer that comes in two main sizes to cover your manufacturing needs:
- 5axismaker 5xm400 model: 400 x 400 x 400 mm build volume
- 5axismaker 5xm600 model: 600 x 600 x 400 mm build volume
As a 3D printer, the 5axismaker comes with a default 0. 6mm nozzle — though you can switch out to a 0.4mm if you’re used to smaller nozzles, as well as sizes up to 1.2mm where speed is of the essence and you’re willing to sacrifice some precision. The 5axismaker can 3D print with PLA or ABS.
As a CNC machine, the 5axismaker offers fast 10,000-15,000 RPM spindle speeds on a powerful 500-1000W brushless motor capable of milling foam prototypes, hardwoods, carbon fiber, engineering plastics, machinable wax, and more. There is also a touchprobe option — but for this toolhead and any other custom tools, you’ll need to contact 5axismaker directly.
5axismaker have also developed their own in-house CAM software to support CNC milling and generate CNC codes, called 5xmonkey. The 5axismaker focuses particularly on CNC machining, choosing not to offer laser engraving with the 3D printer, but delivers well as a 2 in 1 3D printer.
Diabase H-Series — powerful CNC mill 3D printer
- Price: starting at $9,750
- Build volume: depends on the number of axes
Another 2 in 1 3D printer focusing on 3D printing and CNC milling, Diabase offer three different options within the H-series:
- H5-400A Hybrid: doesn’t have the tool plate, 5- or 4-axis upgrade potential, but can still mill printed parts.
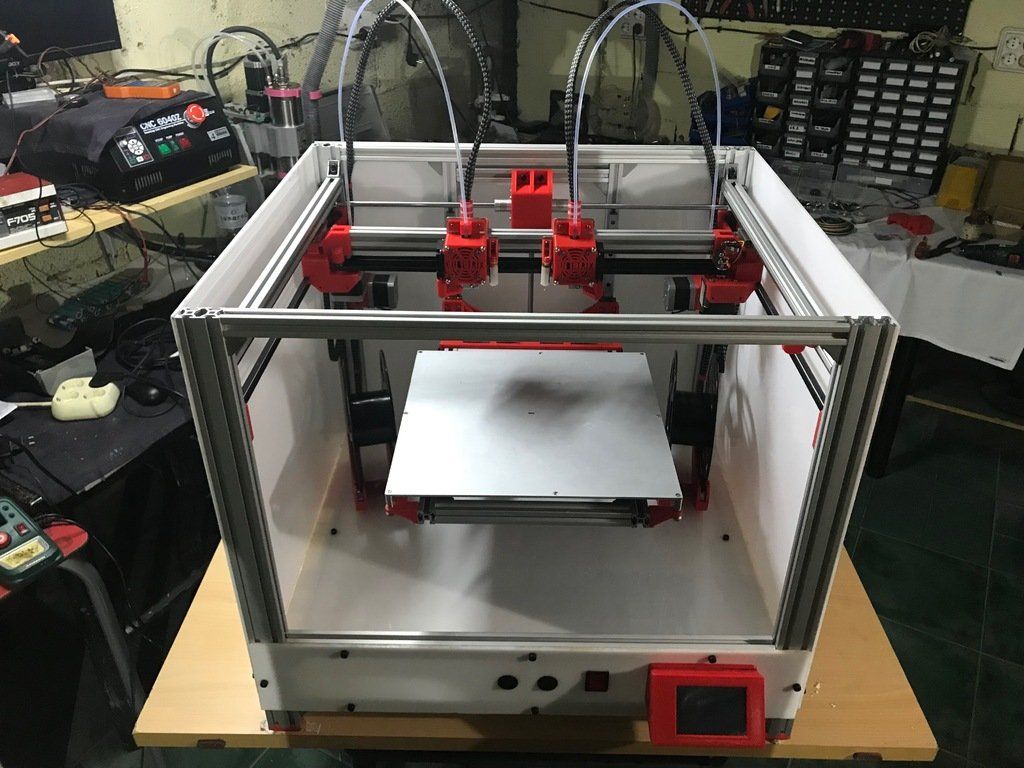
- H5-400A CNC Lite: offers 4- and 5-axis upgrading
- H5-400B CNC Full: offers 4-material printing, a 14-tool changer, and high-power spindle
Diabase are already well known for their excellent 3D printer extruders focused on making flexible filament 3D printing as reliable as possible, previously thought to be difficult to print — especially on Bowden extruders.
They now offer a complete manufacturing solution, with their multifunction 3D printers able to print parts and them mill them seamlessly with each toolhead in a cohesive workflow.
The H-Series CNC mill 3D printer hybrid offers up to 5-axis CNC production along with 12,000 RPM speeds, for very intricate and complex part creation. As a 3D printer, it offers multi-material 3D printing, for example with TPU and PVA, with PVA’s solubility making it ideal for simply removing PVA supports later. The CNC mill part can mill soft metals up to 75 HRB strength — it really is a full-service solution.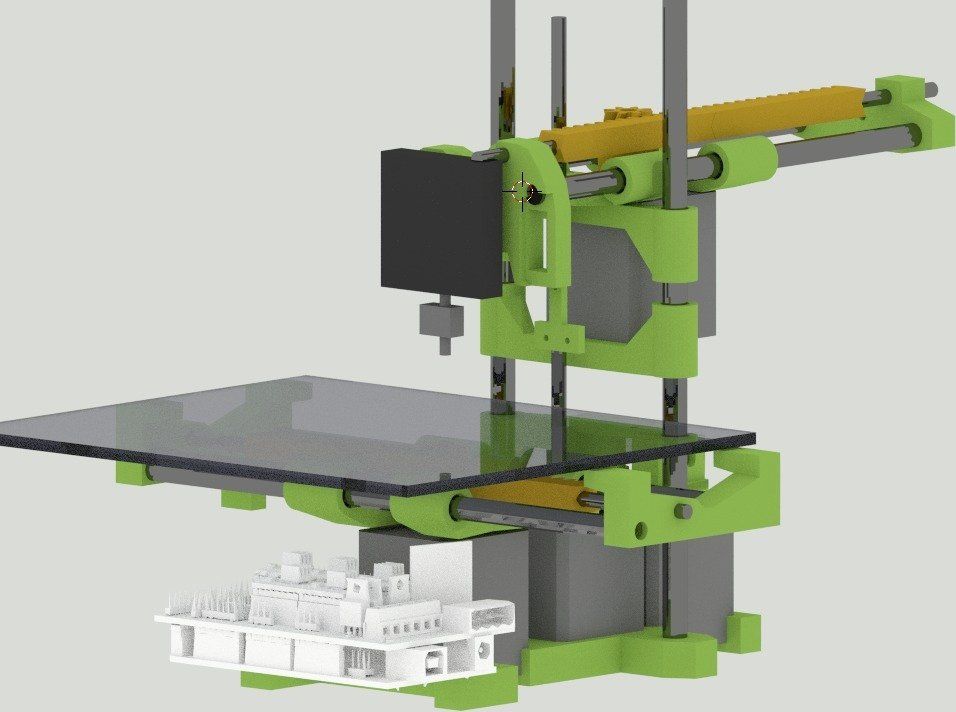
Ecubmaker TOYDIY — 4 in 1 3D printer
- Price: $549 — Available on Amazon here
- Build Volume: 180 x 180 x 180 mm
- Type: 4 in 1 3D printer: FDM, dual color, CNC engraving and laser engraving
- Country based: China
Though it calls itself a 4 in 1 3D printer, this claim involves splitting the 3D printing part into standard FDM 3D printing, and dual color 3D printing, which both fall under 3D printing. In reality, the Ecubmaker TOYDIY is a 3 in 1 3D printer, but with four easily changeable tool heads for 3D printing, CNC engraving or laser engraving.
For 3D printing, the extruder can reach temperatures of up to 240C, with a heated bed that can reach up to 50C. Therefore, printing higher temperature filaments like ABS and HIPS is not possible, and you’re restricted to using the Ecubmaker TOYDIY as a strictly PLA 3D printer.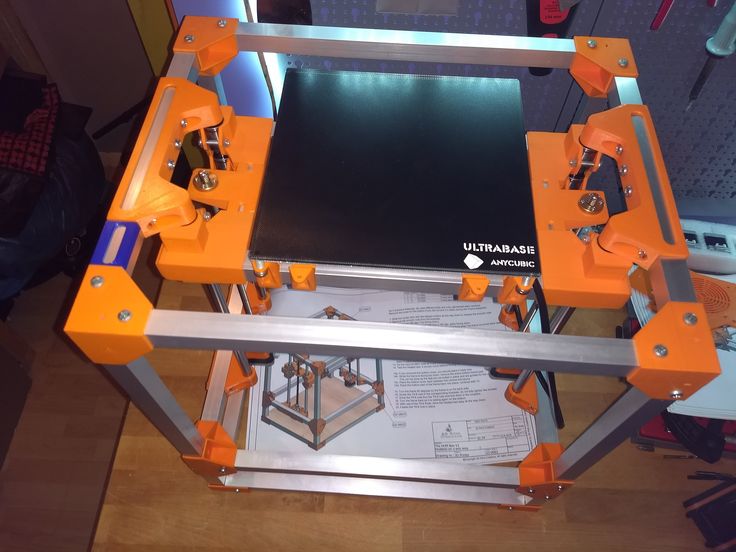 (Testing has occurred for using the dual extruder to print PVA as a support, though the company do not recommend this). Therefore, if using the dual extruder 3D printing option, you can only print two different colors of PLA, rather than soluble material supports.
For a 3D laser printer that isn’t specialized in any one dimension, it’s surprisingly accurate – with layer thicknesses of up to 0.05 mm. The bendable, 3-layer build plate also makes removing finished prints easy and helps reduce warping, though PLA rarely warps badly anyway.
As a laser engraver 3D printer, the TOYDIY features a 1500MW purple laser which can engrave wood, plastic, leather, cardboard, and several other materials. However, this is strictly a laser engraver, and cannot cut materials.
The CNC tool head features a 385DC motor, and spins at between 8,000 and 10,000 RPM. The CNC printer can engrave and carve wood, plastics, acrylic and most non-metallic materials, but cannot be used with transparent materials like glass.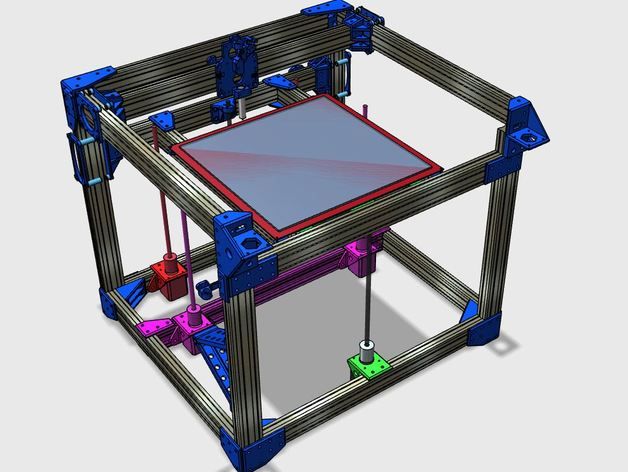 Ecubmaker also stress that the CNC tool head should not be used for longer than 3 hours at once.
The TOYDIY comes with Ecubmaker’s Ecubware 4 in 1 3D slicer software for every application type. The 3D laser printer comes with an SD card containing tutorials for the 3D printer, engraver and CNC carver to help you get started, and if you encounter any serious problems, you can return it within its warranty.
Though only offering a small build volume, the TOYDIY is a great entry level multifunctional 3D printer.If you liked this article, you may also be interested in:
- Our guide to the best 3D pens
- Our guide to the best 3D scanners
- The complete dual extruder 3D printer buyer’s guide
- Our ranking of the best FDM 3D printers
How to turn your 3D printer into a laser engraver/cutter
3DPrintStory Reviews How to turn your 3D printer into a laser engraver/cutter
If you want to create something more than just 3D printed parts, or simply expand the range of materials you work with, laser cutting and engraving is a great choice.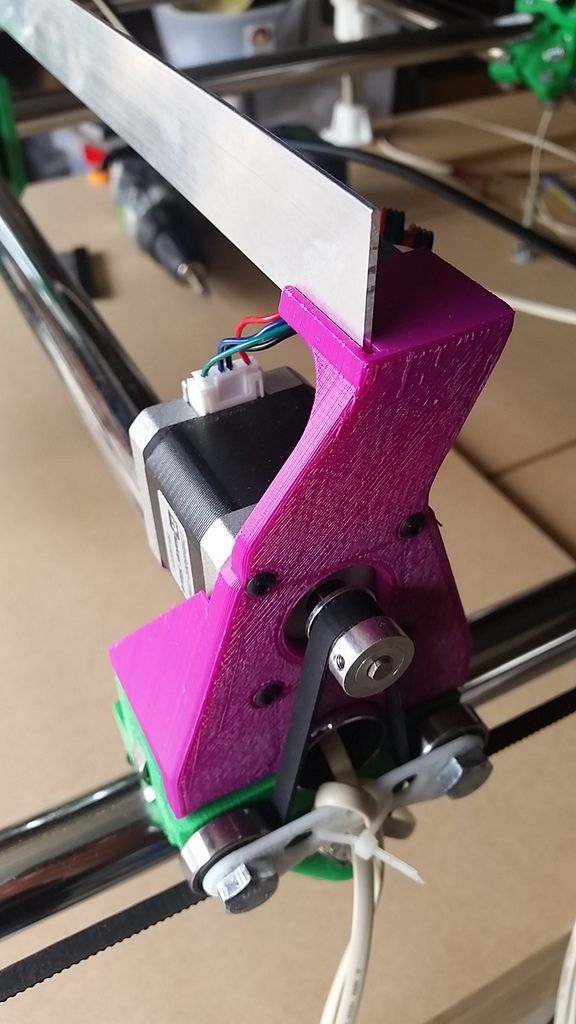 It allows you to work with other materials and does not require special experience.
But perhaps the best part is that this technology can be easily used by upgrading your 3D printer. The motion system of 3D printers far exceeds the requirements for laser cutting, and laser diode modules can be as small as hot end nodes.
Converting a 3D printer into a laser cutter and engraver is a pretty big deal. In this article, we'll talk about laser technology in general, and then we'll discuss the main steps involved in converting your 3D printer.
What is laser cutting and engraving?
Laser cutting is a process in which a laser beam selectively removes material along a specific path by vaporizing it. Engraving is basically the same, but instead of removing material, it marks the surface, changing its appearance through oxidation.
Two laser technologies are mainly used for the manufacture of tabletop machines: CO2 and diode. CO2 lasers are powerful enough to cut most materials, including some metals, and are widely used in industry.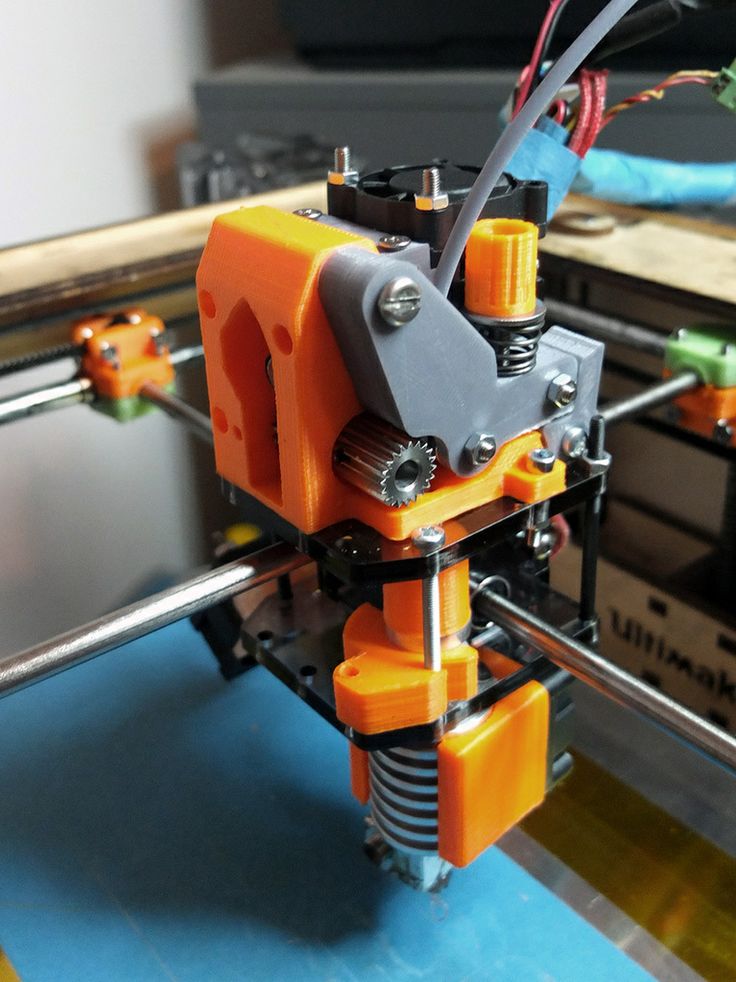
However, CO2 laser machines are bulky and require rather expensive and fragile equipment such as CO2 tubes, mirrors and lenses. On the other hand, diode lasers are lightweight and relatively cheap, since they consist mainly of one small module.
Diode lasers are much less powerful than CO2 and are best suited for engraving and cutting thin sheets of balsa and plywood. In comparison, a CO2 laser can deliver up to 400W, while diode lasers can only deliver 10W maximum.
Do you need to convert your 3D printer to a laser engraver?
Converting a 3D printer to a CO2 laser machine can be quite a challenge given the size of the tubes and the complex system of mirrors. For this reason, it is much better to use diode lasers.
However, please note that these lasers can only cut certain materials such as paper, cardboard, balsa and plywood with a thickness of 3 to 5 mm. Due to the wavelength of the laser, it cannot cut or engrave transparent materials such as acrylic.
Also be aware of the safety requirements when using lasers. Class 4 lasers are dangerous to the eyes, so the use of safety goggles is mandatory. In addition, the products of combustion emitted during the operation of the laser can be harmful to our health, so enclosure and proper ventilation are required.
Take all of this into account before deciding to convert your 3D printer to a laser machine. Given the risks involved, it is especially important to take precautions.
How to turn a 3D printer into a laser cutter/engraver?
The process of converting a 3D printer to a laser machine varies but usually involves the same steps.
First of all, we need to choose the laser module that best suits our requirements (eg functionality and price). Next, we need to figure out how to adapt it to the electronics and physical interface of the 3D printer.
Laser module
Powerful solid state lasers are a relatively recent development, but the market has quickly caught up with demand for diode laser modules.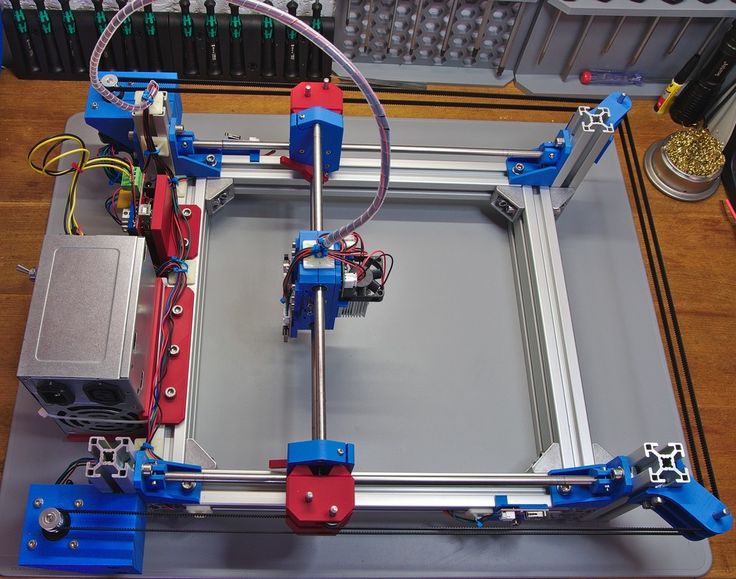
The laser power is always between 1 and 10 W. Some white label lasers you see online are listed as 30W or even 40W, but that is definitely not optical power output.
Power will determine which materials can be engraved and whether materials such as wood (and how thick) can be cut. Laser manufacturers usually provide a list of materials that can be engraved and cut, so be sure to check it out.
Variable focal length, which you sometimes see as an advertised feature, is not really important here, as the 3D printer's Z-axis can raise or lower the module to fit a fixed distance.
The air blower is an interesting feature as it blows air directly onto the surface to disperse particles that interfere with the laser, resulting in cleaner cuts. Some lasers have this feature built in.
Compatibility and connection
Most laser modules can be connected directly to the 3D printer control board. The partial cooling fan on a 3D printer requires an adjustable power output to control its speed, and it is this port that can power and drive the laser.
Some lasers require a special 12V power input. This is usually via a separate driver board, which can be powered by either the printer's power supply or an external power supply. This setup also requires a connection to the printer through the fan port.
Refer to the laser manufacturer's documentation for correct connection instructions.
Installation
Installation and mounting of the laser module is perhaps the only major equipment change in the entire conversion process. Although some lasers come with non-standard brackets, some adaptation will always be required.
Fortunately, you already have a 3D printer, so anything is possible. You may be able to find suitable designs on sites like Thingiverse. Otherwise, it might be time to try some 3D modeling software like Tinkercad or similar. The model doesn't have to be fancy, just a joint between holes and screws that will be used to hold the hot end.
Once you've attached the laser module to your 3D printer, you're done! However, in order to start engraving or cutting, you may need a new firmware.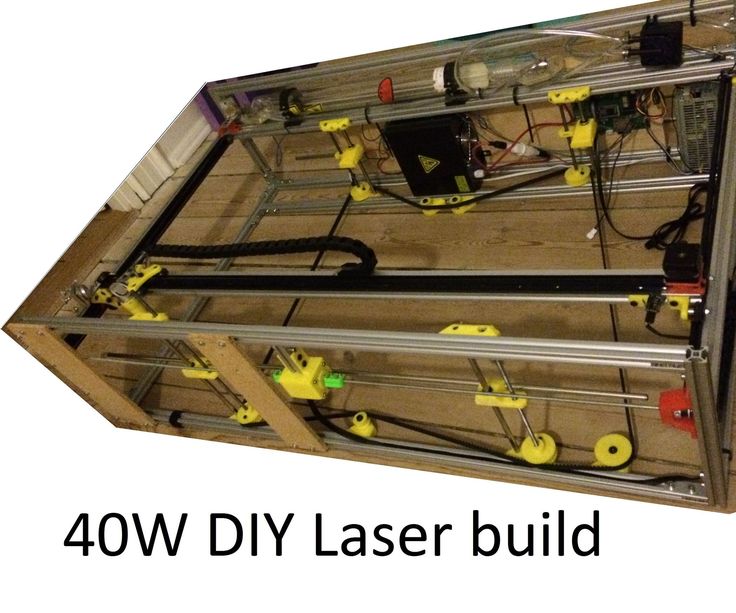
Next steps
The laser cutter and engraver is one of the coolest machines we can have at home because it allows us to make things from a wider range of materials than extruded plastic filament. Converting a 3D printer to a laser printer is an inexpensive option, and you can always go back to 3D printing in the end.
By the way, for Ender and CR-10 users, Creality offers special laser kits to add (not replace) laser modules to these printers.
Be sure to check out some step-by-step guides online. For example, Instructables user Goss Adema has documented converting the Anet A8 to a laser cutter and engraver, and the TeachingTech YouTube channel has great step-by-step instructions on how to do it on any 3D printer.
Laser cutter from 3d printer. Part one, hardware
After publishing my story, there was a genuine interest in the public on how to add a laser cutting function to a 3d printer. There was already a similar experience on the resource, I decided to rethink and supplement it.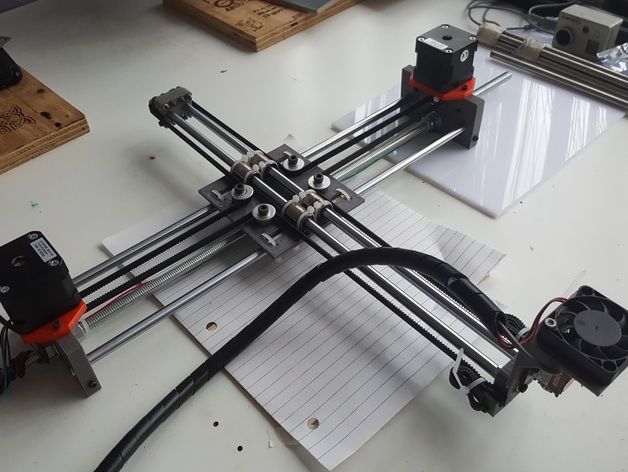 The main idea is to install the laser not instead of, but together with the extruder and make it all work without rearranging the hardware, creating a separate coordinate table and without modifying the original printer firmware.
It would be possible to do the same as the author of the above article - take a ready-made set of laser + driver. Such a solution has the right to life, and it has the advantage of simplicity, but there are also disadvantages. About them - below.
In this part I will describe all the hardware needed for such a modification, the nuances of selection, installation and configuration, but first of all: Always wear protective goggles when working with lasers.
And remember that glasses only protect against reflected light, so don't point the laser beam into your eye. The blue laser requires red goggles. For example, such.
Laser diode
Let's start with the most expensive component.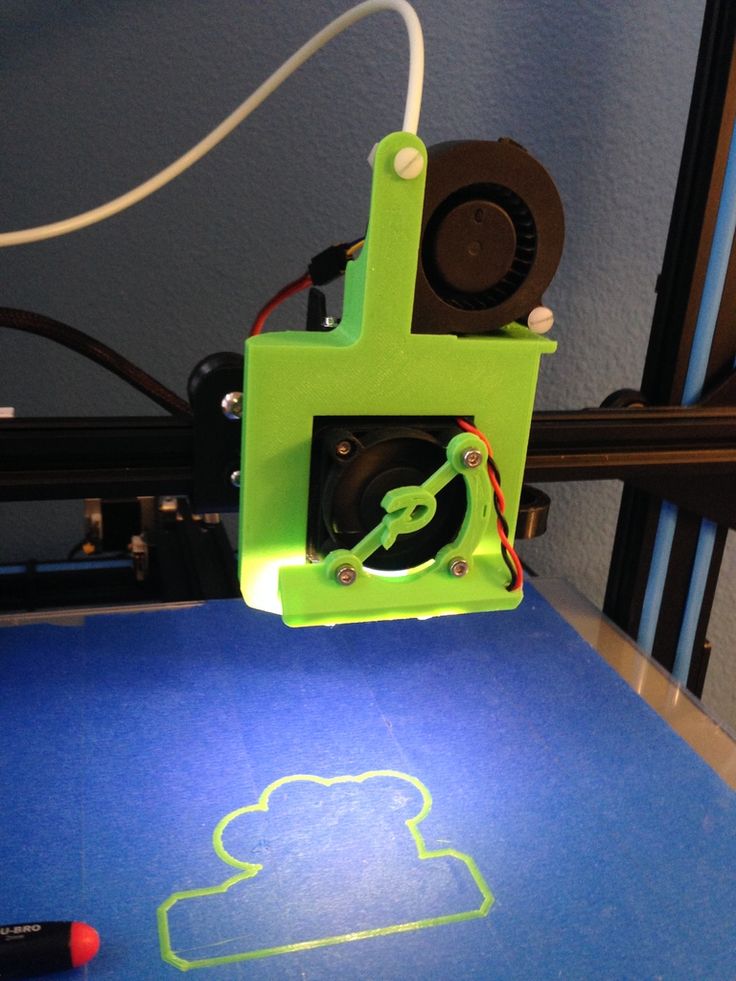 Let's omit the countless parameters given in the datasheet and pay attention to only a few:
Power. The most important parameter. The more power - the faster you can cut / burn. the greater the depth of cut per pass and so on. For myself, I decided that less than 1.6W should not be considered, because there should always be a margin, and the more, the better.
Wavelength. For homemade cutters, lasers with a wavelength of 445-450nm are most often used. There are plenty of lenses for them, and their glow is in the visible spectrum. The choice of color determines how well the laser will cut materials of certain colors. For example, the blue laser does not work well on blue plexiglass and other blue surfaces, as its radiation is not absorbed by the material.
Rated operating current. Usually proportional to power. For 1.6W diodes, a current of 1.2A is typical. At 3.5W, the rated current is 2.3A. This parameter is important when choosing a driver.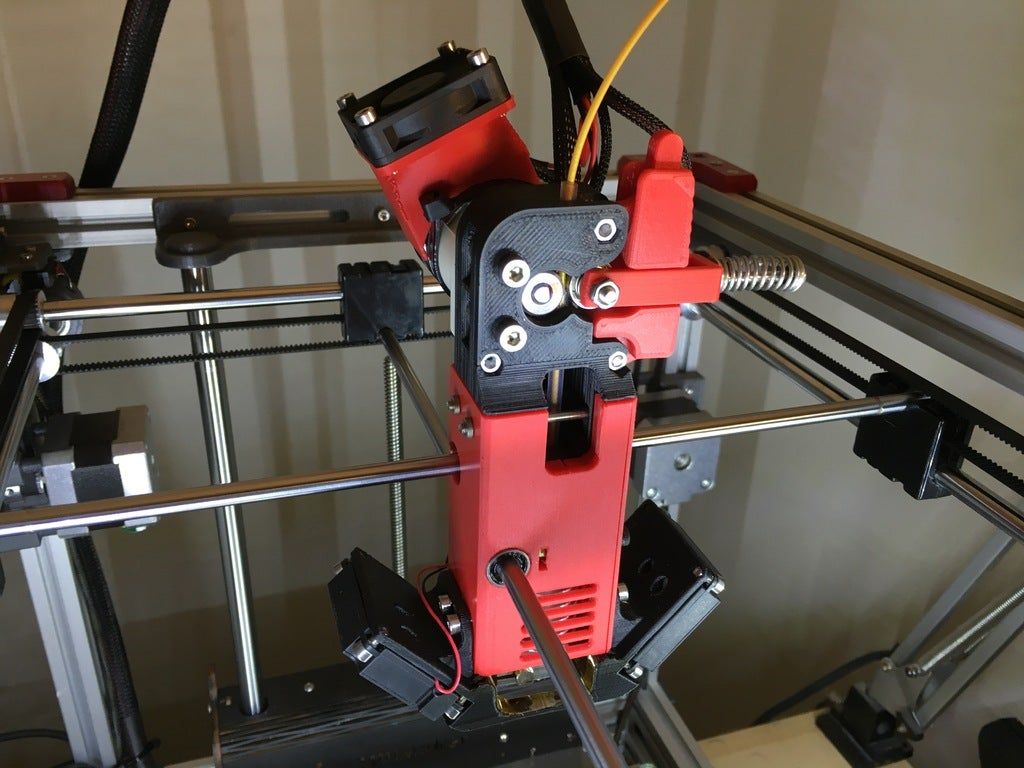 For more accurate information, you should look at the datasheet of a particular laser diode.
Body type. The most common are TO-5 (9mm), TO-18 (5.6mm - it is sometimes called To-56). Affects the selection of the laser module.
Here are some typical laser diodes:
TO-18 1.6W OSRAM PLTB450B TO-5 1.6W Nichia NDB7875 TO-5 3,5W Nichia NDB7A75
Laser Diode Driver
The laser diode driver differs little from the ordinary LED driver and is a constant current source. The only difference is that it often has the ability to control via TTL. Actually, the presence of TTL control is one of the main requirements when choosing a driver. Two more requirements are supply voltage and maximum output current. With voltage, everything is quite simple - most 3D printers use 12-volt power. Therefore, it is worth looking for a 12v driver. The maximum output current must be higher than the rated current of the diode in order to fully unleash its power during the tuning process.
Pair of driver options:
12V 2A 12V 5A
Module and mount
Here is a small lyrical digression. The reason why the assembly of individual components is considered, and not the purchase of a ready-made bundle of driver + laser, lies in the size of the laser module in such kits. 40x40x70mm - too much to mount with an extruder. The set could be considered in the case of building a separate coordinate table specifically for the cutter. In the case of a stepper motor on the carriage, its mass becomes quite large. And the more mass - the more inertia, which is not good.
Module. We need a 12x30mm module. It is worth paying attention to what type of package it is for (TO-5/18, etc.), as well as what wavelength it is intended for. There are both modules for a wide range of wavelengths, and for one particular one.
As usual, a couple of examples:
TO-18 universal TO-5 universal Mount. It is also a radiator. With airflow even for a 3.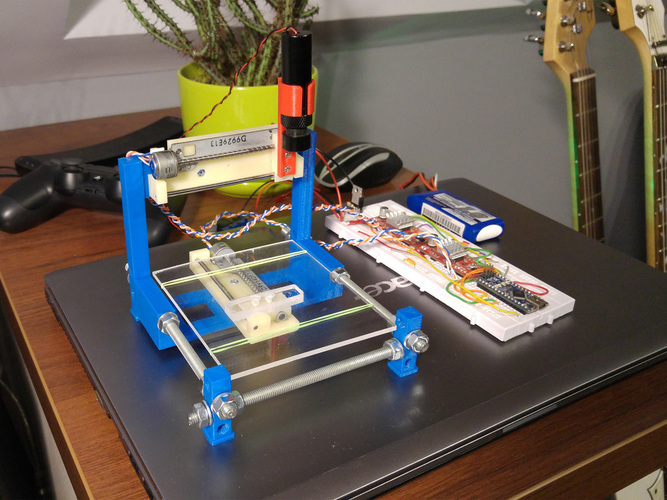 5W laser, such a radiator is enough, it heats up somewhere up to 50 degrees.
Mount Another mount
Mounting
Mounting options for the laser mount are numerous. There is a distance of engineering thought and something to come up with. Be sure to provide a fan above the laser, it is needed both to cool it and to blow smoke out of the work area. Read more about connecting and controlling additional fans here.
Can be fastened with ties, but it is better to make a rigid bolt fastening with an adapter plate, like I did:
There is no universal option here, but there are several critical points that must be observed:
1. It is necessary to fix the module as low as possible, at the level of the nozzle, more precisely, slightly above it, leaving room for lens adjustment (about 1cm). This is due to the focal length - we can always move the module away in Z, but bringing it closer will be a problem if the adjustment is not enough. I did not know about this, and the adjustment was barely enough.
2. It is best to mount the module coaxially with the extruder - then the stroke size of only one of the axes will suffer. And the closer to the extruder - the less the 'penalty'.
With the connection, everything is simple, power supply to the driver according to the polarity, connection of the diode according to the polarity. Observe the polarity of in general. TTL control wire - to pin D4, D5, or D6 in case you have RAMPS. I'll show you with an example how it looks like for me (TTL control on D6):
Setting the laser diode current
After everything is installed and connected, you can start setting the current. To do this, unscrew the lens from the laser and / or place a piece of tile under it so that it does not burn something. You also need to include an ammeter in the gap of the 'negative' wire of the laser diode (see the diagram above). You can temporarily connect a multimeter, or you can put a separate measuring head, as I did.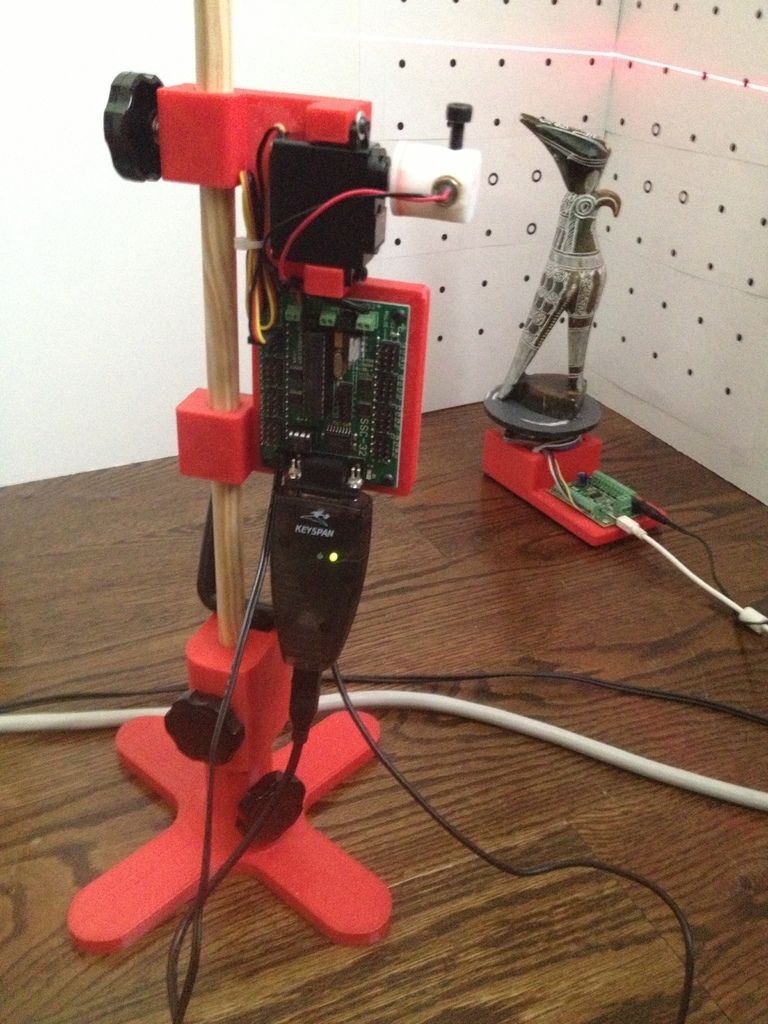 And don't forget to wear safety goggles. The algorithm is:
1. Turn on the printer.
2. In Pronterface we write M42 P* S255 , where * is the number of the pin to which the driver's TTL control wire is connected
3. Take a screwdriver and start to slowly rotate the small trimming resistor on the driver board, simultaneously looking at the ammeter readings. If this is this driver, then it is better to unscrew the current to 0 (counterclockwise until it clicks) before switching on. it is set to 2A by default, which can burn a 1.6W diode.
4. We set the rated current of our diode on the ammeter and write M42 P * S0 to turn it off. (* - see above)
5. Disconnect the multimeter from the circuit (optional).
Adjusting the laser focus
Everything is quite individual here. Focus can be adjusted both before each cutting operation, and once, then simply by moving the carriage along Z, depending on the thickness of the material being processed.