3D printer horizontal lines
9 Ways How to Fix Horizontal Lines/Banding in Your 3D Prints – 3D Printerly
After you finish a 3D print, you notice some sharp lines in the middle of your 3D prints. These horizontal lines have a negative effect on the quality of your 3D print, so it’s definitely something you’d want to get rid of. There are solutions to try out to fix these strange lines.
The best way to fix horizontal lines in your 3D prints it to identify the reason of the problem first and then solve it by using the best possible solution. Some common reasons for this problem are conflicting extrusion, more printing speed, mechanical issues, and temperature fluctuations.
In this article, I’ll attempt to explain why your 3D prints get horizontal lines in the first place, and how to fix them once and for all. Let’s have a look.
If you are interested in seeing some of the best tools and accessories for your 3D printers, you can find them easily by clicking here (Amazon).
Why Do Your 3D Prints Have Horizontal Lines?
A 3D print is composed of hundreds of individual layers. If things are managed properly and correct measures are taken, then you can avoid horizontal lines showing up in your prints so prominently.
There are many reasons why you might get horizontal lines or banding in your prints, so it’s important to identify what your specific cause it, then use a solution that corresponds with that cause.
Some causes for horizontal lines that users have had are:
- Unsturdy printing surface
- Printing speed too high
- Abrupt temperature changes
- Overextrusion
- Incorrectly calibrated extruder
- Mechanical issues
- Extruder skipping steps
- Worn out nozzle
- Bad filament diameter quality
How to Fix a 3D Print That Has Horizontal Lines?
There are some quick solutions to this problem, while some specific causes require more of an in-depth solution so let’s go through these solutions one by one.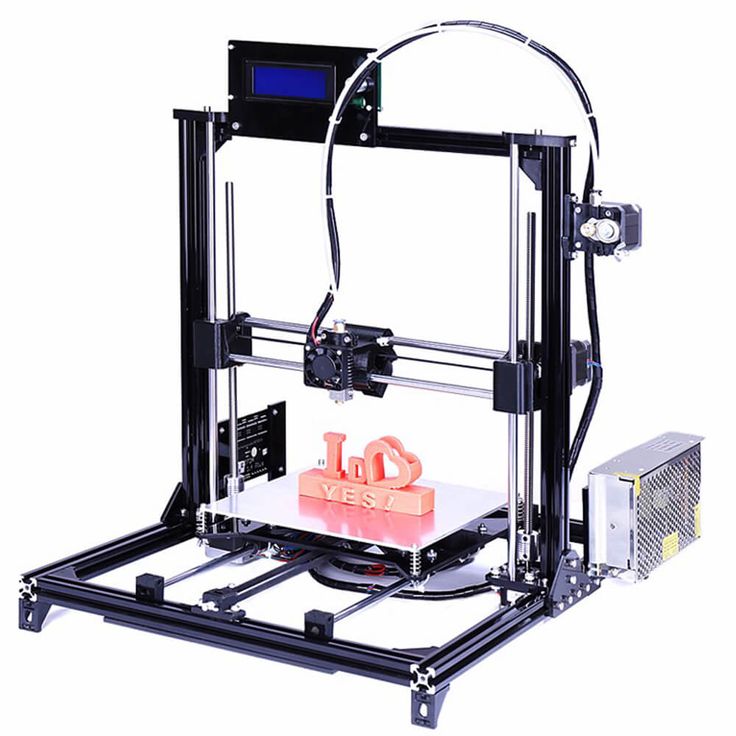
1. Unsturdy Printing Surface
Having a printing surface which wobbles or isn’t very sturdy can definitely contribute to your 3D prints having horizontal lines through them. 3D printing is all about precision and accuracy, so that extra wobble can throw off the dimensions.
- Put your 3D printer on a stable surface
2. Printing Speed too High
This also ties in with accuracy and precision, where 3D printing speeds which are too high can end up extruding unevenly across your 3D prints.
- Slow down your overall printing speed in 5-10mm/s increments
- Check your advanced printing speed settings for infill, walls, etc.
- Lower your jerk and acceleration settings so your 3D printer doesn’t vibrate due to fast initial movements and turns.
- A good 3D printing speed to go with is around 50mm/s
3. Abrupt Temperature Changes
The heating elements on a 3D printer aren’t always as straightforward as setting one temperature and it staying there.
Depending on your firmware and what system is currently implemented, your 3D printer will have a range between where it sits, meaning the heated bed may be set to 70°C and it waits until it hits 60°C before it kicks the heater in back to 70°C.
If the temperature fluctuations are large enough, it can definitely cause horizontal lines to occur in your 3D prints.
- Ensure your temperature readings are keeping fairly steady, and doesn’t fluctuate more than 5°C.
- Use a brass nozzle for better thermal conductivity
- Implement an enclosure around your 3D printer to help stabilize temperatures
- Recalibrate and tune your PID controller if you see large fluctuations
4. Overextrusion
This cause of horizontal lines in your 3D prints also ties in to high printing temperatures because the higher the temperature, the more liquid the material being extruded.
- Try decreasing your printing temperature in 5°C increments
- Check your nozzle isn’t worn out from long-term use or abrasive materials
- Look at your flow rate settings and lower if necessary
- Dial in your retraction settings so more filament isn’t oozing out
Reducing your retraction distance or unchecking the “retract on layer change” setting can help fix these horizontal lines or even missing lines on your prints.
5. Incorrectly Calibrated Stepper Motor
Many people aren’t aware that their stepper motors aren’t always properly calibrated when they receive their 3D printer. It’s a good idea to run through some tests to make sure your stepper motor is calibrated precisely so it extrudes the right amount of plastic.
You can start to see missing lines or small sections in your prints due to this.
- Calibrate your 3D printer’s stepper motors by following a detailed tutorial
I would definitely advise to check your steps & e-steps and learn how to calibrate it properly.
6. Mechanical Issues or Unstable Printer Parts
Where there are vibrations and movements that aren’t smooth, you can easily start to see horizontal lines in your 3D prints. There are many areas where it can be coming from so it’s a good idea to run down this list and correct them as you go along.
You could definitely be experiencing more than one of these at a time. Going through the list below should set you well on your way to correcting this underlying issue that is negatively affecting your print quality.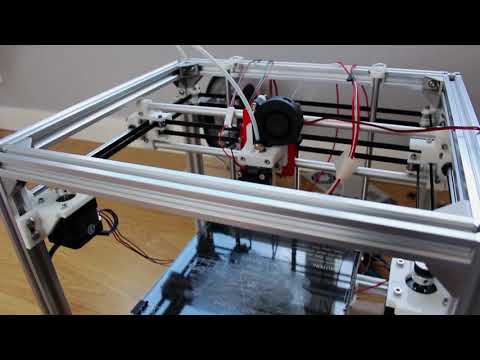
- Dampen vibration wherever possible, but I would advise against using floating feet because they can easily increase this issue.
- Make sure you properly tighten your belts, because most people when they put their 3D printer together for the first time, don’t tighten their belts enough.
- Also getting replacement belts compared to cheaper stock belts should do you better in regard to clearing horizontal lines.
- Closely follow tutorials on how to put your 3D printer together so you don’t face future problems
- Tighten up screws around your 3D printer, especially with your hotend carriage and axis
- Keep your nozzle position accurate throughout your print
- Make sure your print bed is stable and well-connected to the rest of the 3D printer
- Check that your Z-axis threaded rod is placed correctly
- Ensure that the wheels on your 3D printer are properly tuned up and maintained
- Oil the relevant areas on your 3D printer with a light oil for smooth movements
7.
 Extruder Skipping Steps
There can be many reasons why your extruder might be skipping steps, but there are some common causes that people go through which have fairly simple solutions.
- Use the correct layer heights for your stepper motor (for NEMA 17 motors, use 0.04mm increments, e.g. 0.04mm, 0.08mm, 0.12mm).
- Calibrate your extruder motor
- Make sure your extruder motor is powerful enough (you can change it with the X-axis motor to see if it makes a difference)
- Unclog your extrusion pathway (nozzle, tubing, clean gears) with some cold pulls
- Increase printing temperature so filament can flow easier
8. Worn Out Nozzle
Some people have seen horizontal lines in their 3D prints due to a worn out nozzle, since it doesn’t smoothly extruder filament all the way through. This is more likely to happen if you are printing with an abrasive material.
- Replace your nozzle with a fresh brass nozzle that fits your 3D printer
You can go with a popular option on Amazon which is the EAONE 24 Pieces Extruder Nozzles Set, which comes with 6 nozzle sizes and plenty of cleaning needles to unclog nozzles when needed.
9. Bad Filament Diameter Quality or Tangles
From having poor quality filament which has uneven diameters all the way through, or having tangles in your filament can alter the feeding pressure through the extruder enough to create horizontal lines in your prints.
- Buy filament from a reputable manufacturer and seller
- Use a 3D printed filament guide that your filament passes through before the extruder
Other Ways to Fix Horizontal Lines/Banding in 3D Prints
Most of the ways to fix horizontal lines/banding should be found above, but there are other fixes that you can look over and try to see if it works out.
- Improve cooling on your 3D printer
- Upgrade to Capricorn PTFE tubing
- Disassemble your 3D printer and put it back together with a tutorial
- 3D print a Z-rod spacer
- Check your eccentric nuts are tight
- Add more tension on your extrusion spring (lever feeder)
- Check Cura settings to make sure you aren’t extruding more at start of layers (‘Extra Prime Distance’ setting etc.)
- Use a proven settings profile for your 3D printer
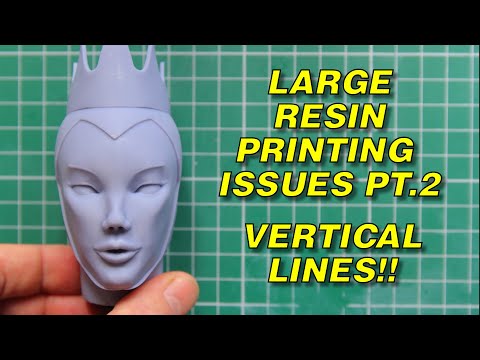
How to Fix Horizontal Lines in Resin 3D Prints
Some people may think that anti-aliasing can solve horizontal lines in resin 3D prints, which they can, but for random horizontal lines between layers it might not work.
AmeraLabs put together an extensive list of how to fix horizontal lines in resin 3D prints which goes into some great depth. I’ll summarise these great points below:
- Exposure time changes between layers
- Lifting speed changes
- Pauses and stops in printing process
- Model structure changes
- Bad first layer or unstable foundation
- Change of consistency or disturbance of resin
- Z-axis durability
- Uneven layers due to separation
- Resin binding through sedimentation at the bottom
- General mistakes and inaccurate printing parameters
It’s a good idea to shake your resin bottle before pouring into the resin vat and to ensure you run calibration tests before printing complex parts.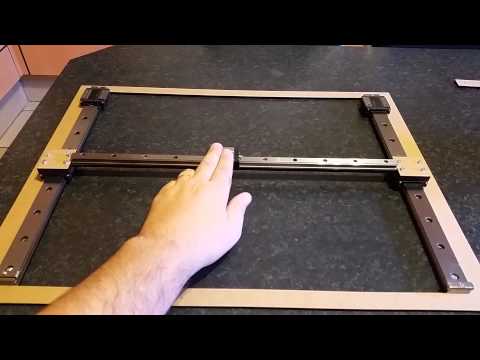
I’d make sure your exposure times aren’t too long and you reduce your overall printing speed, so your 3D printer can focus on precision, accuracy and stability.
Using a high quality resin which doesn’t settle so easily is advised. Keep your threaded rod clean and slightly lubricated.
Take care of the model itself when thinking about the part orientation and the support that it requires to print successfully. If you have to start and stop your 3D printer, you can get horizontal lines on your 3D prints.
With a little of perseverance and knowledge of what causes horizontal lines in resin 3D prints, you can work towards getting rid of them once and for all. You’ll have to identify the main cause and apply the ideal solution.
If you love great quality 3D prints, you’ll love the AMX3d Pro Grade 3D Printer Tool Kit from Amazon. It is a staple set of 3D printing tools that gives you everything you need to remove, clean & finish your 3D prints.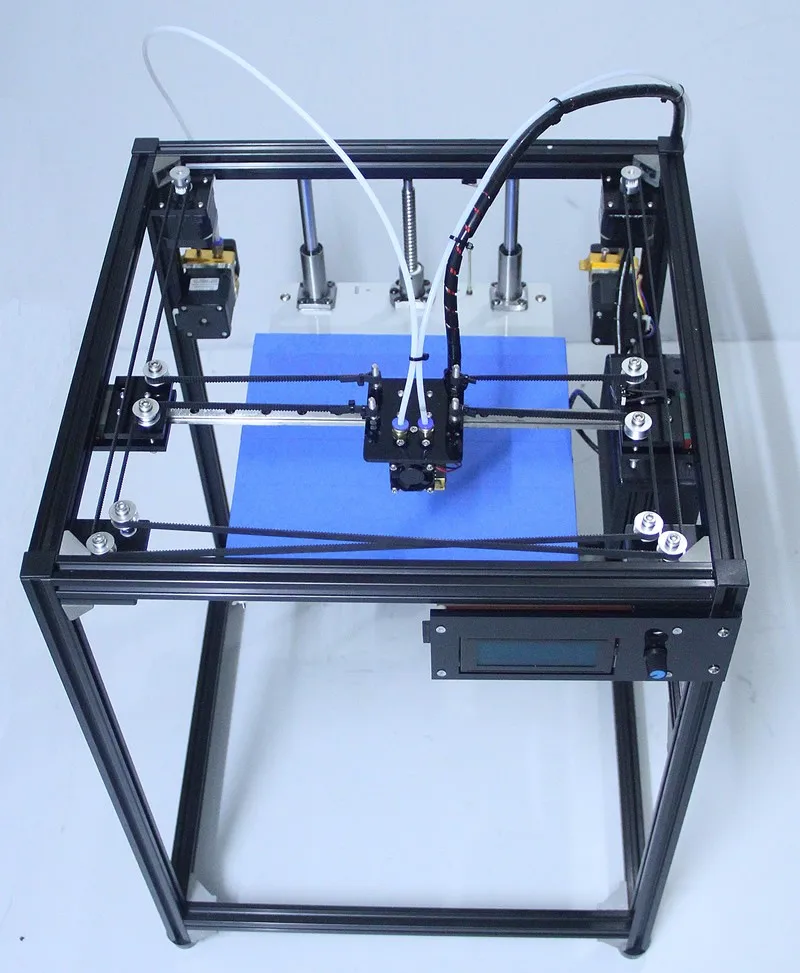
It gives you the ability to:
- Easily clean your 3D prints – 25-piece kit with 13 knife blades and 3 handles, long tweezers, needle nose pliers, and glue stick.
- Simply remove 3D prints – stop damaging your 3D prints by using one of the 3 specialized removal tools.
- Perfectly finish your 3D prints – the 3-piece, 6-tool precision scraper/pick/knife blade combo can get into small crevices to get a great finish.
- Become a 3D printing pro!
9 Ways How to Get Rid of Lines on the Side of 3D Prints – 3D Printerly
There have been plenty of times when I see lines on the side of my 3D prints that don’t look too great in terms of quality. I set out to find the best ways to get rid of these 3D print lines so my prints can look their best.
3D printing has many parameters, settings, mechanical parts which does make it quite the task to narrow down fixing a specific problem.
To get rid of 3D print lines, you should optimize your printing temperature and slicer settings, as well as check and replace the necessary mechanical parts on your 3D printer.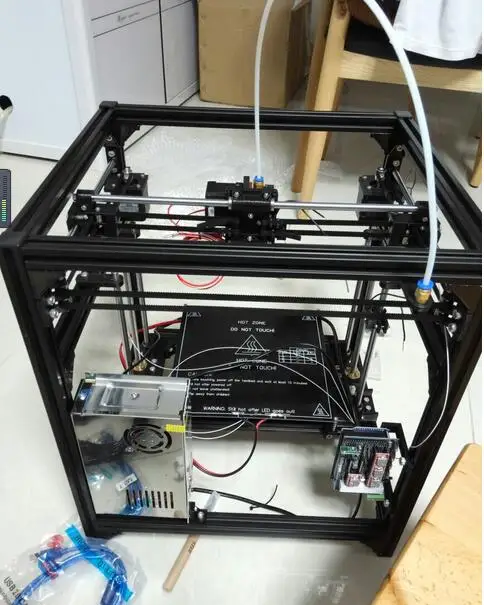 Using a stable print surface and making sure your bed is correctly leveled does help. You should also use high quality filament for 3D prints.
Keep reading this article to find out the details behind the solution.
Why Are There 3D Print Lines on the Side of my Prints?
The sides of the 3D printed parts consist of hundreds of individual layers. If your printer is working properly and the printing process has no issue, then you will see a smooth and single surface.
But if there is something wrong, even with a single layer in the printed model, you will be able to see it even with the naked eye.
These improper layers then start to look like lines or ridges on the sides where they are appearing. I will be telling you some of the reasons which are becoming the cause of these lines on the side of your print.
The list of some main causes of these 3D print lines is as follows:
- Temperature too High
- Abrupt Temperature Changes
- Mechanical Problems
- Over-Extrusion
- Damaged Extruder Nozzle
- Printing too Quickly
- Unstable Print Surface
- Bad Filament Diameter Quality
How to Fix Lines on the Side of My 3D Prints
In this section, you will be getting all the solutions to fix the above problems, which are causing lines to appear on your 3D prints so, keep reading.
1. Temperature too High
If the temperature is higher than the usual value, it makes the plastic melt more, which allows plastic to extrude more freely, with less control.
Printing at higher temperatures usually gives the layer better adhesion, but at the same time, it becomes the cause of many other issues such as blobbing and oozing.
The higher temperature affects the layers and causes lines on the sides of printed parts.
To fix this I would advise to:
- Aim to print at a lower temperature, start low and build your way up
- If you are getting under extrusion under such circumstances, slightly increase your temperature
- It may take a few test prints, but once you find your optimal temperature, then you should get better print quality.
2. Abrupt Temperature Changes
Most of the 3D printers present in the market are using a PID controller that helps in regulating the temperature of the extruder. If the PID controller is not tuned properly, you may have fluctuations over time.
These fluctuations in the temperature make the filament hot or cold and disrupt the printing process. This disruption can cause the layers to extrude differently, creating ridges on the sides of your print.
- Make sure your PID controller is tuned properly to keep the temperature tuned at all times
- The temperature variation should be as little as ±2°C
- Use a brass nozzle for better thermal conductivity to avoid abrupt fluctuations
3. Mechanical Problems
There comes this term known as Z-banding, which is one of the causes of why you experience horizontal lines over the outer shell. You will see these patterns repetitively after every few layers.
- Bent Lead Screw
This is one of the most common causes of Z-banding because this lead screw can become bend and can cause weird patterns to appear on the surface.
If you remove your lead screw and try rolling it on a flat surface, you can see whether it is bent. If it is bent, at certain layer heights, you’re going to get movement which negatively affects print quality, which can lead to those lines in the side of your print.
Make sure you don’t secure the top of the lead screw because it can exacerbate the problem. The best place to secure the lead screw is at the bottom and in the middle.
If your lead screw is bent quite significantly, you should probably look to get a high quality replacement.
- Rod Maintenance Needed
If the rod after continuous use is wearing down, it will disturb the functioning of the z-axis.
This will affect the proper printing pattern. You can use lubricant for the rod to help it move smoothly over the surface.
- Belt and Wheel Adjustments
You need to adjust the belt and wheels of the print because if they are not properly fixed, you will see weird lines on the sides and surface of the print.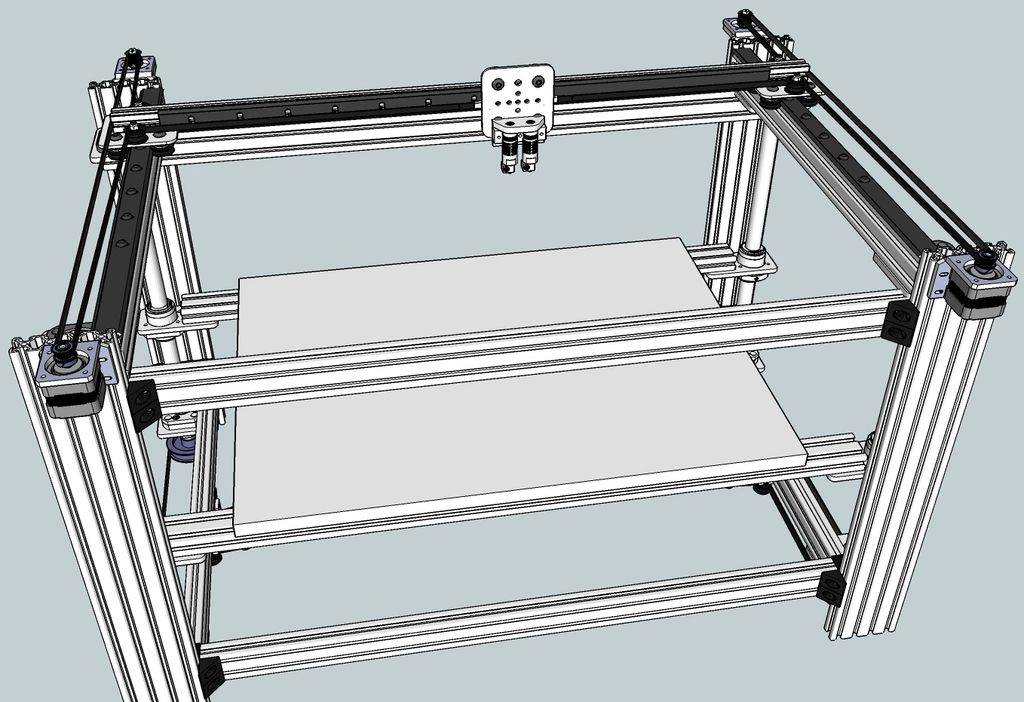
- Linear Bearings
Having slow in the linear bearings is another common mechanical problem which will lead to Z-wobble and possible give imperfections such as lines on the side of your print.
4. Over Extrusion
The excessive filament coming out of the nozzle during the printing process starts depositing on the layers, making the layers look thicker.
These thick layers actually make the nozzle touch them, which starts causing the lines to appear.
Another problem with over extrusion is that it has a high flow rate, which is causing more filament to come out. This makes the layers uneven, and uneven lines can be seen on it. What you need to do is simple:
- Lower the flow rate of filament coming out of the nozzle
- Reduce the temperature of the extruder to avoid the extra melting of filament
5. Damaged Extruder Nozzle
Now, this is a problem where over time, the nozzle can wear out either due to general wear-and-tear or printing with abrasive filament.
One of the reasons is that it is too close to the bed that it scrapes the tip-off, and the other is that you might have scraped it off while cleaning it.
The solution to this issue is simple:
- You need to replace the nozzle with a newer, high quality one
- Test printing temperatures and print quality after replacing the nozzle
- If you are printing with abrasive filament, get yourself a hardened steel nozzle
6. Printing too Quickly
Now, what happens is that when the extruder is moving at high speed, it can start to deposit excess filament on the sides of the print.
You will be able to notice such lines patterns at the curved sides, and it is also visible on the flat surface.
Doing the following should help:
- Lower the printing speed
- This will give time to layers to adhere properly, and less filament will deposit on the sides.
- Start lowering the printing speed in intervals of 5-10mm/s.
- You can check your advanced printing speed from the slicer settings to change certain parameters.
7. Unstable Print Surface
These can be two surfaces; it could be either the printing bed or the place where you have placed your printer.
As this printing is all about precision and accuracy, no extra vibration will do good to it. The solution to this issue is:
- Put your 3D printer on a stable surface
- Level your print bed a few times to make sure its accurate
- Implement a BL-touch for auto-levelling
8. Bad Filament Diameter Quality
The poor quality filaments can alter the feeding pressure through the extruder, and this can cause lines to appear on the sides of the 3D print. What you can do is:
- You can buy a filament from a reputable manufacturer or seller.
- You can use a 3D filament guide which can pass through before the extruder.
- Measure the filament diameter and make sure it is within the tolerance
Overall, these are some of the causes which are causing lines to appear on the sides of your 3D print.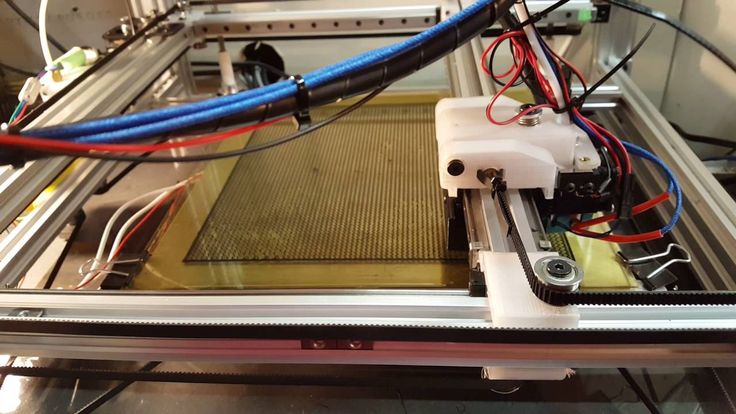 And I have explained the solutions to how you can avoid or overcome these causes to prevent the lines problem.
9. Start of Layer Position Settings
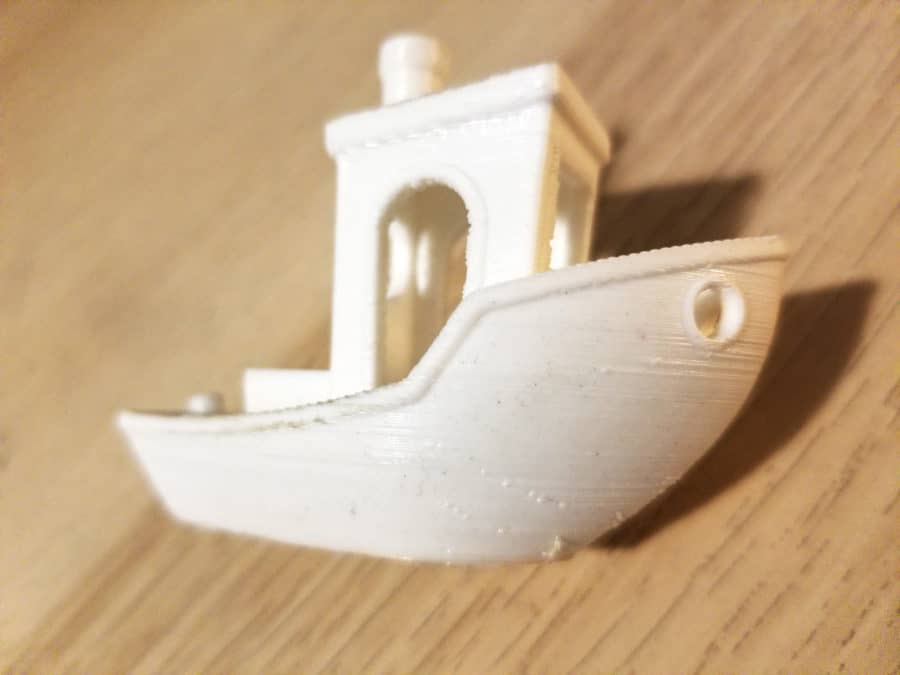
When I printed benchys, I used to get this vertical seam going straight through the side of it, which didn’t look too pretty.
As I was watching the benchy print, I noticed that each layer started exactly where that vertical seam was.
After some research, I found a simple method to fix this.
- In Cura, check a setting called ‘Z-Seam Alignment’ which you should set to random.
What this setting does it change the starting point of each layer to a random location. Run a test print and hopefully the line in the side of your print should be fixed.
Horizontal lines on object/geometry/density change
pla reality-ender-5 temperature layer-shifting
I've had Ender 5 plus for a few weeks now. It prints great and I have a pretty good setup at the moment. I noticed some horizontal inconsistencies corresponding to feature/geometry changes. It seems to be related to the layer timing maybe(?) I only have a picture of two models, but the problem will appear in other places on different models, always coinciding with some changes in the layers. nine0003
The problem is consistent throughout the model and changes position with different prints, so I know it's not a mechanical problem. Let's say I printed a 20cm tall 2x2cm tower, it won't have any of these flaws because each layer is identical.
I strongly suspect layer time/temperature change, but I don't know how to fix it, I'm a bit confused. They were both printed at 200°C and I'm trying the new one at 210°C (the best spool temperature I have) and it has the same problem. All three models are from the same PLA reel. nine0003
Also, I use Cura mostly with Ender 5+ default settings.
These photos are:
I tried to highlight the idea, but each line corresponds to some changes in the model
It's harder to see on the bench, but the line of the body lines up with the hard floor of the model, and the top lines line up with the top window sill.
@GmodCake, 👍4
Talk
3 answers
▲ 1
This is a variable underextrusion due to the loss of material to seep into the model.
When printing an infill pattern, the nozzle does not follow a single continuous extrusion path, but moves from the end of one path to the beginning of the next, and by default the Cura does this without drawing in the filament. This causes unpredictable amounts to leak out during the transfer from one to the other, thereby desynchronizing the planned/estimated amount of extruded material so far and the actual amount. This means that the next time the outer wall is extruded, there is an unpredictable deficit between the amount of material in the extruding nozzle and the amount that the slicer has to extrude. The result is what you see. nine0003
To fix this, you need to fix the leak not only on the outside of the model, where it looks like a visible bottom, but also on the inside. Either disable "Combing" completely in Cura, or set "Maximum Comb Distance Without Retraction" to something very low (0.8mm or less). Also set the "Minimum Extrusion Distance Window" to 0 to make sure Cura doesn't skip retractions for other reasons.
You can also play with the extrusion length and speed. Too short or too long can be bad; 5-7mm is a reasonable range for bowden PLA. Higher speed usually helps too; the printer must be able to process 50mm/s or faster. nine0003
, @ R.. GitHub STOP HELPING ICE
▲ 0
If that matches horizontal planes - like a "solid floor" than I would suggest checking the overlap settings. My suspicion is a slight overvoltage which could be the cause of many small horizontal differences. Using 3mm filament, I often suffer from similar inconsistencies until I find the right flow to avoid overstressing. By adding the first to the second, the solid plane will push the walls more to the sides. nine0003
Are you printing "Infill in Front of Walls" (Cura setting)? You can try disabling this checkbox and see if the result persists. You can also turn on the "Exterior Before Interior Walls" feature - to make sure the exterior wall prints first with the least noise (although some other issues may appear after moving, changing layers, etc.).
- So try printing from outside to inside (external walls > internal walls >> infill). nine0057
- Then try decreasing the "Flow" until you see no excessive protrusions (or even small gaps in the surface).
- Finally go back to these settings (fill > inner > outer) and check them again.
, @ octopus8
▲ 0
The problem with "hull lines" is known. It depends on the material shrinking after extrusion and faster layers give less time to shrink the previous layer so they appear continuous while slower layers take more time so the previous layer has more time to shrink and will visible change in external dimensions.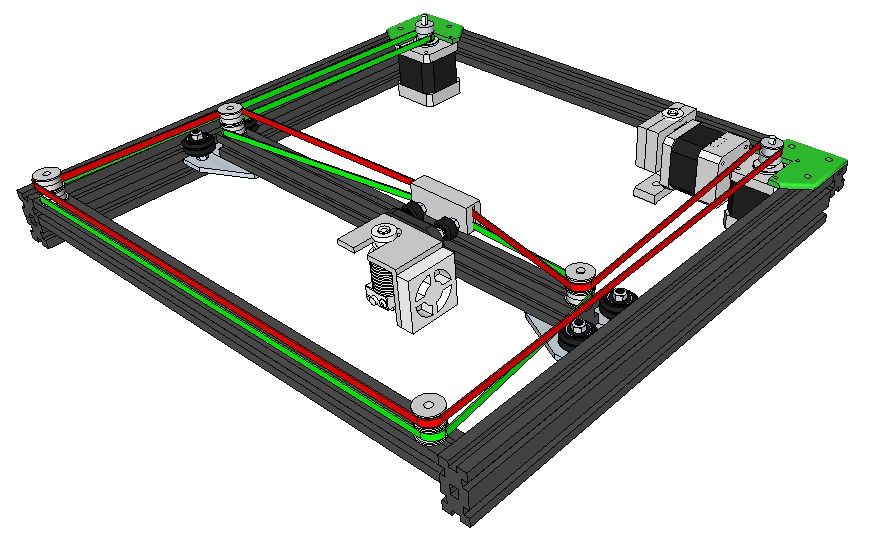 nine0003
Thus, the more layers, the slower. You can increase the temperature slightly so that it takes more time to cool down to shrink temperature, you can print faster, you can increase the chamber temperature to have more time to shrink, or you can cool the part more so that no matter what the current layer time is, the previous one will always be already reduced.
There is a channel on the Polymaker Discord server about the "body line". You can find the server invite and check there. nine0003
, @ FarO
3D print layer height: how important is it?
3DPrintStory 3D printing process 3D print layer height: how important is it?
Layer height is actually the height of each layer of plastic, extruded, vulcanized or sintered on a 3D printer. This setting is configured with your slicer and has a much larger impact on the final 3D printed model than it might seem at first glance. When used correctly, this setting will increase the speed, resolution, and quality of 3D printing in general. nine0003
The height of a 3D printed layer is usually measured in microns. One micron is equivalent to 0.001 mm.
Things to watch out for when playing with layer height on FDM printers: a thinner vertical layer results in a thicker horizontal line, and a thicker vertical layer results in a thinner horizontal line. This can reduce horizontal accuracy, especially in small moving parts.
Different printers have different maximum layer height resolution. The standard minimum height is typically 50 to 100 microns (0.05 to 0.1 mm). Cheaper 3D printers usually do not have such high accuracy. In printers such as the Anet A8, the minimum layer height is 100 microns (0.1 mm). Therefore, when buying a 3D printer, you should consider the minimum layer height. nine0003
SLA and laser 3D printers typically have a much lower minimum compared to FDM printers, which explains the insanely detailed models they can print.
Optimizing 3D print speed
One of the most common reasons for changing 3D printer layer height settings is to increase 3D print speed. The higher layer height means the printer doesn't have to print multiple layers to achieve the same overall height, resulting in much faster 3D printing. nine0003
Generally, increasing the layer height reduces the print resolution and quality. Thus, this "trick" is best suited for large 3D models, where close-up details will either be ignored or corrected during any post-processing.
The layer height can be optimized for each model separately to achieve maximum print speed while maintaining a specific resolution. However, this is something that should be judged individually for each 3D printer, as effective 3D printing will require some play around with the settings. nine0003
Increasing resolution
A little-known fact in the 3D printing community is that most 3D printers have higher vertical resolution than horizontal resolution. Why? The lead screws provide your 3D printer with a much more precise vertical position than the drive belts used for other axes. Thus, the printer can create sharper patterns in the vertical plane than in the horizontal plane.
This is one of the reasons why aaskedall's "Fillenium Malcon" model is so popular (among Star Wars enthusiasts). It is because of the presence of such amazing details that can be implemented on a huge number of 3D printers. nine0003
A lower layer height on your 3D printer will, of course, slow down printing, but the printer will apply more layers for a given height, resulting in much higher detail.
Smoothing the Surface
Another use for the extreme detail available at lower layer heights is to smooth 3D models. With a lower layer height, they become less noticeable, and the details become smoother.