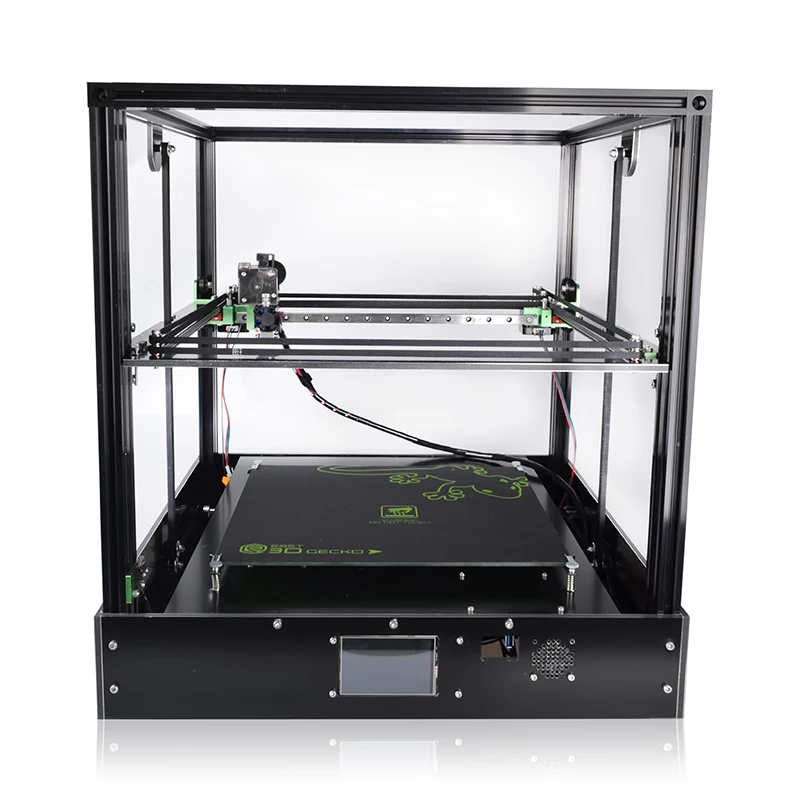
3D printer for chocolate
News
Temper in Chocolate - What it is and why it matters
Any chocolatier worth their cocoa butter will tell you, real chocolate needs to be “tempered.” But what is temper and why is it important? To answer these questions, we should start by understanding a little more about the composition of chocolate, and how the various ingredients interact.
Read More
Custom Chocolate Making Process
Learn More
Using your own chocolate with Cocoa Press
There are two ways to get chocolate for printing with Cocoa Press. If you want a simple, proven method, you can buy our pre-tempered chocolate refills. The printer is not locked into these chocolates, so the other way is to use your own! This blog post will show you how to use your own chocolate, and what to keep in mind in the process.
Learn More
The Daily Pennsylvanian: Craving chocolate? This Penn alum’s 3D printing business can make you some.
Read More
Tech Crunch: Meet Cocoa Press, The Philly Startup Making a 3D Printer for Chocolate
Read More
How to Start Printing Chocolate
Read More
We are live at 5PM EST! Get ready for our launch event!
Read More
Check out our Brochure!
Read More
Cocoa Press Combines Forces to Fabricate 65,000 Face Shields
Read More
Ok Xoomer: Shaping the Future of Chocolate With 3D Printing
Turns out the future of 3D printing is pretty delicious. In this episode of Ok Xoomer — Zoom chats with creative engineers and more — Aaron Lichtig, the Xometry guy and former Jeopardy champion, interviews Evan Weinstein, recent graduate of the University of Pennsylvania and owner/founder of Cocoa Press, on the future of chocolate 3D printing and why it's a great time to be a mechanical engineer.
Learn MoreWatch Now
NPR Radio: Hosts Cocoa Press
NPR Radio discusses Cocoa Press with CEO Evan Weinstein.
NPR RadioRead More
Mashable: Chocolate lovers may fall in love with this 3D printer — Future Blink
A sneak peek at the innovations that will change our everyday lives in the future. Appropriately named “Cocoa Press,” the printer molds chocolate into any shape.
See More
Daily Mail: Now anyone can be a chocolatier!
Student develops 3D printer that creates custom artisanal chocolates on demand Watch the Cocoa Press, created by Evan Weinstein, use its 3D printer with chocolate to create chocolatey and edible works of art at the University of Pennsylvania.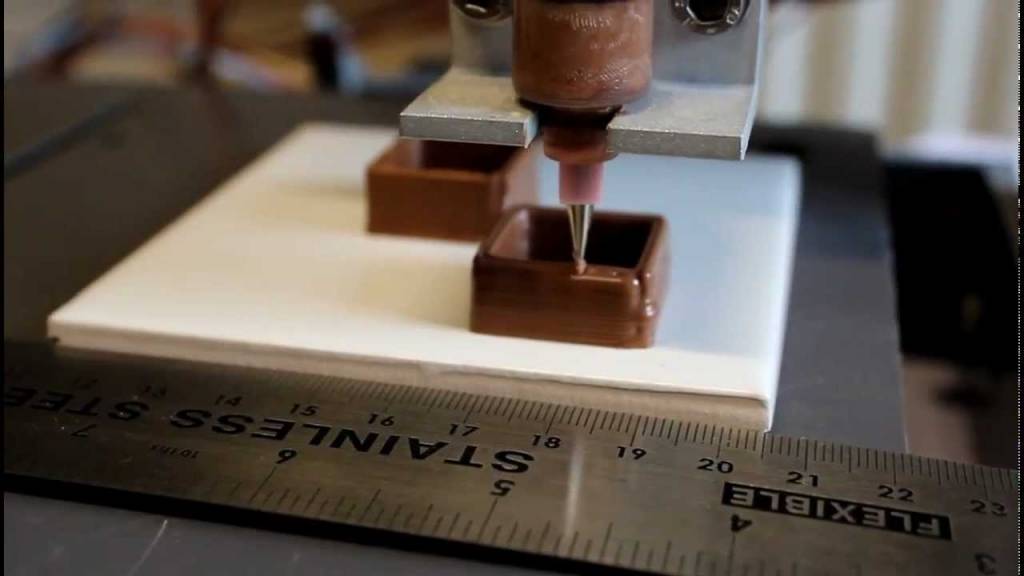
See More
Penn Today: Evan and The Chocolate Factory
Engineering student Evan Weinstein fixated on the idea of liberating bespoke chocolates from the confines of both the bar and the mold. Rather than cast a chocolate shape, why not build it? Cocoa Press is his solution.
Penn Today
The Edge of Tech: 3D Printing Chocolate!
I was at ERRF, the East Coast Rep Rap Festival, and I came across a 3D Printer that prints Chocolate!! It was awesome and the Chocolate was great!
Watch Now
Xometry: Case Study, The First Commercial 3D Chocolate Printer
From a high school project to a commercial-grade product, Evan Weinstein’s Cocoa Press will allow bakeries, chocolatiers, and consumers to print their sweetest desires
XometryRead More
Hackaday: MAKER FAIRE NY: COCOA PRESS CHOCOLATE PRINTER
If you haven’t figured it out by now, the hype over desktop filament printers is pretty much over. But that doesn’t mean there aren’t new avenues worth exploring that use the basic FDM printer technology. If anything, the low cost and high availability of 3D printer parts and kits makes it easier to branch off into new territory. For example, experimenting with other materials which lend themselves to being “printed” layer by layer like a thermoplastic. Materials such as cement, clay, or even chocolate.
HackadayRead More
Philadelphia Inquirer: Flying robots, hot glass, Google, 3-D flesh, NextFab: Philly’s first Maker Faire at Pennovation
Cool nerds from across the region convened Sunday for a first-of-its-kind carnival for start-ups in Philadelphia. More than 1,200 engineers, investors, students and artists signed up to spend the sunniest hours of the weekend challenging and celebrating more than 100 start-ups and small businesses that showed off prototypes and perfected products they hope to bring to mass production.
Read More
Maker Faire: Exhibit Cocoa Press Chocolate 3D Printer
In 11th grade I joined my school's FIRST robotics program. I had heard of 3D printers, but I had never seen one. By the end of the semester, I had become "the 3D printer guy" at my school, helping to maintain the various printers in our lab. I slowly realized the potential of these machines and decided that I wanted to dig deeper into the mechanisms behind the magic.
Maker FaireRead More
resources
FREQUENTLY ASKED QUESTIONS
Cocoa Press is a 3D printer, which means it dispenses melted chocolate layer by layer to build up an object. It is an automated process, so there is no need to monitor it while printing (although it is mesmerizing to watch)
A plastic printer uses spools of filament to feed into an extruder. In Cocoa Press, all of the chocolate needed for a print is heated up at the same time to ensure an accurate temperature and to maintain the temper of the chocolate. Cocoa Press also has a much more precise heating system and features a cooled build chamber.
Insert a chocolate refill into the stainless steel cartridge. Lock the cartridge into place inside the extruder and begin heating the chocolate.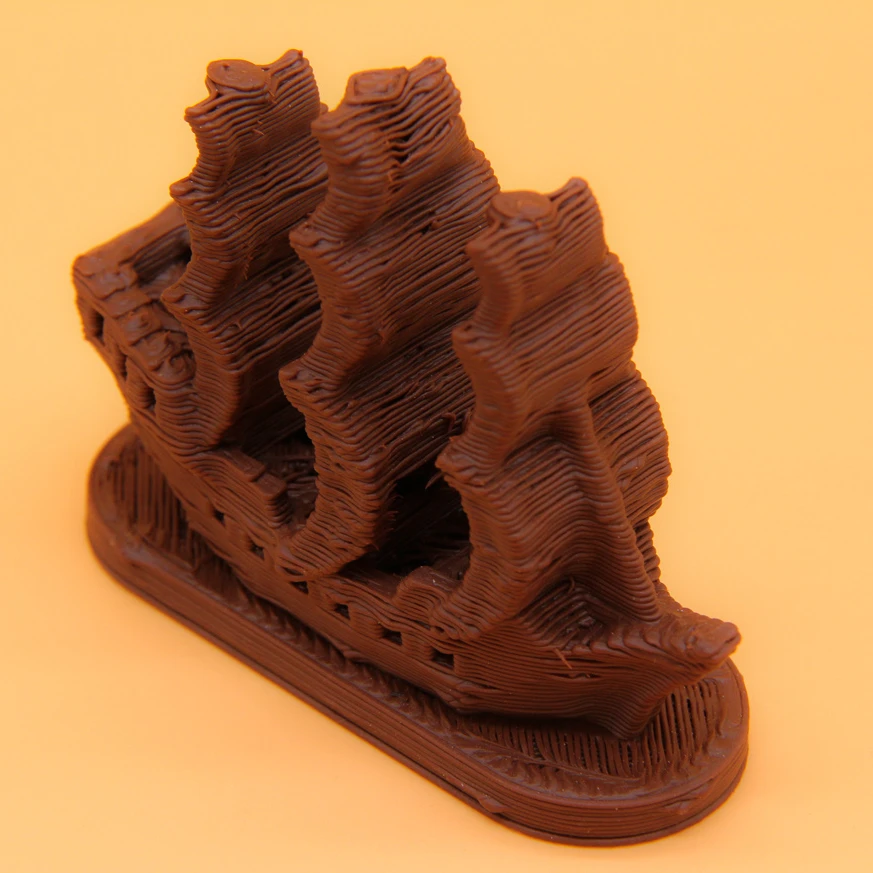 Then, pop in the SD card with your design and hit print!
We are extremely excited to be working with such talented suppliers. We use genuine Gates belts and Meanwell power supplies for our printers. We are working with Ultimachine on a custom Archim2 and are working with LDO motors for our motors and various hardware components.
There are 4 ways to find designs for Cocoa Press. We include ready-to-go example files on the SD card that comes with your printer, you can download pre-sliced Gcode files from our Prusa Prints site (below), you can download designs that people have created for plastic 3D printing, or design your own using 3D CAD software. See our printer flow chart for more information on this.
3D Print Design Gallery
To create a fully custom design, you need to use 3D CAD software such as Fusion360 or Tinkercad. You then need to slice your design using Prusa Slicer and put it on the SD card. See instruction manual for more details.
Yes! We use real, artisanal cocoa butter based chocolates.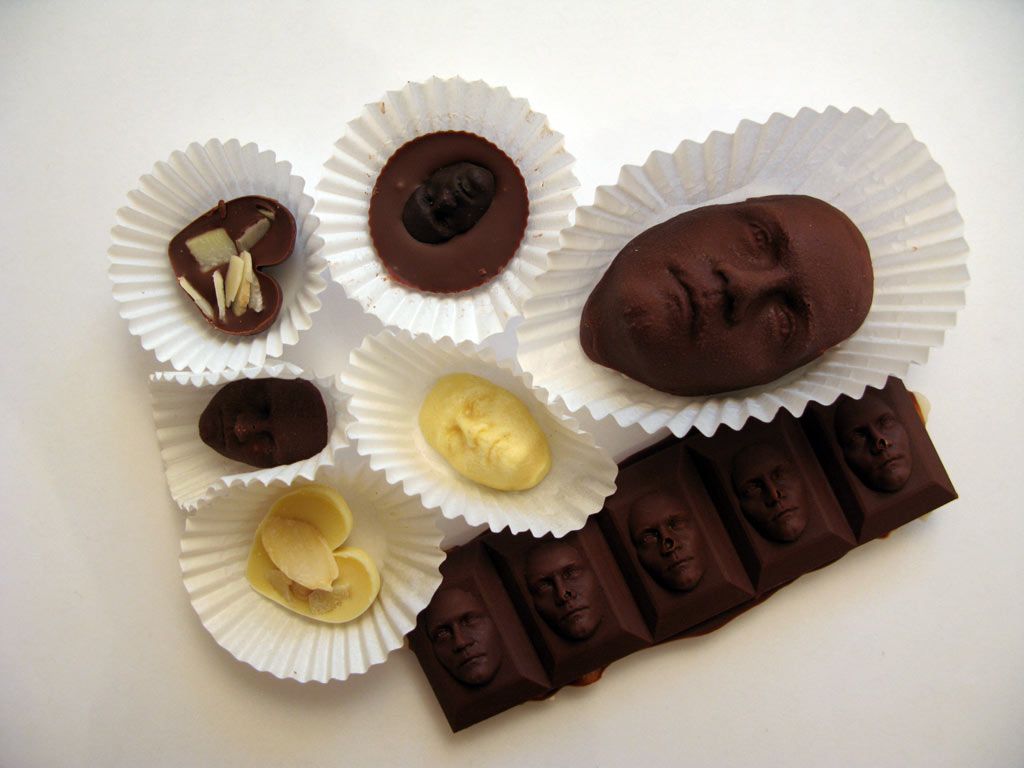 Our printer maintains the temper of the chocolate for a nice finish that does not bloom.
Cocoa Press is calibrated for our pre-tempered chocolate refills which are available in our shop. We sell dark, milk and white chocolate refills. To use your own tempered chocolate, simply adjust the temperature and speed settings of your printer.
YES! Printing does not change the taste of the chocolate at all. We use high quality, artisanal chocolate so it always tastes amazing. Not only does it taste great, complex internal structures in the chocolate can create new sensory experiences.
Our chocolate is professionally tempered, which means it is stable at room temperature even after printing. We recommend storing finished chocolate prints between 60 and 70 degrees Fahrenheit and in under 50% relative humidity.
The chocolate refills we sell come pre-tempered. Cocoa Press uses precise heating to maintain chocolate temper throughout the printing process.
We recommend storing your chocolate refills in their original packaging until use. Both chocolate refills and finished prints should be stored between 60 and 70 degrees Fahrenheit in a low humidity environment (under 50% relative humidity).
Food safety is critically important for us. We use food grade stainless steel for our extruder and build chamber. Chocolate only comes in contact with the stainless steel cartridge and silicone baking mat, which are easy to remove and clean. This makes the printer completely safe and ensures your prints are edible and delicious!
You can print names, logos, cake toppers, flowers, vases, animals, the list is endless! Our build area is 8”x6”x6” and a single chocolate cartridge holds 60cc of chocolate.
We have optimized Cocoa Press for chocolate, but it is a general purpose food printer. We would love to see what you print with Cocoa Press! Email us a photo of your food print if you come up with something creative!
Simply go to our shop and place an order! You will be billed now and the printer will ship in summer of 2021.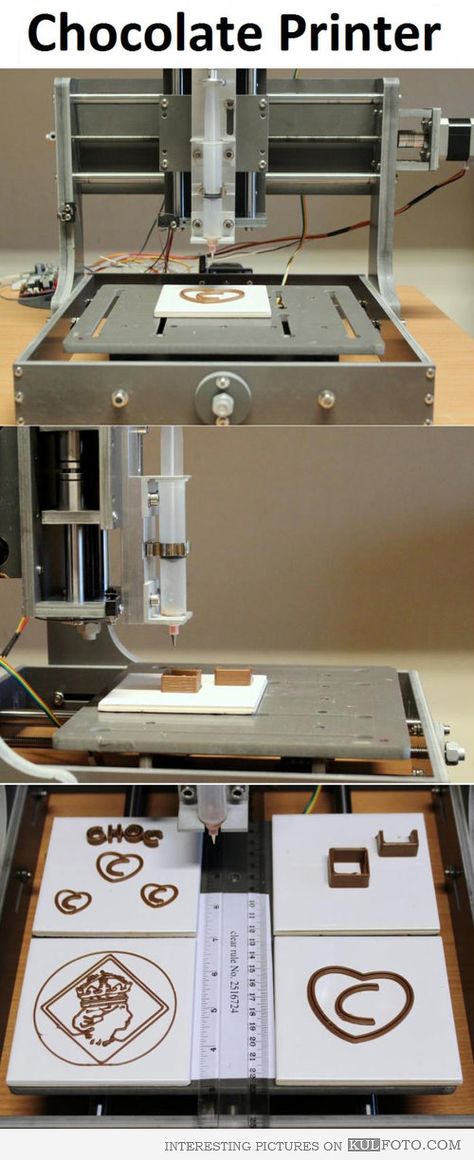 We will send periodic updates so you know what we are up to. We are finishing up our last rounds of prototypes and are preparing for our first production run of printers.
Shop Now
For now, we are shipping just within the United States, but if you live somewhere else and are interested, contact us or send an email to [email protected] and we’ll get back to you.
We will be shipping the first batch of printers starting summer of 2021. Be the first to experience the future of chocolate by pre-ordering now!
Pre-Order Now
If you are in need of any help our engineering specialists are happy to answer any questions.
contact our support team
Choc Creator 2.0 plus chocolate 3D printer review / Sudo Null IT News
We spent a lot of time looking for a stable working chocolate 3D printer, so that, among other things, it was easy to use, affordable and could work wonders out of chocolate. And finally, we found the perfect option that satisfies us in all respects.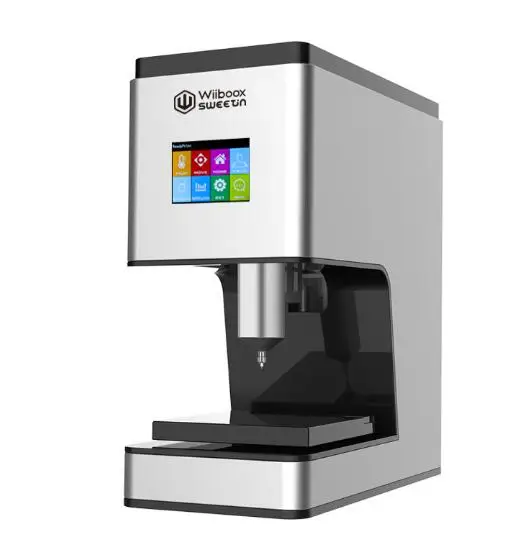
We are talking about a super-helper for chocolatiers and confectioners, and just chocolate lovers - the Choc Creator 2.0 Plus 3D printer.
The printer was developed as part of the Choc Edge research project, organized by the University of Exeter with the aim of creating a 3D printer that could print on a material that had never been used for this purpose before. The choice fell on the most delicious material in the opinion of many - chocolate.
When developing Choc Creator 2.0 Plus, the creators took into account and eliminated all the disadvantages of the previous version 1.0, improved design, convenience and printing technology. Indeed, "Chocolate Maker" 2.0 captivates with its ease of use, compactness, performance and almost limitless possibilities in working with chocolate.
Design
Choc Creator 2.0 Plus has a sleek and stylish design, compact body and light weight, which leaves a pleasant impression. The body of the printer is made of a durable aluminum frame, the printing platform is made of stainless steel, which indicates wear resistance and reliability.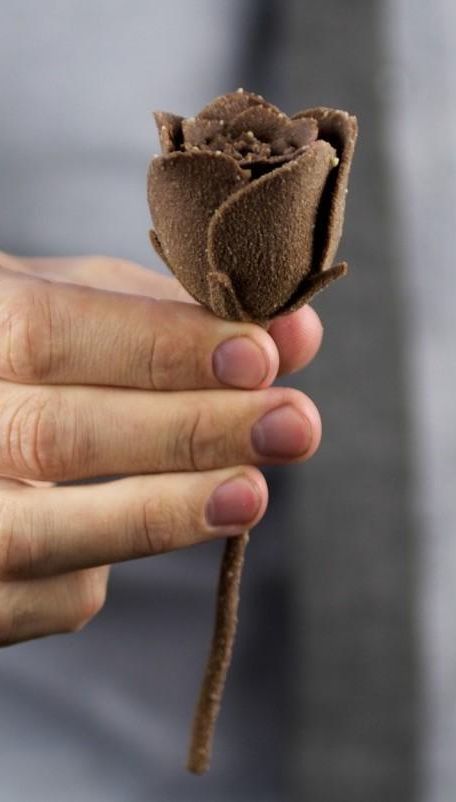
Small size (425x450x420 mm) solves the problem of finding a place to install a 3D printer, it can easily fit in a small kitchen, bar counter, on any flat surface.
Another plus in the design is the open printing platform, which allows you to watch the process of creating chocolate figures with interest. The developers have significantly increased the size of the construction area to 18x18x5 cm compared to previous models. Now Choc Creator easily creates both miniature elements for decorating cakes, cookies, and large and bulky chocolate products.
The printer is equipped with an LCD touch screen with a convenient 5” LCD display.
Complete set
When you open the box with Choc Creator 2.0 Plus, you involuntarily visit a pleasant feeling of care of the manufacturer for its consumers. The printer is already in the most assembled state, there is no need to waste time reading extra instructions and the actual assembly itself.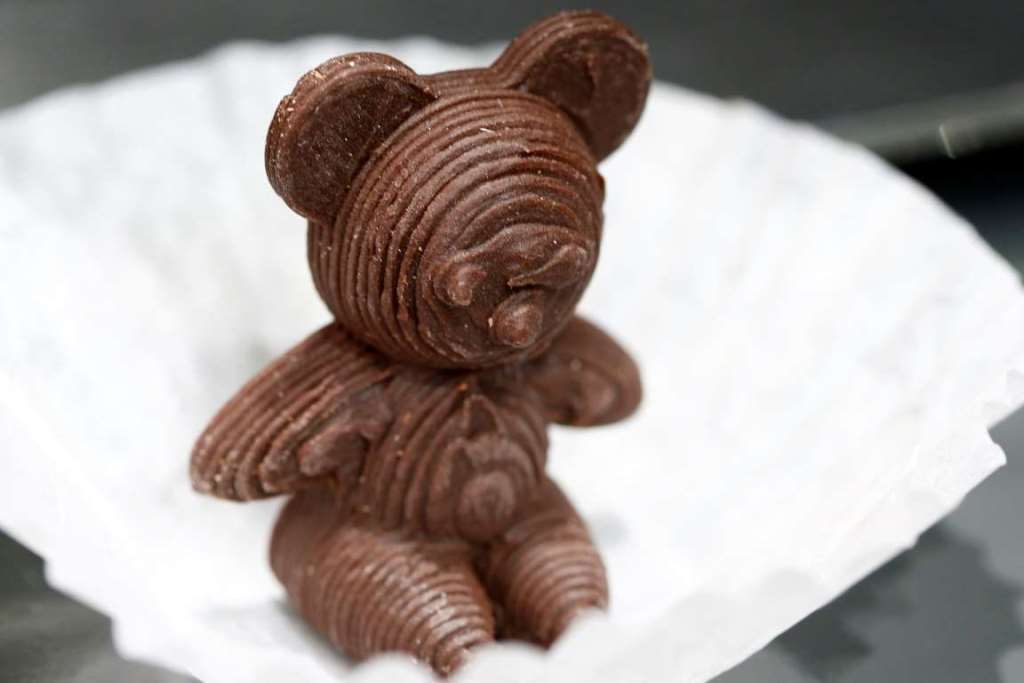 In a small transparent suitcase there are all accessories necessary for work. A few words about the main ones:
- 30 ml stainless steel chocolate syringe.
- ( Additional syringes can be ordered separately if needed. Very handy if you are going to work with multiple chocolate colors or want to speed up your workflow )
- 2 Nozzles 0.8 mm in diameter with special cleaning needle.
- Magnets for securing paper. You can place regular baking paper on the printing platform.
- 5 loading heads.
- 8 Gb USB flash drive in a stylish gold design.
- Height calibration disk and hexagon for platform adjustment.
Among other things, useful additions are attached to the printer: a brush for cleaning the syringe, a touchscreen stylus, a container for chocolate, and more.
Print material
Choc Creator 2.0 Plus is suitable only for high quality chocolate raw materials without additives and fillers.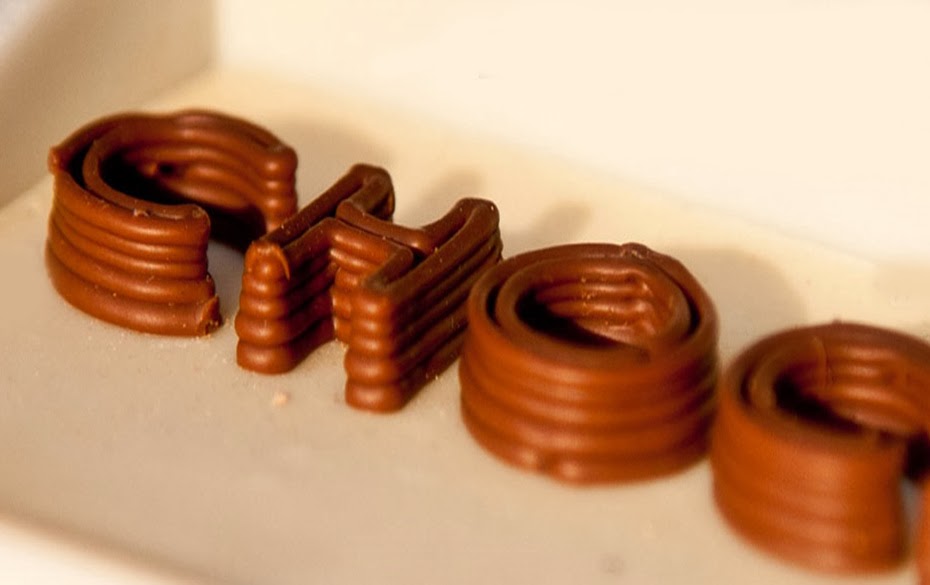 The manufacturer strongly recommends using Belgian Barry Callebaut No. 811 chocolate with a cocoa content of 54.5%. When tempering Callebaut chocolate, a structure is obtained that allows maximum precision in modeling.
We experimented with Barry Callebaut colored milk chocolate. Our verdict is that due to the different melting temperature, it is very problematic to print 3D models from milk chocolate, the figures quickly begin to melt. But if you apply such chocolate on a dark chocolate base, you get an excellent result and the products keep their shape. You can also decorate with colored chocolate using a syringe that comes with a chocolate 3D printer.
Modeling Capabilities
The Chocolate Maker is ready to bring the most daring ideas of the confectioner to life with the help of 2D, 2.5D and 3D printing.
2D printing allows you to create any bas-relief art image from chocolate, be it a logo, a portrait, an inscription, a pattern, and any other object.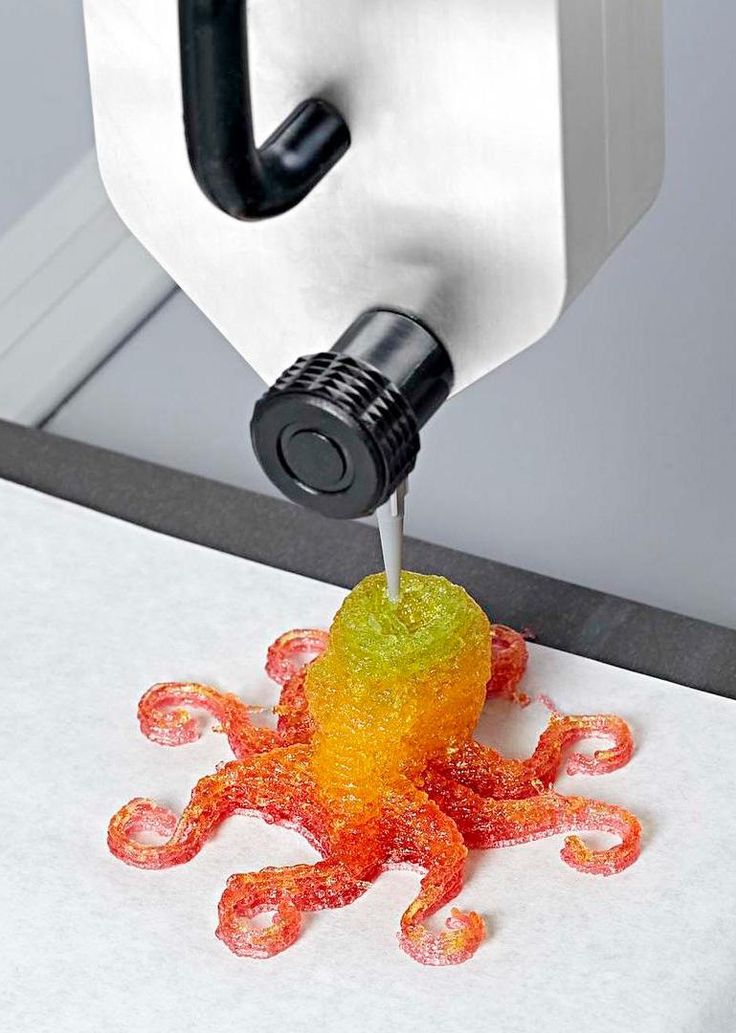 This printing method is ideal for decorating cakes, cookies, gingerbread or decorating dessert plates in a restaurant.
Will save time for the confectioner, and will also do the work that is difficult or impossible to do by hand. Approximate printing speed of the 1st product is from 3 to 8 minutes.
The 2.5D models create a huge field for culinary creativity. 2.5D products are not as fragile as 2D, so in addition to decoration, they can be used as a standalone chocolate product. Choc Creator 2.0 Plus has no equal in the field of sweet business souvenirs, thanks to the possibility of identical repeated repetition of any model. Approximate printing speed of the 1st product is from 3 to 15 minutes.
3D is the most unique and amazing way to print chocolate.
You can print a finished 3D model, turn a 3D scanned object into reality and recreate a mini copy of almost any object. 3D printed models cannot be copied by hand, this is exactly the case when the machine surpasses the human.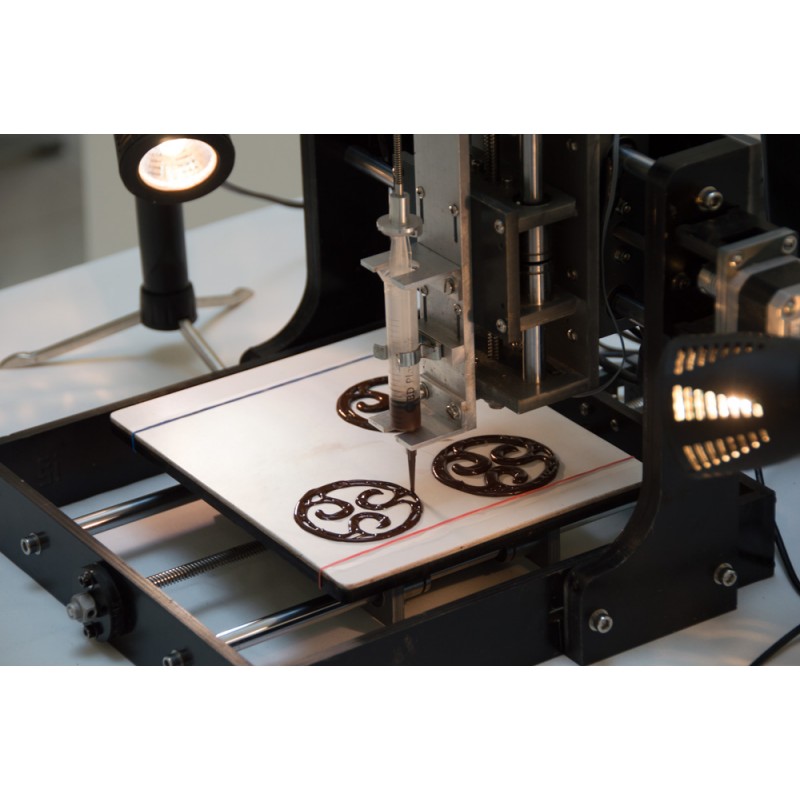 A great option for creating author's chocolate products, sweets, sweet souvenirs and gifts. Approximate printing speed of the 1st product is from 20 to 40 minutes.
Printing software
The 3D printer software is already loaded with a library of print-ready models. Also, especially for Choc Creator 2.0 Plus, simple, ideal for beginners web applications were developed:
Mix&Match : a base of templates that can be printed in finished form, or you can add your own inscriptions and elements.
ChocoText : converter of any text with or without a background to STL format for further printing (the only negative is that texts can only be created in English at the moment).
Choc Draw is a mobile graphics application for Android that allows you to create your own drawings that are sent to print with a flick of the wrist. Quite an interesting and creative way to create models that even a child can use.
In addition, the Choc Creator 2.0 Plus 3D printer supports any 3D graphics software (Autodesk, Tinkercad, Google SketchUp, etc.). This fact is important when creating your own author's 3D models.
Download models for printing to the printer via USB-port or Wi-Fi, no extra wires required.
Working with the printer
Choc Creator 2.0 Plus is very easy to operate, the main steps of the printer preparation process and the printing itself are briefly described below.
- The 3D printer must be installed on a flat surface, turned on.
- The syringe reservoir is filled with tempered chocolate.
Important! When refilling the syringe, the ingress of air bubbles from chocolate is unacceptable, otherwise the layer of the model may go astray during printing. If you hear a characteristic sound when the chocolate is sucked into the syringe, it is best to remove the chocolate from the syringe and repeat the filling process from the beginning.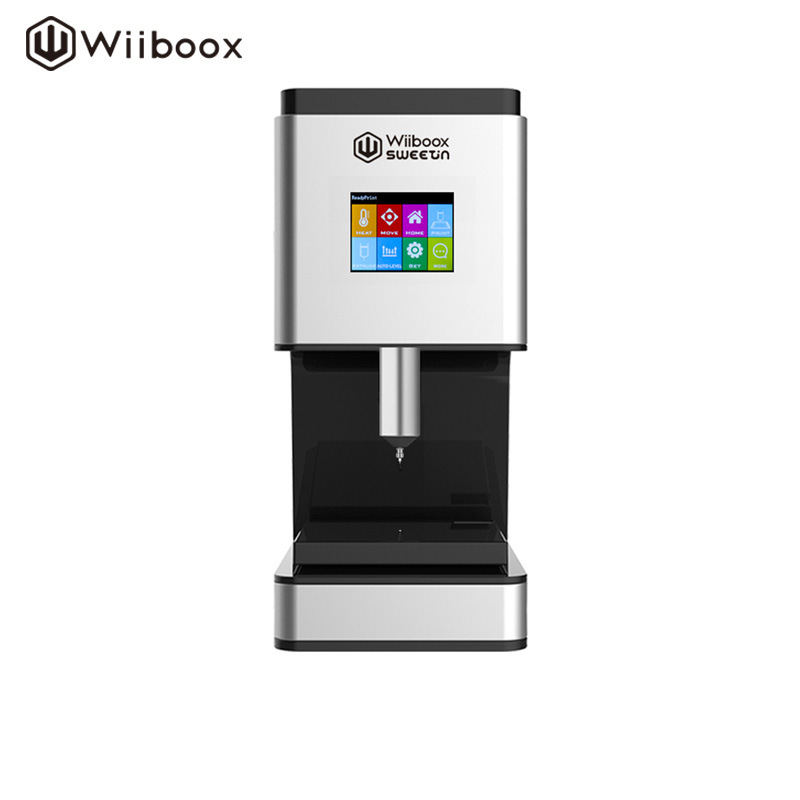
- The filled syringe is inserted into the printer compartment, fixed in a special recess and the stem is adjusted. In the syringe, after being placed in the printer, the selected temperature mode of chocolate is constantly maintained.
- Next, the distance from the nozzle to the printing platform is adjusted, which allows you to print on a plate or cookies.
- The temperature mode, the selected model, the print size are selected on the display and the Start button is pressed.
The process of tempering chocolate should be carried out in a certain temperature regime.
At the beginning, dark chocolate is melted at a temperature of 50 degrees, then cooled to about 27 degrees and then heated to 30-31 degrees (for white and milk chocolate, a slightly different temperature regime is observed). Tempering can also be done at home using a microwave or water bath, but you should have a thermometer on hand to measure the temperature.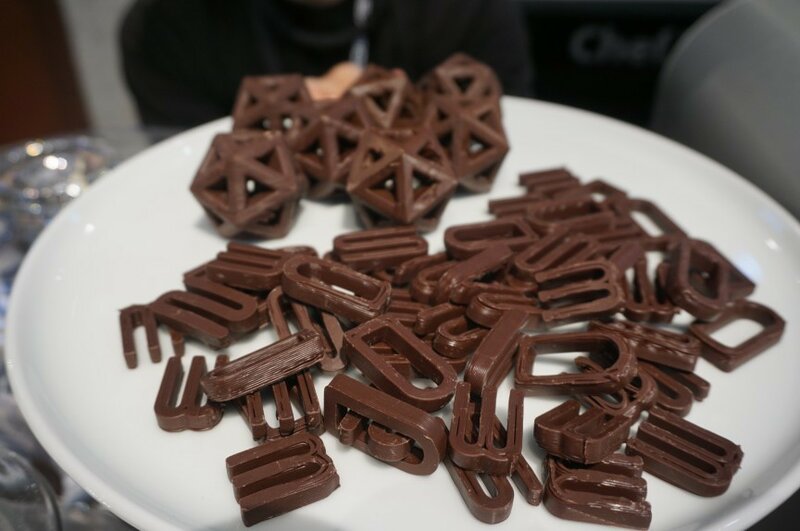 Proper tempering will give the chocolate figures a hardness and shine when cooled.
To achieve good results when printing, you should not forget about the temperature regime for the printer itself. In the room in which the printing takes place, the air temperature should not exceed 22 degrees, ideally, print at 19 degrees - this is the optimal temperature for working with chocolate.
Result:
We can say that the Choc Creator 2.0 Plus 3D printer is a kind of innovative breakthrough in the world of 3D food technologies. It captivates at first sight with its visual and technical characteristics. Special thanks to the developers for the incredibly convenient and accessible interface for everyone.
We showcased the Choc Creator at CONDE NAST Digital Day and at the 2017 Palm Branch Restaurant Concept Festival, the 3D Choc Creator won the hearts of HoReCas with its print quality, performance and versatility.
The chocolate 3D printer aroused great interest among representatives of event agencies, including organizers of master classes and children's events. This is due to the fact that in our time it is very difficult to surprise the customer. There are very high requirements for holding events and holidays, and the set of entertainment programs is quite monotonous. Choc Creator opens up new possibilities in the field of digital entertainment for both adults and children.
Undoubtedly, the new version of Choc Creator will be appreciated by professional chocolatiers, confectioners, restaurateurs, bakeries and edible souvenir manufacturers, and perhaps even simple chocolate lovers.
It gives a huge scope for imagination and creativity, and also allows you to realize chocolate ideas that are difficult to create with your own hands.
Traditionally, a minute of advertising. Buying equipment from our company, you get 10 advantages:
Opportunity to use the Trade In program.
Warranty - 12 months
Instruction in Russian
Technical support throughout the life of
You buy a 3D printer from an official distributor in Russia
Free shipping.
Free training in our office.
Opportunity to buy a printer on credit through TKS, OTP, Renaissance banks.
10% discount on plastic forever.
The opportunity to get acquainted with the printer in our demo room.
Subscribe to our groups on Facebook, VK and YouTube to keep abreast of the latest events.
3D chocolate printing: benefits and pitfalls
You are here
Home
Chocolate is a sweet, the first historical records of which date back to 350 BC. Already in those days they knew about the existence of cocoa and other chocolate drinks. Today, chocolate is not only a favorite sweet for many, but also a raw material for 3D printing.
Additive manufacturing has made a difference in many food markets, so it's no surprise that 3D printing has affected the chocolate industry as well. Companies such as Hershey, Nestlé, Mars Inc. and Mondelez International have been experimenting with 3D printing chocolate over the past few years.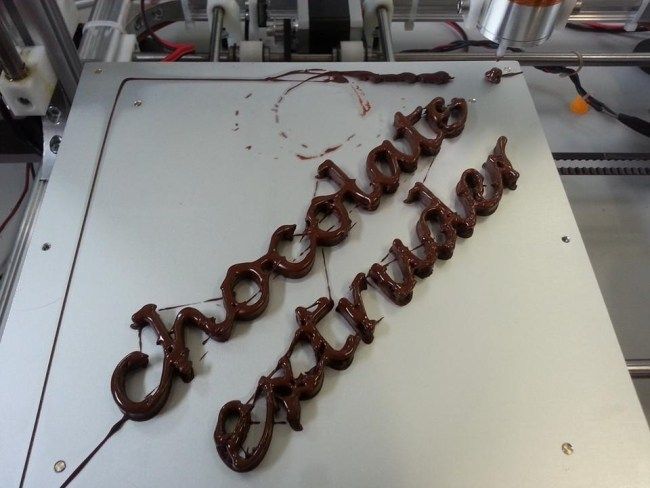 As a result, edible chocolate creations of art appeared on the market.
How it works?
Most chocolate 3D printers work with CAD files like other 3D printers. Instead of filament, chocolate 3D printers use a syringe filled with chocolate. The extruder head moves and deposits the molten chocolate in the desired shape in layers. Chocolate cools down over time and becomes hard. The syringe loading system is food safe, ensuring the safety of sweet raw materials.
Printing Difficulties
Resin is much easier to print than chocolate. The sweet mass has completely different melting and cooling properties, so melted chocolate cannot harden as quickly as plastic.
The type of chocolate used also matters. Milk, black and white chocolate have different viscosities. For best results, it is recommended to use high quality and tempered chocolate (such as Belgian dark). In some cases, makers add significant amounts of pectin to make 3D printing easier.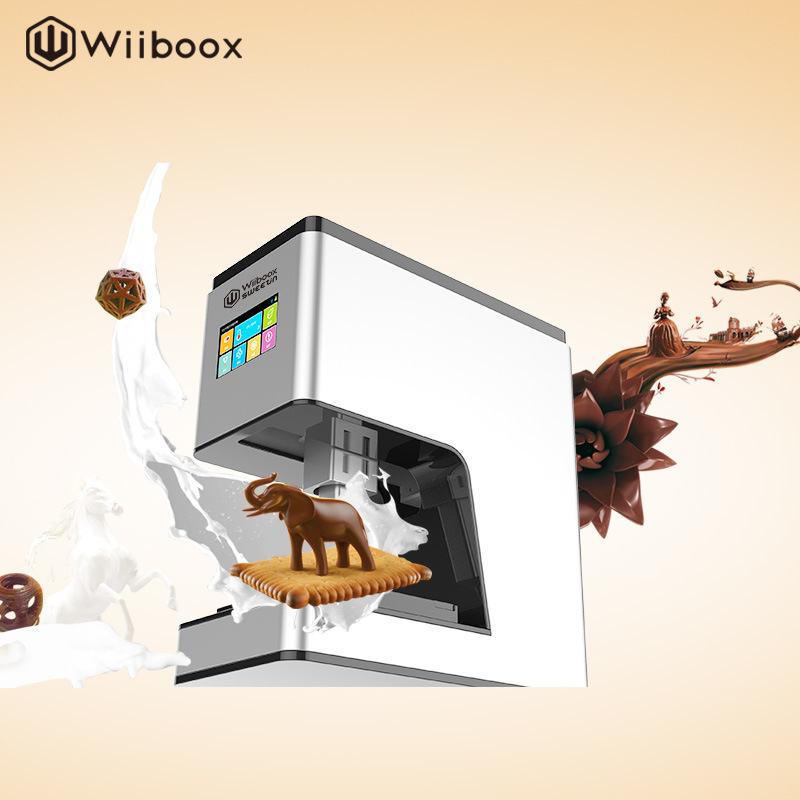 Since chocolate cannot be rolled into a solid thread due to its too soft texture, the melted chocolate is stored in a cartridge and pressed with a syringe.
The main problem with chocolate 3D printers is temperature control. The printing process can take a long time due to temperature complications. The chocolate must be hot enough to melt, and at the same time, it must be cold and dry enough to retain its shape.
Advantages of
The first advantage is, of course, the ability to print sweets of any shape. In other words, additive manufacturing enables ultra-personalization of finished chocolate products.
3D printing makes almost any idea a reality. In this case, it is recommended to print not very large models. You should also avoid printing sweets with small details, too steep corners. Otherwise, the model will have to be edited. To print complex chocolate objects, you will need to slow down the print speed to give the chocolate more time to dry and harden.