3D printer diy heated bed
DIY 3D Printer from scratch — Heated bed | by Daniel Faegnell | 3DPrinterChat
Welcome to 3DPrinterChat.com, this article is part of the DIY 3D Printer from scratch, and you will learn a bit more about how the Heated bed works.
What is a heated bed and how it works?
The heated bed is a device that should provide a warm surface to the plastic stick, heated-beds have a huge advantage against warping and other adhesion issues when compared to cold beds. The heated bed have the heating element and the surface material, that can be glass, aluminium or the heating element itself.
The heating element works by converting electrical energy into heat, this happens when electric current flows through an resistance or non-ideal electronic, the amount of energy converted into heat is measured in watts. for example, an ordinary heated bed produces about 80W of heat.
There are two main kinds of heated beds, the printed circuit board and the resistor bank, since the resistor bank is not used due its disadvantages, we wont cover it, but here is a image of how it looks.
How a PCB Heated bed works
The heated bed is made using the printed circuit board concept, which is basically a board (which is usually made of glass or fenolite) with a thin layer of copper on one side (or even multiple layers), then this board is printed or treated in a way that will protect some lines of copper, and leave the rest exposed, then this copper will receive a treatment with acid to remove the parts not protected, this process will leave us with only the useful circuits and connections,
Those tiny lines of copper will behave like an resistor (remember that everything in the universe poses some resistance to electrical flow, and this resistance is dissipated as heat), When we connect those “wires” to a power supply will we will generate heat, exactly what we were expecting.
The PCB has the great advantage of using a small amount of space when compared to other kinds of heating elements, it also can contain multiple layers, which will increase the power/cm² dissipated dramatically.
If properly designed, the printed circuit board is capable of distributing the heat more efficiently than any other kind of heated bed, since the power distribution can be drawn and simulated.
Heat distribution and why it matters
See these two examples below:
[caption id=”attachment_15225" align=”aligncenter” width=”501"]
First example: Heated bed without heat distribution correction[/caption]
[caption id=”attachment_15246" align=”aligncenter” width=”502"]
Second example: Heated bed without heat distribution correction and weird behavior[/caption]
[caption id=”attachment_15224" align=”aligncenter” width=”501"]
Third example: Heated bed with heat distribution correction[/caption]
As you can probably guess, a deficient heat distribution is bad, but why is it bad? For materials with high “warping rate”, or technically speaking: with high contraction propensity. These temperature differences will create opposite forces (contraction and expansion), that will force the material to bend, see the image below:
[caption id=”attachment_15295" align=”aligncenter” width=”554"]
Source: https://goo.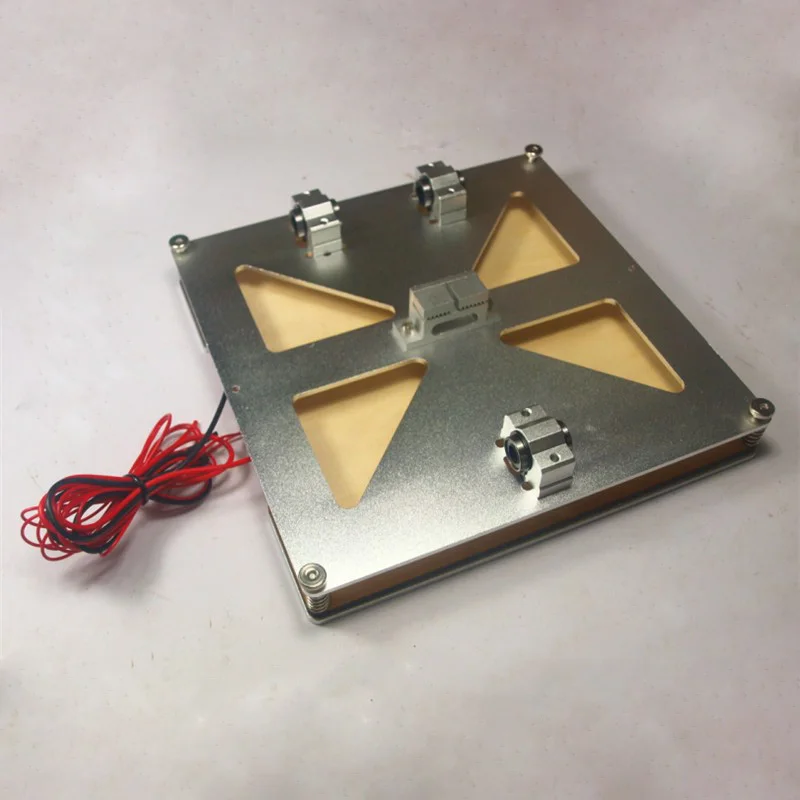 gl/lIvCgV[/caption]
On the first example, we have a cold bed, you can see the red area which the nozzle has just passed by, and the heat it leaves behind, this is likely to cause warping. On the second example, with the heated bed, we can see that the printed part is also hot, this will reduce the contraction and expansion forces because the temperature difference is lower (ΔT), this part is not likely to have issues with warping.
Now that you understood why a proper bed heat distribution matters, i’ll take as example the famous MK2 Heated bed
RepRap MK2 | $14–18
The MK2 Heated bed is by far the most used heated bed on the DIY community, it is an printed circuit board heated bed, which has the advantage of being capable of handling 12 or 24v just by changing the wires position.
Bed dimensions: 200x200 mm (heated area)
[caption id=”attachment_15302" align=”aligncenter” width=”430"]
Mk2 heating from 60ºC to 110ºC[/caption]
[caption id=”attachment_15303" align=”aligncenter” width=”430"]
Mk2 Holding 60ºC[/caption]
Final judgement:
The Mk2 is a good and cheap bed, for lower temperatures the heat distribution is fair, but is good to mention, if you will print something with the maximum allowed size (200x200) on a material that can be printed with 60ºC (like PLA) the warping propensity is smaller than a material that needs 110º (like ABS).
Improving my current bed
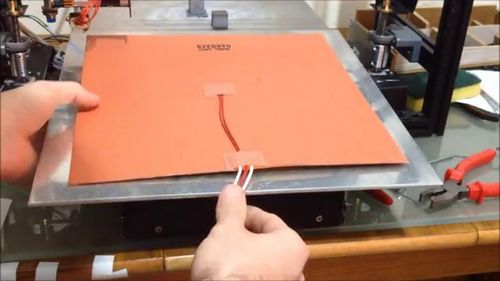
If you don’t want to replace your current heated-bed, there are some workarounds, like adding a glass on the top of the heating element, 3–5mm gives the best result. (keep in mind that this will slow down the heating process, but it also will makes the temperature distribution better)
Example image of a MK2 with 4mm glass. source
Credits and Sources:
All this work would not be possible without the awesome posts below, consider visiting them!
SD3D — Not all heated beds are created equal
RepRap — Heated_Bed
3D Printing Systems — Warping
Heated bed - DIY 3D Printer from scratch
Welcome to 3DPrinterChat.com. This article is part of the DIY 3D Printer from scratch. You will learn a bit more about how the Heated bed works.
What is a heated bed and how it works?
The heated bed is a device that should provide a warm surface to the plastic stick. Heated-beds have a huge advantage against warping and other adhesion issues when compared to cold beds.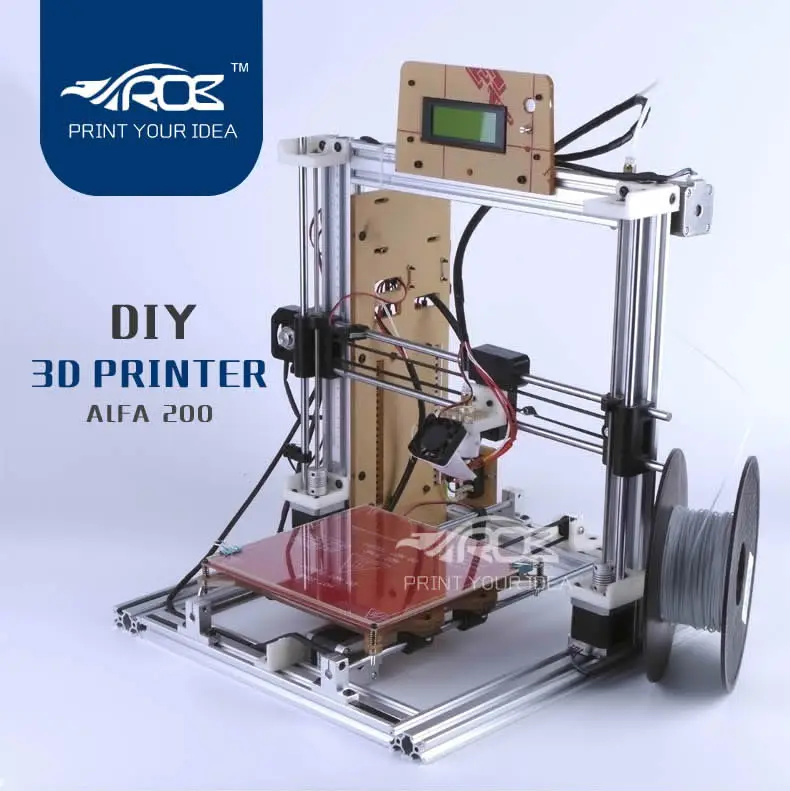 Because of the smaller temperature difference. The heated bed have the heating element and the surface material, that can be glass, aluminium or the heating element itself.
The heating element works by converting electrical energy into heat. This phenomenon happens as result of electric current flows through an resistance. The amount of energy converted into heat is measured in WATTS. for example, an ordinary heated bed produces about 80W of heat.
There are two main kinds of heated beds:
- Printed circuit board Heated Bed;
- Resistor bank Heated Bed;
- Peltier Effect Heated Bed.
since the resistor bank and the Peltier effect are not used due its disadvantages, we wont cover it. Here is a image of how the resistor bank looks.
How a PCB Heated bed works
The heated bed is made using the printed circuit board concept, which is basically a board (which is usually made of glass or fenolite) with a thin layer of copper on one side (or even multiple layers).
Then this board is printed or treated in a way that will protect some lines of copper, and leave the rest exposed, then this copper will receive a treatment with acid to remove the parts not protected, this process will leave us with only the useful circuits and connections,
Those tiny lines of copper will behave like an resistor (remember that everything in the universe poses some resistance to electrical flow, and this resistance is dissipated as heat), When we connect those “wires” to a power supply will we will generate heat, exactly what we were expecting.
The PCB has the great advantage of using a small amount of space when compared to other kinds of heating elements, it also can contain multiple layers, which will increase the power/cm² dissipated dramatically.
If properly designed, the printed circuit board is capable of distributing the heat more efficiently than any other kind of heated bed, since the power distribution can be drawn and simulated.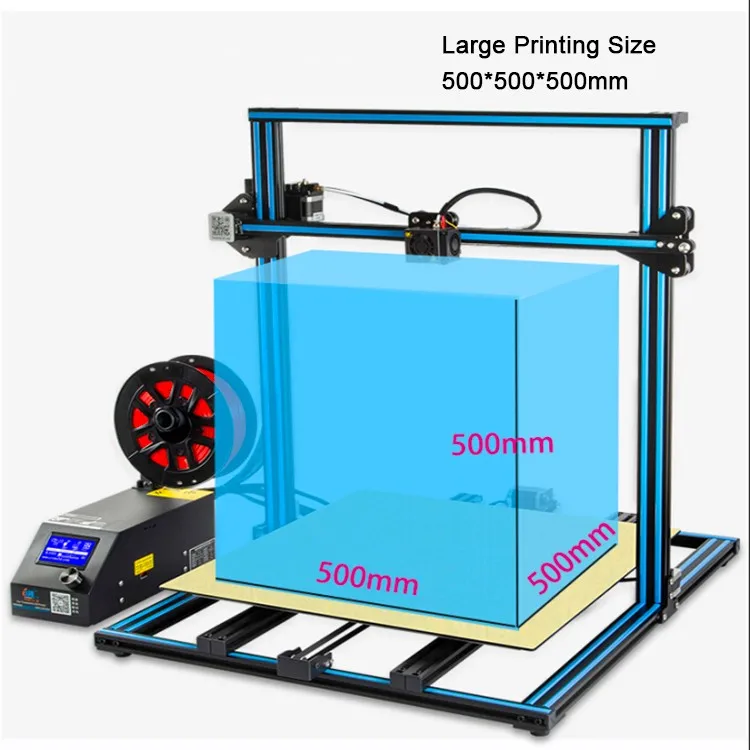
Heat distribution and why it matters
See these two examples below:
First example: Heated bed without heat distribution correctionSecond example: Heated bed without heat distribution correction and weird behaviorThird example: Heated bed with heat distribution correction
As you can probably guess, a deficient heat distribution is bad, but why is it bad? For materials with high “warping rate”, or technically speaking: with high contraction propensity. These temperature differences will create opposite forces (contraction and expansion), that will force the material to bend, see the image below:
Source: https://goo.gl/lIvCgV
On the first example, we have a cold bed, you can see the red area which the nozzle has just passed by, and the heat it leaves behind, this is likely to cause warping.
On the second example, with the heated bed, we can see that the printed part is also hot, this will reduce the contraction and expansion forces because the temperature difference is lower (ΔT), this part is not likely to have issues with warping.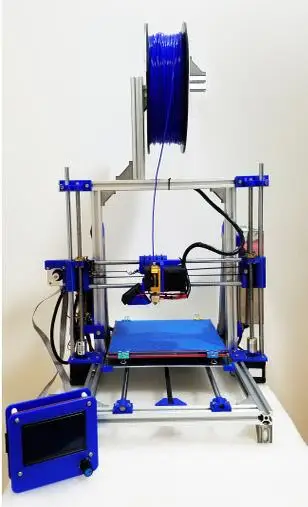
Now that you understood why a proper bed heat distribution matters, i’ll take as example the famous MK2 Heated bed
RepRap MK2 | $14 – 18
The MK2 Heated bed is the most used heated bed by the DIY community. It is an printed circuit board heated bed which has the advantage of being capable of handling 12 or 24v, you just need to change the wires position.
Bed dimensions: 200×200 mm (heated area)
Mk2 heating from 60ºC to 110ºCMk2 Holding 60ºCFinal judgement:
The Mk2 is a the best and cheapest bed and you should consider it. The heat distribution is indeed fair. for a naked bed. But keep in mind. If you are considering to print something with the maximum allowed size (200×200), The warping propensity is bigger, since there will be a great temperature difference.
If you don’t want to replace your current heated-bed, there are a lot of workarounds, but the two best are:
Improving with glass
adding a glass sheet on the top of the heating element, 3-5mm gives the best result.
Example image of a MK2 with 4mm glass. source
Improving with Aluminion
Adding a aluminium sheet on the top of the heating element, 3-4mm gives the best result. the output will be the same as the previous image. This setup is preferred for use with inductive probing on autoleveling.
Credits and Sources:
All this work would not be possible without the awesome posts below, consider visiting them!
SD3D
RepRap – Heated_Bed
3D Printing Systems – Warping
Techno Print 3D Company
This is our first review of the most popular and inexpensive 3D printers for 2020. The list will include the best-selling devices in two price ranges (up to 30 tr and up to 60 tr). Printers working with both plastic filament (FDM) and photopolymers (LCD/DLP) will be presented. This list will always be up to date, as it is periodically updated and supplemented. Read more→
The Chinese company Dazz3D announces the launch of the project on KickStarter and accepts pre-orders for Dazz3D Basic and Dazz3D Pro 3D printers.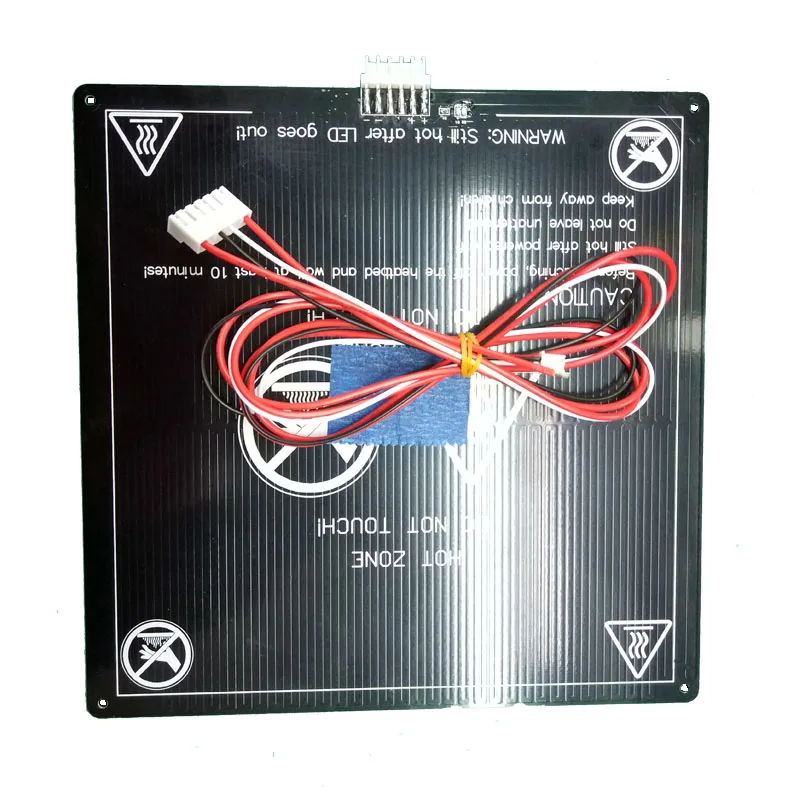 These revolutionary new devices are aimed at both the professional and amateur markets. Read more→
We all know that precise calibration of the 3D printer desktop is the foundation and the key to successful printing on any FDM printer. In this article we will talk about the main and most popular ways to level the "bed". So, as mentioned above, 3D printing without desktop calibration is impossible. We face this process Read more→
It's hard to go through a day today without hearing about 3D printing technology, which is bursting into our lives at an incredible speed. More and more people around the world are becoming addicted to 3D printing technology as it becomes more accessible and cheaper every day. Now almost anyone can afford to buy a 3D printer, and with the help of Read more→
The FormLabs Form 2 and Ultimaker 3 are perhaps the most popular 3D printers today, capable of high quality printing with incredible surface detail. Moreover, these two devices use completely different technologies, and therefore, there are a lot of differences between them.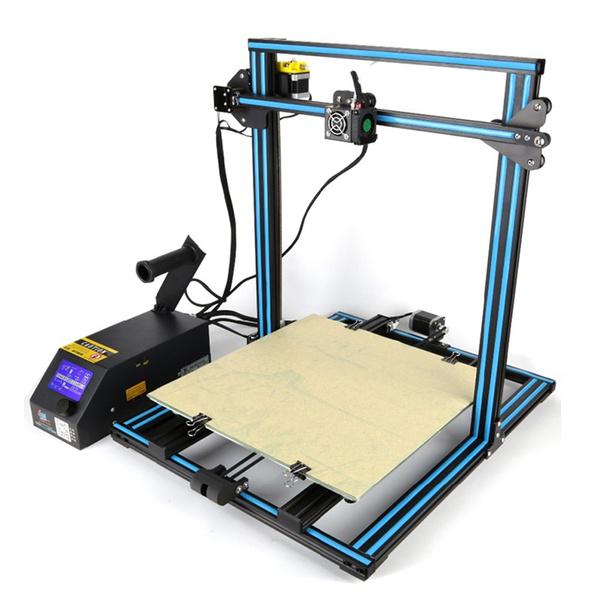 Many will say that it is wrong to compare them or Read more→
XYZprinting, best known for its daVinci line of desktop 3D printers, is bringing five new devices to the professional and industrial environment. One will use laser sintering technology, the second full color inkjet printing and three DLP machines. First of all, the novelties will be of interest to dentists and jewelers. Read more→
Cleaning the nozzle of a 3D printer is a fairly common process that any user of such a device has to deal with. This is not at all a complicated procedure that anyone can handle. You can complete this task in 15 minutes, using only handy tools and accessories. Read more→
Acetone steam polishing of ABS plastic is a process for smoothing the surface of 3D printed models. The result of this treatment makes your printed products look as if they were made by a professional mold casting method. If you want to understand how this is done correctly, then read this article. Aceto Read more→
How to 3d print another 3d printer
Already have a 3D printer? Want another one?!
Why is this needed?
Well, let's say you have your own large printer and you can print fairly large objects.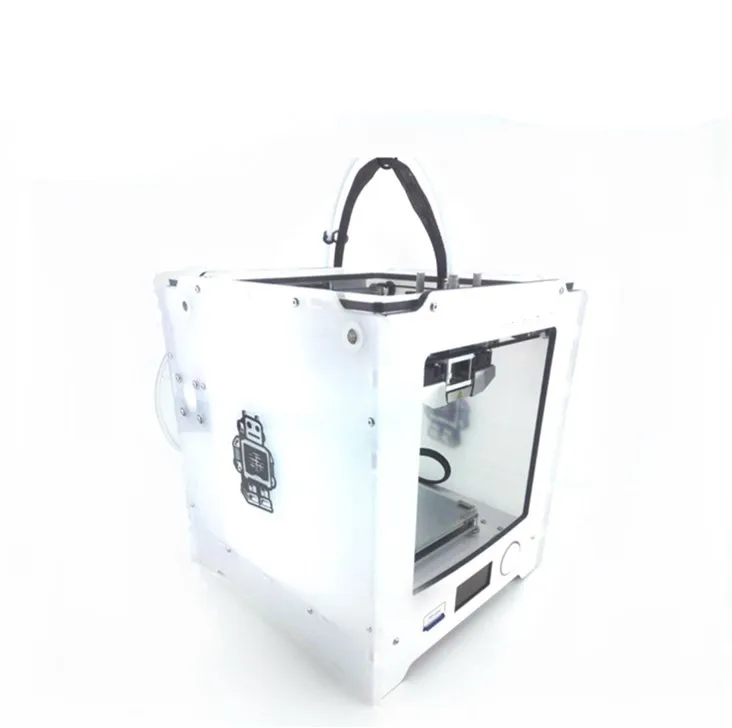 Do you believe in the idea of the reprap movement, the printer should be able to reproduce itself!
Or you want to challenge yourself and finally understand how the 3D printer works. nine0003
Or your current 3D printer is just sitting in the corner of the room gathering dust because you have already printed everything that came to mind, and the most difficult task that worries all 3d printing professionals is how to clone existing equipment on itself.
Step 1: Preface
Let's be honest... the is not the ultra cheap printer. This is not Chery 3D printer for $60. This not is a way to save money or time. This is not first printer.
Now let's talk about what is .
B 3Dtje mini 3D printer is:
- Damn easy to print
- Printed parts from PLA
- Everything fits within 200x200 print volume
- Most parts can be printed in 100x100 print volume
- Most parts are printed without supports , only in some cases they may be needed to improve quality
- Very few few necessary tools
- Unlike most crafts that require a laser cutter, the CNC
- You can probably get away with a drill and a hacksaw to prepare 2 rods of the required size nine0071 No source of MDF, or wood, or acrylic sheets or aluminum profiles, which can cost a lot
- This design is not new, nothing revolutionary, but it is reliable, prints well and works with any slicer
- All model files can be downloaded free of charge
- You can download them and modify them as you like
- You can even sell them if you need to!
- 19 models
- All parts are different and look very interesting together
- All parts are connected with m3 screws and nuts.
- Cutting 2 to 4 metal rails
- Some 3d printed parts are assembled intuitively , you can even ignore photo
- Small, portable, low moving parts! This printer can print fast! (when properly configured)
- This 3D printer you will DIY , completely!!
Let's get started!
Step 2: Prerequisites
You will need a 3D printer , well, or find someone with this device.
- Printable area must be at least 200x200mm XY and maybe 200mm Z if you want to print with refills
- PLA 1 kg, can be different, but this is the most convenient option
- I honestly don't know how much it will take. Likely 500g or so
- Tools
- Screwdrivers for screws
- Pliers, cleaning tools for printed objects (a clerical knife is sufficient)
- Metric drills for opening / cleaning the printed hole (you can also use a screwdriver)
- Knowledge on how to build a 3D printer from scratch
- These are not hard requirements, but knowing how to deal with common printer problems will reduce the amount of swearing when things aren't perfect the first time.

- If you understand firmware Marlin it would be very cool to talk about this, as there is a desire to improve some things. nine0076
- These are not hard requirements, but knowing how to deal with common printer problems will reduce the amount of swearing when things aren't perfect the first time.
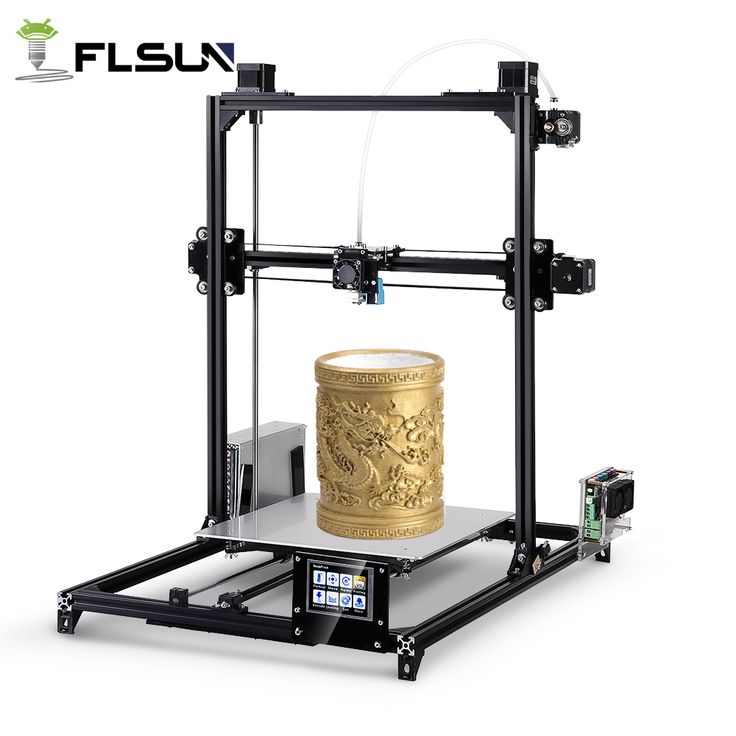
Step 3: Parts
Right off the bat, I've made a list of exactly what you need and what you can buy to make the best possible quality. But it will be more expensive. Therefore, you choose which set to buy - in principle, they will not differ. In addition, you can order all this from China, it will be cheaper, but the wait will be longer. In any case, you need to look for all the components in English, so we take them from the table and, for example, insert in alliexexspress search .
The table is located at this link.
Step 4: Printing Parts of
Now let's move on to the most interesting part, in my opinion - prototyping models of . To be honest, I really like to print different things, you feel that you can handle any task when you have a 3d printer at hand. Okay, it's all lyrics.
Here is the project itself, where you can download 3d models for printer for free . Download and start preparing for printing.
The most important thing is to arrange the parts correctly on the table . The idea is to make the models have as few parts hanging in the air as possible. This will allow to drop support for . After all, they spoil the quality very much if you do slicing through Repetier Host with their auto-generation, and not draw them yourself.
You can watch a video showing the optimal arrangement of parts. Print settings I think you know how to do it, if not - there are articles about it with configuration files.
Step 5: Mounting
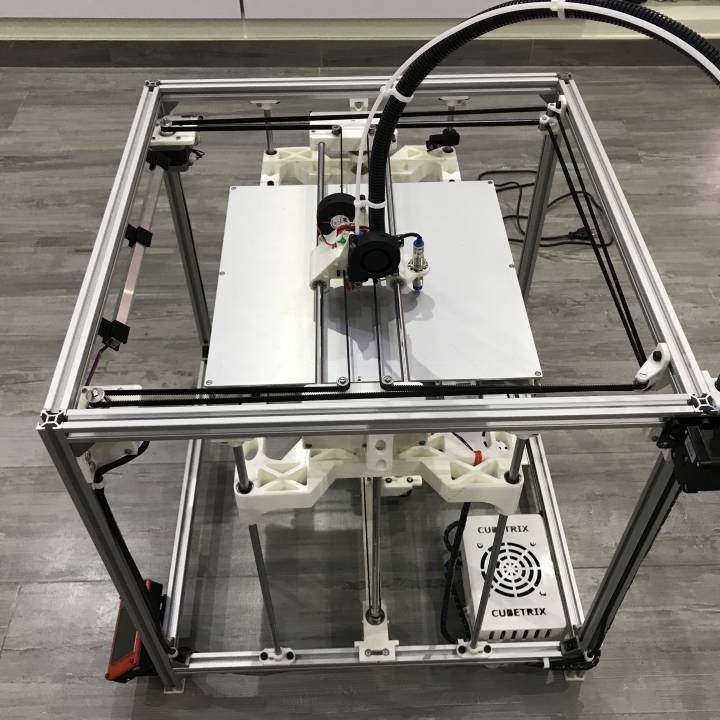
Let's assume that we have printed everything. Someone may have decided to use metal guides, buying them, for example, from IKEA, and cutting them into sections of the desired length. In any case, writing how to assemble this 3d printer does not make much sense, and it's too lazy, to be honest. In my opinion, there is nothing better than pictures! nine0003
Frame Assembly
First, I'll lay out how our miracle should look like at the moment of medium readiness. Then we will see how the modules were assembled.
Assembly of the Y
axis. This Axle The so -called bed . First we need to install the motor, put on the pulley on it . Then we install a freely rotating pulley on the other side and measure 9 for them0021 belt .
And now we will install the bed itself, which will fasten the two ends of the belt to us. Just don't forget to tighten the pulleys and anything that isn't tight yet. The substrate will be massive and it will be inconvenient to crawl there already. The connection will require 200mm x 6mm bolts, so have them ready right away.
It should be noted that the belt must be very tight . This will greatly affect the print quality of . If you cannot do this at the time of assembly, you can use special tensioner . It's basically a simple spring. As for the axes, in this case they are printed, although this is far from mandatory, just the name of the project obliges))
X-axis assembly
Depending on your printer, you may need to make a hole with a 3mm drill in the belt tensioner. This hole should be quite free. nine0003
- Attach the motor to the end of the x-axis with the connector down
- Attach 20T gear
- Insert 6mm rods 6mm x 180mm into the holes on the motor side. You need to cut these rods if you bought 200mm.
- Assemble the x-axis tensioner with either your own or printed tensioner bearing.
 Make sure the m3 nut is in the tensioner before proceeding.
 - Pass the belt from the left side (engine side), through the gearbox, through the idler bearing to the right side
- At this point, install belt tensioner to the right of the x-axis on the rods
- If you are happy with the length (make sure the x-axis of the tensioner is recessed quite a bit) you can cut the belt. Don't forget to leave extra strap length
- Attach LM6UU bearings in bottom bracket x
- All assembled, attach the straps to the carriage x
- Then it remains to adjust everything a little to make sure that nothing touches each other
Assembling the Z axis
Now we assemble the Z axis. If you have not installed the engines in the course of past work, it's time to do it. As you understand, they should stand on the left and on the right. We will install adapters for screw rods on them, where we will put them, holding them with a hexagon.
We stick the guides (parallel to the screw rods). We can say that we have finished assembling the case.
Step 6: Assembly of the electrical circuit.
How to lay the wiring is everyone's business. Here the options will be shown in the photo, but it's up to you to decide. The most important thing is to connect everything correctly. I'll also lay out the scheme, but it's better to see how this is done in ordinary 3d printers. For example, in order not to go far, you can go over the following articles directly on this site:
-
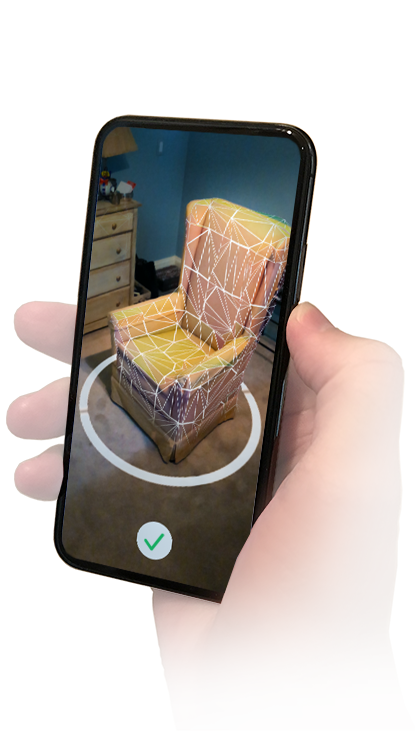
Exploring the features of a 3D printer
-
3D printer setup and calibration
-
Ramps 1.4 connection in 3d printer
It is not necessary to read everything - you can see the key places from the pictures and delve into their study.
The picture below shows the green power terminal. This is a very dangerous and unreliable thing that sometimes ignites - it is dangerous to leave a working 3d printer at home unattended. Therefore, in an article about Ramps, it is better to read how to be in this case. nine0003
Step 7: Firmware
Since you will (most likely) have an Arduino Mega as the brain of a 3d printer, uploading firmware to it will be quite simple. All you need is the Arduino IDE. The most standard firmware from Marlin. The main thing is to choose the correct configs for the board. I have not seen an article about the firmware on this resource, but it can be easily found on the Internet. Here are useful links:
- Firmware Marlin manual
- May be useful to someone info about electronics reprap , how is it functioning
Step 8: Testing
Finally time to print something! We note right away that the table must be covered with molar tape or Kapton, since we have it without heating.