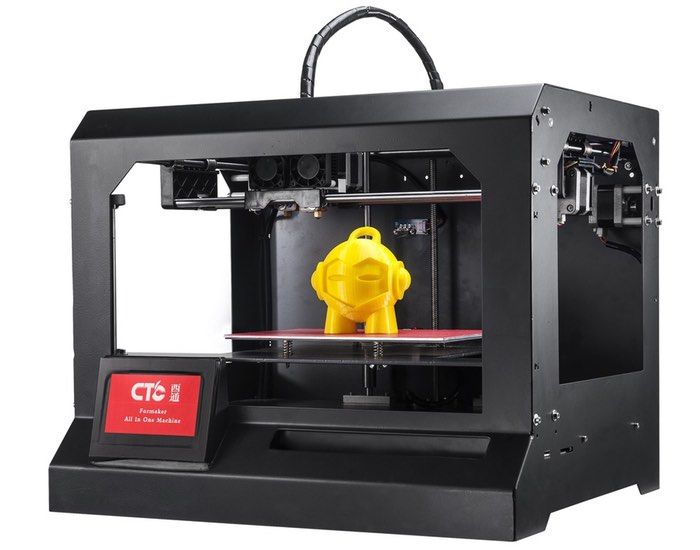
3D printer bed spring upgrade
Ender 3 Spring Upgrade: Choose and Install New Bed Springs
Zach(
249
)
10 minutes
This guide will teach you how to choose and install upgraded bed springs on the Ender 3 or Ender 3 Pro. (If you have an Ender 3 V2, then use our spring upgrade guide for the V2.) The stock bed springs that come with the Ender 3 are terrible; they can lead to print issues and require more frequent bed leveling.
If you're tired of leveling your bed constantly, better springs are a very inexpensive upgrade to your Ender 3! When you're done, you won't need to level your bed between prints nearly as often.
| Creality Ender 3 3D printer | × | 1 | ||
| Upgraded Ender 3 bed springs | × | 1 |
Howchoo is reader-supported. As an Amazon Associate, we may earn a small affiliate commission at no cost to you when you buy through our links.
h/ender3 • 23 guides
h/3dprinting • 90 guides
The new springs (yellow) are the same length as the old springs (silver).
Of course, you'll need 4 springs. Here are a few considerations when choosing upgraded 3D printer bedsprings:
Rigidity
The replacement springs are more rigid than the stock springs, increasing consistency between prints and reducing vibration.
Length
The replacement springs are the same length as the original springs, meaning you shouldn't need to adjust your Z-axis endstop like you would with longer springs.
Shape
The replacement springs feature a flat top and bottom (vs. the stock springs' rounded top and bottom), resulting in less spring movement or shifting during and between prints.
tl;dr;
After much research, I found these to be the best Ender 3 bed springs available on Amazon.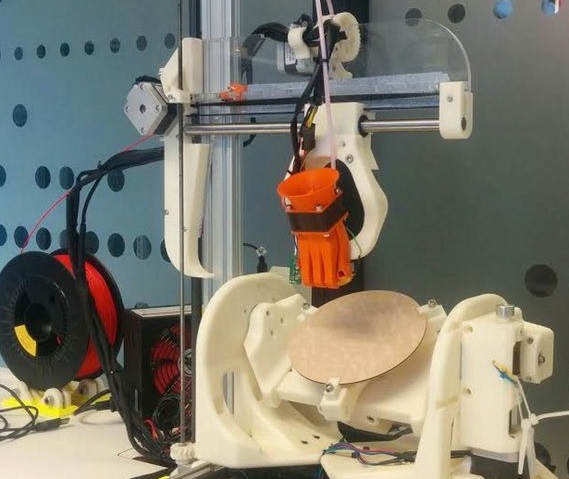 They're under $10 with free shipping.
Used here
See all
Check Price on Amazon
To remove the old springs, turn each bed adjustment wheel counter-clockwise until it can be fully removed. Set each wheel aside.
I recommend not removing the build plate completely since the back-right corner contains the heating element wiring. Instead, carefully lift each corner and replace each spring individually.
If you need to, you can flip the bed upside-down and install the back-right corner first. The wire-retaining clip will keep the spring from falling out.After all 4 springs have been replaced, reattach each adjustment knob. If you reattach any adjustment knob before all 4 springs are replaced, it will make it more difficult to replace each spring.
The new springs are a bit stiffer and feature a flat top and bottom, a definite improvement over the old springs.
Finally, you'll need to level your bed—just as you have a thousand times before. Thankfully, you shouldn't need to level your bed between prints nearly as much from now on!
Ender 3 PSU UpgradeEnder 3 FAQ
Show all in the Ender 3 series
NEXT UP
Michael(
175
)
5 minutes
Ah...bed leveling. It's the first thing you absolutely need to learn how to do with your Ender 3 V2. And don't feel bad if you get this wrong at first. I did. ...
Continue reading
Ender 3 Spring Upgrade: Choose and Install New Bed Springs
Zach(
249
)
10 minutes
This guide will teach you how to choose and install upgraded bed springs on the Ender 3 or Ender 3 Pro. (If you have an Ender 3 V2, then use our spring upgrade guide for the V2.) The stock bed springs that come with the Ender 3 are terrible; they can lead to print issues and require more frequent bed leveling.
If you're tired of leveling your bed constantly, better springs are a very inexpensive upgrade to your Ender 3! When you're done, you won't need to level your bed between prints nearly as often.
| Creality Ender 3 3D printer | × | 1 | ||
| Upgraded Ender 3 bed springs | × | 1 |
Howchoo is reader-supported. As an Amazon Associate, we may earn a small affiliate commission at no cost to you when you buy through our links.
h/ender3 • 23 guides
h/3dprinting • 90 guides
The new springs (yellow) are the same length as the old springs (silver).
Of course, you'll need 4 springs.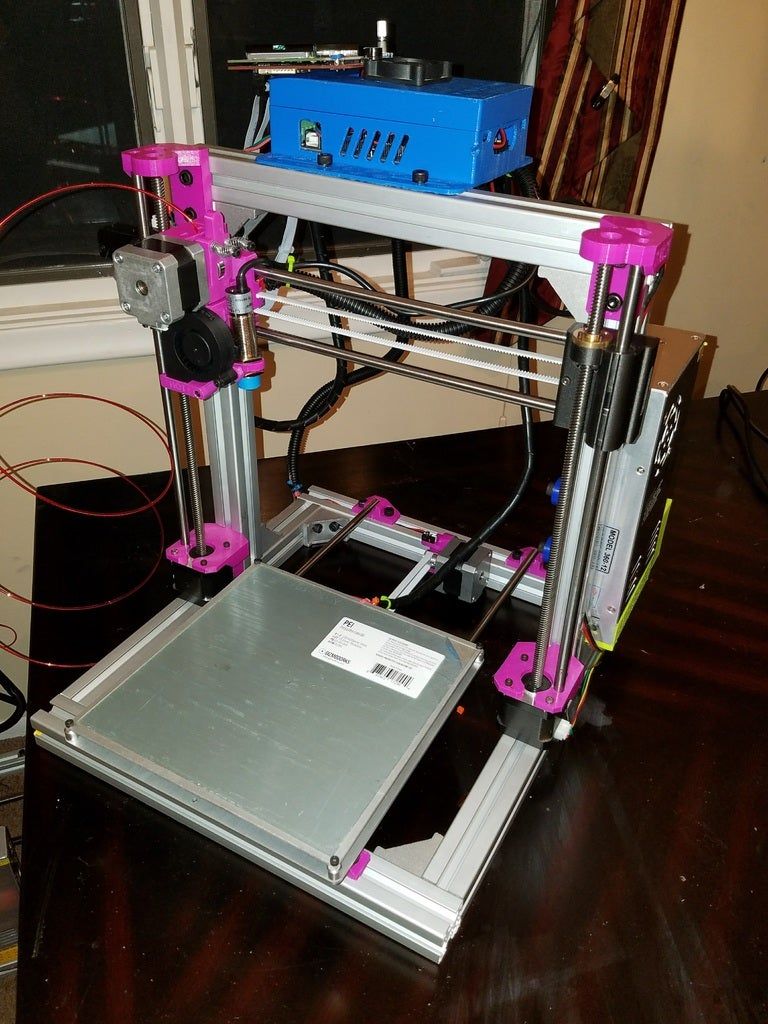 Here are a few considerations when choosing upgraded 3D printer bedsprings:
Rigidity
The replacement springs are more rigid than the stock springs, increasing consistency between prints and reducing vibration.
Length
The replacement springs are the same length as the original springs, meaning you shouldn't need to adjust your Z-axis endstop like you would with longer springs.
Shape
The replacement springs feature a flat top and bottom (vs. the stock springs' rounded top and bottom), resulting in less spring movement or shifting during and between prints.
tl;dr;
After much research, I found these to be the best Ender 3 bed springs available on Amazon. They're under $10 with free shipping.
Used here
See all
Check Price on Amazon
To remove the old springs, turn each bed adjustment wheel counter-clockwise until it can be fully removed.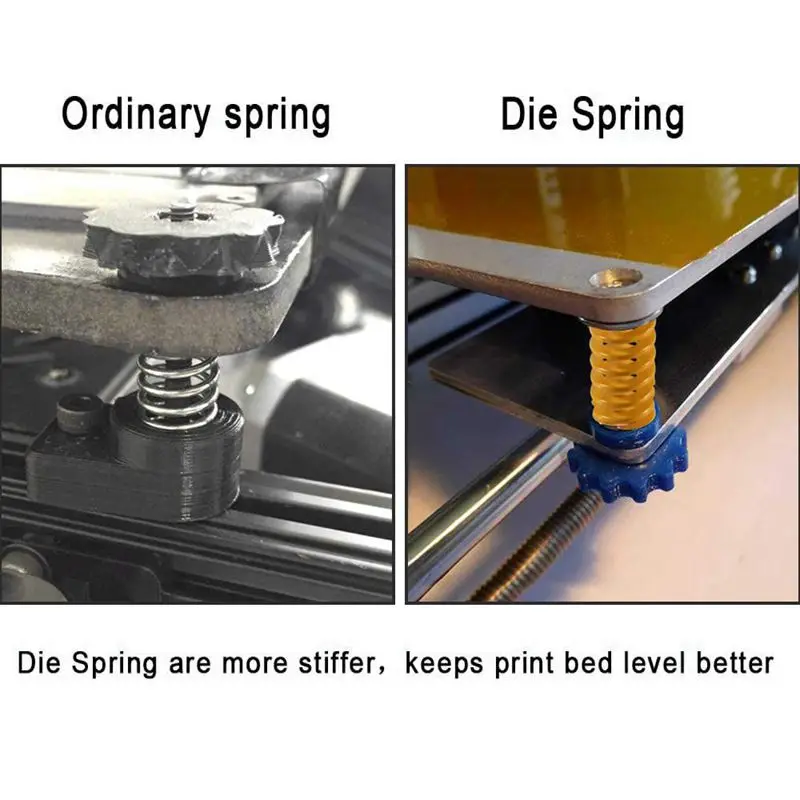 Set each wheel aside.
I recommend not removing the build plate completely since the back-right corner contains the heating element wiring. Instead, carefully lift each corner and replace each spring individually.
If you need to, you can flip the bed upside-down and install the back-right corner first. The wire-retaining clip will keep the spring from falling out.After all 4 springs have been replaced, reattach each adjustment knob. If you reattach any adjustment knob before all 4 springs are replaced, it will make it more difficult to replace each spring.
The new springs are a bit stiffer and feature a flat top and bottom, a definite improvement over the old springs.
Remember the "down up" text on each knob should be oriented upwards.Finally, you'll need to level your bed—just as you have a thousand times before. Thankfully, you shouldn't need to level your bed between prints nearly as much from now on!
Ender 3 PSU UpgradeEnder 3 FAQ
Show all in the Ender 3 series
NEXT UP
Michael(
175
)
5 minutes
Ah. ..bed leveling. It's the first thing you absolutely need to learn how to do with your Ender 3 V2. And don't feel bad if you get this wrong at first. I did. ...
Continue reading
How to perfectly calibrate the 3D printing plate・Cults
You can deform the print tray while trying to align it by adjusting the tension of the springs and having a visual guide to align the print tray. This article was written and illustrated by Peter Solomon , founder of Wham Bam.
Many 3D printer owners may damage the print plate thinking it is bent or not aligned properly. This article talks about how this can happen and, more importantly, how to avoid it.
The basic rules of geometry tell us that 3 points in space contain a flat plane.
For this simple reason, machines with 3 leveling screws are safer.
4-Point Alignment is good in that it supports the printable at all corners, however if you drop one corner lower than the rest, you risk bending your own building surface.
So when leveling, adjust all the knobs gradually, turning each one one turn to the maximum, go around and let each corner play a bit until you reach a flat printing plate without straining any particular corner.
-
Tighten all bed leveling knobs until the springs are half compressed. Tighten them gradually so that the bed does not sag.
You can see how much wire is tucked under the handle so they are even if you have this type of setup. -
To park the car at home. If the nozzle does not touch the surface of the building, adjust the Z-stop limit switch and reconnect it until the nozzle touches the surface of the building when you are at home.
-
Once the nozzle touches the surface of your home, follow the correct bed leveling program to level and adjust the space properly.
If you follow these steps you will have a flat bed with the correct compression of the bed springs for a more rigid installation.
This will help you secure the alignment screws so they don't twist in the bed: https://www. youtube.com/watch?v=-UL1d61HClo&t=77s.
Here are my tips for leveling the bed. It is imperative that your bed is level and that the correct space is set for each print. Once you get the hang of this process, it's quick and easy, and you may not have to do anything more than simple on-the-fly adjustments while your printer sets the skirt for most of the time afterwards.
You will need a printer function that rotates around the bed and stops the nozzle right above each adjustment button for a few seconds before continuing, or a gcode that does the same, which can be used via the print function.
You need to properly furnish your home. Follow the instructions above for compressing the bed springs and setting the Z limit switch. Use an upgrade code or printer upgrade program.
Do not push the bed and printhead as this may cause very inaccurate results. Heat bed and nozzle to desired print temperature, then run gcode or update.
program. Make sure that there are no lumps or threads in the tip of the nozzle. Make sure your leveling process stops exactly over the bed leveling screws.
Now heat up the machine to the desired printing temperature (nozzle and heated bed).
After heating, start the leveling program or gcode.
Do not push the hot end and stay on the bed, this can create Z movement and give false readings.
Place a strip of carbon paper (I like heavier paper - about 28 pounds) under the nozzle as it stops at each point, and if there is no thrust, move the alignment knob at that point until it creates thrust. Try moving the paper back and forth with the handle about 3" or 60mm from the nozzle, you should feel the paper pull. If you cannot pull or push the paper under the nozzle, pull the paper off the bed until it passes. Try not to turn one handle more than one turn or it could bend your bed, you may need to adjust each knob together for the first turn.0009 Let him move to the next corner.
Repeat the above steps for all corners.
Repeat the process again, you will notice that when you move one corner it can affect others.
Repeat the process until you reach the end of all bed level adjustment knobs without adjusting it at all.
This is when your bed is level.
Now set the gap using a live level.
Program your slicer to print 2-3 obturation lines as far away from the part as possible so that it is closer to the edge of the printer.
Set up the part to be printed, and while it traces the lines of the skirt, visually inspect and adjust the buttons as close to the print areas as possible, if necessary.
If the cord on the bed is too round and too high, close the gap slightly.
If it is flat and slightly wider than the nozzle width, this is normal.
If it is too transparent and does not flow, your space is too narrow, you need to increase the distance a little.
Different print surfaces and filaments require different space, so you may need to experiment with your space. PETG, for example, doesn't like the nozzle dragging over it, so you may need more space.
In general, it is always recommended to flatten a little, print the first layer very slowly (40% print speed), it's worth it to get a good layer.
You can do this for every draw, or if your level is stable enough, just do the level live between runs.
You can find an article explaining how to get the perfect first layer for 3D printing.
This page has been translated using machine translation. Suggest the best translation
Previous
ShareNext
Modix Large 3D Printers
Modix Large 3D Printer is
your best next 3D printer!
- Two-headed IDEX printing-novelty
- components of premium-class
- Superficent design
- Multiple add-on
- High resolution
are delivered in the form of sets for independent assembly:
- Manage your configuration
- Self service
- Easy to upgrade
- Within your budget
- Compact package
Modix Large 3D Printer is your next best 3D printer!
- Premium Components
- Heavy Duty
- Multiple Options
- High Resolution
Available as DIY kits:
- Manage your configuration
- Self service
- Easy to upgrade
- Within your budget
- Compact package
New generation 4 November 22
Modix is proud to announce the release of its new unified 3D printing platform called Generation 4 with IDEX dual head technology. Modix continues its path to market leadership by integrating cutting edge technology while maintaining outstanding value for money.
Generation 4 upgrades the Modix offering with new features such as printing models with internal geometry, faster print speeds, faster post-processing times and higher reliability.
Learn more about the fourth generation of Modix - click here.
IDEX allows you to print models with internal geometry, provides high quality surface finish while reducing post-processing time.
View details
The Griffin printhead delivers high print quality, impact resistance, easy replacement and higher print temperatures than ever before.
Learn more
A set of reliability sensors designed to save time on print jobs. It can detect filament runout, under extrusion and clogging.
Learn more
Complete set of automatic calibration tools including: bed tilt calibration, bed leveling, gantry leveling and Z-offset calibration.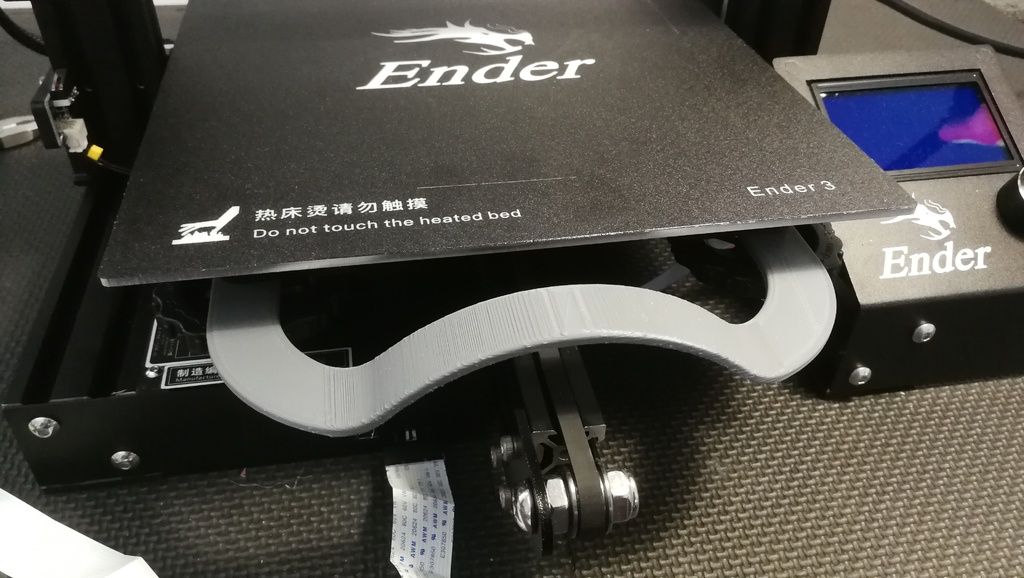
Learn more
Don't limit future ideas, get a bigger printer today!
Premium Components
Controller
UK
Extruder Sweden
U.S. Movement
Drivers of the German step engine
power supply
Taiwan
Alignment of the South Korea
Printed Taiwan Taiwan Rifle 9000 9000 9000 9000 9000 9000 9000 9000 9000 9000 9000 Germany
Professional Features
For more information about our large 3D printer technology, please CLICK HERE
IDEX
Double independent extruders
touch screen
7-inch sensor screen and web interface for remote monitoring
Duet Controller
Improved Electronics with a control web 9000
Active your health with a set of charcoal and HEPA filters.
(Optional) Shielded wires
IGUS signal cables for greater reliability.
Magnetic bed
Easily remove printed objects when finished.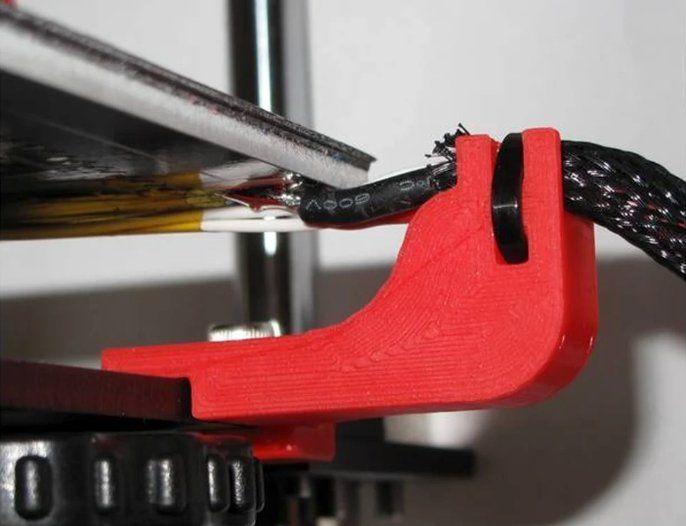
(Optional).
Fault Detector
Detect hardware failures and prevent failures.
High Quality
One of the most significant advantages of Modix large-scale 3D printers is carefully selected premium components, each of which contributes to high quality printing. These components include: Bondtech Extruder (Sweden Made), E3D Nozzles (UK Made), DUET3D Controller (UK Made), Trinamic Motor Drivers (German Made), IGUS Shielded Signal and Power Wires (German Made), Alcoa Cast Aluminum Plate Mic-6 (made in USA), Meanwell power supply (made in Taiwan) and more. Nearly every component in our large format 3D printers contributes to print quality and reliability, which is why we choose the highest component standards, even for the smallest parts, such as aircraft grade power adapters, durable castors, fiberglass reinforced belts, etc.
Heavy duty
A key design factor in our large scale printers is the heavy duty design. Because our large format 3D printers are supplied as DIY kits, we place great emphasis on ensuring that the end user achieves the highest levels of accuracy and consistent calibration.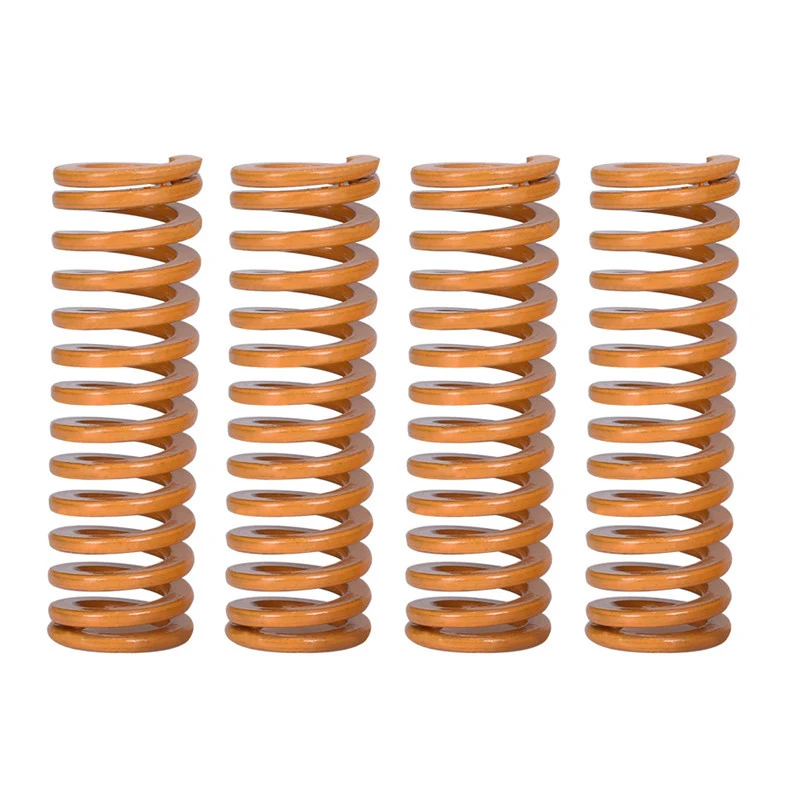 This includes a very detailed online build guide with 3D models that can be rotated and scaled, several detailed video tutorials for each step, and more. In addition, we provide our clients with calibration methods and tools that help make this process as successful and as smooth as possible.
IDEX Dual Extrusion
IDEX's dual printhead technology allows internal geometry to be printed using a dissolvable support filament. Once completed, you can dissolve the support material and enjoy high-quality results without the tedious manual removal of the support. With tear-off support, you can quickly remove the support immediately after printing is complete. In addition, you can enjoy the smooth surface of the bottom surfaces. With a secondary support thread, you can maintain zero distance between dense support layers and the model itself, so the surface will be much smoother than when printing support from the same material.
Customizable Platform
Modularity is our flagship concept. In fact, the Modix brand is called "modular technology". At Modix, we're constantly making new optional add-ons available to easily add to your printer, including air filters, multiple printhead configurations, and more. There are several additional setup guides on our customer's online services portal.
Wide Choice
Our Griffin printhead offers a wide range of nozzle and heater block configurations. Modix offers three heatblock sizes: the default high performance Griffin hot end, the short E3D-V6 hot end for detailed fine prints, and the E3D Super Volcano for rough and fast 3D projects. Each of the thermoblocks has several options for nozzles, some of them are offered as part of our set. Other materials can be purchased directly from the E3D online store, such as high-quality hardened steel nozzles that can print with abrasive filaments (such as filament containing carbon fiber).
Open Architecture
Our clients are not locked out! Modix believes in freedom of choice, especially for passionate innovators.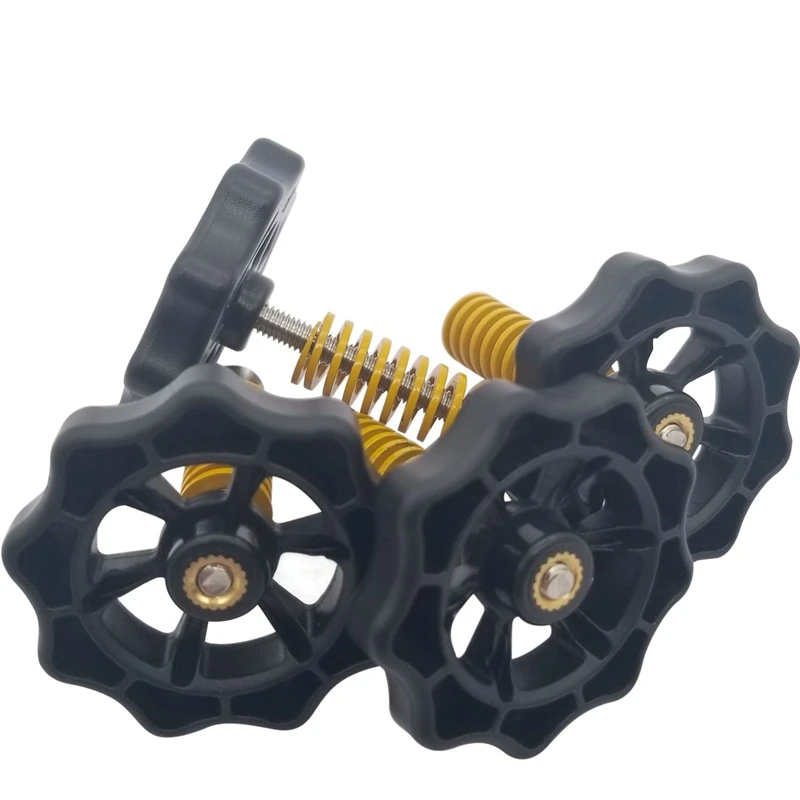 Users can select filament from any source and use a variety of modeling and slicing software solutions to suit their needs. We recommend the Simplify3D slicing software, but recognize that users may have other software preferences such as Cura and Slic3r. They also work great and are compatible with our larger 3D printers. Our customers are provided with print profiles for each of these slicing software packages.
Self Assembly
Self assembly is the preferred method of purchasing a 3D printer for many professionals for several reasons. Practical approach - you build your own machine to better understand the motion system, print head and calibration. You will gain invaluable insight into how to maintain your printer and how to upgrade it in the future. Just like your PC's operating system, Modix large format 3D printers are specifically designed to be customized and adapted to your specific needs.
Future Ready
We are constantly developing and innovating, so when you buy a Modix 3D printer, you are actually investing in a platform that can be upgraded from time to time. Owners of earlier versions are now offered the benefits of our latest version (Generation 4.0). This alone improves the long-term sustainable use of the printer and increases your return on investment.
Large Benefits of
3D printer Experienced 3D printing users who already own one or more small desktop 3D printers and are now looking to expand their printing capabilities should consider the following unique advantages of large format 3D printers:
1. Printing large, one-piece 3D models makes them stronger.
2. Printing models as one part also saves post-processing time. There is no need to fit smaller pieces together or try to hide a seam.
3. Another unique advantage of the large printbeds is the fact that you can print multiple small items in one batch. Batch production can be set up to complete one object before starting another ("sequential printing") for greater reliability.
Premium Support since 2015
Modix prides itself on its prompt and professional support!
We believe that any product is only as good as its service, and since the beginning in 2015 we have worked hard to maintain this concept. If received, help requests are cleared daily. If necessary, videoconferencing sessions are scheduled to better understand the ground situation. This saves time both in understanding the problem and in quickly finding a solution.
Reviews
Mr. Brian Grimm
Engineering Garage USA
BIG-60 B3
Mr. James Lowick
Australia
BIG-60 B3
MR. Jeff Raymond
Real Martian USA
BIG-120V3
Frank 3D Print
Lab USA
BIG-60 V3 (Open Mode)
Use Cases
Canon Restoration 1.6 meters
Made in Ireland
Robot housing parts
Made in Germany
Motorcycle engine cover
Made in Czech Republic
Bronze cast
Made in Turkey
Goodyear Farm Tire
Made in USA
Cutter cover
Made in Israel
PCB maker
Made in France
Prosthesis cover for high legs
Made in Portugal
trusted By
Aerospace
Automotive
Protection
Production
Production
Educational
Get an overview of our new product:
The product overview includes a detailed technical overview, updated specifications and answers to frequently asked questions, including how to print at high temperature, software comparability, and more.