3D printed cockpit
Cockpit best 3D printer files・Cults
Cockpit Style PC Desk
Free
F-16 flight stick base (HOTAS)
€6.61
F-16 cockpit Center Pedestal 1:1 scale
€14.70
G27 15mm Button Plate(9 button)
Free
Fanatec wheel Wall/Rig/Cockpit Mounts/Holders
€2.49
F-16 cockpit sidewall kick plate
€3.67
ACESII Ejection Seat Wheels
€1.84
F-16 Alt Gear Handle
€4.96
Dzus Rails replica (12 inch section)
€1.84
F-16 Cockpit Rear Bulkhead Vent
€6.99
ACESII Headrest
€4. 78
Button Box Cockpit Extreme
Free
GOLDORAK COCKPIT COMPLETE 1/10
€5
Goldorak wall lamp
€3
Captain
Free
Diecast Cockpit Scale 1:25
€5
GOLDORAK COCKPIT 1/30
€3
Simagic PSU Holder / Simagic Power Supply Holder
€5
Bottle holder Sim Rig / Soporte Botella Simracing
€3
Robotech RPG Tactics Female Power Armor Open Cockpit Queadluun-Rau
€6.86
Highly Detailed 3D Printed WW2 German Luftwaffe Pilot
€35
Sim-Lab GT1 EVO Mouse Pad - 4080 Alu Profil Mousepad
Free
Zündapp KS 517 plug cockpit
€20 -75% €5
Nemesis gameboard FIRE-DAMAGED-NOISE-SLIME Tokens
€2
Nemesis gameboard COCKPIT
€3
Mechanical Desk Helicopter
€4.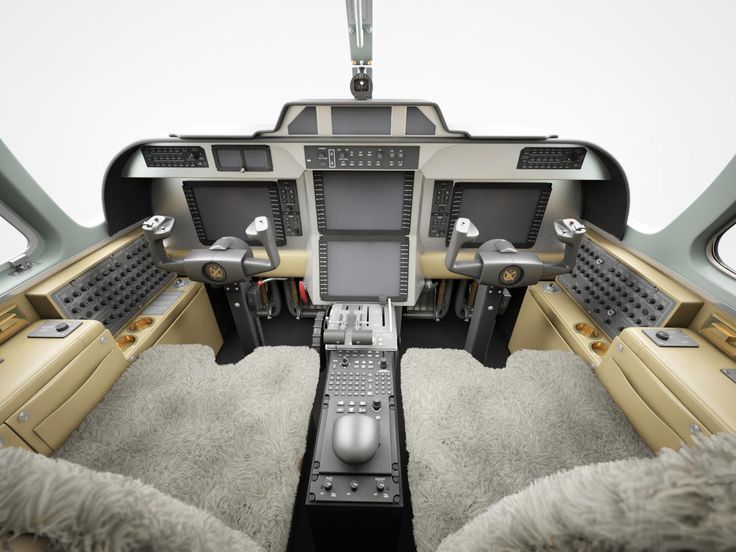 90
90
PILATUS PC21 cockpit Stl files only 3D print model 3D print model
€19
PILATUS PC21 DASHBOARD Stl files only 3D print model
€3
Thrustmaster HUD Phone Holder
€2.50
Ejection Seat Martin Baker MK16 Pilatus PC21 STL FILES ONLY 3D
€9
Playseat Challenge Red Locking Part
Free
StarCraft Marines.
€3
Viking
€2.50
Flight Sim Cockpit Emergency Handle
Free
FPV Cockpit Reflector Sight RS-24
€5.59
Exo Squad Troop Transport Cockpit Canopy
€3
Ejection Seat Martin Baker MK7 STL FILES ONLY 3D F14 Tomcat
€9
Cockpit ov 10 bronco Hangar 9
€39
T6 TEXAN NORTH AMERICAN 1/4 SCALE COCKPIT STL FILES ONLY
€18
Fighter pilot oxygen mask festool
€0.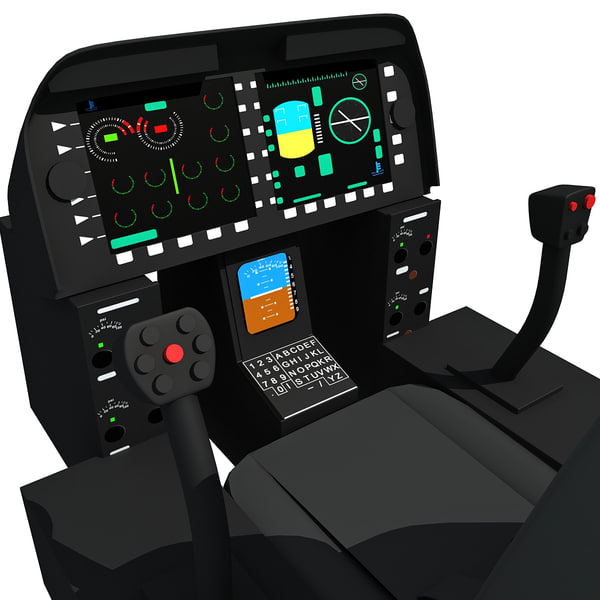 73
73
Goldorak Cockpit Actarus
€4
BOEING T45 Complete cockpit Stl files only 3D print model
€18
Rc Cockpit interior 1:10 Generic
€6
F-16 cockpit Canopy Spider
€8.82
Part.RADIO Cockpit Mirage 2000c Scale 1/1 for Flight Simulator
€40
Part.INS PCN Cockpit Mirage 2000c Scale 1/1 for Flight Simulator
€65
Part. VTB Cockpit Mirage 2000c 1/1 Scale for Flight Simulator
€55
T6 texan 1/4 dashboard Front and Rear Stl files only
€3
3D Printed Cockpit Console and Cupholders
Application Spotlights
Hangar One Avionics is a San Diego-based avionics and maintenance company. The team specializes in completions of law enforcement and special mission aircraft for a number of global customers including Airbus Helicopters, Bell, Cessna, and MD airframes. Many of Hangar One Avionics’ customers require low production or one-off custom parts to increase cockpit safety and convenience. To create these parts, the team would often rely on conventional machining methods using raw materials — a time consuming, impractical process resulting in up to a 65% scrap rate.
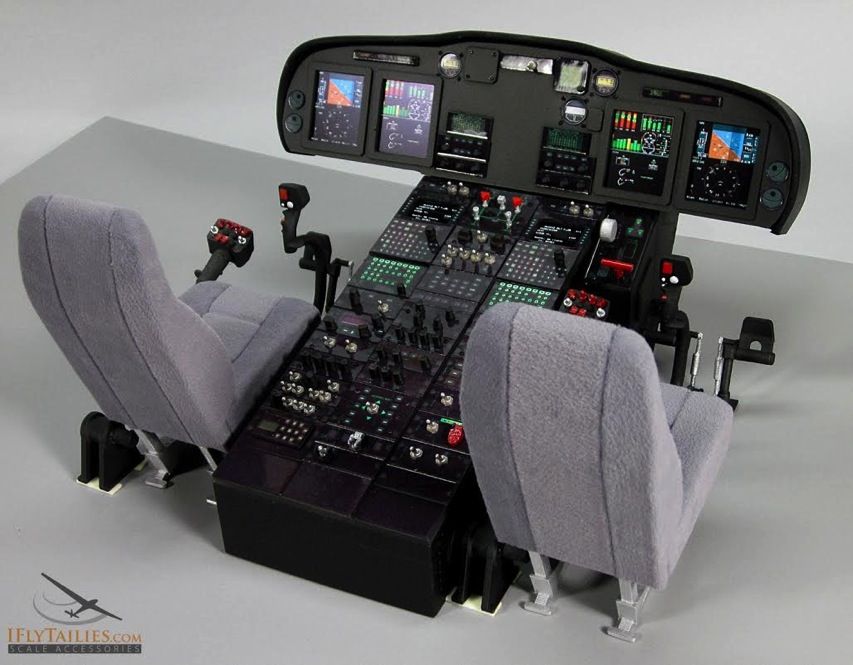
The Hangar One Avionics team needed to make a center console — a part that sits between the pilot and copilot seats — for a fixed-wing Cessna. Instead of going with the slower and expensive machining process, the team used their Markforged X7 printer. As a result, they not only printed the console in record time, they also added further customizations including two cupholders, a niche for the pilot’s keyboard, and disconnects for hand controllers and USB chargers. The console and its additional features were printed using Onyx FR — a certified UL 94 V-0 rated flame-retardant nylon filled with chopped carbon fiber.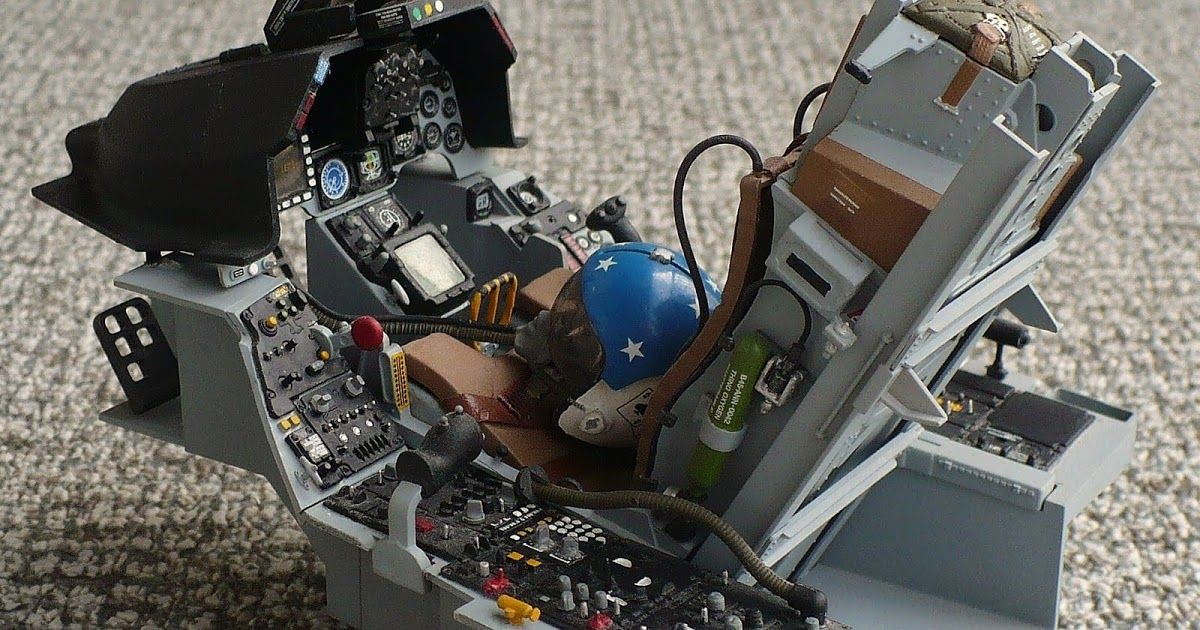 The team’s decision to use 3D printing rather than conventional methods significantly freed up the machinist’s time to focus on other important tasks.
Matthew Roth, Head of Machining at Hangar One, has kept a close watch on Markforged ever since the company began to focus on increasing aerospace industry support. Matthew Roth is very interested in the company’s latest releases, such as a traceable version of Onyx FR and Carbon Fiber FR, as well as Markforged’s current effort to receive National Center for Advanced Materials Performance (NCAMP) qualification for its additive manufacturing process and aerospace targeted materials. “Adding traceability and helping speed testing and approvals with NCAMP qualification gives us more ways to add value to our customers,” says Matthew.
“The less time I have to be hands on with these machines, the more profitable we are because I can use the free time to focus on additional design work and engineering.”
— Matthew Roth, Head of Machining, Hangar One
Download PDF
All of the blogs and the information contained within those blogs are copyright by Markforged, Inc.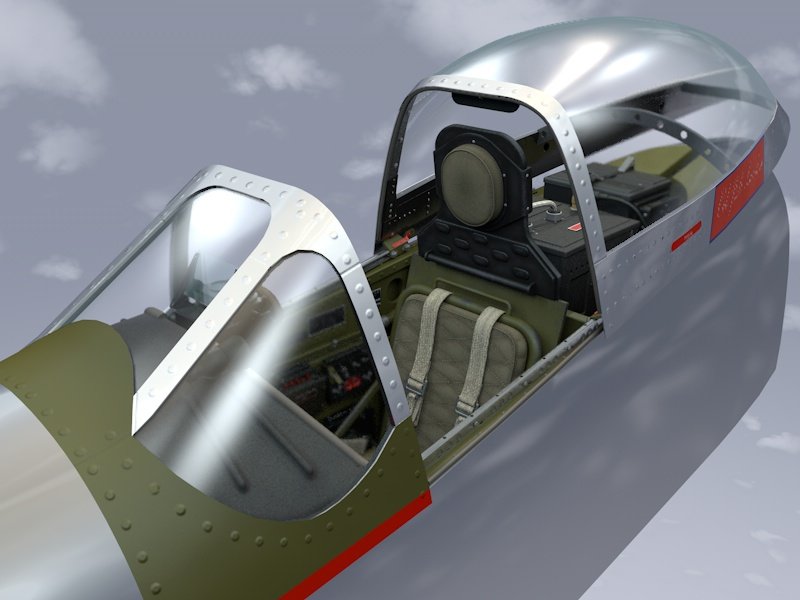 and may not be copied, modified, or adopted in any way without our written permission. Our blogs may contain our service marks or trademarks, as well as of those our affiliates. Your use of our blogs does not constitute any right or license for you to use our service marks or trademarks without our prior permission. Markforged Information provided in our blogs should not be considered professional advice. We are under no obligation to update or revise blogs based on new information, subsequent events, or otherwise.
Never miss an article
Subscribe to get new Markforged content in your inbox
required required requiredSubmit
Thanks!
Part 2. KAMAZ 432690 on a 3D printer: assembly, painting and result
3D printing
I continue the story about KamAZ fully printed on a 3D printer in 12th scale.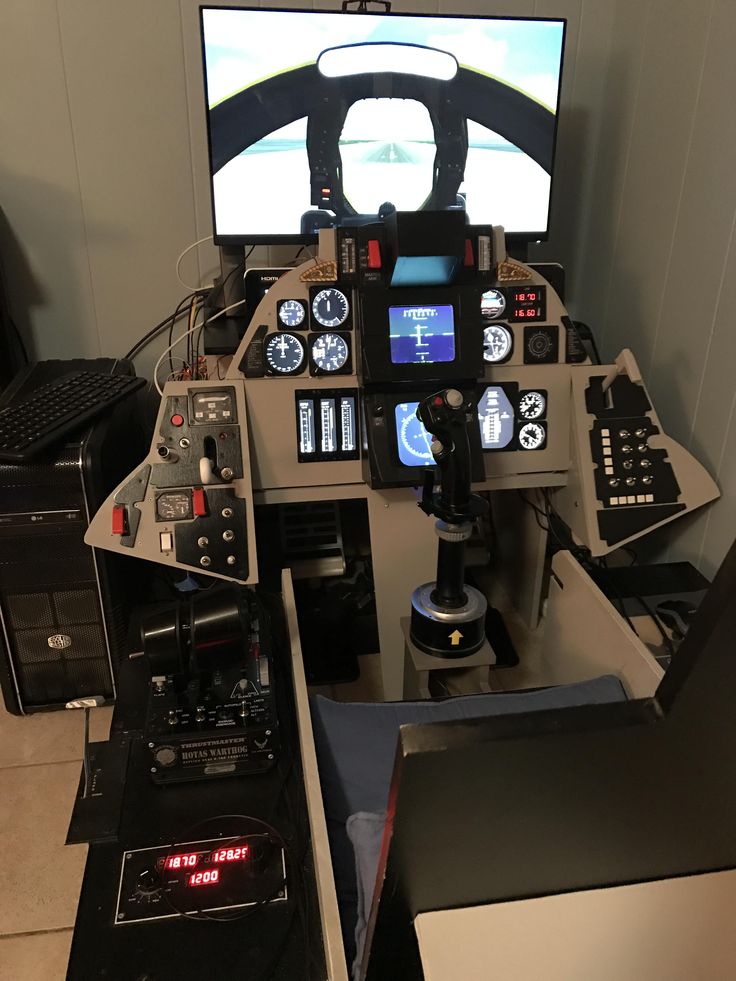 Models of this project you can download on the sites: MyMiniFactory and Cults3D.
In the last article, I talked about the development and printing of this truck, and today I will show the assembly process and the result!
Assembling
As I wrote earlier, I am building this project on a universal chassis, on which the KamAZ Master hood has already been assembled. The frame parts of this chassis are connected with M2 screws and nuts. Frame printed with 60% infill and 4mm wall thickness. The arm and shock brackets are glued to the frame with dichloromethane, so I use a 3m respirator and nitrile gloves when gluing the parts together.
Fig. 1 Frame, axles, gearmotor, transfer box and wheels are fully 3D printed (except for bearings, screws and electronics)
Chassis mounted brushless motor size 3650 (36 mm diameter and 50 mm motor length without shaft), motor control unit, transmitter and LiPo battery 2S (7.4 Volts). You can mount a brushed motor on this chassis if you like crawling. With it, we get the opportunity to start smoothly and not slip into slippage, as on a brushless motor (which, unlike a collector motor, makes it possible to turn nickels and accelerate faster).
⠀ Fig. 2 Kapotny KamAZ and assembled chassis, on which a body and cabin are easily installed using several screws
Painting
painted the machine with tamiysk colors from the airbrush without preliminary processing of the plastic with the fluid and spatiness . I ordered the printing of logos in a printing house on a UV plotter with white on a transparent adhesive tape. I developed the logo layout myself, it is freely available at the link. After applying the stickers, I covered the model with semi-matt Tamiya varnish.
Finished model
Drive: 4x4
Dimensions: 60 cm (length) x 22 cm (width) x 27 cm (height)
Weight: 3. 5 kg (with equipment)
Plastic weight: 2.3 kg
⠀
More projects on my Instagram.
Video instructions on my YouTube channel.
Good luck everyone! :)
Even more interesting articles
brtv
Loading
10/16/2022
2418
9
Subscribe to the author
Subscribe
Don't want
Hello my friend! Today I decided to assemble a simple pneumohydraulic generator or Generator...
Read more
DrProg
Loading
08.11.2022
716
eight
Subscribe to the author
Subscribe
Don't want to
We continue to uncover the incredible opportunities of enterprises from the Middle Kingdom, to.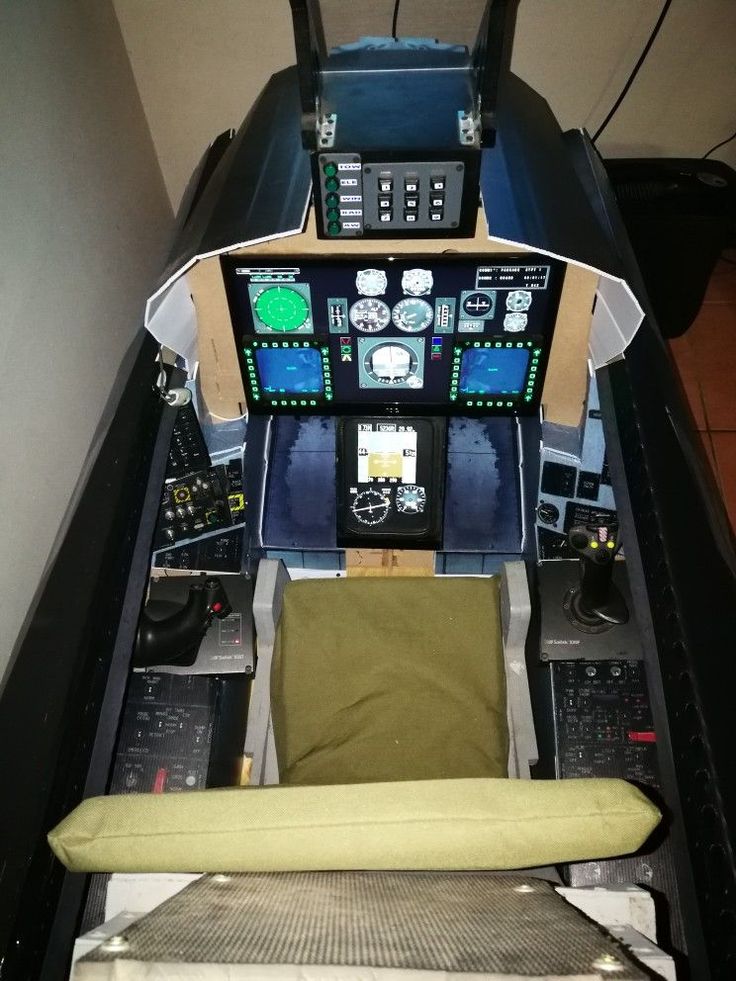 ..
..
Read more
Dima_pb
Loading
04.02.2016
75199
157
Subscribe to the author
Subscribe
Don't want to
Everyone knows about the rollback, but few understand where to start to manage it properly....
Read more
Kapotny KAMAZ Master on a 3D printer! + links to the model!
MrPaulM
Loading
03/15/2021
8914
Creativity
Creality Ender-3 V2
Hello everyone!
Completed a project for the development and 3D printing of a hood in 1:12 scale. The model is radio-controlled and has all-wheel drive. This KamAZ weighs 3 kg 400 g together with the installed equipment. Plastic took ~ 2.5 kg. The hood, cab and body doors fold down like on a real prototype and are fixed on pressed 5x2 mm magnets. I printed on a cheap and angry Creality Ender 3 pro :) I painted directly on the plastic without any processing! All parts are modeled and cut to fit on Ender's table, which corresponds to 220x220mm.
If you want to print the same KamAZ Master for yourself, then you can download the models (and buy some) here: https://cults3d.com/en/users/MrPaulM
Assembly questions and more :) you can ask in my instagram: https://www.instagram.com/mrpaulm/
Assembly and test run video:
Project photo:
Kamaz kamaz master rc truck
Follow author
Follow
Don't want
59
Article comments
More interesting articles
19
Subscribe to the author
Subscribe
Don't want to
Classical motivational motive: "it was in the evening, there was nothing to do" .