3D print layer shifting
Layer Shifting | Simplify3D Software
Layer Shifting
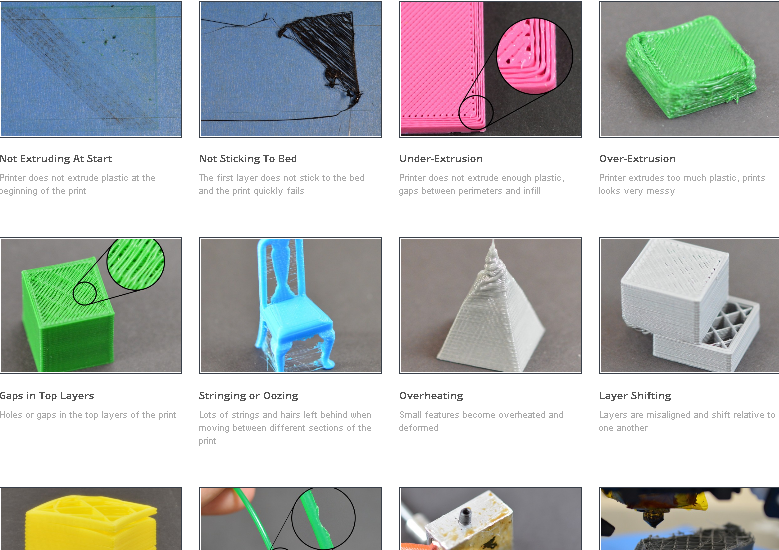
Most 3D printers use an open-loop control system, which is a fancy way to say that they have no feedback about the actual location of the toolhead. The printer simply attempts to move the toolhead to a specific location, and hopes that it gets there. In most cases, this works fine because the stepper motors that drive the printer are quite powerful, and there are no significant loads to prevent the toolhead from moving. However, if something does go wrong, the printer would have no way to detect this. For example, if you happened to bump into your printer while it was printing, you might cause the toolhead to move to a new position. The machine has no feedback to detect this, so it would just keep printing as if nothing had happened. If you notice misaligned layers in your print, it is usually due to one of the causes below. Unfortunately, once these errors occur, the printer has no way to detect and fix the problem, so we will explain how to resolve these issues below.
Common Solutions
Toolhead is moving too fast
If you are printing at a very high speed, the motors for your 3D printer may struggle to keep up. If you attempt to move the printer faster than the motors can handle, you will typically hear a clicking sound as the motor fails to achieve the desired position. If this happens, the remainder of the print will be misaligned with everything that was printed before it. If you feel that your printer may be moving too fast, try to reduce the printing speed by 50% to see if it helps. To do this, click “Edit Process Settings” and select the Speeds tab. Adjust both the “Default Printing Speed” and the “X/Y Axis Movement Speed.” The default printing speed controls the speed of any movements where the extruder is actively extruding plastic. The X/Y axis movement speed controls the speed of rapid movements where no plastic is being extruded. If either of those speeds are too high, it can cause shifting to occur. If you are comfortable adjusting more advanced settings, you may also want to consider lowering the acceleration settings in your printer’s firmware to provide a more gradual speed up and slow down.
Mechanical or Electrical Issues
If the layer misalignment continues, even after reducing your print speed, then it is likely due to mechanical or electrical issues with the printer. For example, most 3D printers use belts that allow the motors to control the position of the toolhead. The belts are typically made of a rubber material and reinforced with some type of fiber to provide additional strength. Over time, these belts may stretch, which can impact the belt tension that is used to position the toolhead. If the tension becomes too loose, the belt may slip on top of the drive pulley, which means the pulley is rotating, but the belt is not moving. If the belt was originally installed too tight, this can also cause issues. An overtightened belt can create excess friction in the bearings that will prevent the motors from spinning. Ideal assembly requires a belt that is somewhat tight to prevent slipping, but not too tight to where the system is unable to rotate. If you start noticing issues with misaligned layers, you should verify that your belts all have the appropriate tension, and none appear to be too loose or too tight. If you think there may be a problem, please consult the printer manufacturer for instructions on how to adjust the belt tension.
Many 3D printers also include a series of belts that are driven by pulleys attached to a stepper motor shaft using a small set-screw (otherwise known as a grub screw). These set-screws anchor the pulley to the shaft of the motor so that the two items spin together. However, if the set-screw loosens, the pulley will no longer rotate together with the motor shaft. This means that the motor may be spinning, but the pulley and belts are not moving. When this happens, the toolhead does not get to the desired location, which can impact the alignment of all future layers of the print. So if layer misalignment is a reoccurring problem, you should verify that all of the motor fasteners are properly tightened.
There are also several other common electrical issues that can cause the motors to lose their position. For example, if there is not enough electrical current getting to the motors, they won’t have enough power to spin. It is also possible that the motor driver electronics could overheat, which causes the motors to stop spinning temporarily until the electronics cool down. While this is not an exhaustive list, it provides a few ideas for common electrical and mechanical causes that you may want to check if layer shifting is a persistent problem.
Related Topics
Layer shifting | Prusa Knowledge Base
Relevant for
:
Plus 1.75 mmMK2.5MK2.5SMK3MK3SMINIMK3S+MINI+
Last updated
a year ago
This article is also available in following languages:
Layer shifting is a printing issue, which causes the layers of the printed object to shift from their intended positions. It is usually associated with an abnormal movement of the X-axis and/or the Y-axis, leading the extruder head to be misaligned mid-printing.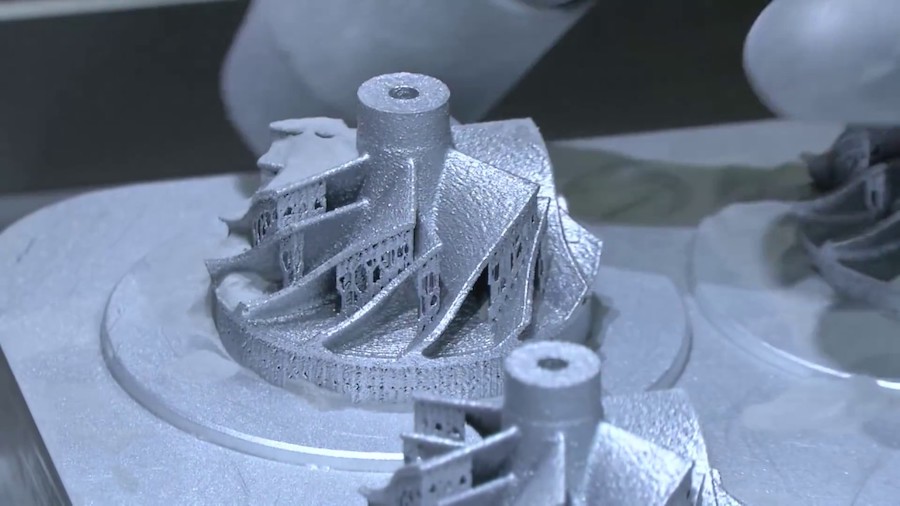
In order to troubleshoot the issue correctly, it is crucial to recognize in which axis did the layers shift. See the three photos below demonstrating three different kinds of layer shifts. Troubleshooting itself is the same for both axes.
Layer-shifts are most often caused by the wrong tension of the belts or pulleys not being secure.
Prusa i3-series
Check your printer’s power mode
Run the printer in Normal mode rather than in the Stealth mode. You can change Power mode in the LCD Menu -> Settings -> Mode. The stealth mode is perfect for small and simple objects. For bigger or more complex prints, the Normal mode is recommended. Also, note that in Stealth mode, the Crash detection feature is not available.
Make sure the extruder and the heatbed can move freely
Make sure there are no obstructions in the path of the extruder or heatbed and their bearings. For example, there might be a piece of filament stuck around the belt (usually around the Y-axis pulley) from your previous prints.
Another instance of obstruction is when the zip ties or another part of the extruder cable bundle are not arranged according to 5. E-axis assembly. If the cables hit the frame before the extruder assembly does (if it's an MK3) or before the X end-stop does (if it's an MK2/S or an MK2.5) the printer detects an inaccurate end position. See the photo below and make sure the cables are arranged accordingly.
Also, verify if the smooth rods don't bear any deep scratches and if the bearings are properly lubricated. According to our testers, the best lubricant is a homogeneous, soft grease with lithium additives, such as the GLEIT-µ HF 400. Another good lubricant is the Mogul LV 2-EP. In general, Super-lube or any other multi-purpose grease will do as well.
Check your X/Y axis motors and pulleysMake sure the X and Y motor is tightened in the motor mount, that the pulley (orange arrows in the picture below) is secured on the motor shaft and aligned with the pulley on the opposite end, and that the pulley can move freely. Both grub screws need to be tight, one of them has to be tightened against the flat part of the motor shaft. A loose pulley is usually the main cause of staircase layer shifts.
Both pulleys on both axes also have to be aligned, meaning the motor pulley has to be well centered and the belt has to be moving in a straight line, not traveling from right to left while the pulley is turning.
Check the tension of your beltsCheck your belt-tension. If you have an MK3 or MK3S, check the Belt Status numbers via LCD menu -> Support -> Belt Status. The values should not be under 240 and above 300, but there is no single ideal value. The number does not represent any quantity.
- If your value is under (or close to) 240, you need to loosen the belt
- If your value over (or close to) 300, you need to tighten the belt
- The values are updated every time you run the Selftest or run the belt test in LCD menu -> Calibration -> Belt test.
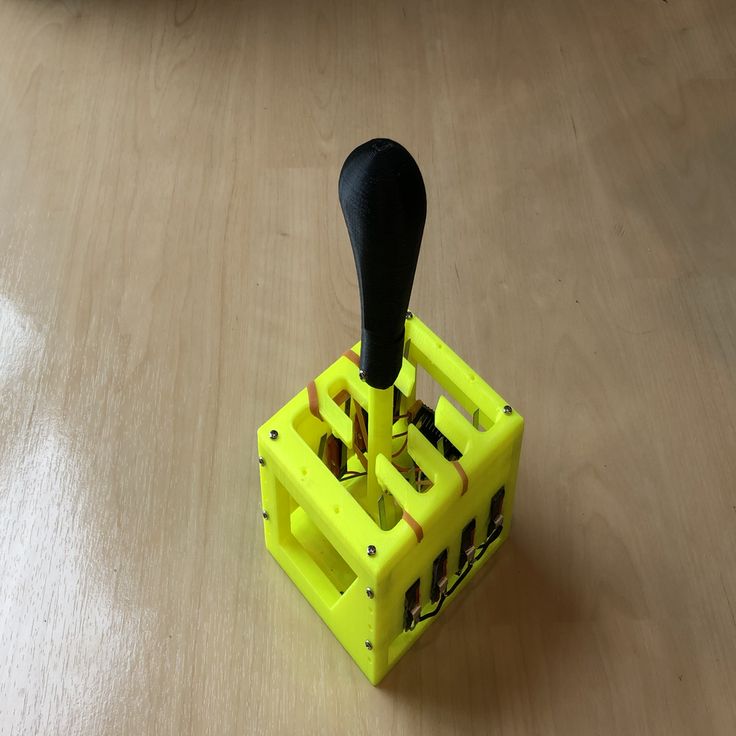
The MK2.5S, MK2.5, and lower models do not have the belt status option. The clue we can give you is that the belt should sound roughly like a low bass string when plucked. It should be possible to pinch the two sides together with your thumb and index finger, but you should feel a little bit of resistance.
The plastic parts holding the belts can get loose over time.
Use the technique described in this step of the assembly manual to test if the pulley is correctly tightened and if the belt is not too loose. Hold the X-axis motor shaft with pliers (take advantage of the flat part of the shaft) and try to move with the extruder. The same procedure can be applied to test the Y-axis pulley and belt.
Print geometry and settingsObjects with overhangs are generally harder to print. Some overhangs might even warp upwards during the print, and the nozzle might crash into them. The same can happen in some cases if you choose too small infill percentage when slicing the 3D model.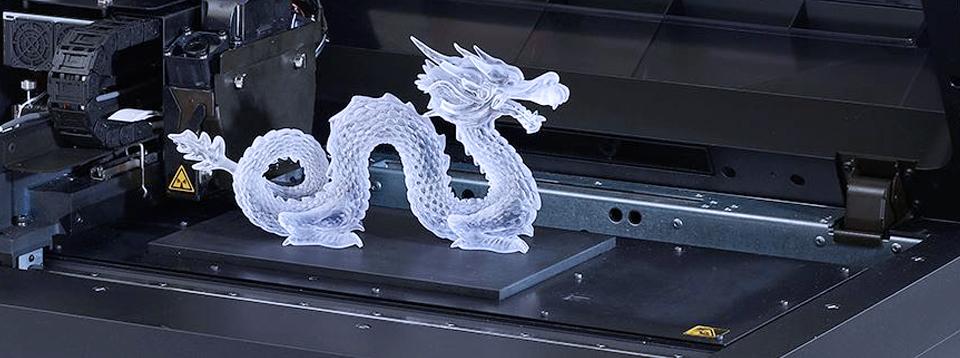 To prevent printing overhangs, you can cut the object (check out our article on the Cut tool). You can also try to increase the print fan speed or increase the Z-hop distance in PrusaSlicer. Print fan speed is found in Filament settings -> Cooling and Z-hop distance in Printer Settings -> Extruder 1.
Prusa MINI
Check your printer’s speed.
When printing large objects, it’s recommended to decrease the printing speed. During a print, go to LCD Menu -> Tune -> Speed and decrease the number.
Check the X/Y belts.
Make sure that belts are properly tightened. Belts should be tight enough to sound like a low bass note when plucked. If the belts are loose, tighten them first: first, loosen the two screws as depicted below. Then, tighten the two screws at the very end of the X-axis. They go directly against the metal rods, so the more tightened they are, the further you move the plastic part.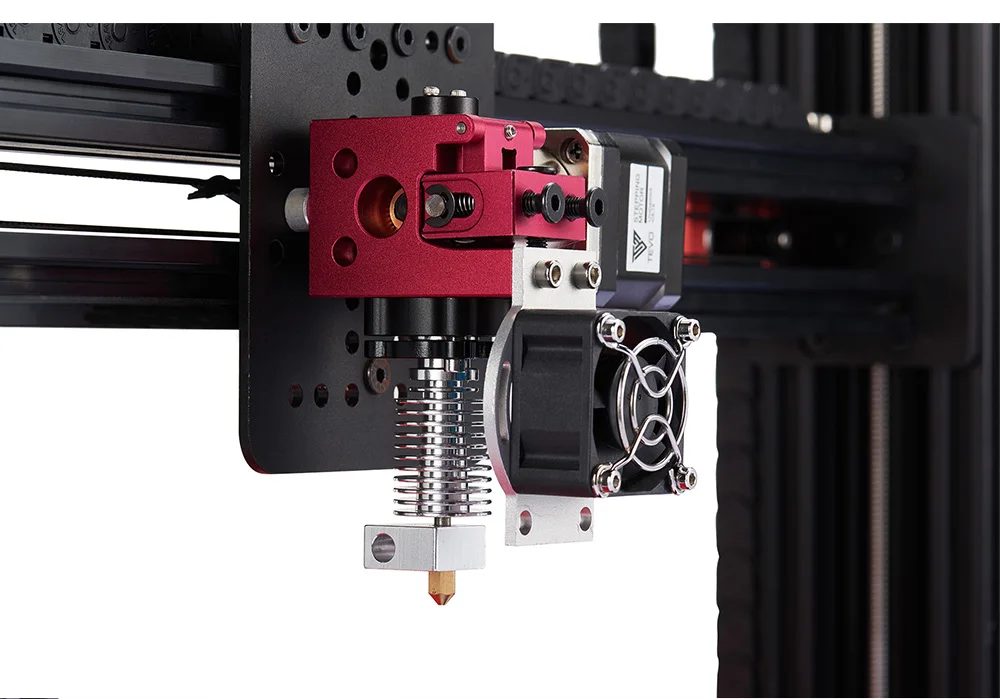 Once you are done, tighten the first two screws again to fix the part in place.
Check X/Y axis pulleys.
Both pulleys on both axes also have to be aligned, meaning the motor pulley has to be well centered and the belt should be perfectly straight. Check whether the X-axis belt is not brushing against printed parts.
Make sure nothing is blocking the movement of your axis – Check for any obstructions in the path of the bearings or any possible waste from previous printings stuck around the belt (usually around the Y-axis pulley).
Loose X/Y-axis belt pulley
If the set-screw on the belt pulley has come loose or it was not secured on the flat side of the motor shaft, it can slip and may cause issues with the axis not moving perfectly in tandem with the motor's rotation.
The set-screw for the Y-axis is easily accessed, being under the bed, but the X-axis is a bit more tricky. You can access the set-screw for the X-axis through a hole on the top of the extruder (picture below). You will not be able to see if the set screw is aligned with the flat side of the motor-rod and tightening it will only be a temporary fix, but it is a great way of knowing if this is the issue and what needs to be disassembled.
If you only see shiny metal in the hole, you must rotate the motor to reveal the set-screw. Even it is loose, it will move a little with the rotation of the motor, revealing the screw. Access Settings -> Move Axis -> Move X, on the LCD-menu, and rotate the knob to spin the motor.
| Use a 2 mm Allen key to tighten the set-screw of the pulleys. |
Free movement of the axis
Make sure the print head (the part moving along the X-axis) can move freely in the entire range. Especially the cable bundle attached to the extruder should not prevent the print head from reaching the end of the axis.
Also, verify if the smooth rods are not scratched and if the bearings are properly lubricated. According to our testers, the best lubricant is a homogeneous, soft grease with lithium additives, such as the GLEIT-µ HF 400. Another good lubricant is the Mogul LV 2-EP. In general, Super-lube or any other multi-purpose grease will do as well.
None of this solved the problem?
No worries, at least you have checked some of the most important parts of the printer, and you can now be sure they are OK. Please try to print one of the g-codes that were on the SD card when you first used it. If you have deleted them, try this one if you have an MK3, or this one if you have an MK2.5 or an MK2/S.
On MK3(S): You may also try to toggle the Crash Detection off (LCD Menu -> Settings -> Crash. det. [on/off] or, during the print LCD menu -> Tune -> Crash Detection). It also usually helps if you slow down the print speed (in the Slic3r or during the print by turning the knob counter-clockwise).
Offset (shift) of layers when printing on a 3D printer.
 Reasons and solutions.
 3D printer layer shift is not the most discussed printing error, but it is certainly one of the most annoying. Check out three easy ways to avoid this.
Layer misalignment is when the layers of your 3D print are not properly aligned, leaving behind a stepped "staircase" appearance. This often only happens in a few places, but usually renders the entire print useless. And it's frustrating that the rest of the model can be perfect. nine0005 Slight shifting of the layers will result in “knocked down”, shifted layers, as in the case of Benchy above. At a significant value, this can cause your printer to extrude in the air, leaving a plastic bird's nest.
Driver current too low
Reducing the current leads to a decrease in motor torque. Rapid starts and stops may exceed motor torque. Note that the torque decreases rapidly at speed
Solution
Before increasing the driver current, first make sure it is not too high.
Increase current.
Driver current too high
- Driver chip is hot.
- The motor can also be very hot.
- When the stepper motor is running, you may hear repeated knocking sounds.
Solution
- Reduce motor current.
- add a fan to cool the drivers. Perhaps the fan needs to be powerful so that it is always on. nine0005 - Add heatsinks to the stepper and if possible a fan.
Drive belt loose
- Belt rubbing against each other
- Belt loose
Solution
Tighten the belt.
Use a tension spring for the belt.
Poor quality pulleys
Pulleys have a shallower depth that cannot hold the belt while driving at high speed, causing slippage
Solution
Replace it with a good one. nine0003
Pulley rotates on motor shaft
Drive pulley rotates on shaft under load.
For diagnosis: draw a line on the stepper shaft and the end of the drive pulley. See if the pulley has moved relative to the control line after the layer has been moved.
Solution
Two things must be done to ensure that the drive pulleys do not come loose:
Tighten the set screw on the pulley.
- Add a drop of nail polish to the set screw threads before tightening. nine0003
Kinematics bearing sticking
Fouling on rails/guides
- Move the axes by hand with the power off to feel for sticking.
- You may need to temporarily remove the belt to make it easier to feel the movement without engine vibration.
- Hairspray or other contaminants on the rails or rails can cause them to bind and jam.
Solution
- Remove all dirt. nine0005 - Remove lacquer residue from guides or guides with Windex.
- Remove other residues with alcohol or acetone. Be careful not to get acetone on the ABS parts.
- Lubricate bearings or guides.
Speed too high
- High travel speeds create large forces that must be overcome by the motors.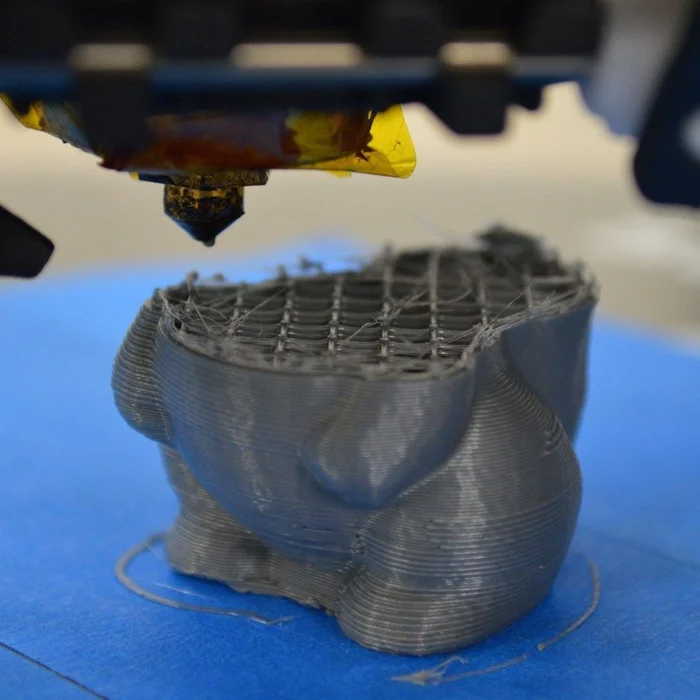 This, combined with acceleration, can cause the layer to shift.
- 8-bit controllers have a limited overall step rate that varies depending on their overall computational load. Exceeding this step can result in uneven steps and skipped steps. nine0005
Solution
- Reduce the travel and print speed of your slicer.
- Default speed, jerk and acceleration in firmware are often too high.
Acceleration too high
- The motor torque at this speed must be greater than the inertia force.
- If the required torque is higher than the motor can deliver at that speed, the layers will be shifted.
- Please note that the stepper motor cannot instantly go from stop to high speed, it must be increased, otherwise it will squeal and vibrate without moving. nine0005
Solution
Reduce firmware acceleration.
Y-Axis Offset Layers
(Any Heavy-Axis Offset Layers)
- For printers that move the build plate in the Y-axis, the Y-axis motor needs more force.
- Too much acceleration in this direction causes displacement.
Solution
Decrease Y axis acceleration/jerk settings in firmware.
If the bed is spring-loaded, it may wobble - use springs with whiter springs or another way to secure it (for example, one fixed point on the table). nine0003
Play
Play can be caused by loose belts, excessive friction, etc.
This can manifest itself in many ways, such as uneven perimeters or circles that are not round.
Solution
- Make sure the straps are tight but not too tight.
- Try to move the axle back and forth by hand, keeping the motor shaft stationary, there should be no play.
- Move the axis back and forth with the stepper motor disconnected from the drive (turn off the power when the wires are connected or disconnected!). This will allow you to feel the binding and extra friction without significant interference from the engine. nine0005 - Check that the belt and pulley are correctly aligned.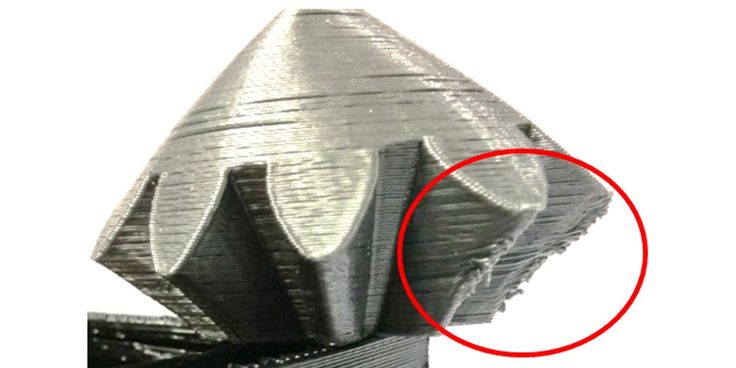
- Check that the belts do not rub against the guide bearing flanges.
- Lubricate bearings and guides.
- Use a low backlash belt and pulley, such as GT2.
- Use a pulley large enough so that at least 6 teeth are in contact.
Acceleration settings too high
The jerk setting is mainly used at the very beginning and at the end of the movement.
Solution
Change acceleration settings (lower)
Mid Frequency Resonance
Stepper motors have resonant frequencies where they are difficult to control - they lose torque and may not accelerate causing skipped steps.
Solution
- Use lower speeds
- Use larger pulleys if resolution allows
- Use external DSP based stepper motor drivers. This allows the motor to be driven faster and quieter, as well as to use higher voltage. nine0005 - Note that more powerful motors such as the Nema-23 are more prone to midband resonance in the RPM ranges used for 3D printers (and they are louder), so a DSP based motor driver is recommended.
USB communication problems
USB data may be transmitted unevenly from the computer, causing printing to stop. If a stall occurs at the wrong time, layer shear can occur.
Solution
- We strongly recommend that you always print from an SD card!
- If you need to print via USB, make sure the cable is of good quality. Cheap USB cables can tolerate more interference.
- Make sure the USB cable does not run near sources of noise such as stepper motor wires.
- Add a toroid to the USB cable.
- For shielding wiring.
Nozzle hits part
- Extrusion out of calibration and nozzle hitting additional material. nine0005 - The nozzle hits a folded edge.
Solution
- calibrate the extruder
- Do not use a fan with ABS
- turn on the "z-lift" mode
(There is a solution) Layer shift when printing letterpress (for each model)
creality-ender-3 prusaslicer layer-shifting
I tried to print Baby Groot, but every time I print the head, there are always layer shifts, like in the photos below.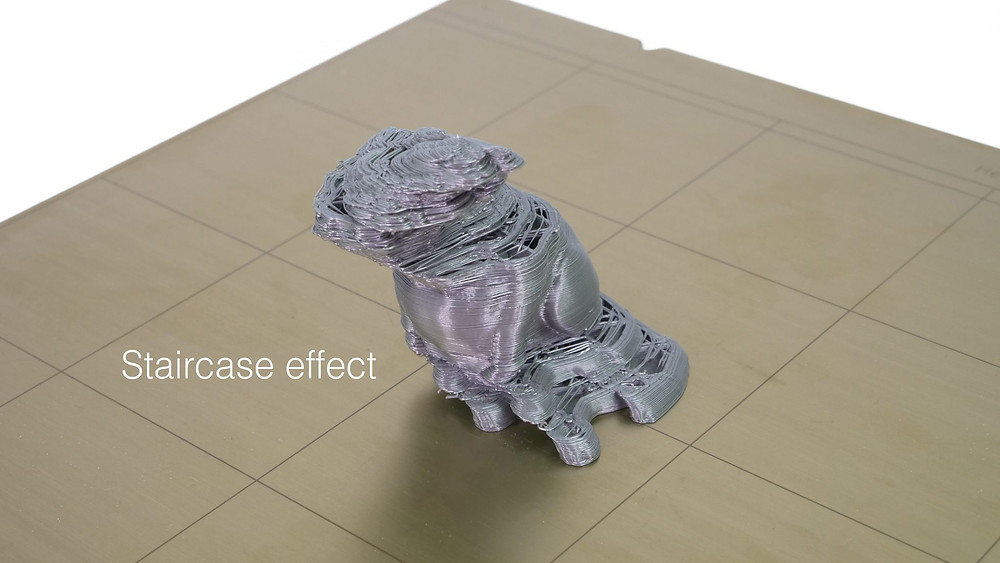 I printed three chapters and the layer shifts all happened in the same place. nine0003
I tried to print something else (more or less) the same height and the layer shifted as well.
I thought maybe because the z-bar was bent. But, apparently, the shift of the layer occurred at a different height.
What is my problem and how can I solve it? I am using Ender 3 with BLTouch.
@notalentgeek, 👍2
4 answers
Best answer:
▲ 1
0003
- Use of the lowest heating temperature 170 °C
- Using the highest hot air temperature 220 °C
- No fluctuations in the extruder (x-axis)
- No oscillation on gantry (x-axis)
- No oscillation on the table (y-axis)
- No oscillation in z-bar (z-axis)
- Leveling the table to my perfect
- Reduce and slow down retraction from 8 mm and 70 mm/s to 6 mm and 50 mm/s
- Enabling and disabling retraction
- Enable/disable z-jump (z-lift in PrusaSlicer)
- Formatted micro SD card
- I also tried using Kuru.
 I thought maybe a different slicer would lead to a different result.
 - Position the z offset from -2.20 mm to -2.15 mm
- Position the z offset from -2.15 mm to -2.10 mm
- Larger circle print, vase
All this does not solve this problem. Then I realized that while my z motor was spinning, there were some cases where the rod wasn't spinning. I replaced the hex bolts and tightened them correctly to fix the problem. nine0003
, @ notalentgeek
▲ 3
Layer misalignment has two main causes: a partially printed part moves or flexes, or the Y table or carriage (almost always - they seem rather odd on the x-axis) misses one or more steps in that or a different direction.
Permanent layer shifts - that is, where the entire print above the shift is shifted and remains shifted - is more likely to be last; temporary shifts (when the shear creates a bulge or groove, and then the layers above this area again coincide with those below) are more likely due to movement of the part. nine0003
In your case, it looks like you have temporary shifts. The ones on Groot's head appear (in photographs) to match the height at which some of the tops on the head end; they may be the result of changes in the nozzle's interaction with the print, which becomes tall enough to flex as the trajectory changes due to the finish of these areas. The ones on the pink block look more like a temporary surge, but since we can't see the opposite side of what they are, I can't say for certain that they're not the same thing. nine0003
One thing you can try is to re-apply both of these objects with the Z transition turned on. This will reduce the nozzle dragging over earlier parts of the current layer, which can cause the part to bend (or temporarily block the nozzle, resulting in increased pressure, resulting in momentary overstress).
To save time, you can look to see if you have any objects that expose it's not so much hours of time stamp (tens of grams of thread) already spent .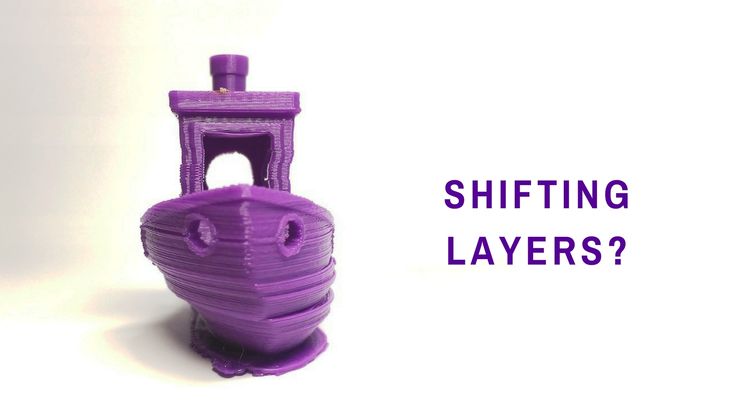 ... perhaps you can dive into Groot's virtual desktop in a slice, since to print it just out of the eyes (or even higher) - though that might reduce the flex enough that producing spikes on the head won't make much of a difference. nine0003
, @ Zeiss Ikon
▲ 1
Zeiss Ikon's answer is good, but just in case that doesn't solve the problem, have you printed larger/longer prints before? There is a well-known issue with the Ender 3 4.2.2 motherboard that causes layers to shift when overheated on longer prints. You can try lifting the printer up and placing a fan under it to see if anything changes. (I had this problem and it drove me crazy until I got a 4.2.7 motherboard)0003
- https://www.reddit.com/r/ender3v2/comments/lmf1v2/an_faq_on_layer_shifts_and_mainboards/
- https://www.reddit.com/r/ender3v2/comments/kn8u72/layer_shift_investigation_data_and_video/
- https://www.
 reddit.com/r/ender3v2/comments/kxeikz/as_promised_thermal_camera_captures_of_a_layer/
However, I see some other problems with the layer on the head down the print. I would probably loosen and readjust all the portals again, check all the belt tensions, make another table level (you changed the springs to yellow, right?). It's not uncommon for a glitch to occur after a few hours of use, perhaps a piece of plastic/dust stuck in the track. nine0003
If you have double checked and adjusted all portals and none of them are loose or too tight, look at your desk where the printer is sitting. If possible, place the printer on something really heavy (concrete slab, thick wood) with a little padding underneath that heavy surface. Place half a glass of water on the topmost surface (not the printer) to see if the table vibrates while printing (the water must be still at all times). It's possible that the table moves a bit while the printer is printing - with fractions of a mm it won't take too long.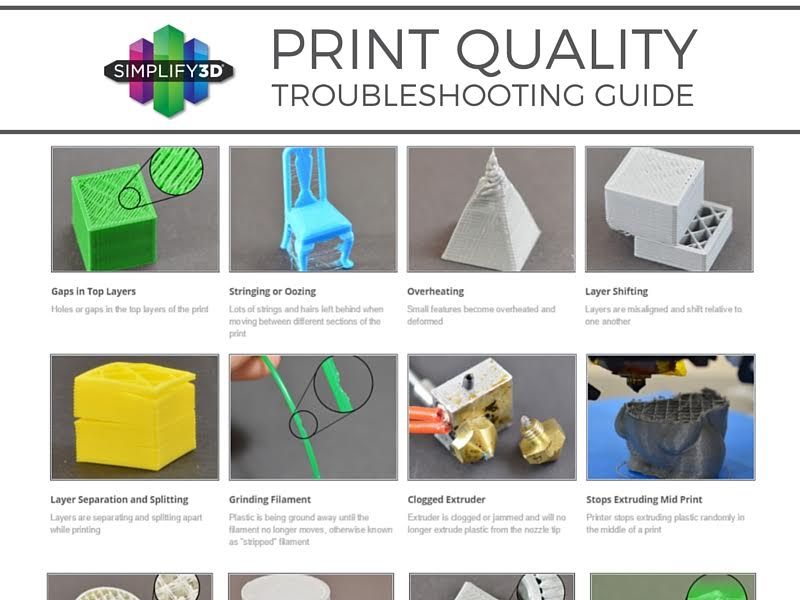 nine0003
, @ Gisto
▲ 1
These are (at least almost certainly) not layer shifts. Layer shift is when the physical position of the tool head becomes inconsistent with the logical one, because the stepper motor missed a step, or the table surface moved, or something else went wrong. They can reverse if the same happens in the opposite direction at a later level, but is very unlikely.
What you have looks like an inconsistent geometry dependent extrusion. If you look at the output of the slicer in the analyzer, you probably have some geometry difference in terms of number of components, necessary moves, etc. in affected layers, causing more or less material to seep/lose in the interior of the model, thereby creating a thinner extrusion thickness in subsequent walls compared to other layers.
While there are probably other ways to reduce the impact, the correct way to fix this is to find the cause of the discharge and stop it.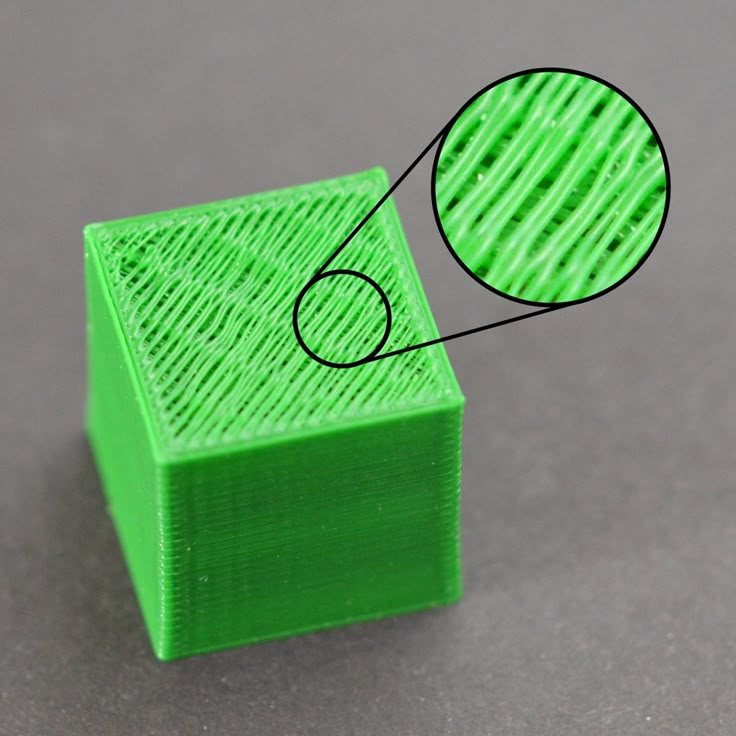 These are almost certainly unrecorded movements within the interior of the model, which Kura calls "combing"; I don't know Prussianlitz terminology for this. You can either turn it off (which will make your printing much slower and may hurt quality in some way) or set the "Maximum Retract Comb Distance" to something very small, like 1mm. This will create a lot of extra retractions and you need to make sure your retraction settings are correct (in terms of distance and speed) so as not to make the problem worse - you can also seep material while waiting for a slow retraction to occur. Doing a turret to adjust the retraction can help you fix them if you don't already have them. On an ender 3 you should be able to set the retract (and retract) speed to at least 100mm/s, with a distance somewhere around 4.0-6.5. nine0003
For readers using Cura, also remember to set the "Minimum Extrusion Distance Window" to 0. Otherwise, Cura will start skipping indents again when there are too many of them, which will immediately return the problem, possibly much worse, since it may miss them even in places where they matter the most.