3D printing intro
3D Printing Basics
3D Printing Basics
3D printing is any one of many processes in which a part is additively created by introducing or bonding additional material. 3D printed objects can be geometrically complex and are ideal in a wide variety of manufacturing applications. Machines can cost anywhere from hundreds to millions of dollars and utilize a wide variety of technologies to print parts.
Introduction to 3D Printing
According to the Wohler's Report, the global 3D printing industry is expected to exceed $21B in worldwide revenue by 2020. Much of this growth comes from an explosion in using 3D printing in manufacturing, something previously thought impossible when the process caught on. New materials, processes, and companies are popping up by the minute, all making promises about the unrivaled properties their parts can achieve. All this adds up to an industry that can be hard to understand.
In this track, we're getting back to the basics. What is 3D printing? What are the main technologies out there today? How much do industrial 3D printers cost? You can learn all this in our 3D printing introduction.
-
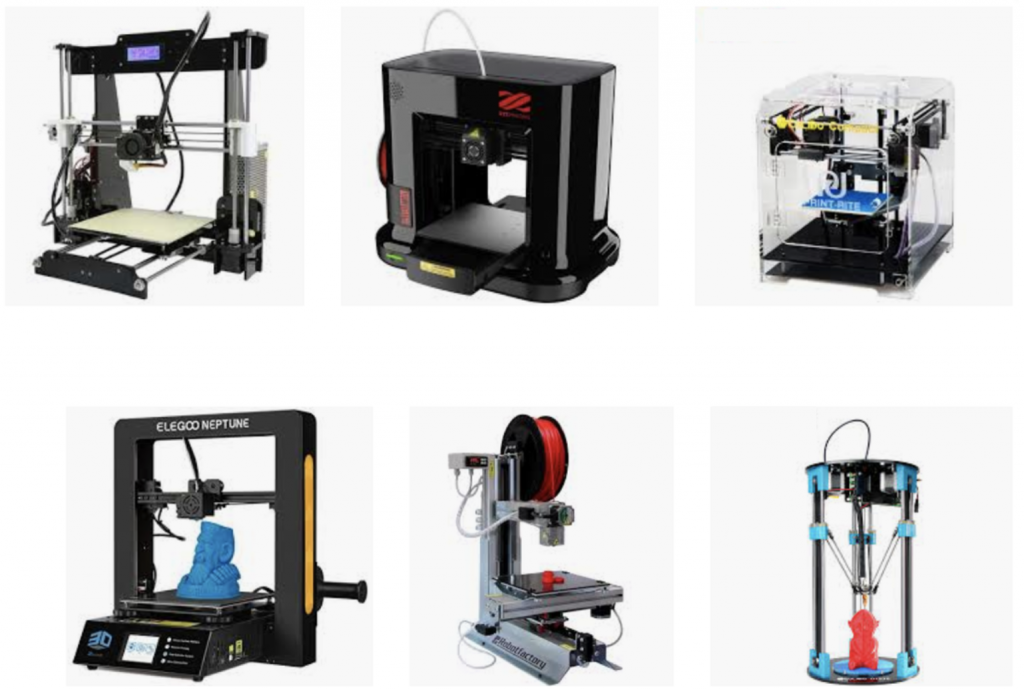
- What is 3D Printing?
- 3D Printer Types & Technologies
- Understanding 3D Printer Cost
- Different 3D Printing Materials
-
- What is Atomic Diffusion Additive Manufacturing (ADAM)?
- What is Binder Jetting?
- What is Digital Light Processing (DLP)?
- What is Direct Metal Laser Sintering (DMLS)?
- What is Directed Energy Deposition (DED)?
- What is Electron Beam Melting (EBM)?
- What is Fused Deposition Modeling (FDM)?
- What is Multijet Printing (MJP)?
- What is Selective Laser Sintering (SLS)?
- What is Stereolithography (SLA)?
-
- 3D Printing Software
- 3D Printing Materials
- 3D Printing Process
Introduction to 3D Printing | CREATE Education Project
How does it work? What are its key benefits and how can you use it?
What is 3D Printing?
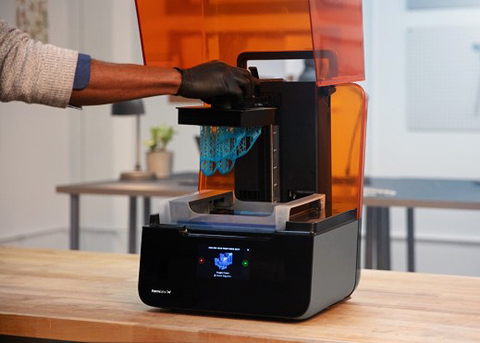
3D printing is a process where a digital model created using computer-aided design software (CAD) is turned into a physical three-dimensional object by adding material a layer at a time.
There are many methods of melting or softening the material to produce the layers. Whilst the technology has been around for 30 years it’s only in the last 5 years, and the rise of desktop 3D printers, that people have become aware of its game changing potential across all industries.
It is also known as additive manufacturing and is changing the way in which we manufacture and create, but not just in industry.
Innovative designs are being used to develop machine parts, prosthetic limbs, sustainable housing and even 3D-printed medications.
Empower your students to produce real world solutions and prepare them with needed skills to thrive in future careers.
How does 3D printing work?
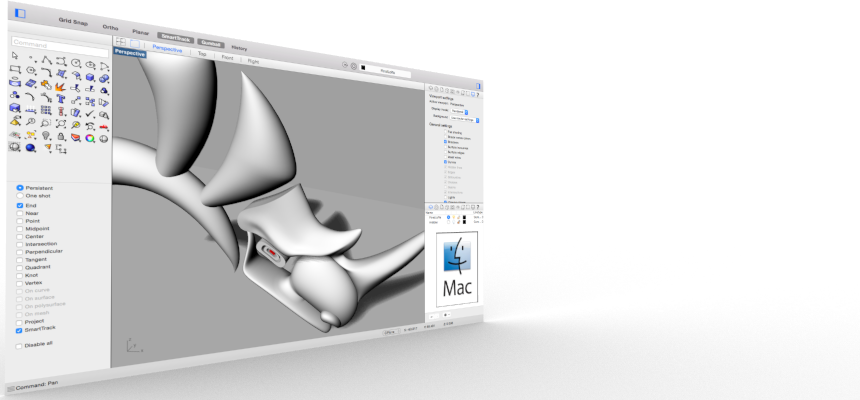
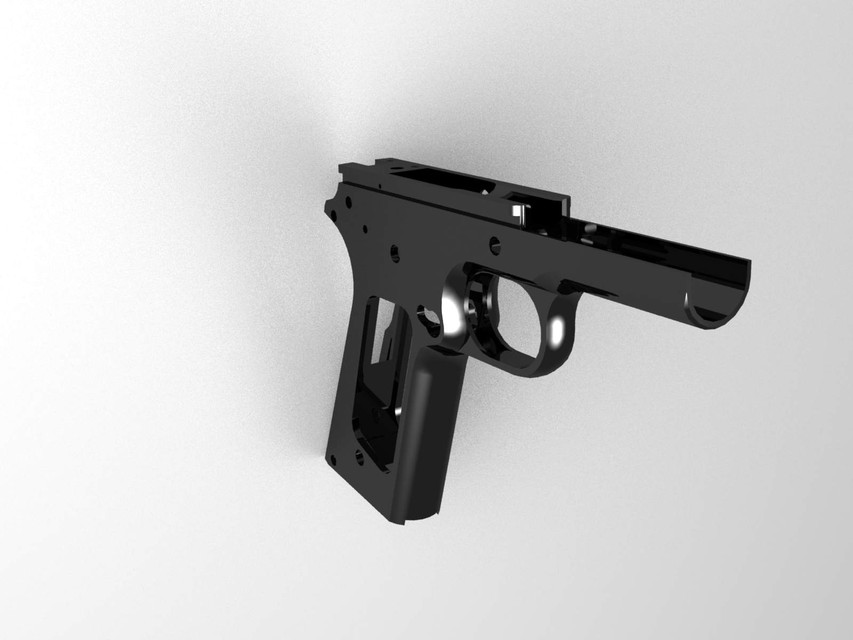
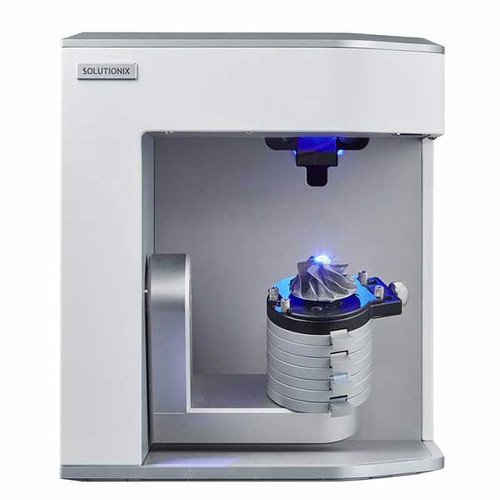
It all starts with making a virtual design of the object you want to create. This virtual design is made in a CAD (Computer Aided Design) file using a 3D modeling program (for the creation of a totally new object) or with the use of a 3D scanner (to copy an existing object). A 3D scanner makes a 3D digital copy of an object. There are also lots of online file repositories where you can download existing 3D files that will help get you started.
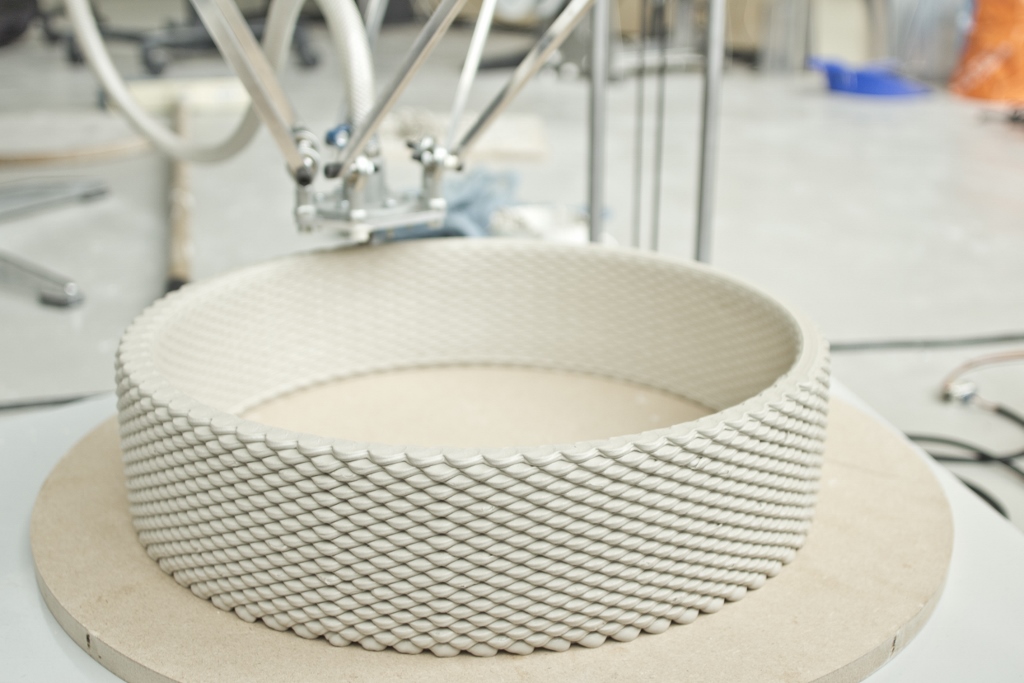
The 3D printing process turns an object into many, tiny little slices, then builds it from the bottom-up, slice by slice. The layers then build up to form a solid object. The process of building objects in this way is also referred to as Additive Manufacturing.
Material Extrusion
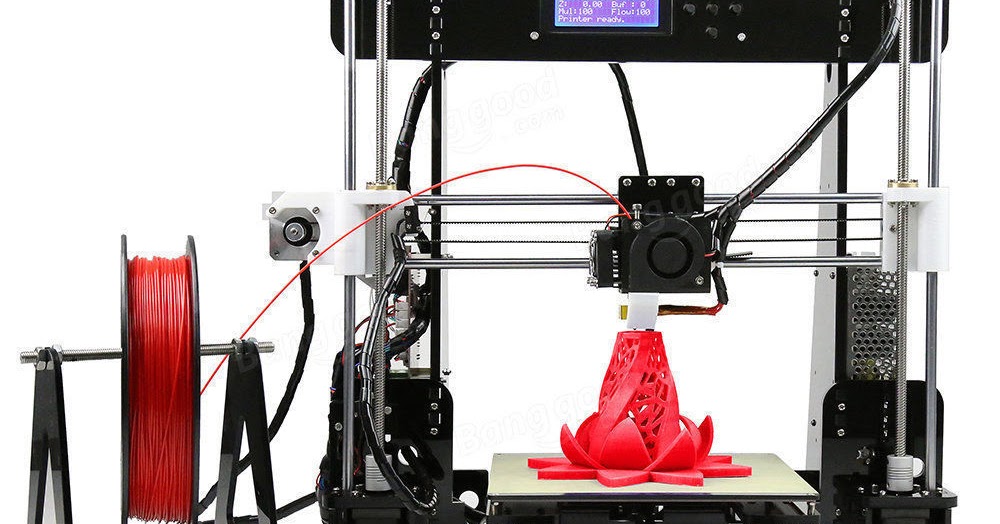
The most commonly used technology in this process is Fused Filament Fabrication (FFF) The FFF technology works by using a plastic filament or metal wire which is unwound from a coil to supply material to an extrusion nozzle which can turn the flow on and off. The nozzle is heated to melt the material and can be moved in both horizontal and vertical directions by a numerically controlled mechanism, directly controlled by a computer-aided manufacturing (CAM) software package. The object is produced by extruding melted material to form layers as the material hardens immediately after extrusion from the nozzle. This technology was historically most widely used with two plastic filament material types: ABS (Acrylonitrile Butadiene Styrene) and PLA (Polylactic acid) but many other materials are now available ranging in properties from recycled, wood filled, conductive, flexible, dissolvable, chemical resistant, biological and even food! The development of materials has become a huge area of growth with more applications becoming possible thanks to the advancements.
Processes and Technologies
Not all 3D printers use the same technology. There are several ways to print and all those available are additive, differing mainly in the way layers are built to create the final object.
Some methods use melting or softening material to produce the layers. Selective laser sintering (SLS) and fused deposition modeling (FDM) are the most common technologies using this way of 3D printing. Another method is when we talk about curing a photo-reactive resin with a UV laser or another similar power source one layer at a time. The most common technology using this method is called stereolithography (SLA)
Resources for Introducing 3D Printing
Introduction to 3D Printing Lesson
Read More
Design a Space Rocket Project to Introduce 3D Printing
Read More
If I had a 3D Printer – 3D Design Challenge
Read More
3D Printing Basics / Sudo Null IT News
KolianM
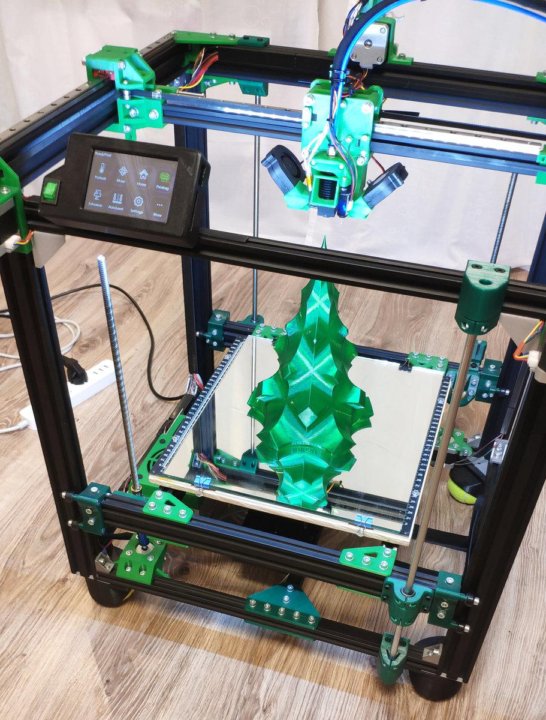
Working with 3D graphics *Prototyping *3D printers DIY or Do it yourself or milling. This is due to the technical features of the 3D printer, from which you need to either squeeze the maximum benefit, or adjust to the disadvantages of printing.
From the reservations, I note that these recommendations relate mainly to the FDM (FFF) 3D printing method, in which a plastic rod is heated by a moving extruder that forms the part layer by layer.
3D model development starts with a sketch. It can be a drawing on paper, a material prototype, a mental image, etc. What is important to pay attention to when creating such a sketch and the model itself, we will analyze in detail.
Part strength
Here and further down the text there are several sub-points that must be taken into account at the same time, kept in mind from the very beginning.
- Be aware of the layering or anisotropy of the material: it is much easier to break a part in layers than across.
 This must be taken into account in advance, given the location of the 3D model on the 3D printer table.
- Add fillets. The leg of the stool and the tabletop at the junction should have a rounded corner. At the same time, the larger the radius of curvature, the stronger the leg will be fixed on the table top. Similarly for various body parts. Modeling a box All right angles are rounded. It doesn't matter what plane they are in. Even where a right angle is needed, we make a radius of 0.5 mm. The printer will pass through such a section more easily than an unrounded one, there will be no impact from a sharp stop of the extruder, the part will not sway, and other pluses.
- Wall thickness and filling. The maximum strength at 100% infill is a fact, but if you need to lighten the part or save plastic, you can make a much larger wall thickness in the print settings, while setting the infill much lower. This works with parts that have holes for fasteners.
 When creating machine code for a printer, absolutely all the outer walls are thick, so the fastener will be surrounded by a reliable thick layer of plastic of your part.
- Support. This element affects the strength in that the layers supported by the support are not always ideal in structure. This can be solved by increasing the wall thickness, filling, but it is better not to do support at all. Support is added by the slicer depending on the angle between the part wall and the table plane. Often the default is 60 degrees, sometimes 45. This setting is selected experimentally for each 3D printer. You can check this with the help of special test parts. For example, https://www.thingiverse.com/thing:2806295 - do not forget to turn off support to check the real quality of 3D printing in its absence. For example, you need to print a T-piece for tubes. Cast products are made in a T-shape. 3D printing makes the product L or even Λ-shaped. In the second case, support can even be avoided, and the part will be stronger due to the layers located at an angle of 45 degrees to the tubes.
 We, in the workshop, set up slicers for each machine and ask the client about the strength requirements, and, depending on this, choose a 3D printer to print.
Geometric restrictions
- The wall thickness is limited from below by the size of the 3D printer nozzle. Its diameter is constant and in the vast majority of cases it is 0.4 mm. Smaller thickness - long 3D printing for most parts. The larger the nozzle, the bonds between the layers are less strong, the steps between the layers are more visible. In general, the wall thickness should be a multiple of 0.4 mm, then the 3D printer will be able to accurately make the wall in two passes (0.8 mm), in 3 passes (1.2 mm), etc. Other thicknesses will cause the 3D printer to leave a gap or overflow that negatively affects the strength and appearance of the printed part.
- 3D printing of thin cylinders and "needles". For 3D printing of such products, special 3D printer settings are required: low 3D printing speed, allow time for cooling, otherwise such a structure will bend.
 Vertically standing thin elements are best avoided at all costs. Even if they are printed, they will be very fragile. It makes sense to leave them only for decorative purposes, but you have to be prepared that their quality will be worse than the quality of other elements of the 3D part.
- 3D printed holes. I note that if the hole is straight and through, then it can be drilled, if it is curved and requires support, then it may turn out that it will be impossible to get support.
- When 3D modeling, it is important to consider the overall dimensions of the 3D printer. We use convenient 3D printers, table 250x250 mm, diagonal 353 mm. This is where you need to enter the dimensions, if possible. Otherwise, you need to order either an industrial 3D printer with a large print area, or use gluing, but assembly is better, so the assembly process will be controlled by the developer, and not by the 3D printing master.
- Large footprint may cause edges to peel off the table.
 We use special glue, but this does not always help. We are periodically approached with a complaint about colleagues in the shop that for them such “minor” defects as a folded edge are not a reason to restart 3D printing, take it as it is. But an engineer who 3D models a part can take this into account in his work and make either assemblies or thin-walled flat 3D parts that “do not have enough strength” to compress the outer contour and, as a result, raise the edge.
- Tall and thin "towers" can be difficult to obtain due to vibrations that occur when the 3D printer is working closer to the top, layer shifts are also possible.
Dimensional stability, accuracy
- Precise 3D printing is quite rare. I don’t want to speak in engineering terms here, but the likelihood that a complex composite structure will assemble the first time is very low. Here, rather, you need to take into account the fact that you can then mechanically refine the details.
- Holes for fasteners are best done with a margin of 0.5 mm in diameter. This will not reduce strength, the fasteners will also not dangle due to tightening forces, but if you do it without a margin, you will definitely have to drill it out. Reducing the size of a large shaft, >10mm sandpaper is much easier than making a hole, which requires a huge drill that cuts into the plastic walls and breaks the part, or gets stuck in it. It is also important to consider that when drilling, the plastic melts and the drill can melt into it so that it cannot be removed. There have been cases.
- Heat shrinkage is not always compensated, more precisely, it is very difficult to catch it, it is not the same in different directions, so it is extremely difficult to take it into account. It's easier to print a test version, and then make adjustments.
When appearance matters
- Think about how the craftsman will orient the part on the 3D printer table.
 3D printing proceeds in layers, which is clearly manifested when printing surfaces that are at a small angle from the horizontal of the table. Skinning will be long and painful, because you will have to cut this "ladder" to the deepest depressions of the "steps". It is better to place such surfaces either horizontally, for example, put on a table, or increase the angle. In some cases, even adding support that spoils the wrong side of the wrong side saves time and effort on post-processing.
- Support. First, the surface it supports has significantly more defects than without it. Secondly, thin and high support is weak, wobbly, which leads to the fact that the supporting part may have serious defects, or not work at all.
- First layer quality improvement. You need to add a bevel. Even where a sharp corner is not needed, I recommend adding a chamfer of 0.5 mm. It will not be clearly visible, but the edge will be neat.
What you need to know in order not to make a mistake when ordering 3D printing
If appearance is important
- Placement of the part on the table.
 Remember about anisotropy.
- Wall thickness and filling. What you can run into here: the filling is 20% cells, which are either visible through a thin outer wall, or the filling slightly tightens the outer wall during shrinkage, but at the same time it is visually easy to determine that there is support inside. Here, first of all, an increase in the thickness of the outer wall, or an increase in the filling density, helps. Please take this into account when ordering.
Postprocessing
The elimination of stepping is achieved by mechanical and chemical methods. It is possible to use putty. Acrylic paint available. If the part has a complex color structure, then we use the ProJet 4500 printer, which works on a different technology. He glues the powder particles together with colored ink glue. It turns out well.
Morality
In conclusion, I would like to note that these recommendations and the accumulated experience will make it possible to produce parts by 3D printing, which in their properties will not be inferior to cast ones, which makes it possible to save significant funds in the presence of a customized printer and small production volumes. From my own experience, I note that fiddling with the printer, debugging it, knowing “all the cracks” is a separate topic, which I will talk about later. And in conclusion, I would like to ask the reader to express their opinion in the survey.
Only registered users can participate in the survey. Come in, please.
Do I need to buy a 3D printer, or should I outsource it?
66.67% It is better to control everything yourself, modeling and printing 60
21.11% I model, and let those who live it print 19
10% I prefer designing and printing to narrow-profile specialists 9
14.44% I don't believe in 3D printing, I try to avoid it altogether 13
90 users voted. 24 users abstained.
Tags:
- 3D modeling
- 3D -ip
Habs:
- Work with 3D graphics
- Prototyping
- 3D 3D
- DIY or do 9002 3D printing"
Introduction to 3D printing
Technology
Kinematics
Plastics
3D printing
is the process of creating three-dimensional objects from
digital models.
The basic concept of this technology is the layer-by-layer fusing of a material (plastic or special resin) that reflects the contour of the product
3D printer
basic machine for manufacturing a product based on a digital model in an additive way
Additive manufacturing - manufacturing by adding material to a product, which is the exact opposite of traditional manufacturing methods
Technologies
3D printing technologies
At the moment, only a few 3D printing technologies are actively used in the world: FFF (FDM) and SLA. These technologies differ not only in the material from which the products are made, but also in their purpose.
SLA
Stereolithography
One of the leading additive manufacturing technologies using photopolymer resins. Printing is carried out through the hardening of the resin by irradiating its individual places with ultraviolet from a laser. The features of this type of printers are relatively high printing speed, high accuracy (from 0.05 mm), the use of quite expensive resin when printing.
Kinematics
There are various mechanisms for positioning the printer head. They are necessary for the free movement of the head with a nozzle over the table to extrude the desired patterns. The schemes differ in components, positioning methods, efficiency and price.
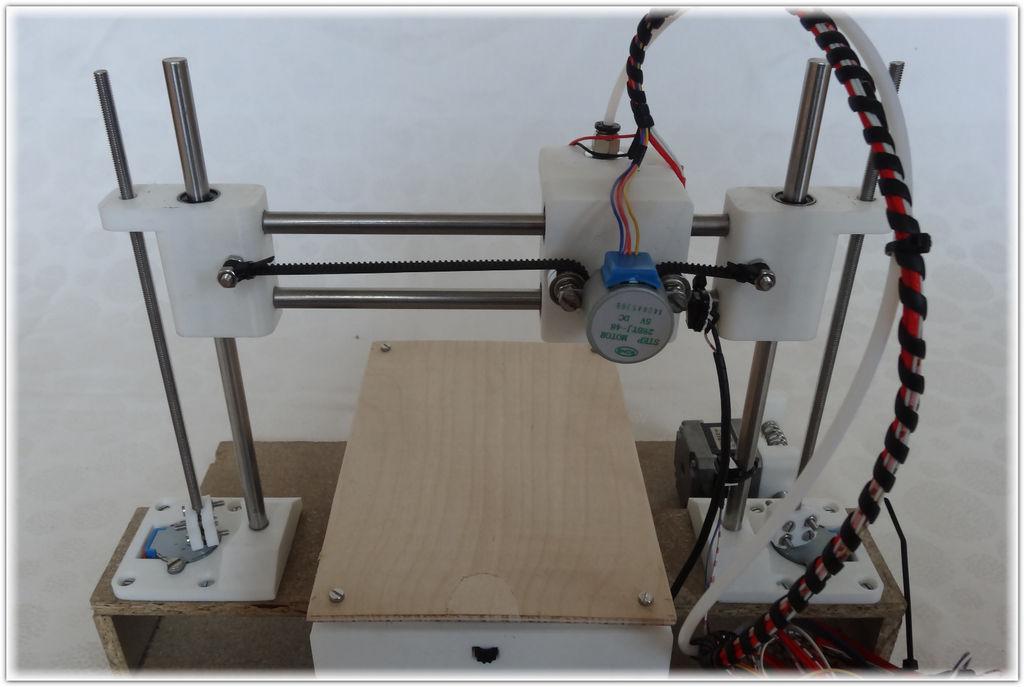
Y-bed layout; XZ-head
This scheme was used quite often on fdm printers at the beginning of 3D printing, but even now it can be easily found in budget printers. In this scheme, the table platform moves along the y axis, the extruder head moves along the z and x axes.
Z-bed; XY-head
This scheme is now common in the segment of budget printers. In Z-bed kinematics; XY-head is used to move along the z-axis - a platform, along the x and y axes - a head with an extruder. This type of kinematics, although it has advantages, somewhat limits the possible speed of printing and its quality.
Hbot kinematics
In these schemes, the motors that move the print head are placed on the printer body, which allows not to affect the print speed. In this version, the rotation of the motors in one direction moves the head along the X axis, in different directions - along the Y axis. If only one motor rotates, the head moves diagonally.
This type of kinematics is used by many commercial printers
CoreXY kinematics
CoreXY is basically the same as the HBot but has two timing belts. Most often, professional 3D printers are assembled according to these kinematic schemes. The main differences between HBot and Core-XY follow from the different belt installation scheme. In HBot, the forces that move the X-axis beam along the Y-axis can skew it, after which the structure will need to be restored. In this regard, the fastenings of the X-axis beam and its profile itself must be of high quality and well thought out.
Delta Printer
Delta printers are the most eye-catching to the viewer, but not the easiest to set up and print. In this printer, all three motors must be used to move the head with the extruder. The table usually does not change its position when printing.
Types of extruders
The devices that feed the filament to the heating block are called extruders. They push the thread by clinging to the plastic thread with gears and rotating them with a gear system.
Bowden and direct extruders are currently the most widely used.
Bowden extruder
Bowden extruder is usually located on the printer body and needs to push the filament through a flexible tube for quite a distance. This is a disadvantage of this type of extruder, as the accuracy of the filament feed decreases as it passes through the tube due to gaps. The Bowden extruder limits the printing of products to flexible plastics.
Direct extruder
Direct extruder is located directly on the print head, allowing you to shorten the distance to push the filament. This type of extruder allows you to print perfectly with any type of plastic, but at the same time increases the weight of the print head, which in turn increases the inertia of the head during printing, increases the likelihood of defects when printing at high speeds.
FDM filament
FDM printers print using plastic threads called filament. The filament for printing may differ in diameter, color and composition. At the moment, the vast majority of 3D printers use plastic with a diameter of 1.75 mm, with a tolerance of + - 0.02. The color of the plastic depends on the dye used in the production, but transparent plastics are also possible.
ABS plastic
Acrylonitrile butadiene styrene has gained popularity not only in the world of 3D printing, but also in the industry in general due to its physical and mechanical properties. It is heat-resistant (115 degrees), has high impact resistance, moisture, oil, acid resistance, is easily machined and has an affordable price. However, it is unstable to sunlight, potentially toxic, and has high print shrinkage.
PLA plastic
Polylactide is a biodegradable plastic made from corn or sugar cane. It has high strength, is safe to use for various purposes, there is no shrinkage when printing products. However, this plastic has a low glass transition temperature, which affects its resistance to temperature.